On this page
For the most repeatable measurement, put a bowl on a kitchen scale, set it to grams, press tare and add the flour weight written in your recipe. If you are using cups, loosen the flour, spoon it gently into a dry measuring cup and level the top without pressing it down.
The important choice is consistency with the recipe you are following. A cup of flour is a volume, not a fixed weight: the flour type, the cup and the way it is filled all matter. Learning one careful measuring routine is more useful than trying to correct every stiff batter with extra liquid.

Measure by Weight When the Recipe Gives Grams
- Place the scale on a firm, level surface and select grams.
- Set your mixing bowl on the scale. Press tare so the display returns to zero.
- Add flour slowly as you approach the required amount. If you overshoot, remove a little before mixing.
- Check the ingredient list again before taring for the next ingredient.
If a recipe asks for 250 g flour, the target is 250 g of that flour. You do not need to translate it into cups first. Scooping the flour from its bag is fine when you are weighing it because the scale measures what reaches the bowl rather than how tightly it occupies a cup.
Give Yourself a Way to Undo a Mistake
For a crowded ingredient list, weigh flour in a separate bowl before adding it to the wet mixture. It costs one extra dish, but you can remove an accidental extra scoop cleanly. Once flour lands in a bowl containing eggs, sugar or another flour, it becomes harder to tell what you are taking back out.

Measure by Cups Without Packing the Flour
Use a dry measuring cup with a rim you can level. A graduated liquid jug is useful for pouring liquids, but a mound of flour makes its side markings harder to judge.
- Stir or loosen the flour in its container with a spoon.
- Spoon flour into the measuring cup until it rises above the rim.
- Pass a straight edge across the rim to remove the excess.
- Empty the cup into your bowl. Repeat the same method for the next cup.
Do not shake the cup to settle the flour, tamp it with the spoon or push the cup deeply through the bag. Those actions change how much flour fits into the same space. Follow a recipe that explicitly specifies another measuring method on its own terms; avoid switching methods halfway through.
How Many Grams Are in a Cup of Flour?
There is no universal number for every flour and recipe. King Arthur Baking uses 120 g for a cup of its all-purpose flour. Other recipe developers use different conventions. When a recipe supplies both cups and grams, use its stated grams rather than replacing them with a conversion you found elsewhere.
For a cups-only recipe, look for the publisher’s ingredient-weight chart or measuring instructions. If neither exists, a conversion is an assumption: record the convention you use and stay consistent. Do not apply an all-purpose-flour number to almond flour, coconut flour or a packed cup of another ingredient.
Do Not Mix Cup Sizes
A recipe may use US customary cups or metric cups. If the source specifies its cup size, use matching equipment or the supplied weights. A drinking mug is not a measuring cup, even if it happens to hold a convenient amount of coffee.
“Sifted Flour” and “Flour, Sifted” Can Mean Different Orders
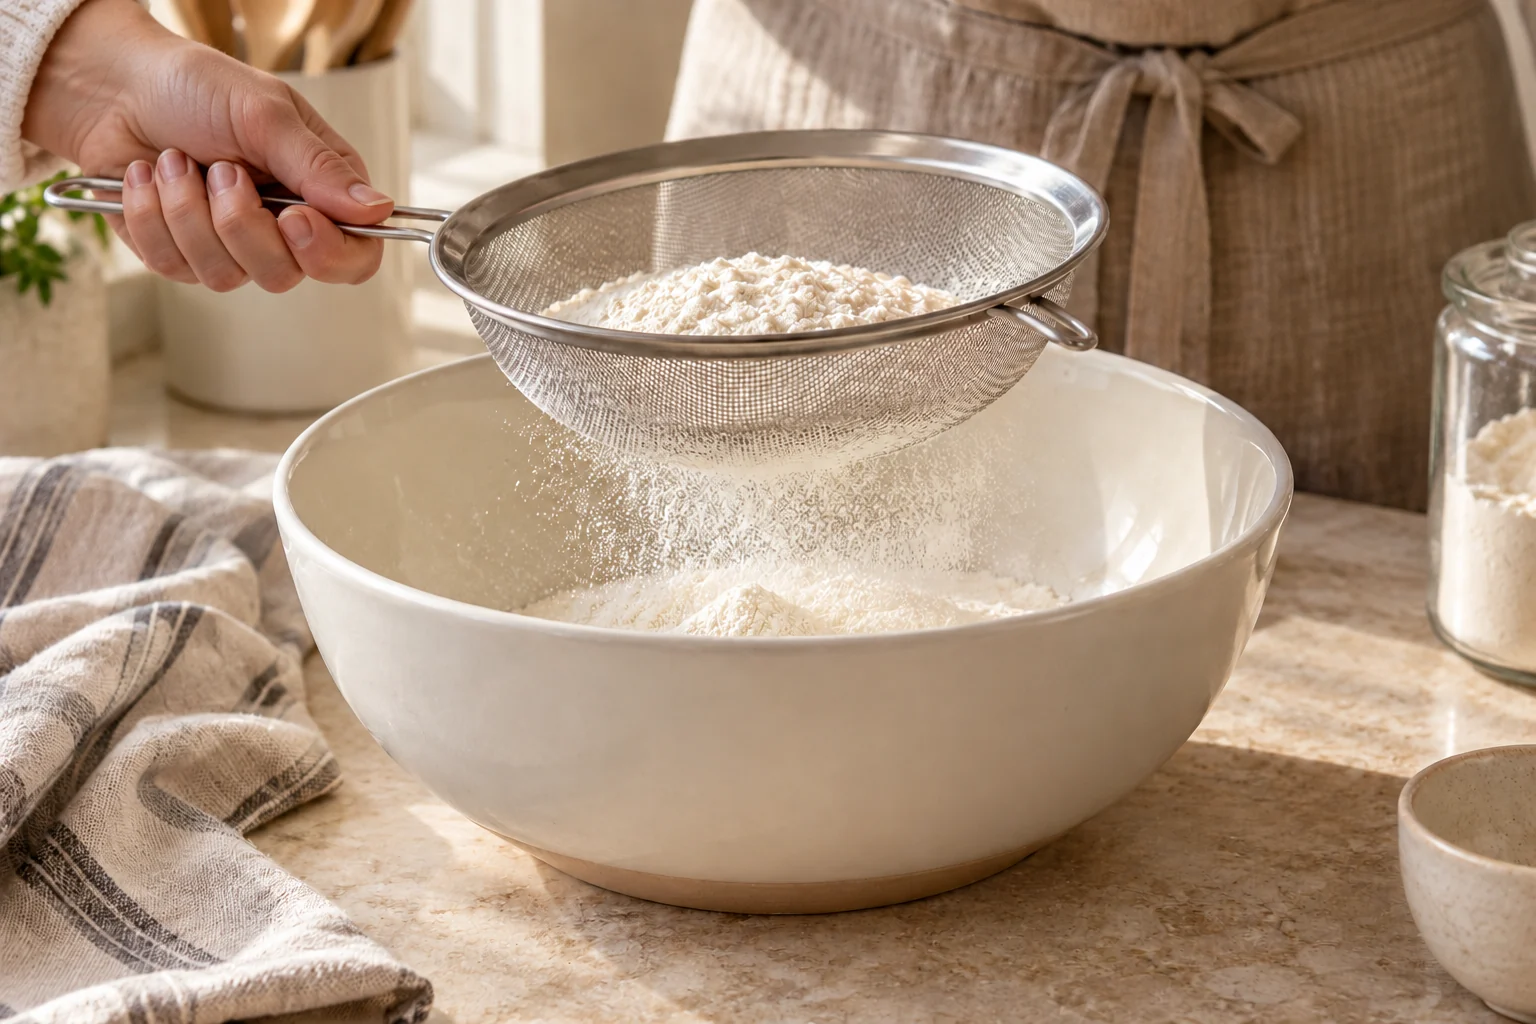
Ingredient wording matters. “One cup sifted flour” generally asks you to sift before measuring; “one cup flour, sifted” generally asks you to measure before sifting. Check the recipe’s method if the wording is unclear. With a stated gram amount, weighing the required flour before sifting usually removes the cup-volume ambiguity, but still follow any explicit instruction.
When a Batter Looks Too Thick, Check Before Adding Liquid
Too much flour is one possible reason for a stiff mixture, not the only one. Cold ingredients, a different flour, a missed liquid or a dough that has rested can also change its appearance. Recheck the ingredient list, flour type and mixing stage before changing the formula.
A cookie dough and a muffin batter are supposed to behave differently. In the Brown Butter Chocolate Chip Cookies, follow the flour amount and the recipe’s chilling instructions. For Vegan Shortbread Cookies, resist repeatedly dusting the work surface with more flour: small additions during rolling can accumulate.
Keep a Small Measuring Note
If you are troubleshooting a favourite recipe, write down the flour type, whether you weighed or used cups, and the amount. Change one thing on the next bake. “Measured flour by weight this time” is a clearer comparison than changing the flour, liquid and oven temperature together.
For plant-based ingredient choices, our Beginner’s Guide to Vegan Baking explains the broader role of substitutions. Accurate flour measurement still matters when eggs or dairy have been replaced.
The Measuring Habit to Keep
Use the recipe’s grams when available. Otherwise, spoon and level consistently, using the recipe’s own measuring convention. Measure first, assess the mixture at the correct stage, then troubleshoot deliberately.
Why weighing flour is the easiest path to repeatable baking
Flour can pack tightly or remain fluffy inside a measuring cup depending on how it was scooped. This means two people using a one-cup measure may add noticeably different amounts of flour. A digital kitchen scale avoids much of that variation by measuring mass directly. If a recipe gives flour in grams, use those grams instead of converting to cups and then back to weight.
For example, our Brown Butter Chocolate Chip Cookies call for 280 g all-purpose flour, while Vegan Shortbread Cookies use 225 g plain flour. Those weights are recipe-specific; a baker should not substitute a fixed number of cups calculated from a random chart without considering the source's own measurement method.

How to measure flour with a digital scale
Set a clean, dry mixing bowl on the scale and press the tare or zero button. Add flour until the display shows the exact grams from the recipe. If you overshoot, remove a little until you reach the desired amount. Repeat with other weighed dry ingredients as the recipe directs, taring between additions when practical. Keep the scale stable and away from a surface where its buttons could be accidentally pressed.
Check whether the recipe specifies sifted flour and whether sifting should occur before or after weighing. Sifting changes volume and distribution but does not change the weight of the flour itself. A recipe that lists grams generally makes it simpler to handle the order without relying on how loosely a cup was filled.
How to measure flour with cups when there are no grams
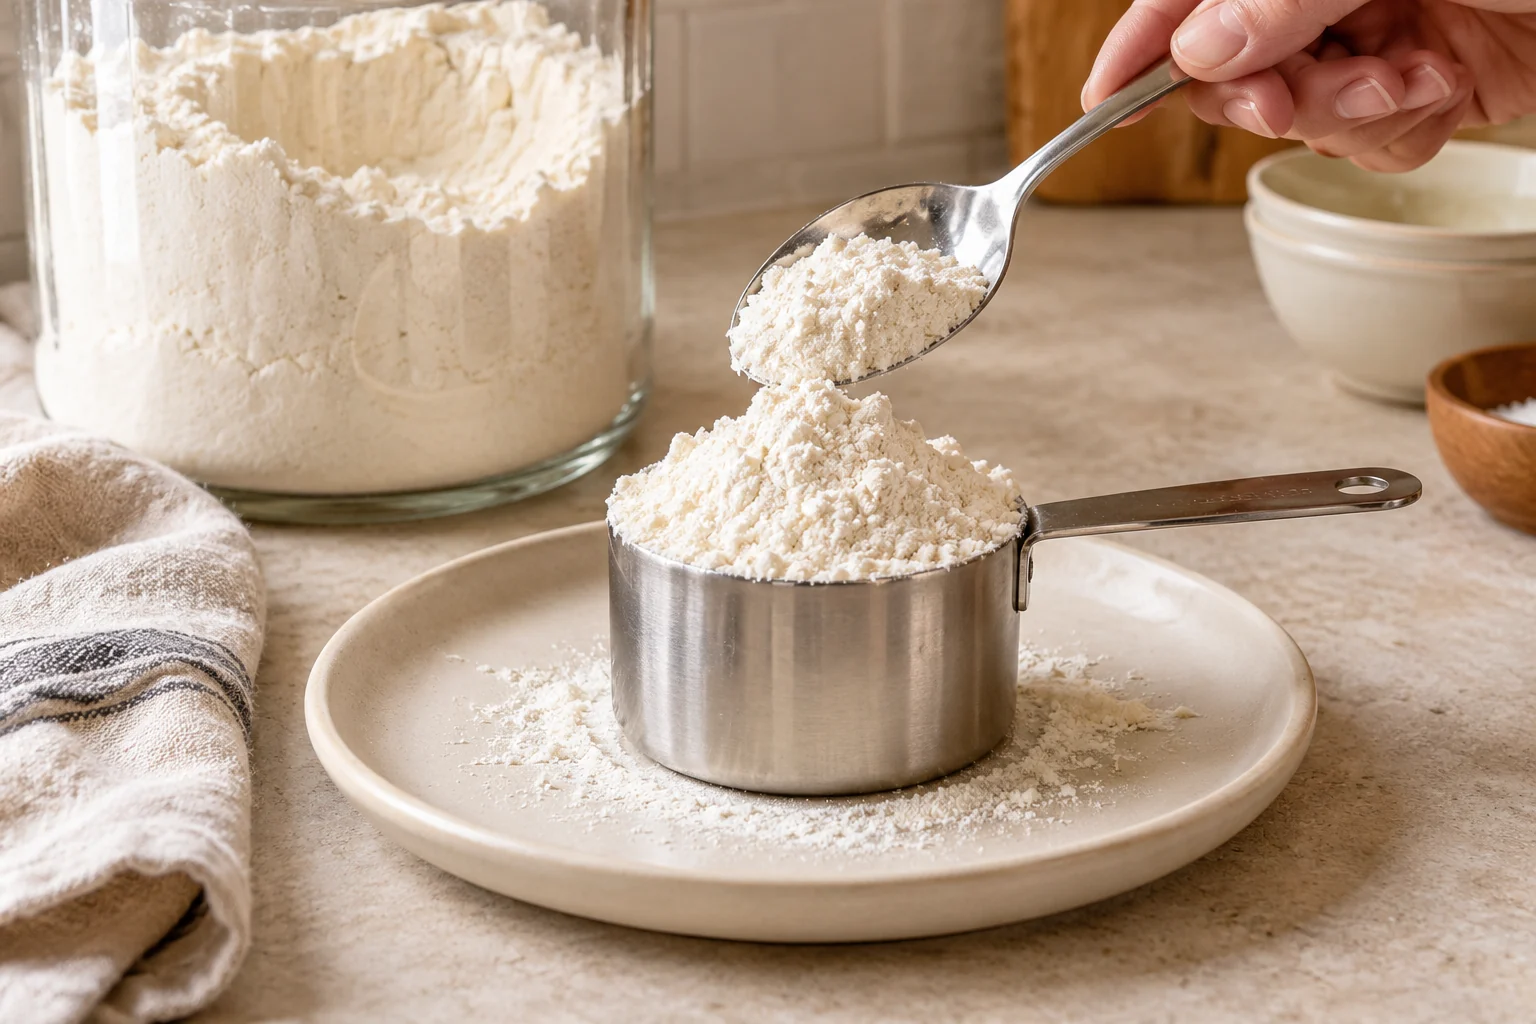
Fluff flour in its container with a spoon, gently spoon it into the measuring cup without tamping, then level the top with a straight edge. Avoid scooping the measuring cup straight through a tightly packed bag when the source uses a spoon-and-level method; that can compress more flour into the same nominal volume. Do not shake or tap the cup to settle it unless the recipe specifically instructs that technique.
Use a dry measuring cup for flour rather than a liquid jug with graduations on the side. Liquid measures are designed to be read at eye level for flowing ingredients and are not ideal for levelling a dry ingredient accurately. If a flour recipe gives cup amounts only, look for the source's own measurement guidance rather than assuming every baker uses the same convention.
Why a cup of flour has no universal gram weight
Different flour types and measurement practices produce different densities. Whole-wheat flour, all-purpose flour and bread flour are not always identical in mass when loosely spooned into a volume cup. Even for the same flour, one published chart might use a different assumed cup weight from another. The most reliable approach is to use the grams provided by the actual recipe.
When a recipe gives cups only, you can adopt the source's defined spoon-and-level method and stay consistent. Switching between different brands' flour charts mid-recipe is not a good way to guarantee accuracy. A conversion is an estimate tied to a convention, not a natural constant.
How flour measurement changes common baked goods
Chocolate chip cookies
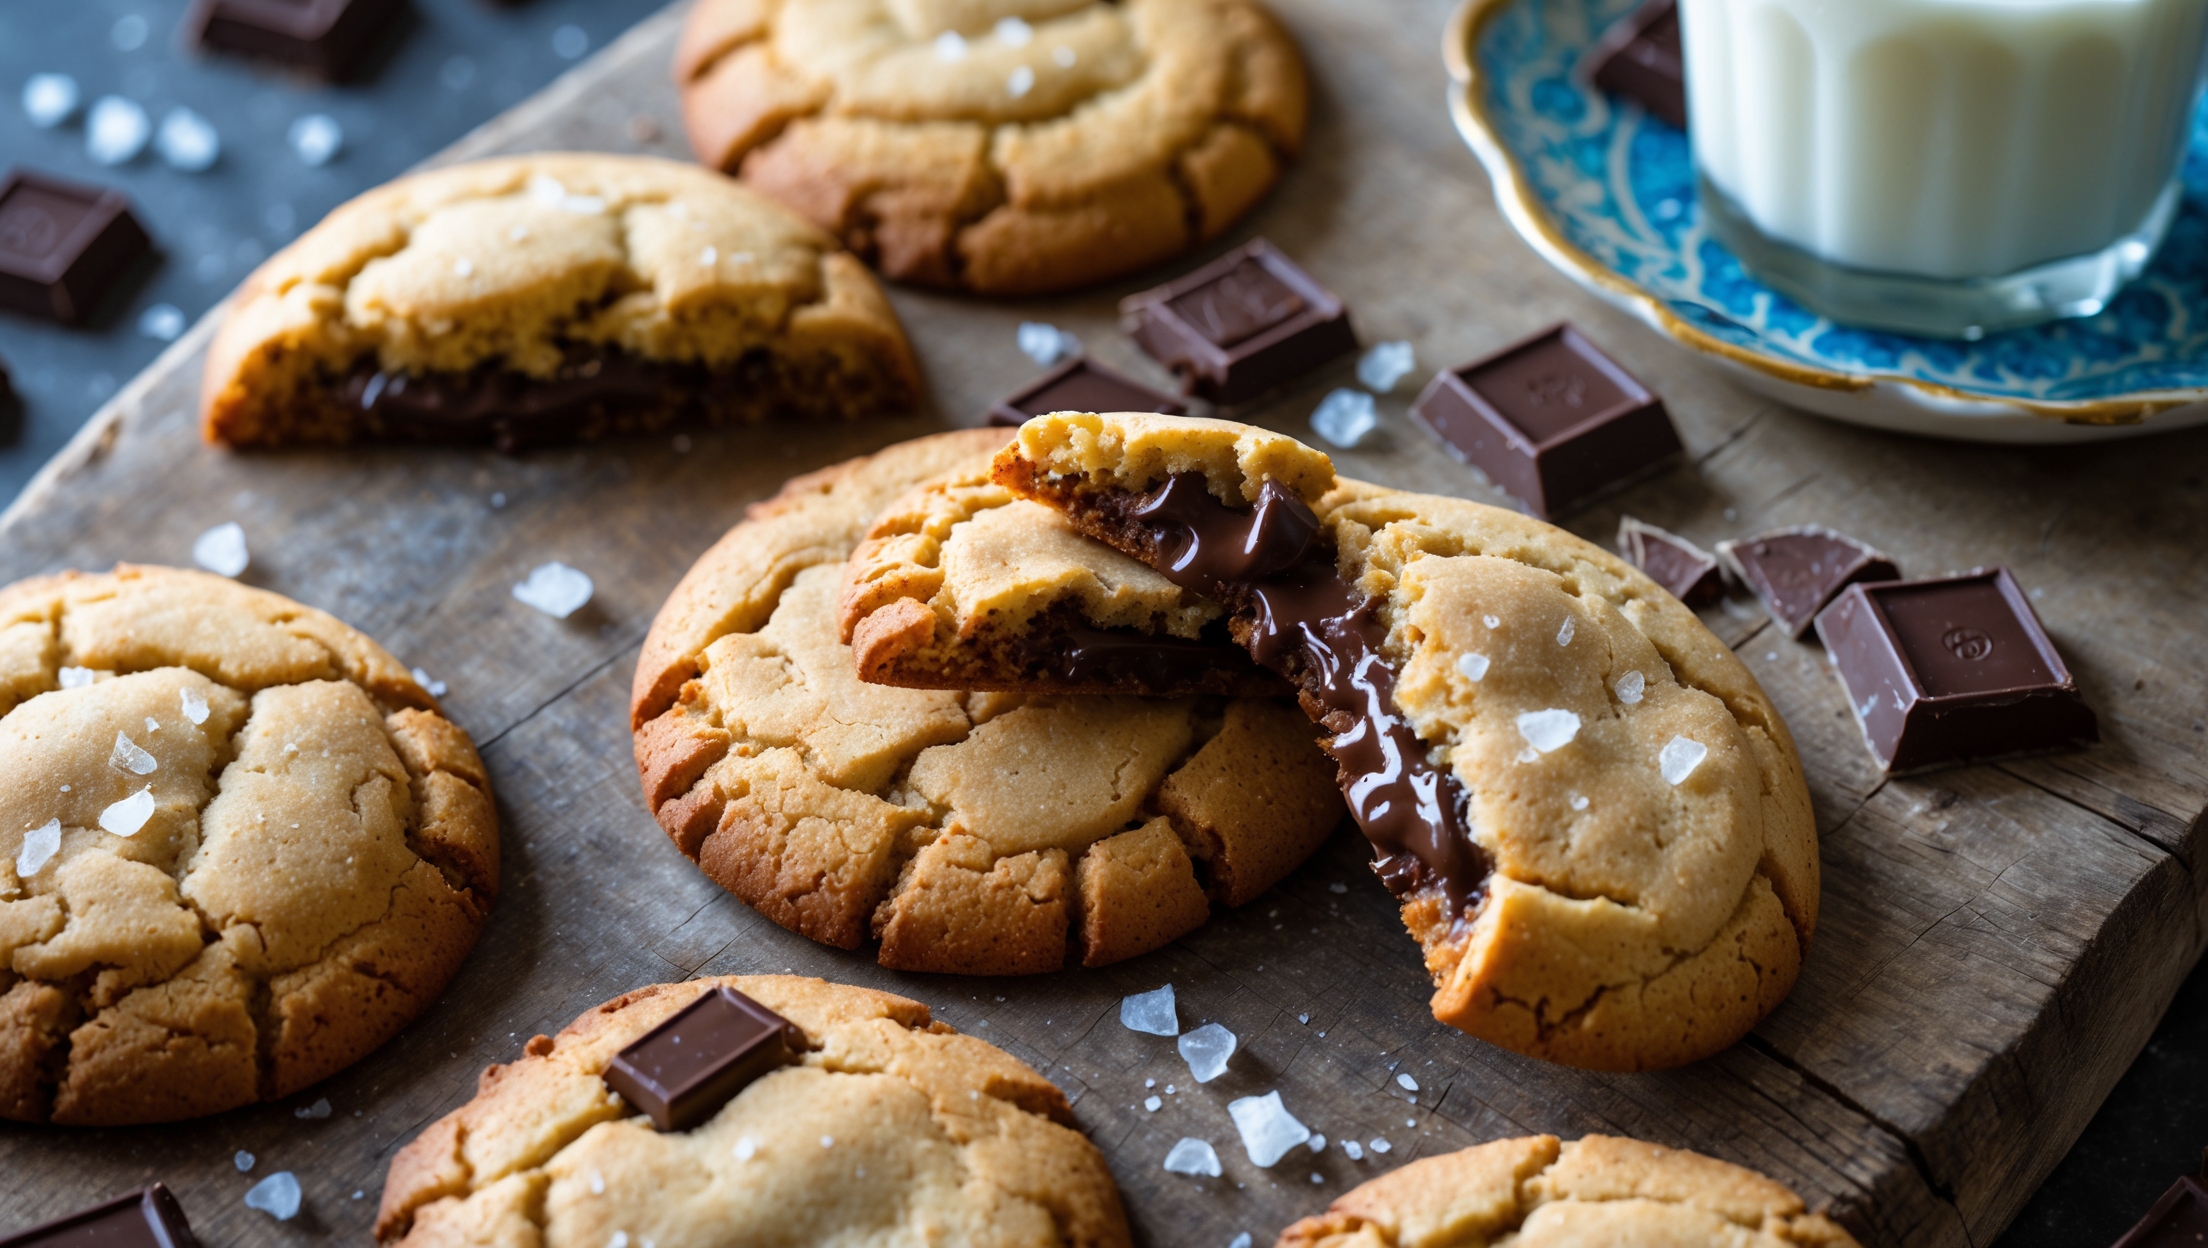
Too much flour can make cookies cakier, drier or less spreadable. Too little can make them spread excessively, depending on the butter, sugar and egg ratios. In our Brown Butter Chocolate Chip Cookies, the 280 g flour measurement works with 225 g butter and two eggs; changing the flour substantially creates a different formula. Start with the original weight before troubleshooting spread.
Shortbread
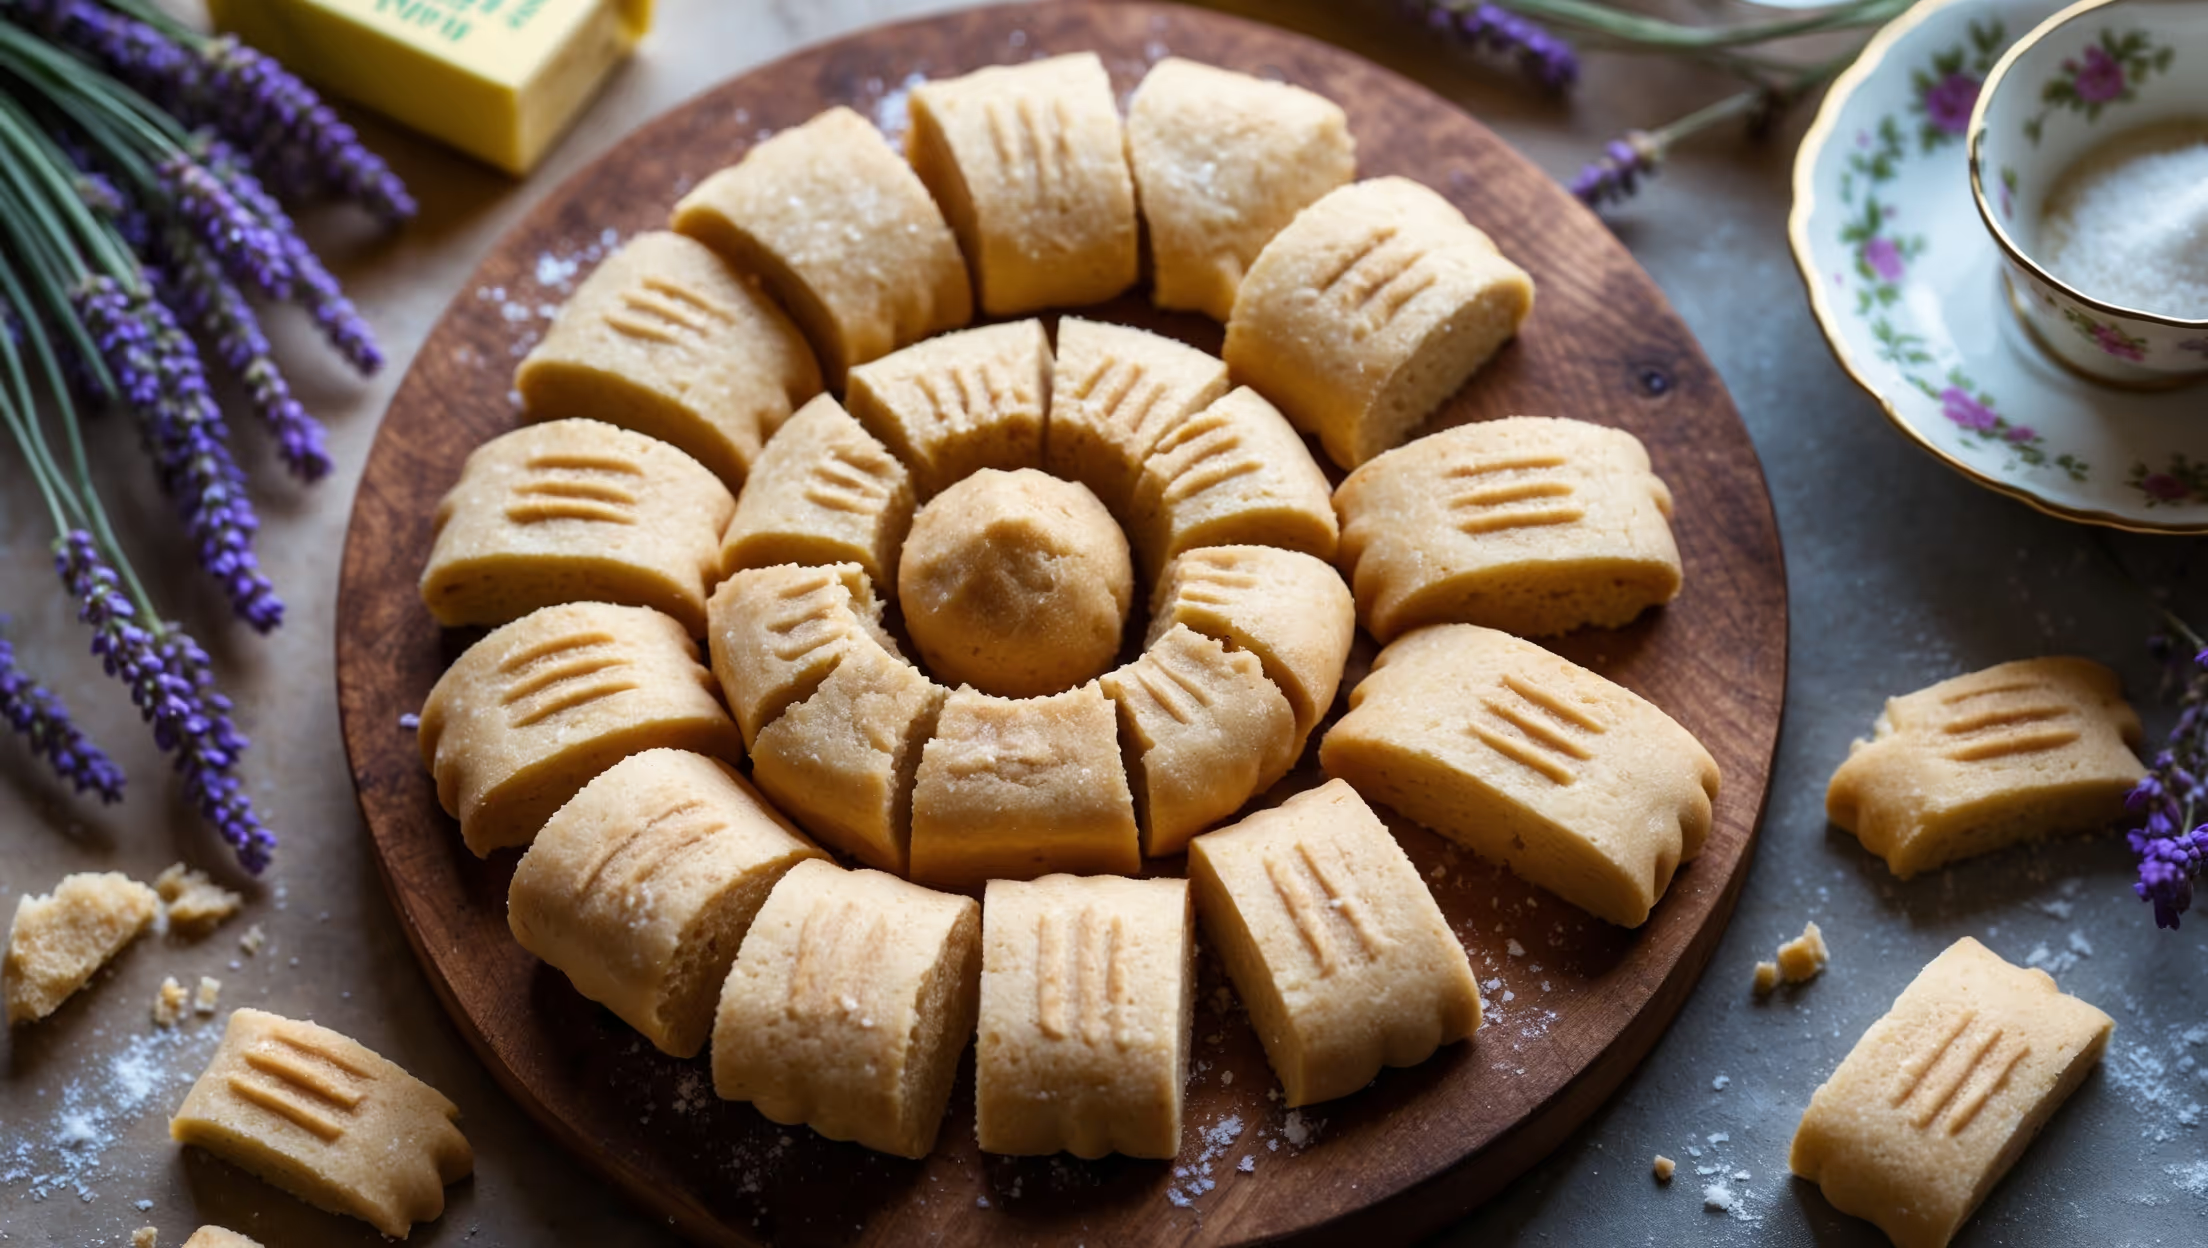
Shortbread's tender, sandy texture depends on a careful balance of flour, fat and sugar. Our Vegan Shortbread Cookies combine 225 g flour with 170 g vegan block butter and cornstarch. Extra flour may make them crumbly or dry, while too little can affect shape. Measure before adjusting mixing or baking time.
Cakes and muffins
Flour contributes structure and absorbs moisture. Extra flour can leave a cake dense or dry, while too little may weaken its ability to set. Muffin batters can be especially sensitive if the baker adds flour to compensate for juicy fruit without following a tested formula. Weigh ingredients, follow the specified mixing method and compare results only after the bake is complete.
How to handle recipes that say 'sifted flour'
Wording can matter when measuring by volume. A recipe specifying "one cup sifted flour" may expect sifting before measuring, while "one cup flour, sifted" often means measuring first and sifting afterward. Because practices vary by author, look for accompanying method instructions. When a recipe lists flour in grams, weigh the quantity directly and sift at the stage indicated.
Sifting is useful for breaking up lumps and distributing dry components, but it does not automatically make baked goods lighter if the recipe calls for a different mixing technique. Follow the source formula rather than using sifting to compensate for inaccurate measuring.
Common flour-measurement errors
Scooping from a compacted bag: The flour can be packed into the measuring cup. Fluff and spoon when the author uses that convention. Shaking the cup: Tapping can settle extra flour into the volume. Level gently instead. Ignoring the gram amount: If grams are provided, use them. Assuming all cups weigh the same: The ingredient type and source convention matter. Adjusting dough after one glance: A batter may appear thick for legitimate reasons; read the recipe before adding more liquid.
A useful baking-scale workflow
Keep the scale accessible beside the mixer, and use a bowl large enough for the ingredients. Measure the main flour amount first and check it before proceeding. Tare again for sugars or other dry ingredients when appropriate, but avoid accidentally resetting the weight while adding. If measuring several batches, prepare labelled dry-ingredient containers so ingredients cannot be confused.
For teaching new bakers, show the difference between a spoon-and-level cup and a tightly scooped cup. The contrast can explain why a recipe fails despite appearing to use the correct number of cups. It is a technique lesson, not a reason to shame people who do not own a scale; careful cup measurement still helps when grams are unavailable.
Frequently asked flour questions
Should I always sift flour?
No. Sift when the recipe requires it or when appropriate to break lumps. Accurate mass and correct mixing often matter more than routine sifting.
Can I replace all-purpose flour with whole wheat at the same weight?
Not always with identical results. Different flours absorb liquid differently and affect texture. Use a tested substitution rather than assuming equal grams guarantee identical baking behaviour.
What if I added too much flour?
If you notice before mixing, carefully remove the excess using the scale. After the batter or dough is fully mixed, adding liquid arbitrarily can change other ratios. Consider starting again or treating the batch as a test rather than promising an easy fix.

A complete step-by-step flour measurement demonstration
Start with an ordinary baking recipe that lists flour in grams. Put a clean dry mixing bowl on a digital kitchen scale and press tare to reset the display to zero. Add flour gradually, watching the numbers until you reach the stated weight. If you add too much, remove a small amount. This process measures mass directly and avoids the problem of compressing flour into cups.
Next demonstrate the spoon-and-level cup method for a recipe without grams. Fluff the flour lightly in its container, use a spoon to fill a dry measuring cup without pressing down, and level the top with a straight edge. Do not bang the filled cup on the counter to settle it. Both methods can work when used consistently, but the scale is easier to reproduce when the recipe provides weights.
Finally, compare that result with a measuring cup driven directly into a tightly packed flour bag. The second cup may contain substantially more flour even though both are called one cup. This is why recipes can turn out different when bakers follow different volume-measurement conventions.
How flour affects chocolate chip cookie spread
Our Brown Butter Chocolate Chip Cookies use 280 g flour with 225 g butter and two eggs. Flour provides enough structure for cookies to maintain an appropriate shape. Too much can make the dough stiffer and reduce spread, creating thicker or drier cookies than expected. Too little may permit excessive spreading, depending on sugar, fat and chilling.
Before altering the butter or oven temperature to fix spread, make sure the flour was measured correctly. A cup packed from a bag may contribute enough excess flour to explain a disappointing result. Use the published gram measurement in your next trial and follow the source instructions for resting the dough.
Do not automatically assume that every thick cookie contains too much flour. Some recipes deliberately use a larger scoop or extended chilling to make tall cookies. Measure first, then judge the result against that specific recipe's intended texture.
Why shortbread is particularly sensitive to flour balance
Shortbread is a relatively simple mixture, so changes in the flour-to-fat ratio are noticeable. Vegan Shortbread Cookies on What’s Baking? specify 225 g flour with 170 g cold vegan block butter, sugar and cornstarch. Extra flour can make the dough dry and crumbly, while too little can lead to an overly soft or spreading shape.
Use the ingredient weights and handle the cold fat as directed. Adding water or milk to rescue dough that was measured incorrectly changes the recipe further and may affect its crisp tenderness. If a test batch fails, record exactly how flour was measured before changing mixing time or pan temperature.
How to weigh several dry ingredients in one bowl
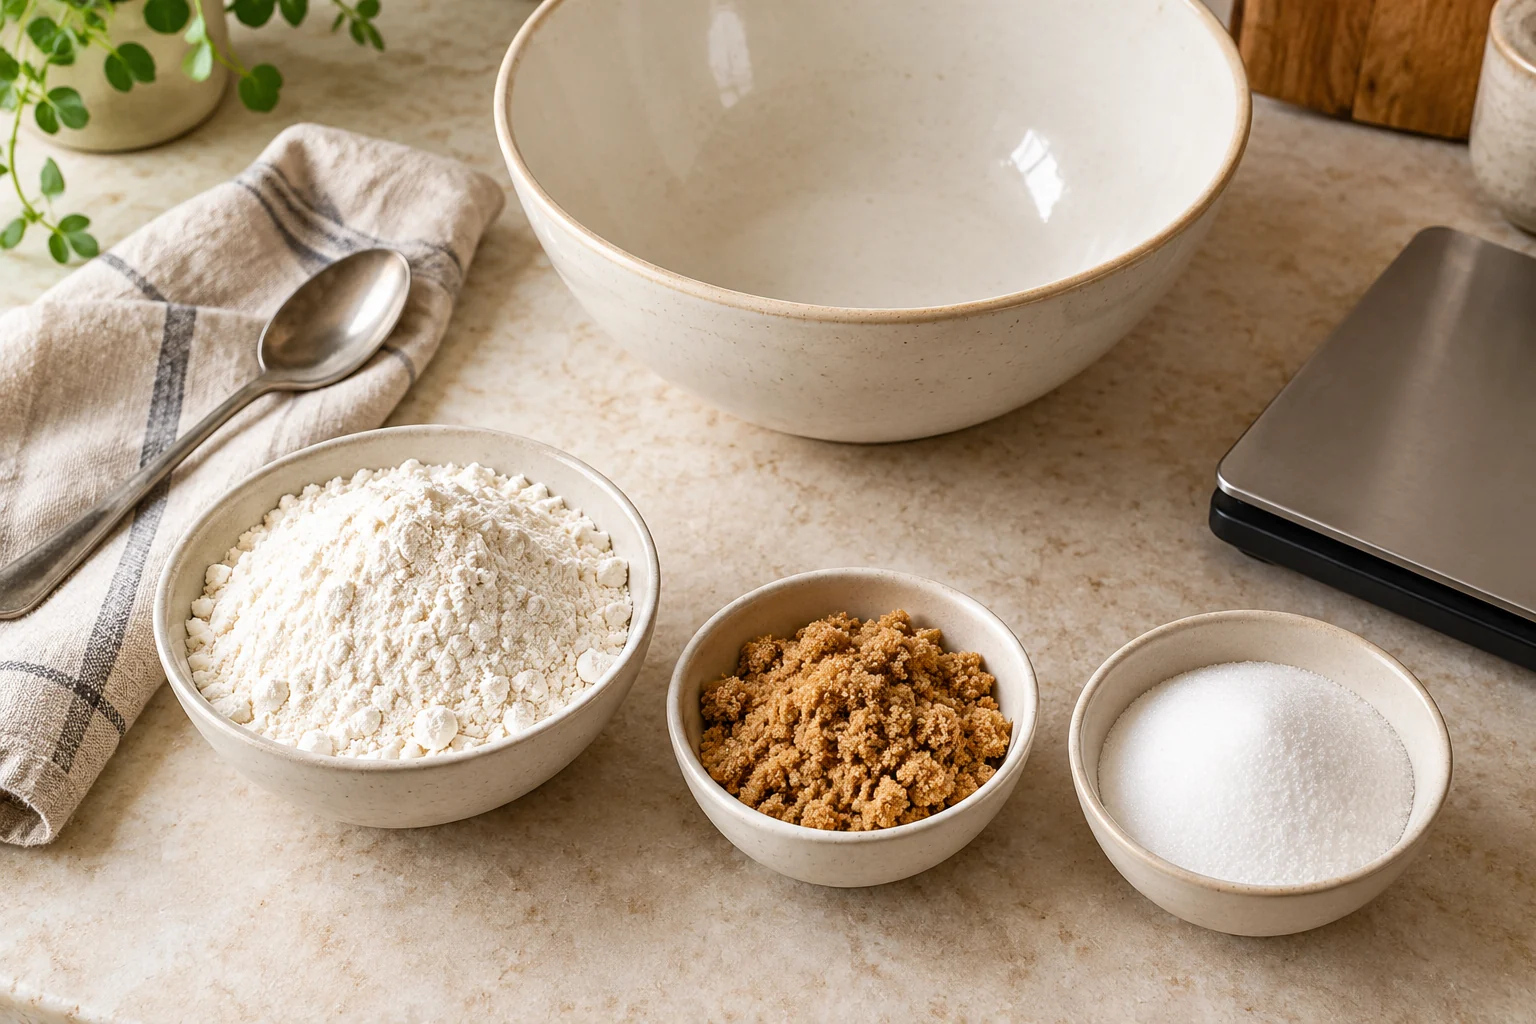
Using the same bowl for flour, sugar and other dry ingredients can save washing, but it requires attention. Set the bowl on the scale, tare to zero, add the first weighed ingredient, then tare again if the next ingredient will be weighed separately. Make sure the display actually resets before pouring. An accidental missed tare can make the next ingredient quantity completely wrong.
For a complex recipe, weighing ingredients into separate labelled containers may be more reliable than attempting to add them all in sequence. This is especially true if a very small amount of baking powder, salt or spice must be measured accurately. Use the method that reduces errors rather than the one with the fewest dishes.
Flour storage and scooping consistency
Flour can become compacted during shipping and storage. A large bag that has been sitting under other pantry items may contain dense pockets that yield a heavier scoop. Stir it gently when using volume measures, keep the container clean and dry, and do not store a wet scoop inside the flour. Moisture exposure can lead to clumping and spoilage.
Different flour types absorb water differently. Bread flour, plain all-purpose flour and whole wheat flour are not interchangeable solely because each bag contains flour. Protein content, bran and milling can influence texture and hydration. If the recipe calls for one specific type, use it for the first attempt and try tested substitutions only when necessary.
Flour measurement for children and beginning bakers
A useful learning activity is to measure one cup of flour using two different methods, then weigh each result. The comparison shows why a scale improves consistency without needing advanced chemistry. Have children use a spoon to fill a dry cup gently and level it, under suitable supervision. Keep raw flour off ready-to-eat foods and avoid tasting raw dough, since untreated flour can carry harmful germs.
Explain that careful measurement is about making baking easier to repeat, not about making every cookie identical. A small variation can change texture, but other factors such as oven temperature, fat temperature and mixing also matter. The scale gives bakers one less uncertainty to troubleshoot.
Common measuring questions
Can I use a liquid measuring jug for flour?
It is less suitable than a dry cup that can be levelled. Use grams when available. Liquid cups are intended for reading liquid levels and do not provide the same simple levelling method for dry flour.
What if my recipe only lists cups?
Check whether the author describes a measurement method or provides a separate weight chart. Follow that convention consistently rather than converting through an unrelated website's cup weight without context.
Is a cup of bread flour identical to a cup of all-purpose flour?
Not necessarily. Density and measurement conventions vary. Use the flour type and mass specified by the source recipe when possible.
Do I need to sift before weighing?
If the recipe gives grams, weigh that amount and sift when its instructions call for it. Sifting changes volume and distribution but not the flour's mass.
Can flour still be measured accurately without a scale?
Yes, careful spoon-and-level technique can improve consistency when the source uses that method. A scale is particularly helpful for recipes with gram weights and for comparing different batches.
Five flour-measuring situations that cause confusion
1. A cookie recipe provides grams and cups
When both units are printed, grams are usually the easiest way to reproduce the source formula. Set a bowl on the scale and weigh the stated flour amount. The exact cup figure may reflect the publisher's own method, and it is not a reason to replace the gram weight with an unrelated online conversion. For the Brown Butter Chocolate Chip Cookies, use the specified 280 g flour, then follow the recipe's chilling and shaping instructions.
2. The flour bag has become compacted
Flour near the base of a large bag can settle or compress under the weight above it. Driving a measuring cup into that bag may pack more flour than expected into the cup. Fluff and spoon carefully when the recipe calls for volume measurement, then level gently without shaking. Better yet, use a scale when the ingredient weight is provided. Keep the flour container dry and clean.
3. The recipe asks for sifted flour
Read whether sifting happens before or after measurement. “One cup sifted flour” and “one cup flour, sifted” can reflect different order, especially in older volume-only recipes. If the source lists grams, weigh the flour and sift as directed by the method. Do not assume sifting changes the amount of flour's mass.
4. A baker substitutes whole wheat flour
Whole wheat includes more bran and can absorb liquid differently from plain all-purpose flour. Equal weights do not guarantee identical texture, gluten development or hydration. The change may be successful in a recipe tested for it, but replacing all the flour in a delicate cake without adjustment can produce an unexpectedly dense crumb.
5. Dough looks too dry after mixing
Before adding milk or water, confirm the flour weight and mixing instructions. Some shortbread doughs look crumbly before they are pressed or chilled, while a wet muffin batter is a different formula. Unmeasured extra liquid can throw the recipe off just as readily as extra flour. If a measurement error is found early, correct it carefully instead of improvising multiple changes.
How to teach an accurate measuring method
Arrange two bowls and a kitchen scale. Ask one baker to scoop flour firmly from a bag and another to spoon the same flour gently into a cup and level it. Weigh both samples. The difference can help explain why cakes, cookies or muffins turn out differently even when both bakers say they used one cup. Repeat the exercise with the same flour until the spoon-and-level technique becomes consistent.
Next, give the baker a recipe with gram weights and demonstrate taring the bowl. Show how to add flour slowly, remove an overshoot and reset before another ingredient. Keep the lesson focused on accuracy and learning rather than perfect performance. Children can participate under supervision but should not eat raw flour or dough made with raw eggs.
How flour measurement affects recipe troubleshooting
A chocolate-chip cookie that does not spread may contain too much flour, but it may also have been chilled differently or scooped larger. A dry shortbread may reflect extra flour or insufficiently incorporated fat. A cake with a dense centre can have mixing, pan or oven problems. Start by confirming ingredient masses, then examine other factors. Avoid claiming that flour is the cause of every baking failure.
Keeping a written record helps. Record the flour type, published mass, scale reading, any cup method used, mixing stage and final baked texture. If the first batch disappoints, repeat the original measurement correctly and change only one other variable at a time. Otherwise, it is difficult to tell which modification made a difference.
Practical flour-measuring checklist
- Identify the exact type of flour the recipe requires.
- Use the recipe's gram weight if one is provided.
- Tare the scale with a clean, dry bowl before adding flour.
- If using cups, follow the author's spoon-and-level convention.
- Do not pack, shake or tap the measuring cup unless instructed.
- Sift at the stage specified by the recipe.
- Keep baking powder and other ingredients in their correct amounts.
- Assess the finished bake before changing flour quantities.
More flour-measuring questions
Is a kitchen scale expensive or complicated?
A basic digital scale with a tare function is sufficient for many home-baking tasks. Choose one with a stable readable display and an appropriate measuring range. More features are not necessarily required to weigh flour accurately.
Should I weigh every teaspoon of baking soda?
Very small quantities can be hard for an ordinary kitchen scale to detect accurately. Use appropriate precise measuring spoons or a scale with suitable resolution according to the recipe. A scale that reads only whole grams is not ideal for tiny amounts.
Can I use the same cup for flour and milk?
A dry measuring cup is easiest to level for flour, while a liquid jug is intended for reading liquid volume at eye level. Use the appropriate measuring tool for accuracy and convenience.
How to keep measurements consistent between baking days
Use the same reliable scale and measuring convention each time you bake a favourite recipe. If you switch flour brands or types, note the change rather than assuming the dough will behave identically. Check that the scale reads zero with the empty bowl, that the bowl does not touch another object and that its display remains visible while you add ingredients.
A small measuring note on the recipe card can be valuable: write the precise flour weight, flour type and any source instructions on sifting or spooning. This avoids repeating a conversion from memory. It also makes the recipe easier for another member of the household to prepare without accidentally adding a tightly packed cup where a lightly spooned cup was intended.
For larger baking sessions, label bowls or containers with the recipe names before weighing multiple flour portions. This helps prevent a 225 g shortbread portion from being mixed into a recipe that requires 280 g. A few minutes of preparation can save an entire batch of ingredients and produce far more consistent cookies, muffins and cakes.
Further Reading
See King Arthur Baking’s flour-measuring guidance, recipe success guide and dry versus liquid measuring-cup explanation.
Visuals in this guide are editorial illustrations and explanatory graphics, not photographs from a documented recipe test.
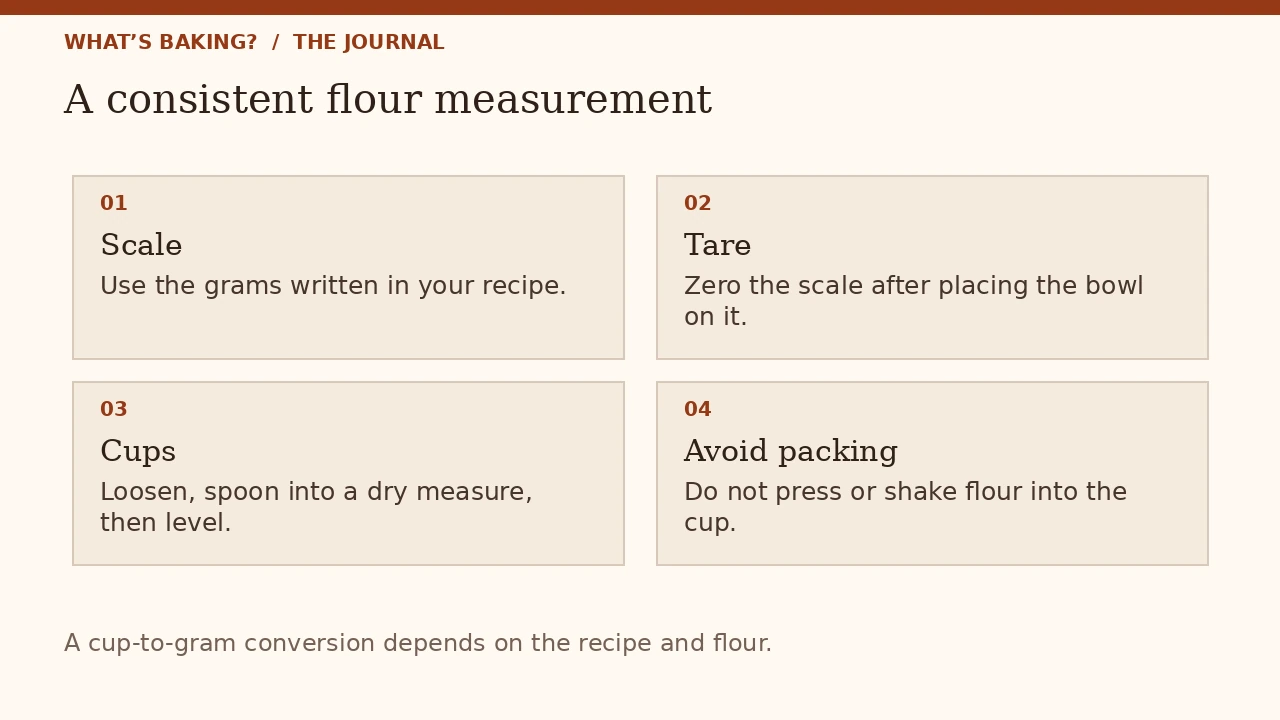
Original editorial quick-reference graphic; use the full written instructions for detail.
IN PICTURES
From the baking notebook
FROM THE RECIPE BOX