On this page
You cut into a sourdough loaf hoping for a light, airy crumb and find a heavy, tight interior instead. Perhaps there are a few giant holes above a dense bottom, or the whole loaf feels almost damp and compact. It is tempting to blame the starter or add more water next time, but dense sourdough has several possible causes. The crumb, crust, loaf shape and notes from fermentation all help reveal what happened. Use this guide to diagnose the problem before changing your recipe.
First, what kind of dense sourdough do you have?
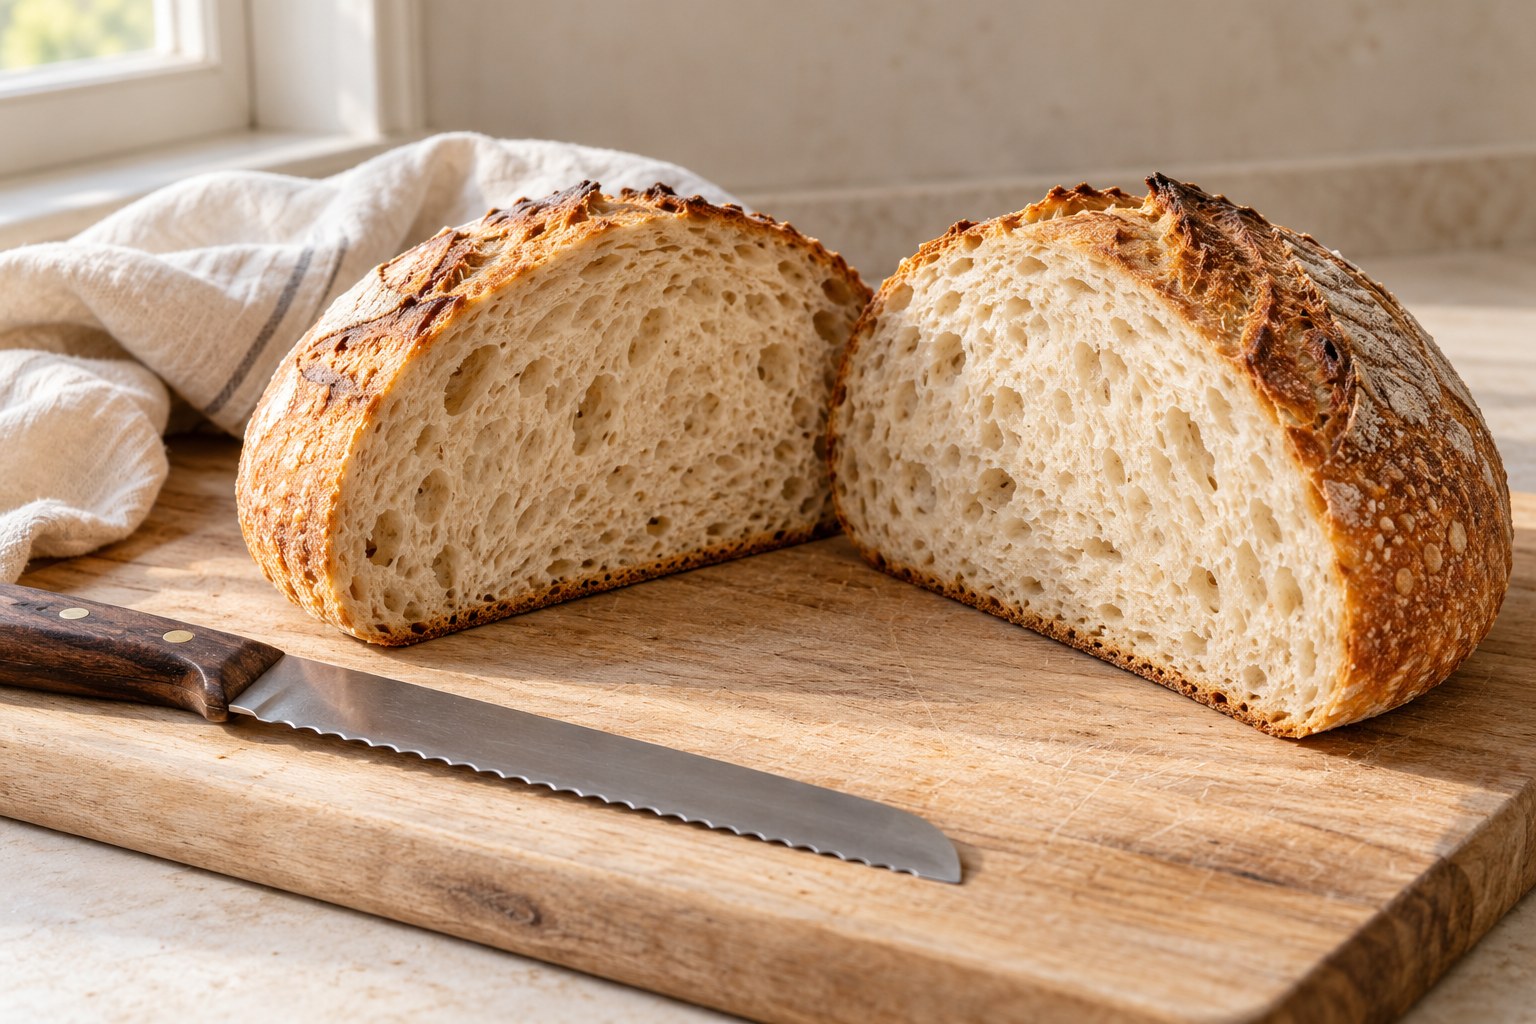
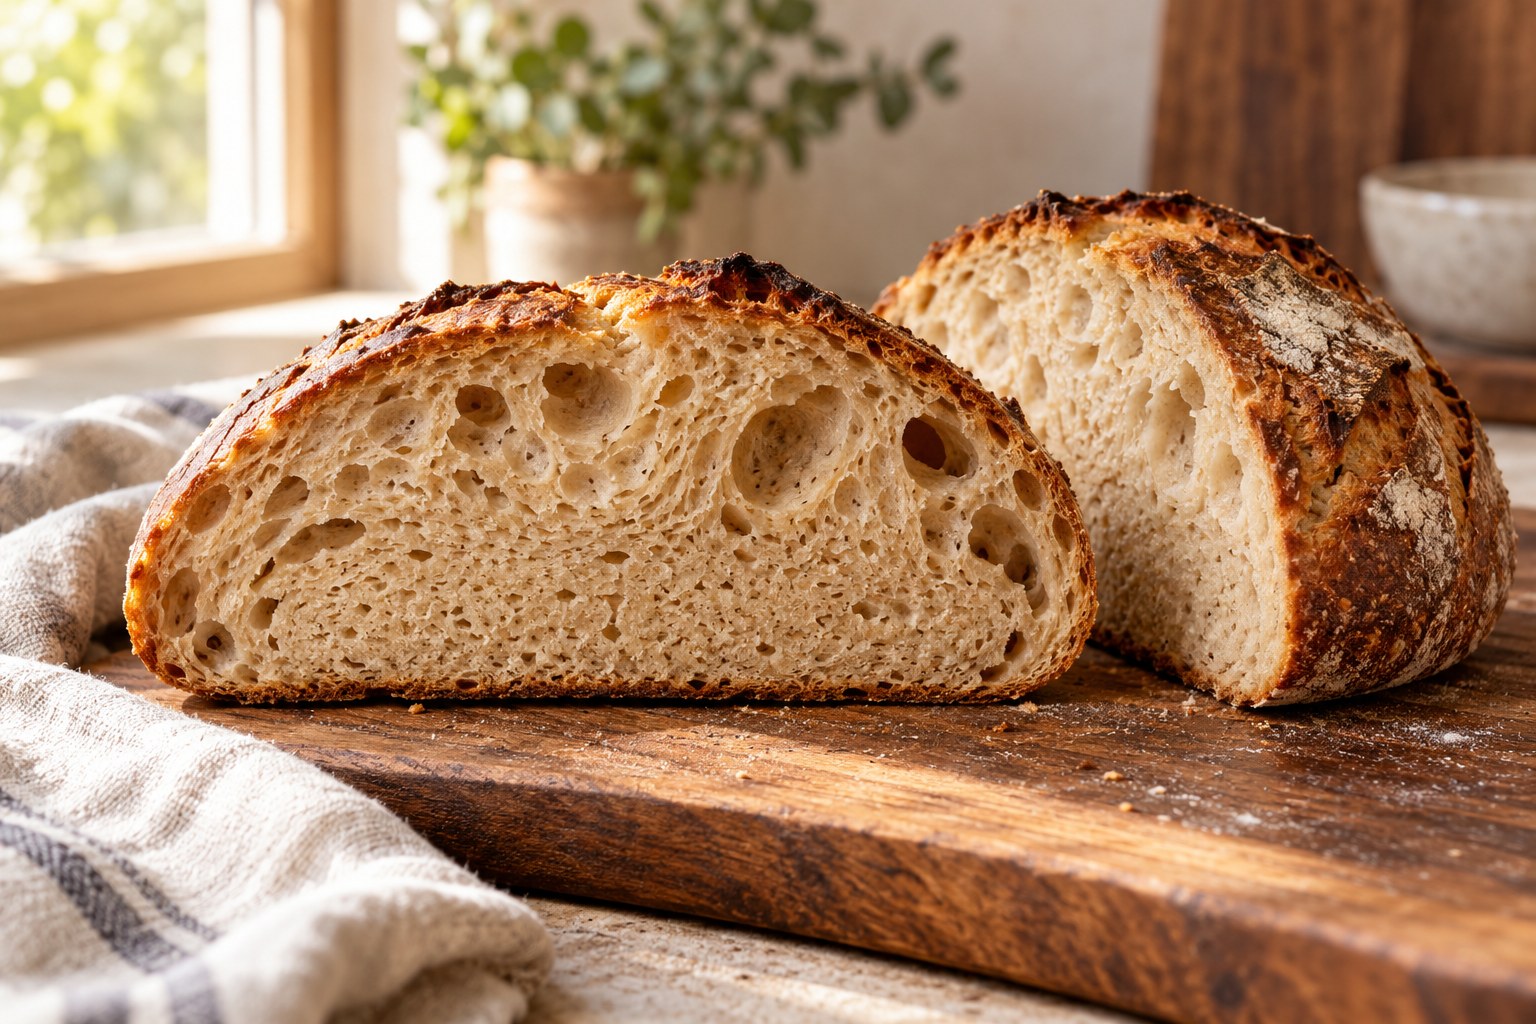
A consistently small, tight crumb suggests a different problem from a loaf with two enormous cavities surrounded by heavy, compressed dough. A gummy or sticky stripe may also point to incomplete baking, premature slicing or fermentation issues. Photograph the sliced loaf and record how the dough felt during the process. The pattern gives you far more useful information than the word dense alone.
Not all tight crumbs are failures
A sandwich-style sourdough is meant to have a relatively even, fine crumb. Whole-grain bread and loaves with seeds may also be tighter than very airy white artisan loaves. Judge against the style you're baking. A tightly textured but well-fermented sandwich loaf can be excellent; a dense patch beneath huge irregular holes in an intended open-crumb boule deserves troubleshooting.
1. The starter was not sufficiently active
A starter must contain enough active yeast and bacteria to ferment the dough on the schedule in your recipe. If it has been refrigerated for a long time or fed irregularly, it may need refreshment before use. Look for a predictable rise after feeding, a visibly aerated interior and the behaviour specified by the recipe. A starter that merely smells sour is not necessarily ready to leaven a large loaf.
How to test your starter more meaningfully
Mark its level in a transparent straight-sided jar after feeding. Observe how long it takes to rise and approach its maximum height at a consistent temperature. Repeat over several feedings. A reliably vigorous starter is a better sign than one impressive rise followed by inactivity. The float test alone can mislead because hydration and trapped gas vary.

2. Bulk fermentation ended too early
Insufficient bulk fermentation is a frequent source of low volume and underdeveloped crumb. The dough may feel tight, dense and reluctant to stretch; the baked loaf can show compact areas and a few large irregular holes. King Arthur Baking's bulk-fermentation guidance recommends assessing rise, smoothness, elasticity, bubbles and a gentle jiggle rather than relying on a timer alone.
What does properly fermented dough look like?
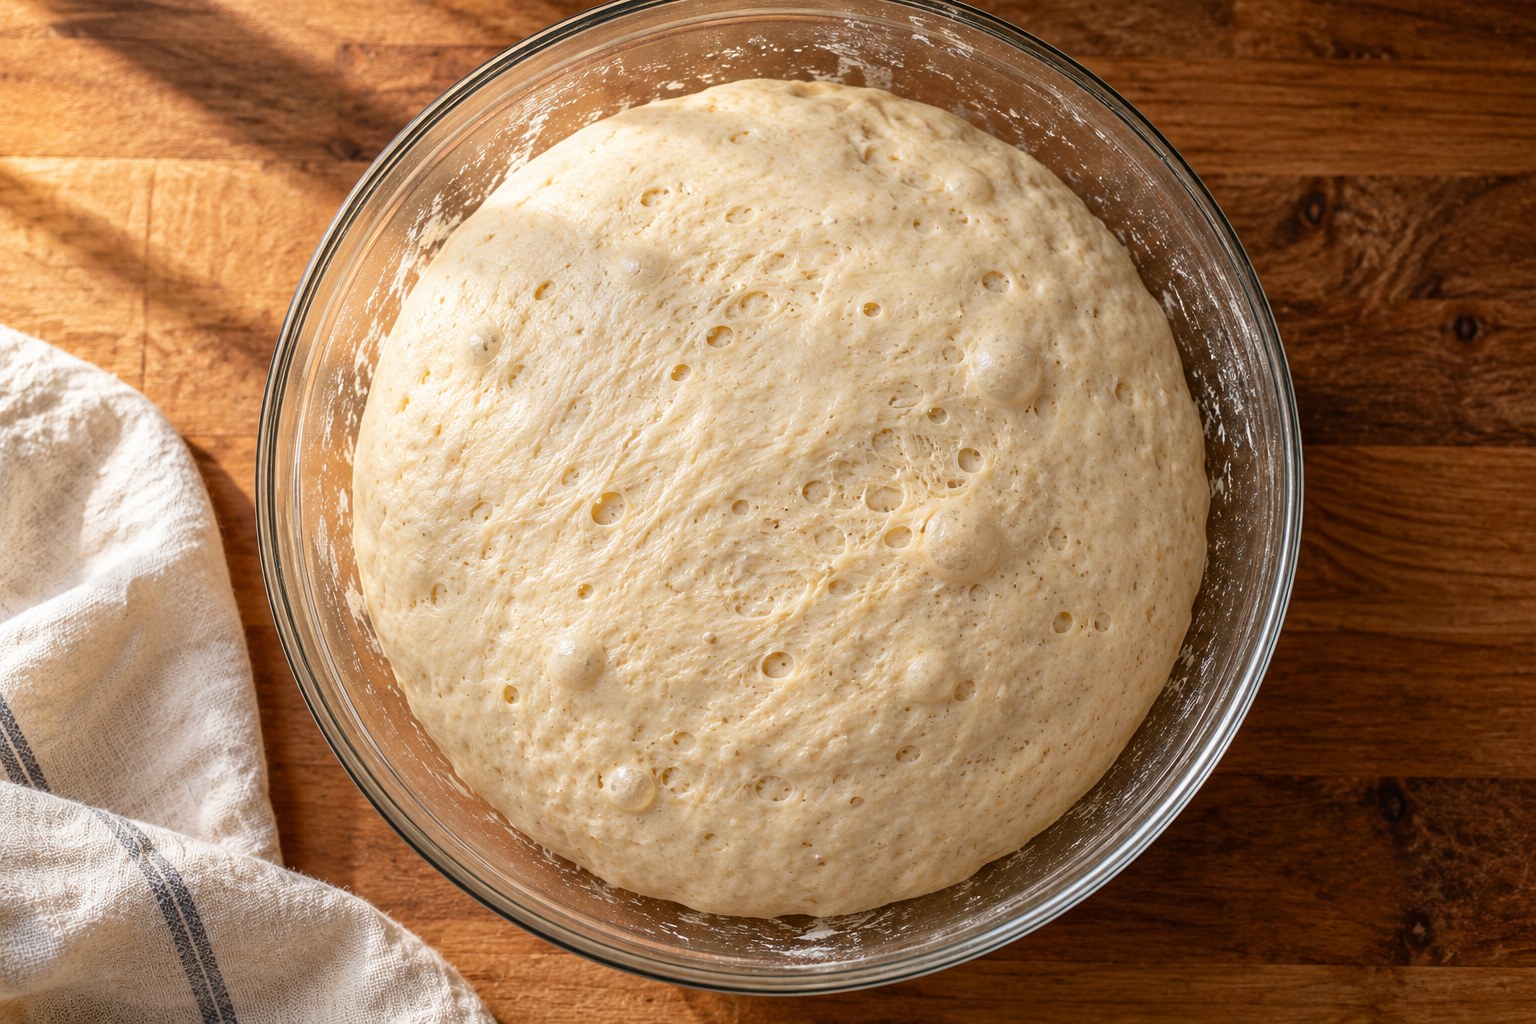
It should usually show a noticeable increase in volume, a smoother surface, visible signs of gas and a lighter, more aerated feel. Some doughs become gently domed and wobbly. The exact percentage rise varies with temperature, flour, hydration and the recipe's later cold-proof schedule. Do not assume that doubling is required for every sourdough formula.
3. Fermentation went too far
Over-fermented dough can weaken as acidity increases and gluten structure deteriorates. It may become slack, excessively sticky or difficult to shape, and spread instead of springing upward in the oven. Its baked crumb may be flat or compressed. The response is not simply to proof longer; it may need an earlier end to bulk, a cooler process or a different starter proportion.
4. Dough temperature was different from the recipe
Sourdough fermentation is sensitive to temperature. A room that is several degrees cooler than the formula's target can extend the process considerably, while a warm kitchen speeds it up. Record actual dough temperature rather than assuming every four-hour bulk ferment will behave alike. Time is a useful planning estimate, not an absolute sign of completion.
5. There wasn't enough gluten strength
Gluten allows wheat dough to stretch around expanding gas. If the dough is weak from insufficient mixing or folding, it may spread outward and fail to retain fermentation gas effectively. Follow the recipe's kneading, stretch-and-fold or coil-fold instructions. More folds are not always better; excessive handling can damage an already highly fermented dough.
Why stretch and folds help
A controlled fold stretches and stacks sections of dough, helping strengthen and organize the gluten network. During bulk fermentation, folds can turn a slack mass into a smoother, more cohesive dough. Space folds according to the recipe and observe resistance. If the dough becomes strong and holds its shape, additional aggressive folding may be unnecessary.
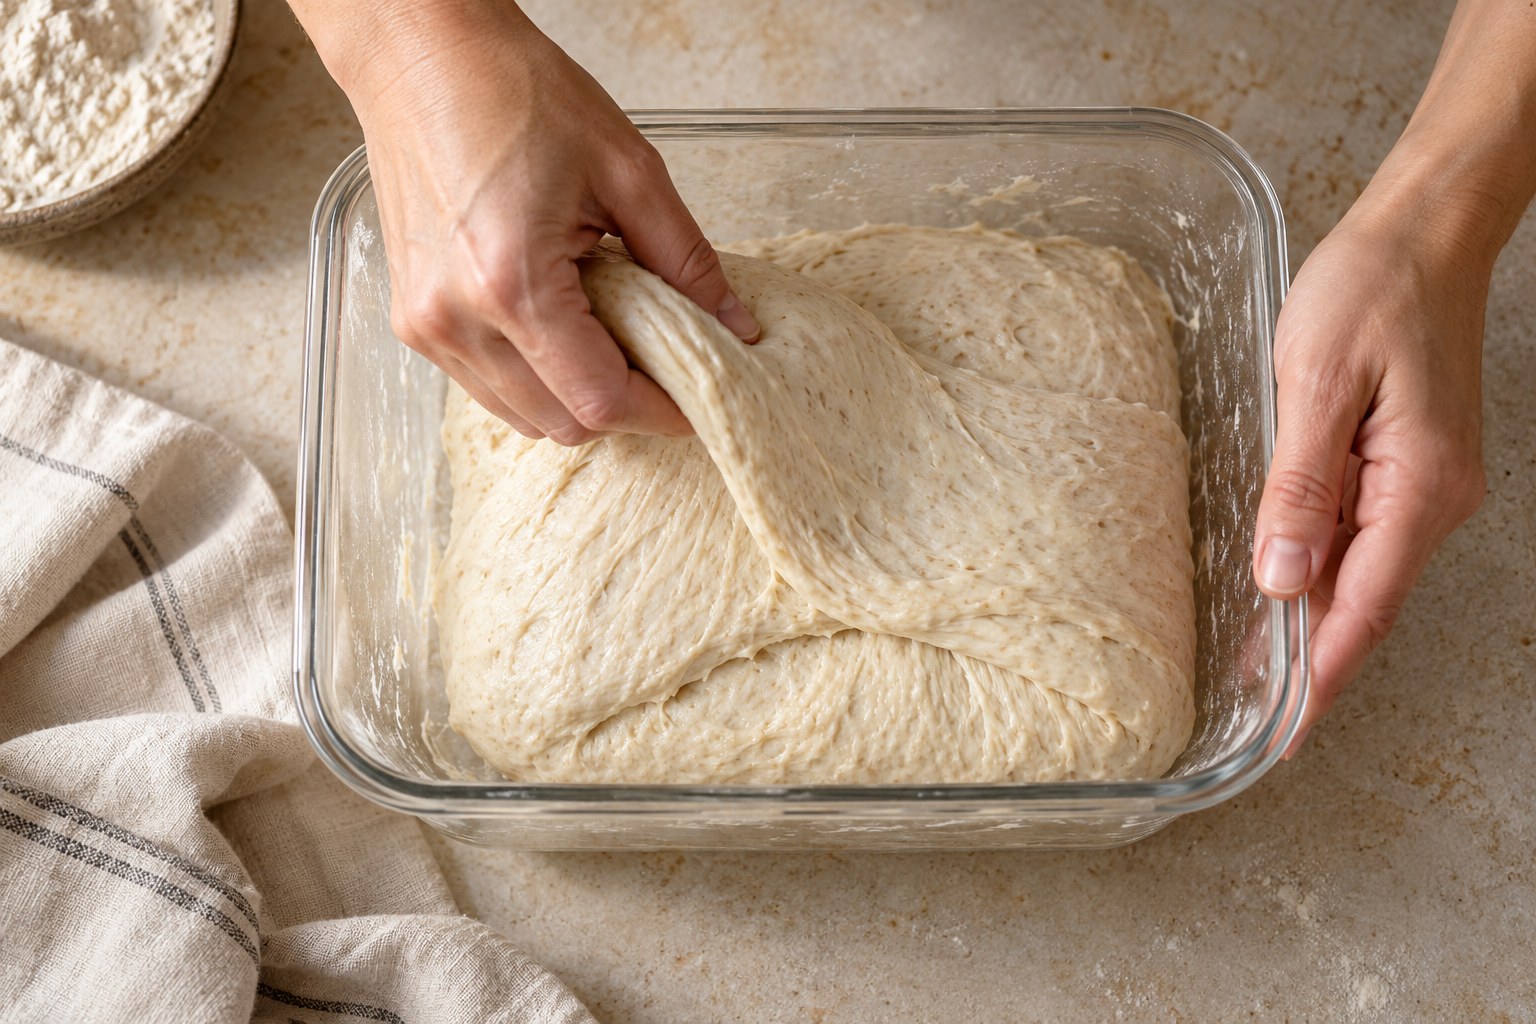
6. Hydration is too high for your flour or skill level
High-hydration dough can produce an open crumb in practiced hands, but it is harder to shape and handle without deflating. A dough that exceeds the water-absorption capacity of your flour may spread into a flat loaf. For troubleshooting, a moderately hydrated tested recipe is often more informative than adding water simply to chase large holes.
7. Hydration is too low for your desired texture
Very stiff dough usually produces a tighter crumb than a well-managed softer artisan dough. However, hydration is only one ingredient in the result. A sufficiently fermented and well-shaped loaf with moderate hydration can be lighter than an overhydrated, under-fermented loaf. Increase water gradually only after you have the starter, fermentation and handling under control.
8. Flour protein and milling matter
Bread flour, all-purpose flour and whole-grain flours behave differently. Stronger wheat flour can support an extensible gluten network, while whole grains introduce bran particles and absorb water differently. A switch between brands may also change dough feel. Start with the flour named in the recipe and avoid altering water and flour type simultaneously.
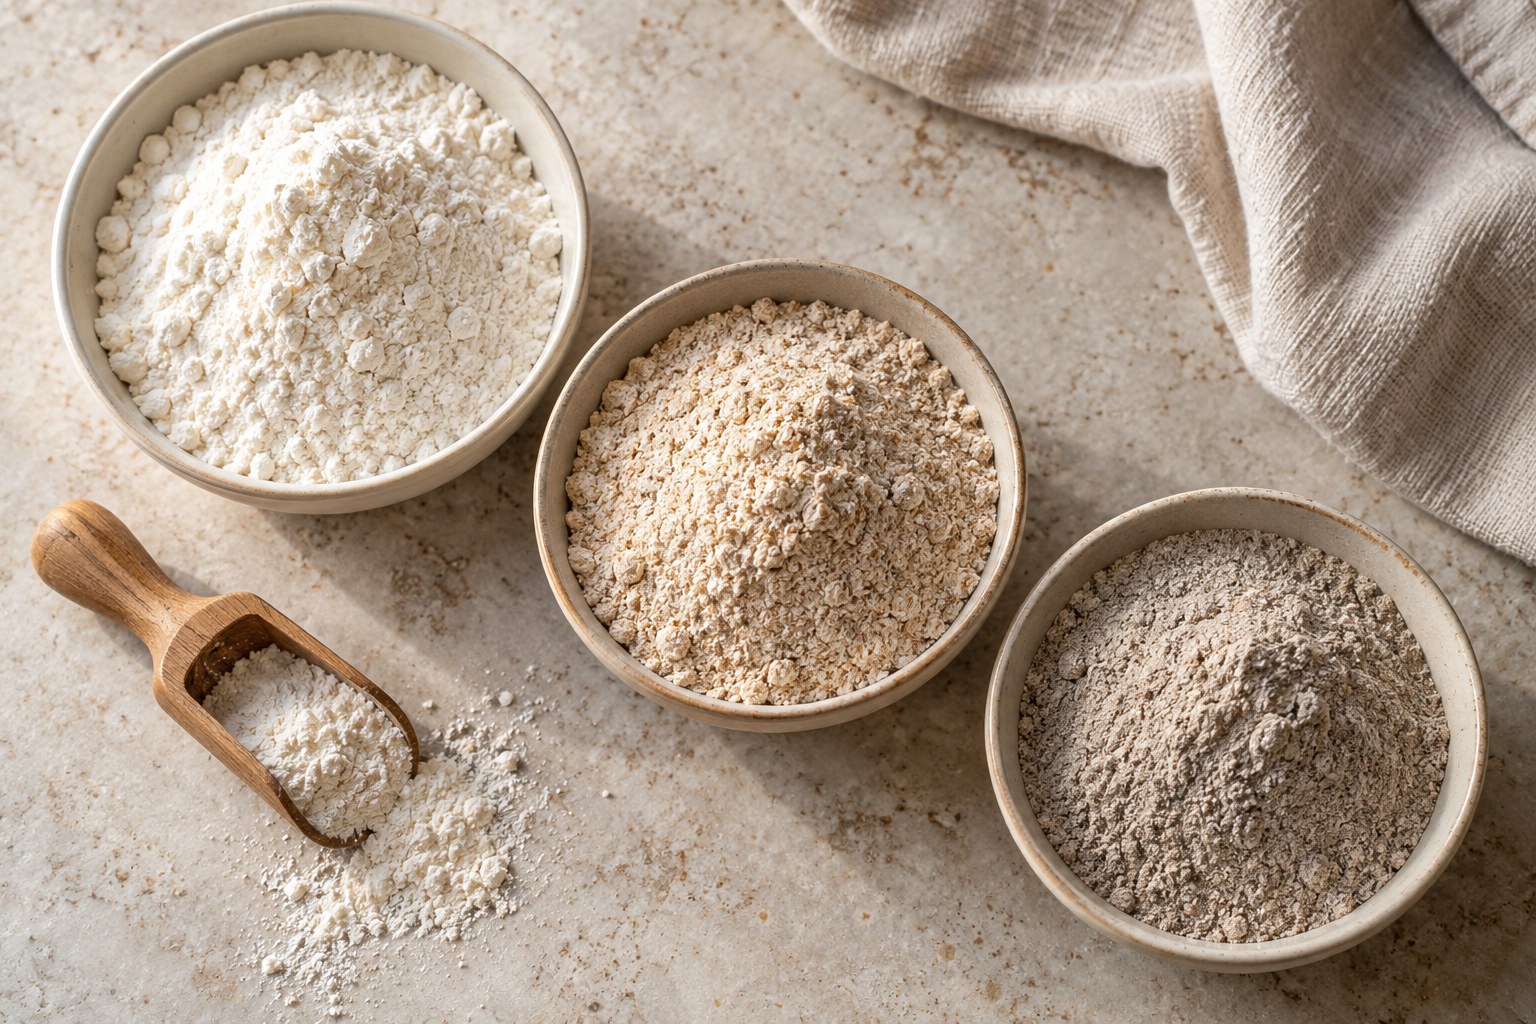
9. Too much whole grain for the formula
Whole wheat and rye contribute wonderful flavour but can give a denser crumb than a mainly white-flour loaf, especially when the dough isn't balanced for their absorption and fermentation characteristics. Rye has a different structure from high-gluten wheat bread. Use an appropriate whole-grain sourdough recipe rather than replacing all white flour without adjusting the method.
10. The dough was shaped too aggressively
Shaping should create a taut outer surface while preserving enough of the fermentation gas inside. Repeatedly pressing, smashing or rolling a delicately aerated dough may redistribute or expel too much gas. A loaf can then look beautifully round but bake up with a tighter interior. Use a controlled pre-shape, short bench rest and final shape tailored to a boule or batard.
11. The dough was shaped too loosely
The opposite issue is insufficient surface tension. Loaves may spread laterally because their outer structure doesn't support upward expansion. A tight enough but not tearing skin helps contain the dough and direct oven spring. If your loaf puddles when turned out of the basket, check dough strength, over-fermentation and the shaping technique together.
12. Final proof was too short
After shaping, the dough still needs sufficient fermentation to develop a light structure. An under-proofed loaf often springs dramatically and may tear unpredictably, with uneven holes and tight regions. The dough should feel appropriately puffy and responsive according to the recipe, not solid and unyielding.
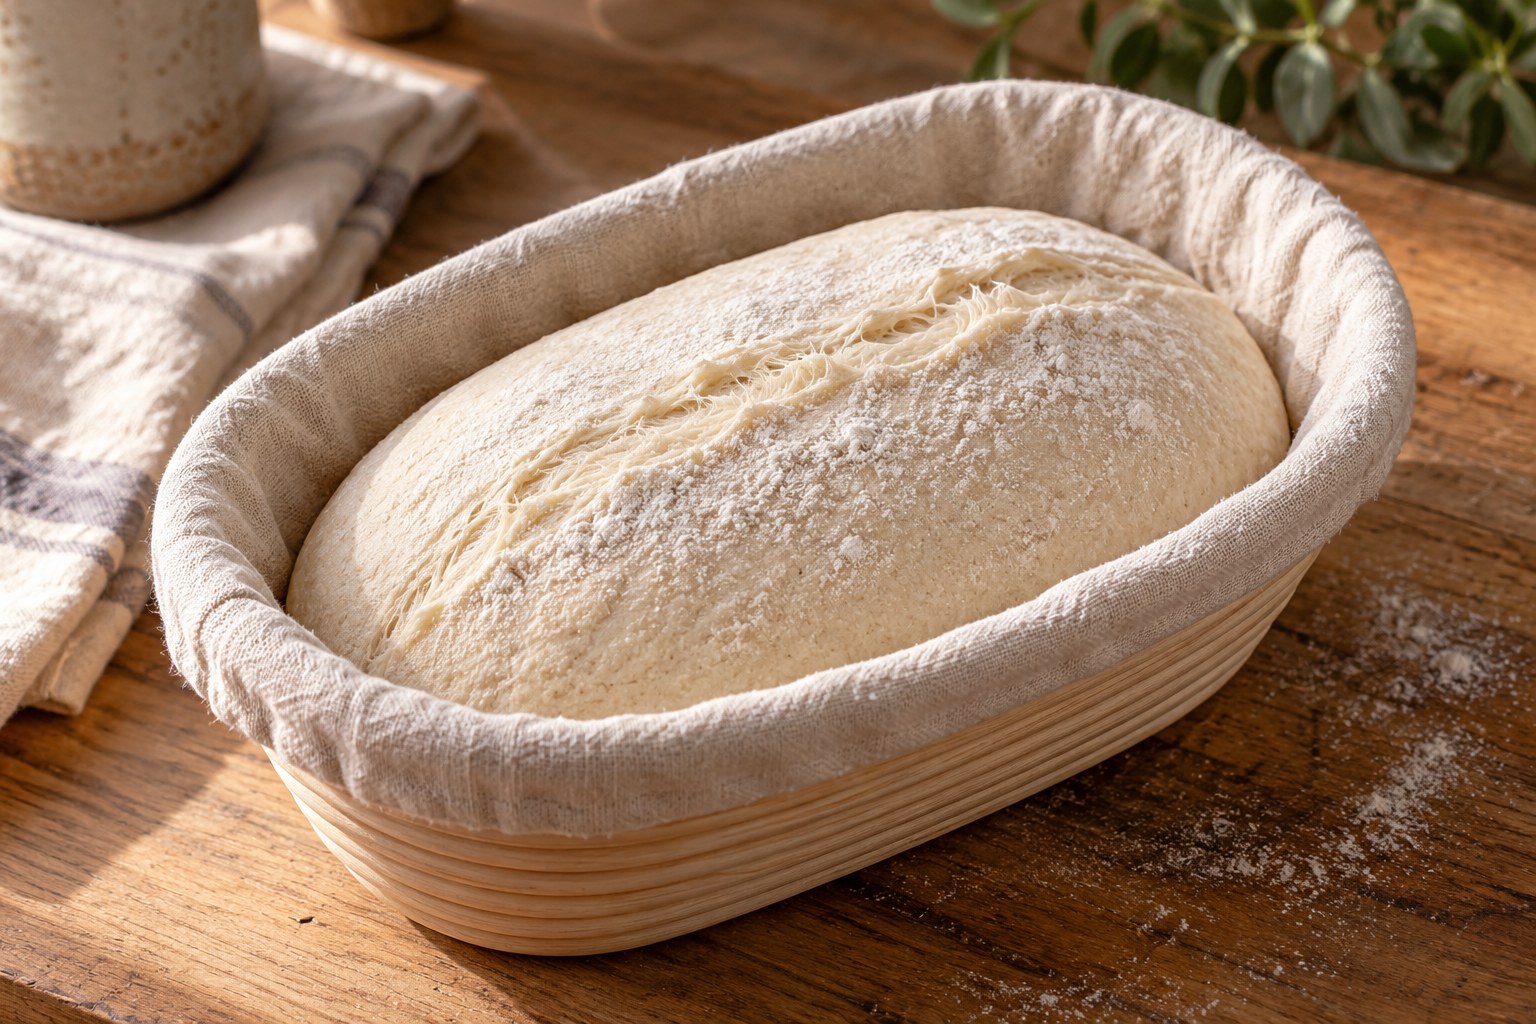
13. Final proof was too long
An over-proofed loaf may lack enough remaining gas-production capacity and dough strength for strong oven spring. It can flatten, feel fragile and produce a compressed crumb. Assess final proof alongside the bulk fermentation that came before it; shortening one stage and lengthening the other without a reason can simply move the problem.
14. The oven was not fully heated
Sourdough needs sufficient initial heat to expand before the crust sets. A cold baking stone or Dutch oven may limit oven spring even when the dough is properly fermented. Preheat using the equipment maker's and recipe's instructions. A hot oven won't compensate fully for an under-fermented dough, but inadequate heat can obscure a good fermentation result.
15. Steam and crust formation matter
Steam early in baking helps keep the loaf's surface extensible while it expands. A covered Dutch oven can provide a humid environment from the dough's own moisture. Without suitable steam, the crust may set before the loaf reaches its full volume. Follow the recipe's covered and uncovered baking stages and handle hot equipment carefully.
16. Scoring can influence expansion
A purposeful score provides a weak point where the dough can open as oven spring begins. A loaf with no score may burst at a seam or along the side; one scored too deeply can collapse locally. King Arthur Baking's scoring guide recommends appropriately sharp tools and cuts sized for the loaf and style.
17. The loaf was underbaked
An underbaked centre may feel sticky, pasty or compressed even when the crust is brown. Use the recipe's prescribed doneness method, which may include crust colour, baking duration and temperature. Don't assume a dark exterior proves a deep loaf is finished; too much heat at the outset can colour the crust while leaving the centre behind.
18. You sliced it while still hot
Hot bread has a fragile interior structure and continuing moisture movement. Cutting too early can squash the crumb and make a properly baked loaf appear gumminess-prone. Let it cool on a rack for the recipe's recommended time. Dense appearance immediately after cutting doesn't always reflect what the same loaf would look like when cooled.
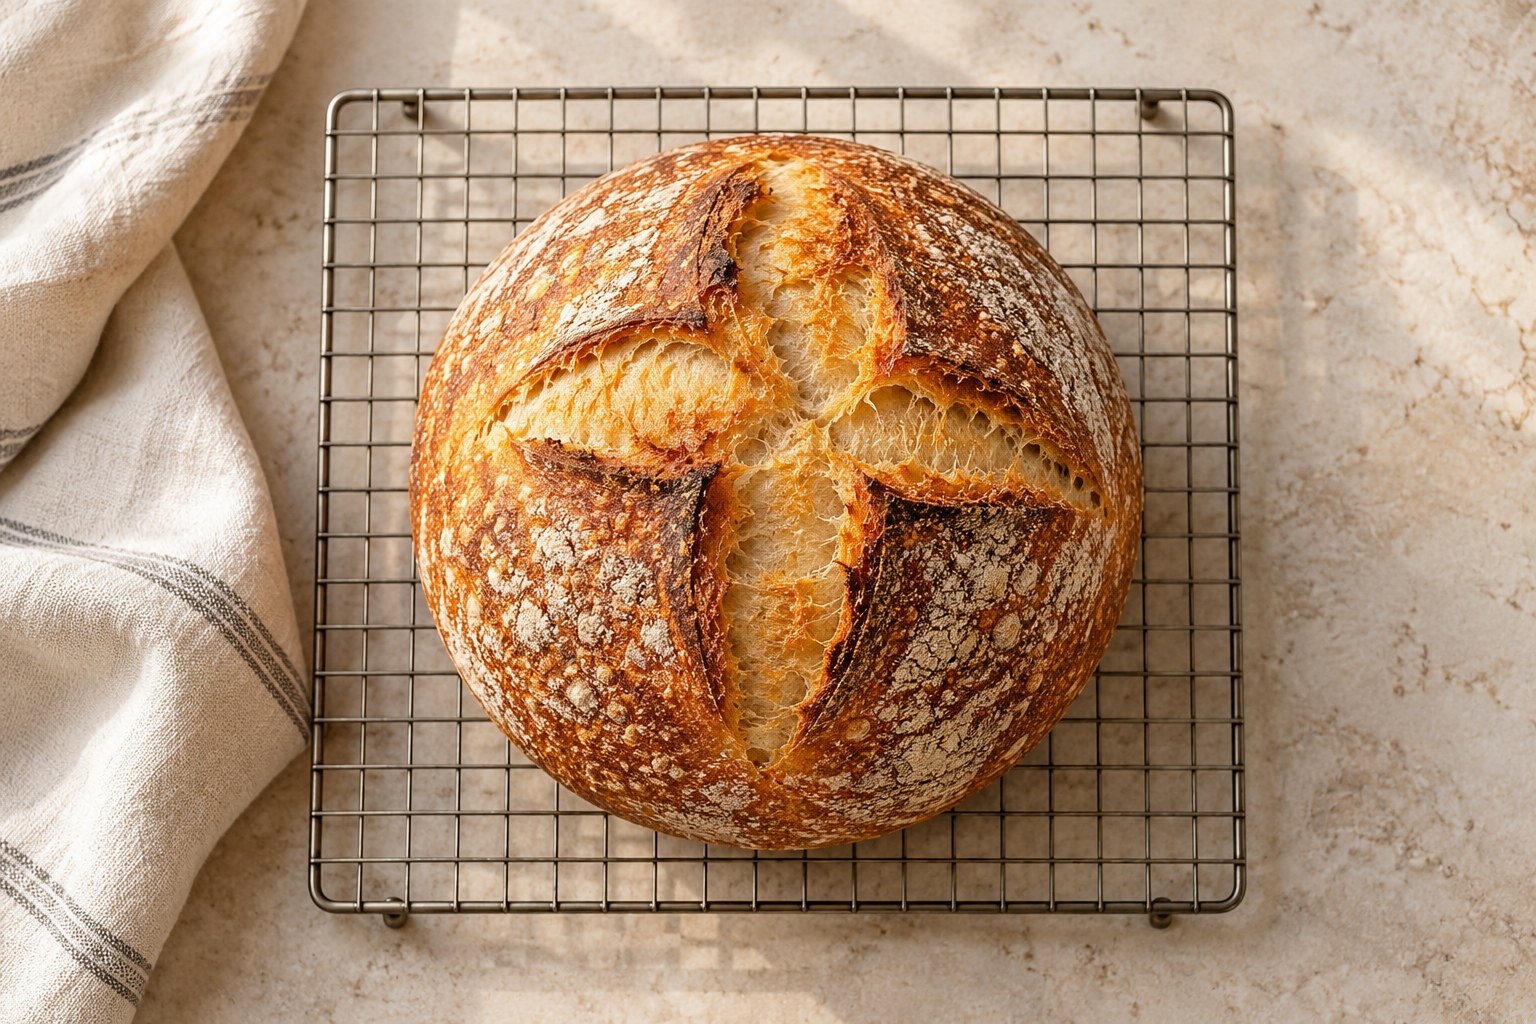
Reading common crumb patterns
Tight holes throughout: check flour choice, overall fermentation, hydration and dough strength. Large tunnels with compact dough below: consider inadequate fermentation and uneven handling. Flat spreading loaf: investigate over-fermentation, weak gluten and shaping. Gummy centre: inspect doneness, cooling and excessive hydration. No crumb photograph proves a single cause without the process notes.
A one-loaf troubleshooting experiment
Make a reliable beginner sourdough formula using the same flour, water quantity and starter proportion. Keep a written log of starter peak, dough temperature, stretch-and-fold times, visible rise at the end of bulk, final proof conditions and bake. Change only the factor most likely to explain the result in the next loaf.
A calmer route to lighter sourdough
Don't immediately add more water, more starter and extra folds at once. First verify that your starter rises predictably. Second, judge bulk by actual dough behaviour. Third, shape gently but with sufficient tension. Fourth, proof according to the recipe and bake with adequate initial heat and steam.
Frequently asked questions
Is dense sourdough always under-proofed? No; over-fermentation, dough strength, flour, hydration and baking all matter. Will more starter fix it? It changes fermentation timing, not necessarily the underlying problem. Does high hydration guarantee large holes? No. Can I eat dense sourdough? A fully baked, safely handled dense loaf is generally an eating-quality issue rather than a safety problem.
What good sourdough really looks like
The best sourdough for your table has a coherent structure, pleasant chew, good flavour and crumb suited to how you intend to use it. An extremely holey loaf isn't automatically better. Once the starter, fermentation and shaping are balanced, the bread becomes lighter and more consistent—and much easier to repeat.
Technique reference: King Arthur Baking.
IN PICTURES
From the baking notebook
FROM THE RECIPE BOX