On this page
An airy sourdough crumb with clear, irregular holes can be beautiful, but the goal isn't to create one enormous cavity inside a dense loaf. Truly open crumb is light and well distributed, with sufficient structure to hold the holes without turning the bread gummy or fragile. Getting there involves a chain of decisions long before the loaf enters the oven. From an active starter to well-timed proofing, each stage makes the next one easier.
What does open crumb actually mean?
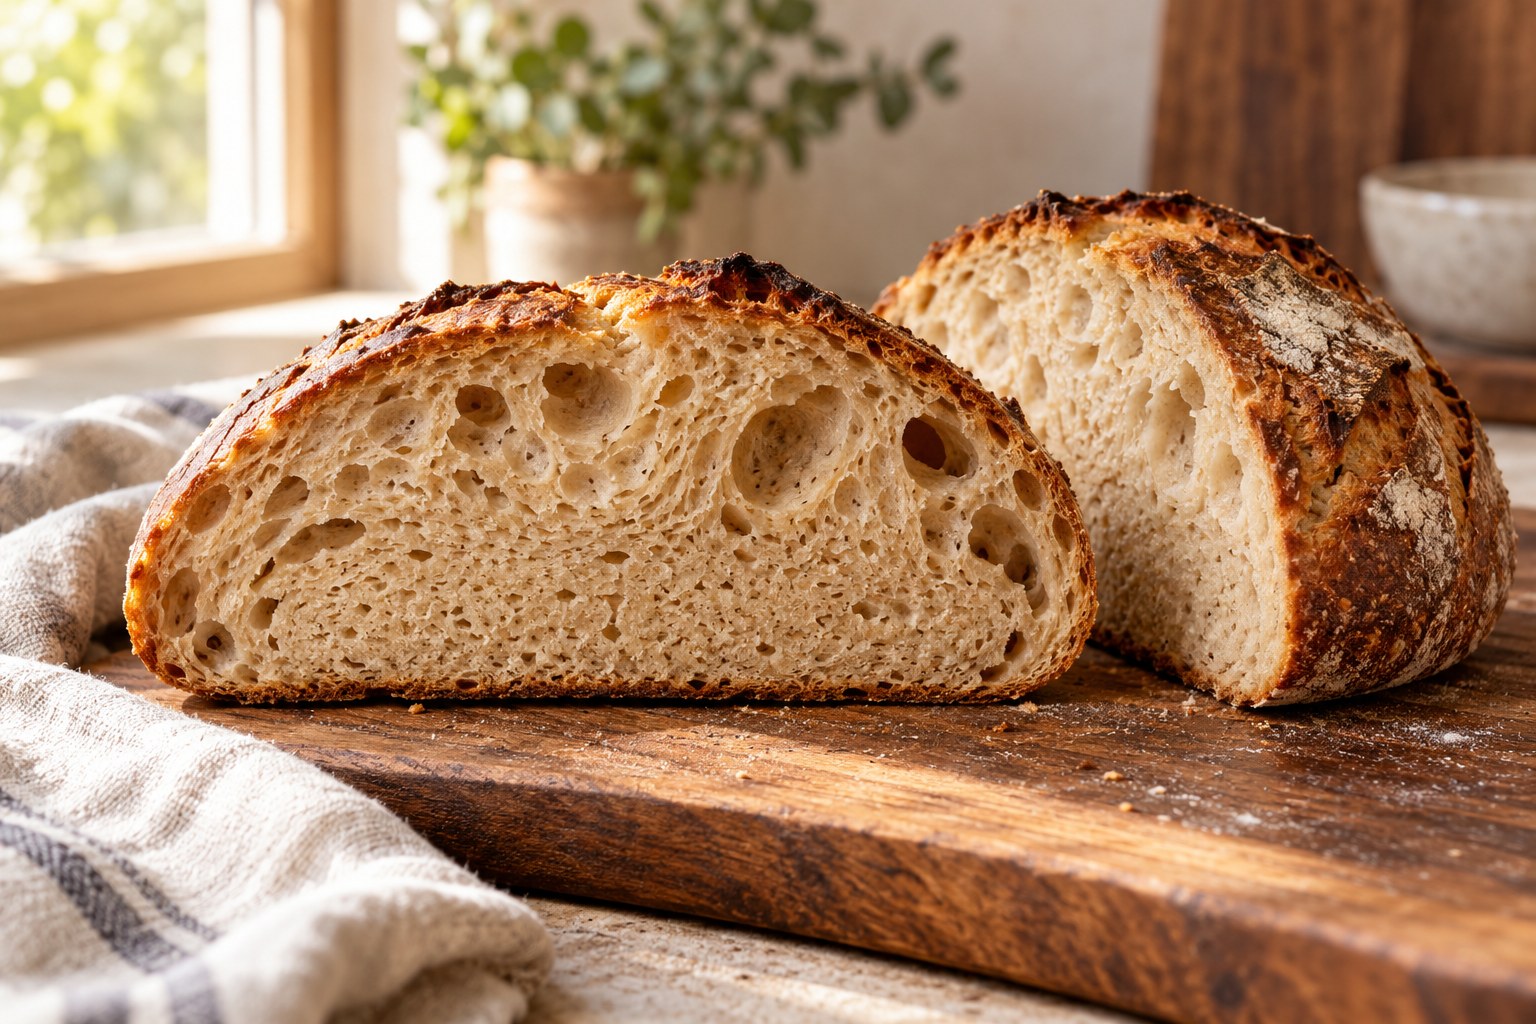
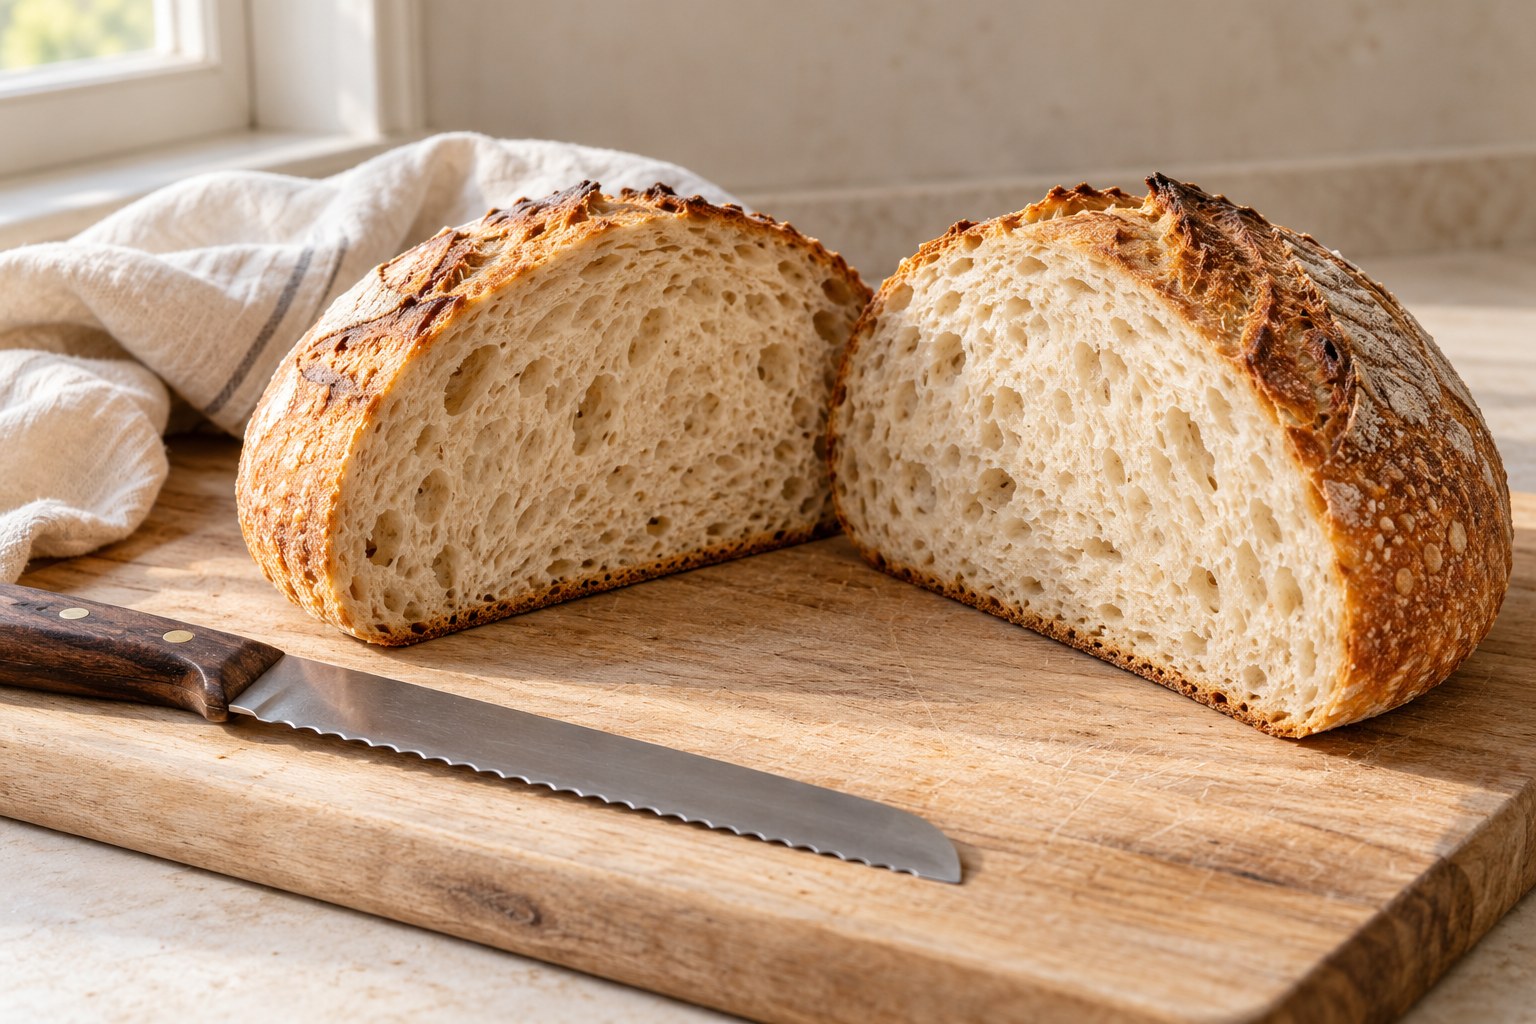
An open crumb contains distinct air spaces distributed throughout a light, properly baked interior. King Arthur Baking's guide by Maurizio Leo emphasizes that a good open crumb is even enough to make the loaf pleasant to eat, not simply filled with dramatic holes separated by dense, heavy bands. A balanced loaf can still hold butter, soup or sandwiches while displaying artisanal texture.
Begin with a realistic target
An open-crumb sourdough made with predominantly white bread flour may look different from a whole-rye loaf or a soft sandwich sourdough. Flour composition, enrichment and intended shape all affect the target crumb. Choose a tested formula with photos illustrating the style you want, then practice that formula before trying to modify it.
Step 1: use a predictably active starter
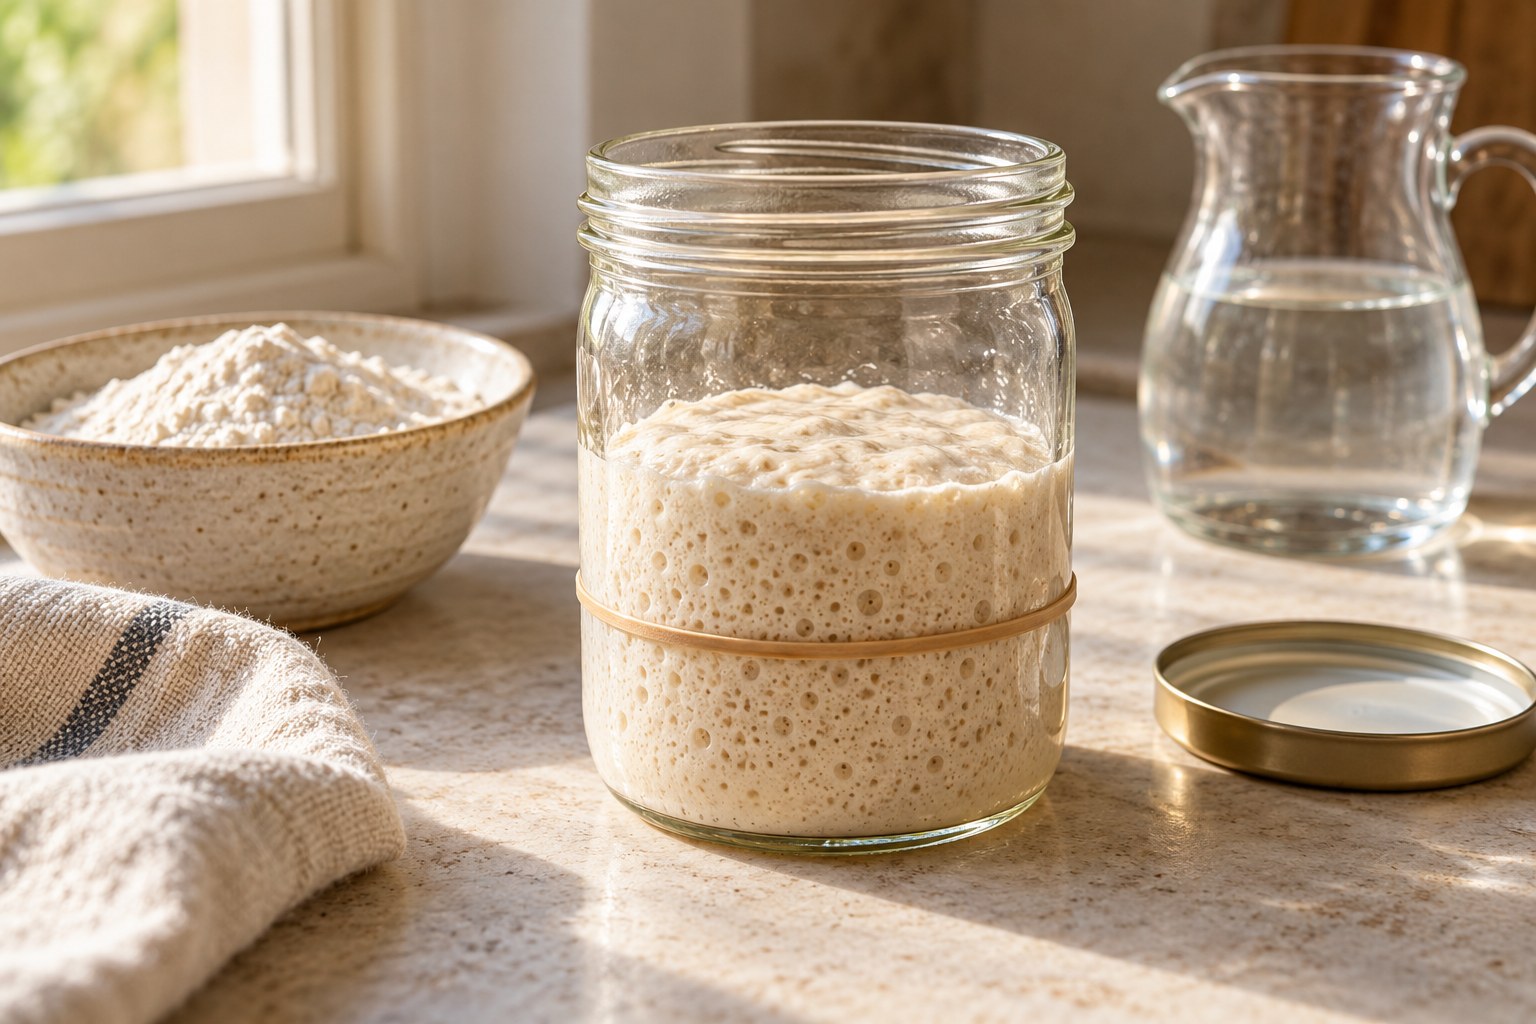
A healthy, active starter should rise consistently after feeding at a known temperature. It provides the microorganisms that ferment the dough and create gas. Use the starter at the stage your chosen formula specifies, often near its peak, rather than simply whenever it smells sour. If the starter struggles to rise, solve that before chasing an open crumb.
Step 2: choose suitable flour
Bread flour can provide enough gluten-forming protein to support elastic walls around gas pockets. All-purpose flour may work in many formulas, but its absorption and strength can differ. Whole-grain flours bring flavour and nutrients yet may limit dramatic open crumb when used at high proportions without method adjustments.
Step 3: understand hydration
Hydration is the weight of water relative to flour, usually expressed as a baker's percentage. A dough with more water can be more extensible, which may help create an open texture when everything else is balanced. But high hydration is not a shortcut: dough that's too wet for the flour or baker can spread, deflate and bake flat.
Start with controllable hydration
If you're newer to sourdough, a moderately hydrated formula is often more useful for learning gluten strength and fermentation cues. Once you can repeat a good loaf, increase water gradually if the recipe supports it. The difference between a well-managed moderate-hydration loaf and a poorly managed very wet one can be substantial.
Step 4: develop gluten early
Mixing, kneading and stretch-and-folds help organize the dough's wheat proteins into an elastic network. An open crumb needs walls strong enough to stretch as gas is produced. Don't equate a wet, sticky mass with sufficiently developed gluten; the dough should gradually gain cohesion, smoothness and resistance.
What stretch and folds contribute
During bulk fermentation, gently lifting and folding portions of dough over themselves can strengthen it without continuous mechanical kneading. The right number depends on hydration, flour and fermentation. King Arthur's bulk fermentation guidance highlights folds as a way to strengthen dough while checking its progress.
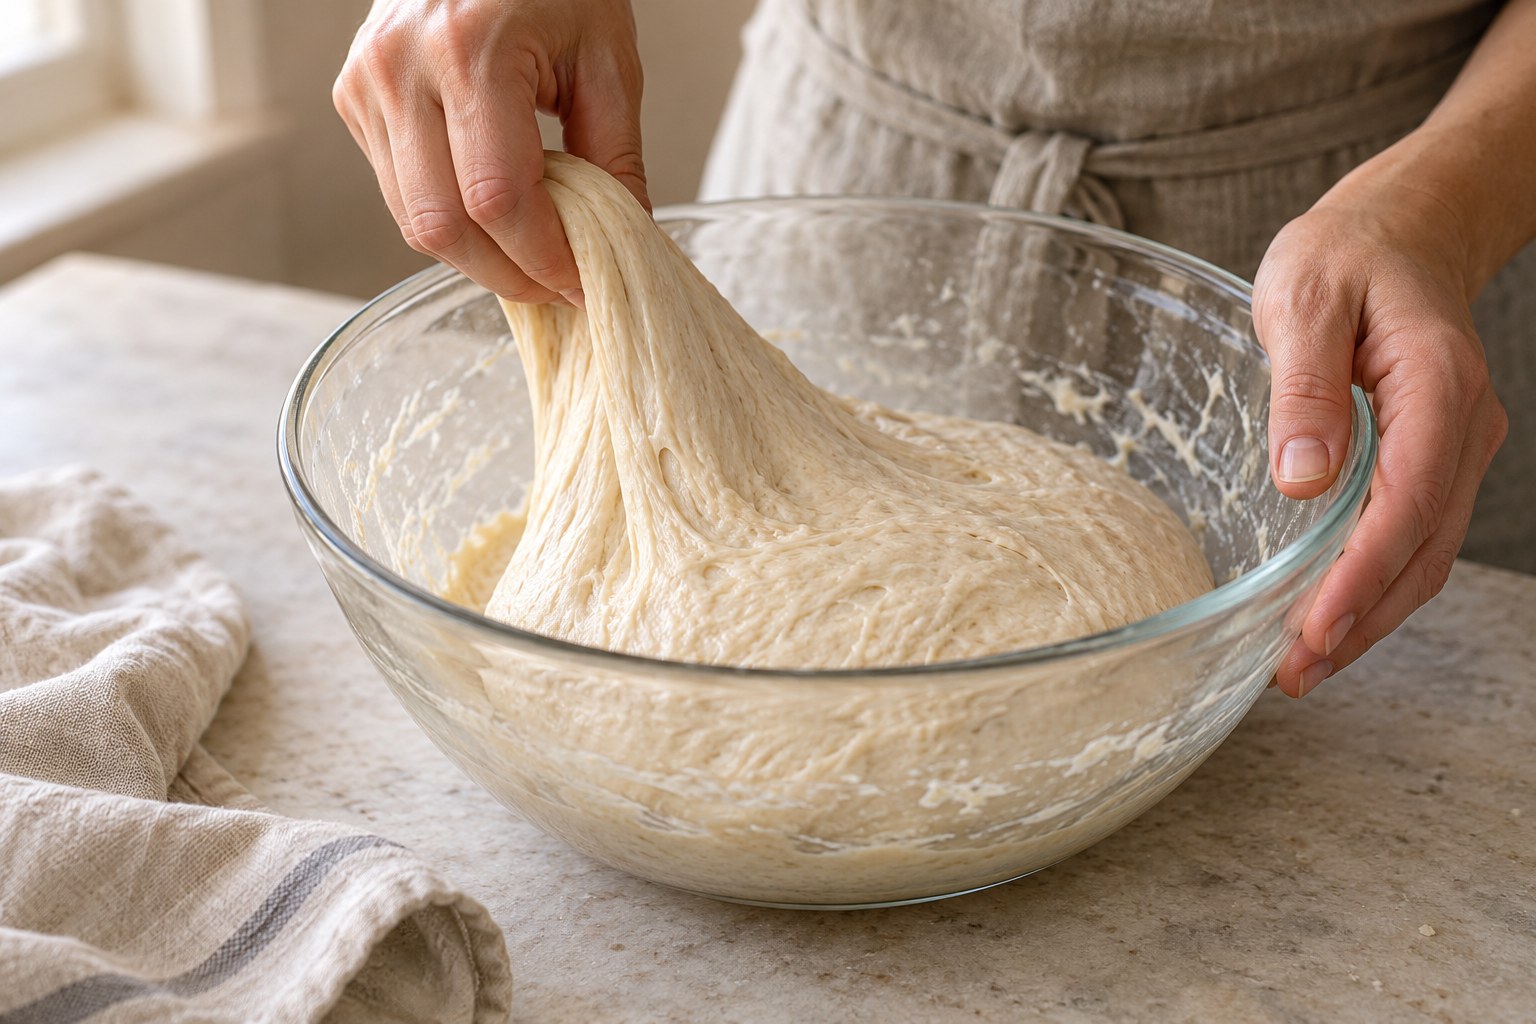
Know when to stop folding
Dough that holds its shape, has become smooth and shows resilience may not need more aggressive handling. Extra folds after heavy fermentation has developed can damage the gas network you're trying to preserve. Follow your recipe's fold schedule and use the dough's resistance to help judge whether it's strong enough.
Step 5: control the dough temperature
Fermentation runs faster in warmth and slower in cool conditions. Record the dough's actual temperature if you can. That helps explain why one batch may be ready for shaping after a relatively short bulk and another needs longer. A timetable without temperature context is only an estimate.
Step 6: don't stop bulk too early
Under-fermented dough has not produced enough gas and internal development for a light crumb. It may bake with dense regions or huge cavities surrounded by tight crumb. Look for a significant rise, bubbles, smoothness and some lively movement rather than relying on a preset clock.
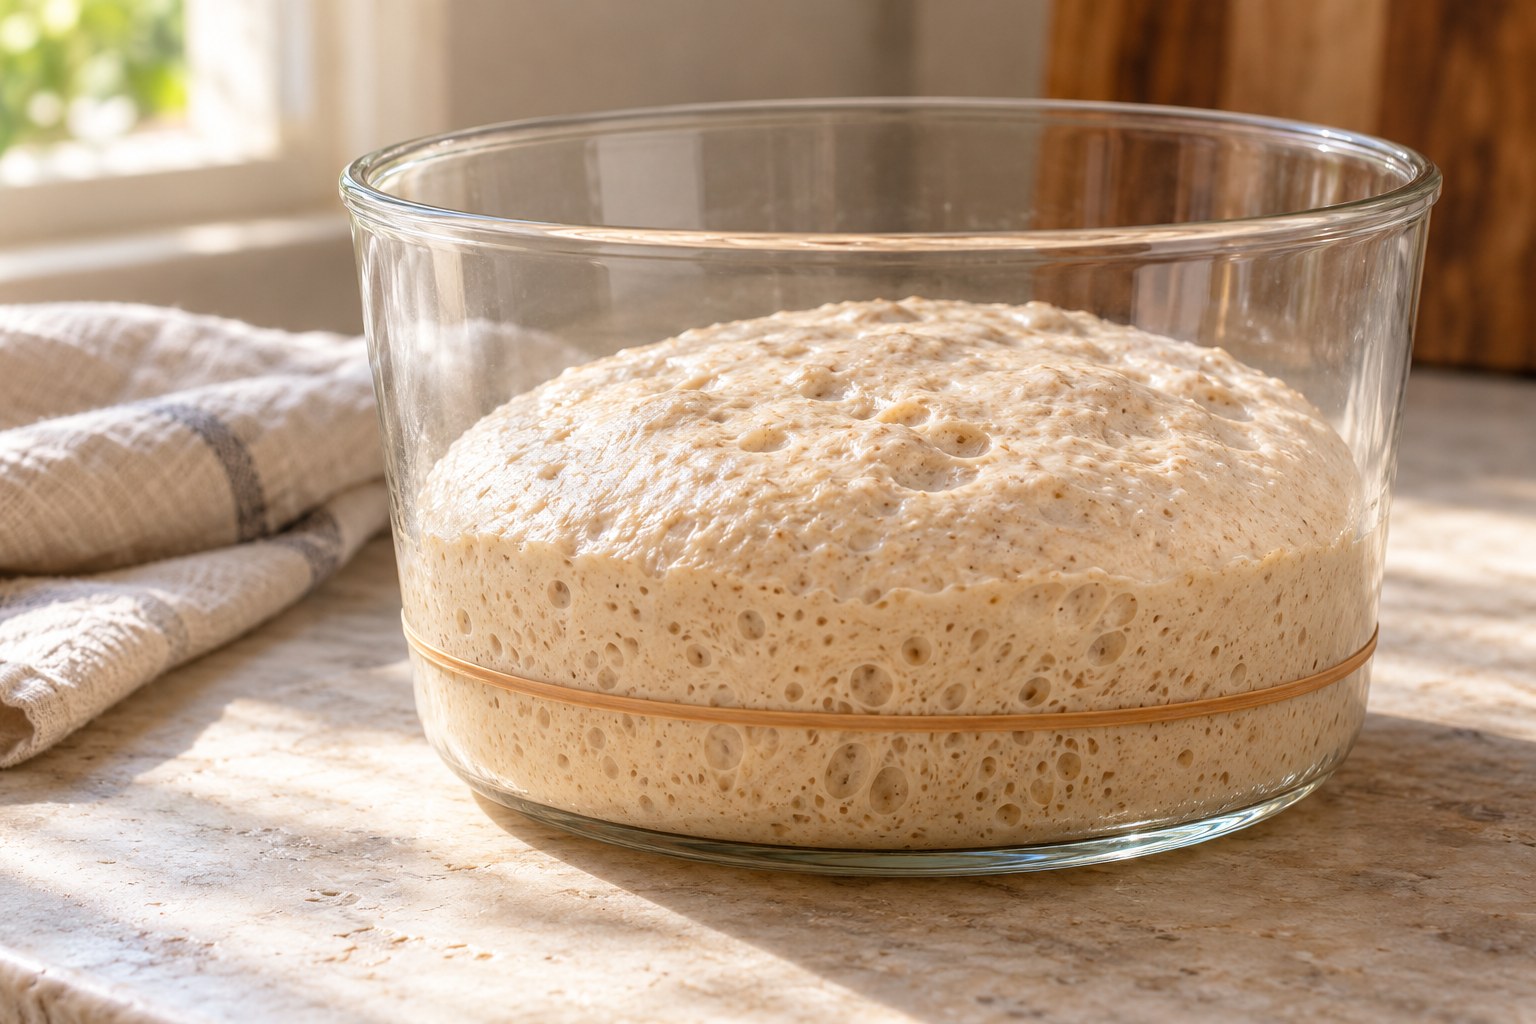
Step 7: don't push bulk too far
Excessive fermentation can weaken the dough's structure and make it slack. A dough that spills outward at shaping may struggle to hold its gas through final proof and baking. The ideal endpoint changes with temperature, starter proportion and the planned cold proof, so avoid universal rules such as doubling every dough.
Step 8: handle the dough gently during dividing
When bulk is complete, turn the dough out with care. Cut portions accurately if needed and avoid pressing all the gas out. Some degassing can be appropriate for particular styles, but aggressively flattening an artisan dough works against the even open texture you're cultivating.
Step 9: use a measured preshape
A gentle preshape organizes the dough into a loose round or cylinder, making final shaping more manageable. Let it rest for the interval in the recipe so the gluten relaxes. If the dough repeatedly tears, it may be too tight or insufficiently rested; if it spreads quickly, consider dough strength and fermentation.
Step 10: build surface tension in final shaping
The loaf needs a coherent, taut outer layer to support upward expansion. For a boule, that often involves folding and drawing the dough across a lightly floured surface; for a batard, shaping often follows a lengthwise fold or roll. The aim is tension without tearing or squeezing every bubble out.
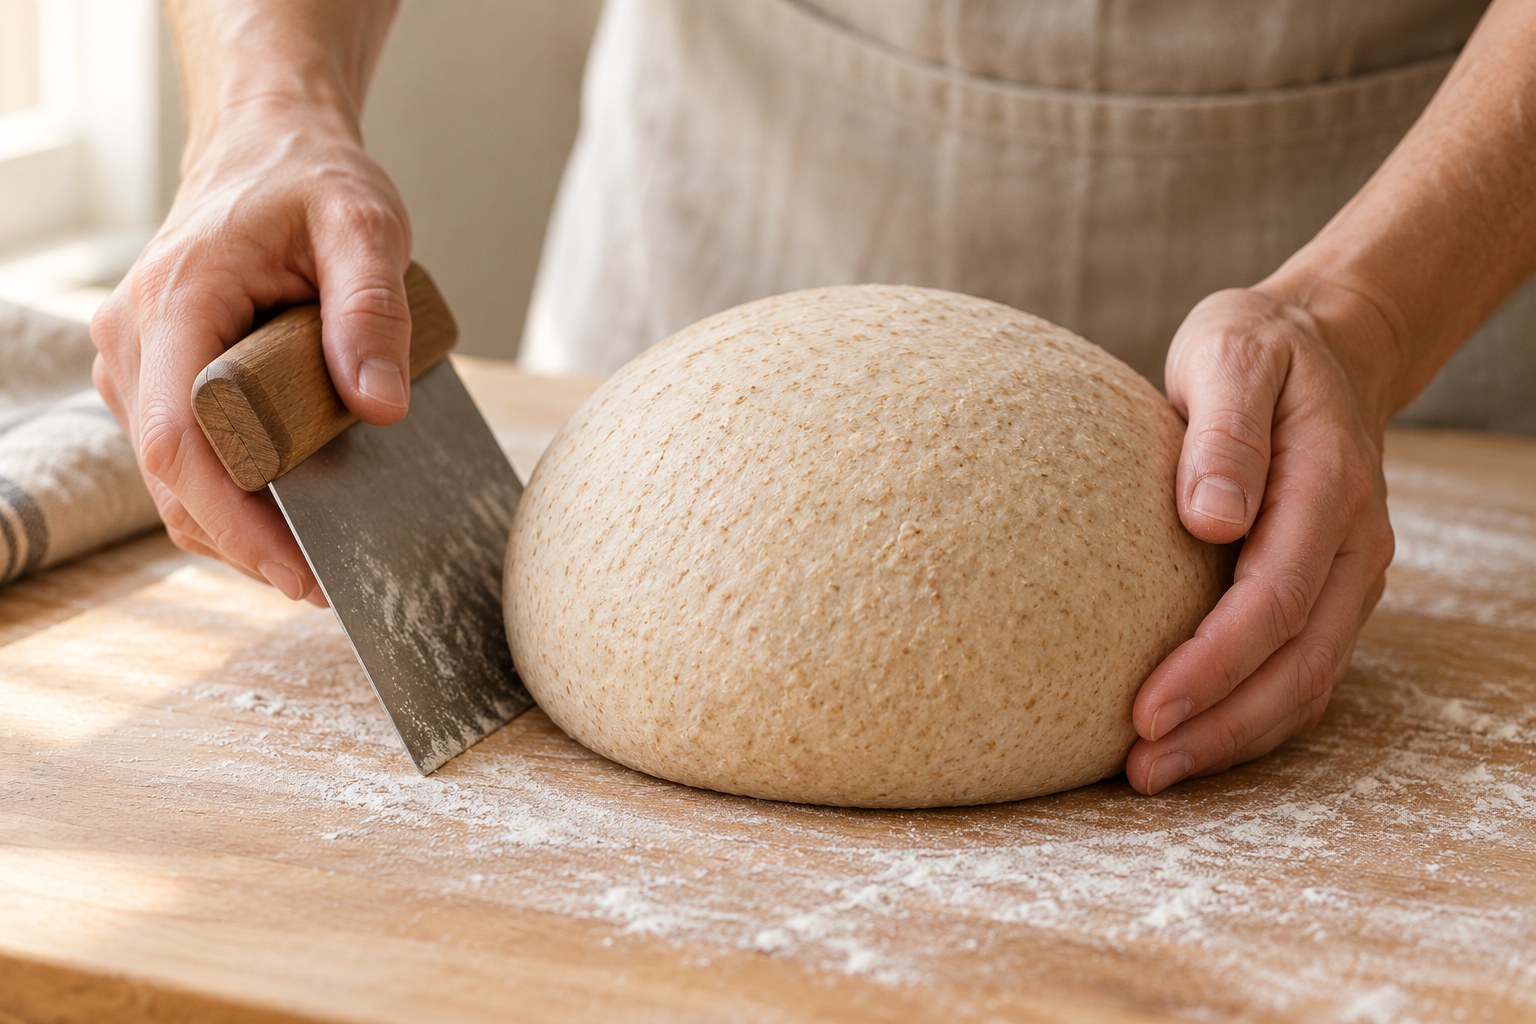
Why overly rough shaping closes the crumb
Repeated tight rolling, heavy pressing and prolonged handling can compress a well-fermented dough. Some redistribution of gas is normal, but there is little benefit to treating an open-crumb loaf like a sandwich loaf requiring an intentionally tight texture. Follow artisan shaping instructions and stop when the loaf holds its form.
Step 11: proof enough after shaping
Final proof continues to develop gas and texture. Under-proofed dough can look dramatic when baked but may have irregular cavities and dense patches. Over-proofed dough may flatten with limited oven spring. Look for a lighter, aerated feel and the recipe's test cues, not only elapsed time.
Can the poke test tell you everything?
The finger-poke test offers useful information about dough resistance, but it varies with hydration, surface flour, temperature and cold proofing. It should be interpreted alongside dough volume, feel and recipe schedule. Don't rely on one poke to override several other signs.
Step 12: use an appropriate baking vessel
A fully preheated Dutch oven or suitable baking stone can provide the initial heat necessary for strong oven spring. Covered vessels retain moisture released by the dough, helping the surface stretch before hardening. Follow the recipe's heat and covered-bake schedule carefully.
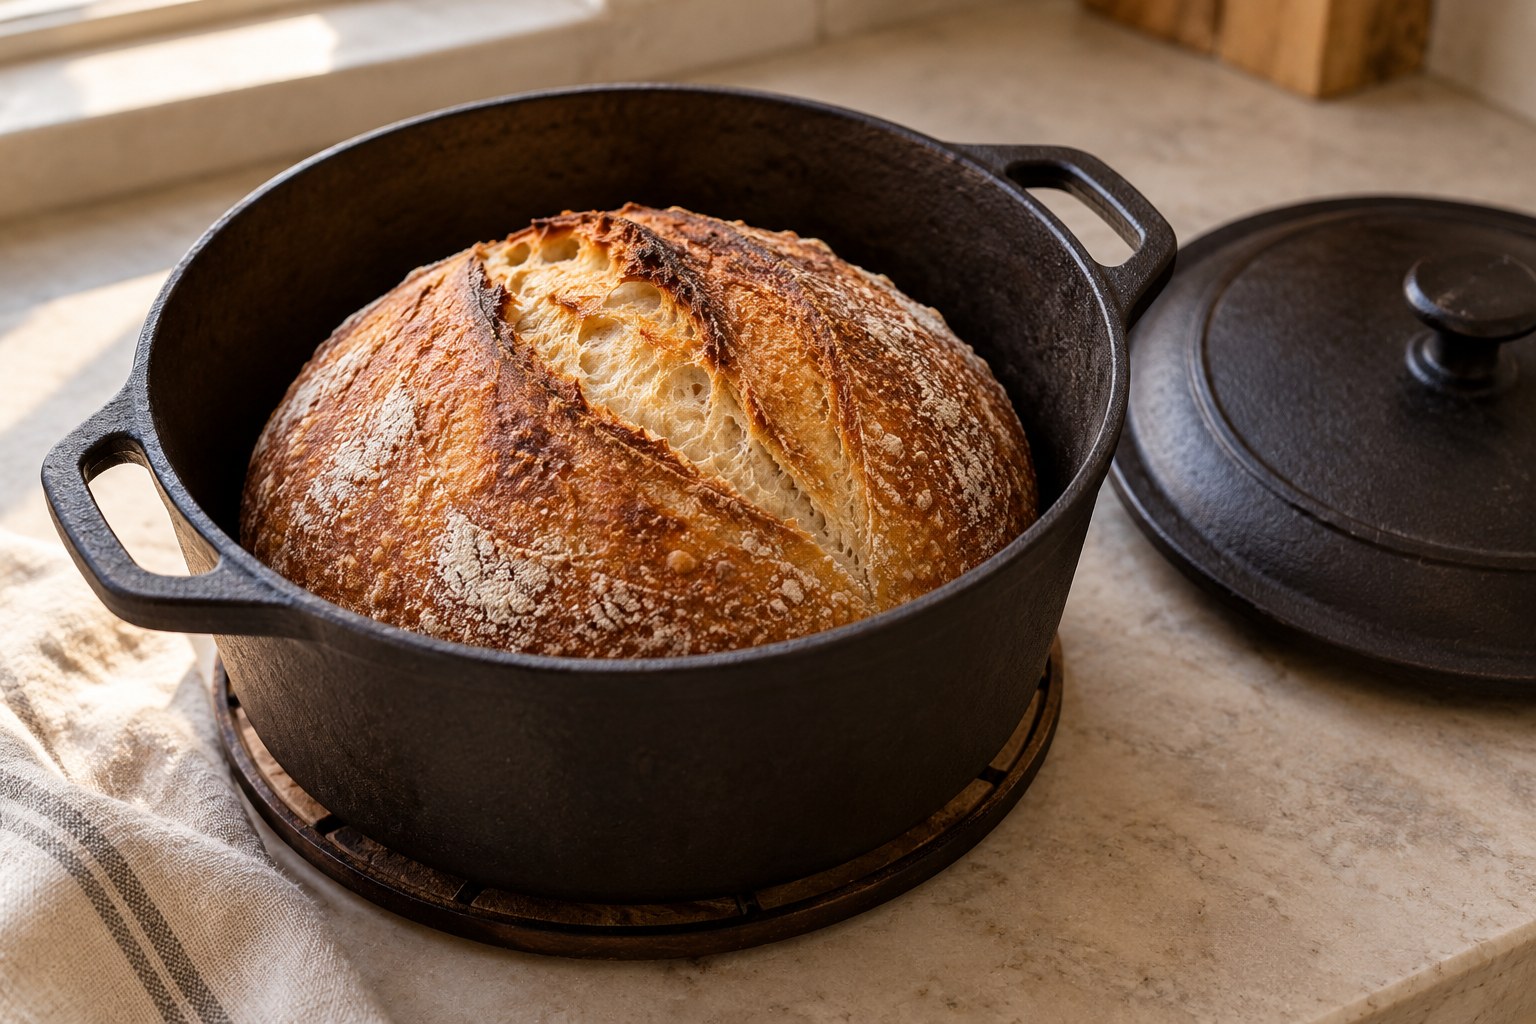
Step 13: score with purpose
One confident score can direct expansion rather than letting the loaf burst randomly. A cut that's too shallow may seal quickly, while an overly deep slash can destabilize the shape. Practice a simple score before elaborate wheat-stalk designs, which serve more decorative purposes.
How to read an open crumb without being misled
A loaf with scattered giant holes and dense material below isn't necessarily well fermented. Maurizio Leo's open-crumb guidance describes the importance of relatively even openness and proper fermentation. Evaluate the whole slice, not just the most impressive photograph.
Why enormous holes can be undesirable
Very large gaps may let butter fall through and can indicate uneven fermentation or shaping. They can also create fragile walls and a compressed base. A loaf with numerous medium-sized, well-distributed holes may be more enjoyable for everyday eating than a loaf with two spectacular caverns.
The role of whole grains
Bran, germ and different flour proteins alter how dough absorbs water and holds gas. A whole-grain sourdough can be delicious and well fermented without mimicking the very open interior of a white artisan loaf. Set a realistic target and use a formula developed for your flour mix.
The role of salt
Salt affects flavour and dough behaviour; it also influences fermentation and gluten characteristics. Measure the recipe's amount rather than cutting it dramatically in pursuit of an open crumb. A sourdough formula balances starter, flour, water and salt as one system.
Cooling protects the crumb
The loaf's interior continues setting as it cools after baking. Cutting hot sourdough can compress the structure and create a gummy appearance. Rest the bread for the time recommended by the recipe before slicing. You worked to create a delicate crumb; give it time to become stable.
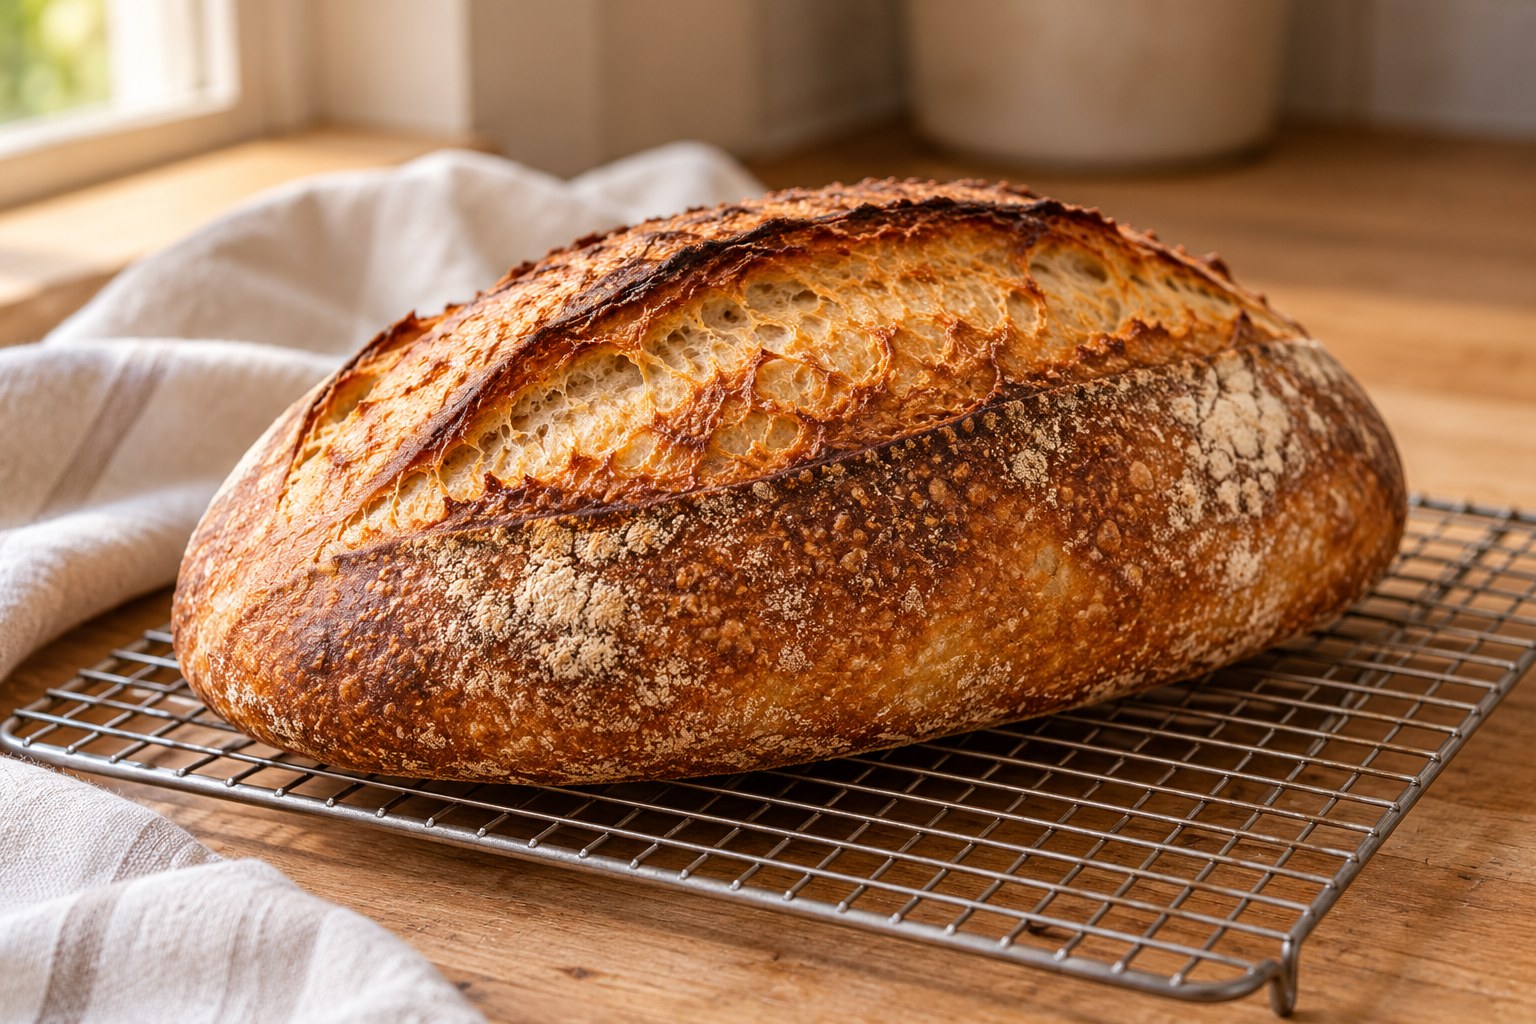
A practical open-crumb experiment
Bake the same artisan formula three times using the same flour and hydration. Track starter activity and actual bulk rise. First improve consistency of fermentation. Then adjust shaping gentleness if necessary. Only after those variables are stable should you experiment with a slightly different water level.
Frequently asked questions
Does higher hydration always make a more open crumb? No. Do I need bread flour? It often helps for particular styles but isn't mandatory for every sourdough. What causes a tight bottom with big upper holes? Under-fermentation and uneven handling are possibilities. Is a tight sourdough crumb bad? Not when the recipe intends a sandwich-like texture.
Choose lightness over spectacle
A more open sourdough crumb comes from a well-fermented, well-supported dough, not a single trick. Learn your flour and starter, build sufficient strength, monitor bulk, shape with care and proof appropriately. The reward is a loaf that feels light in the hand and tastes every bit as good as its cross-section looks.
Technique reference: King Arthur Baking.
IN PICTURES
From the baking notebook
FROM THE RECIPE BOX