Brown Butter Chocolate Chip Cookies Recipe
Ingredients
Equipment
Directions
FAQs
Find answers to your most pressing questions about this delicious recipe right here.
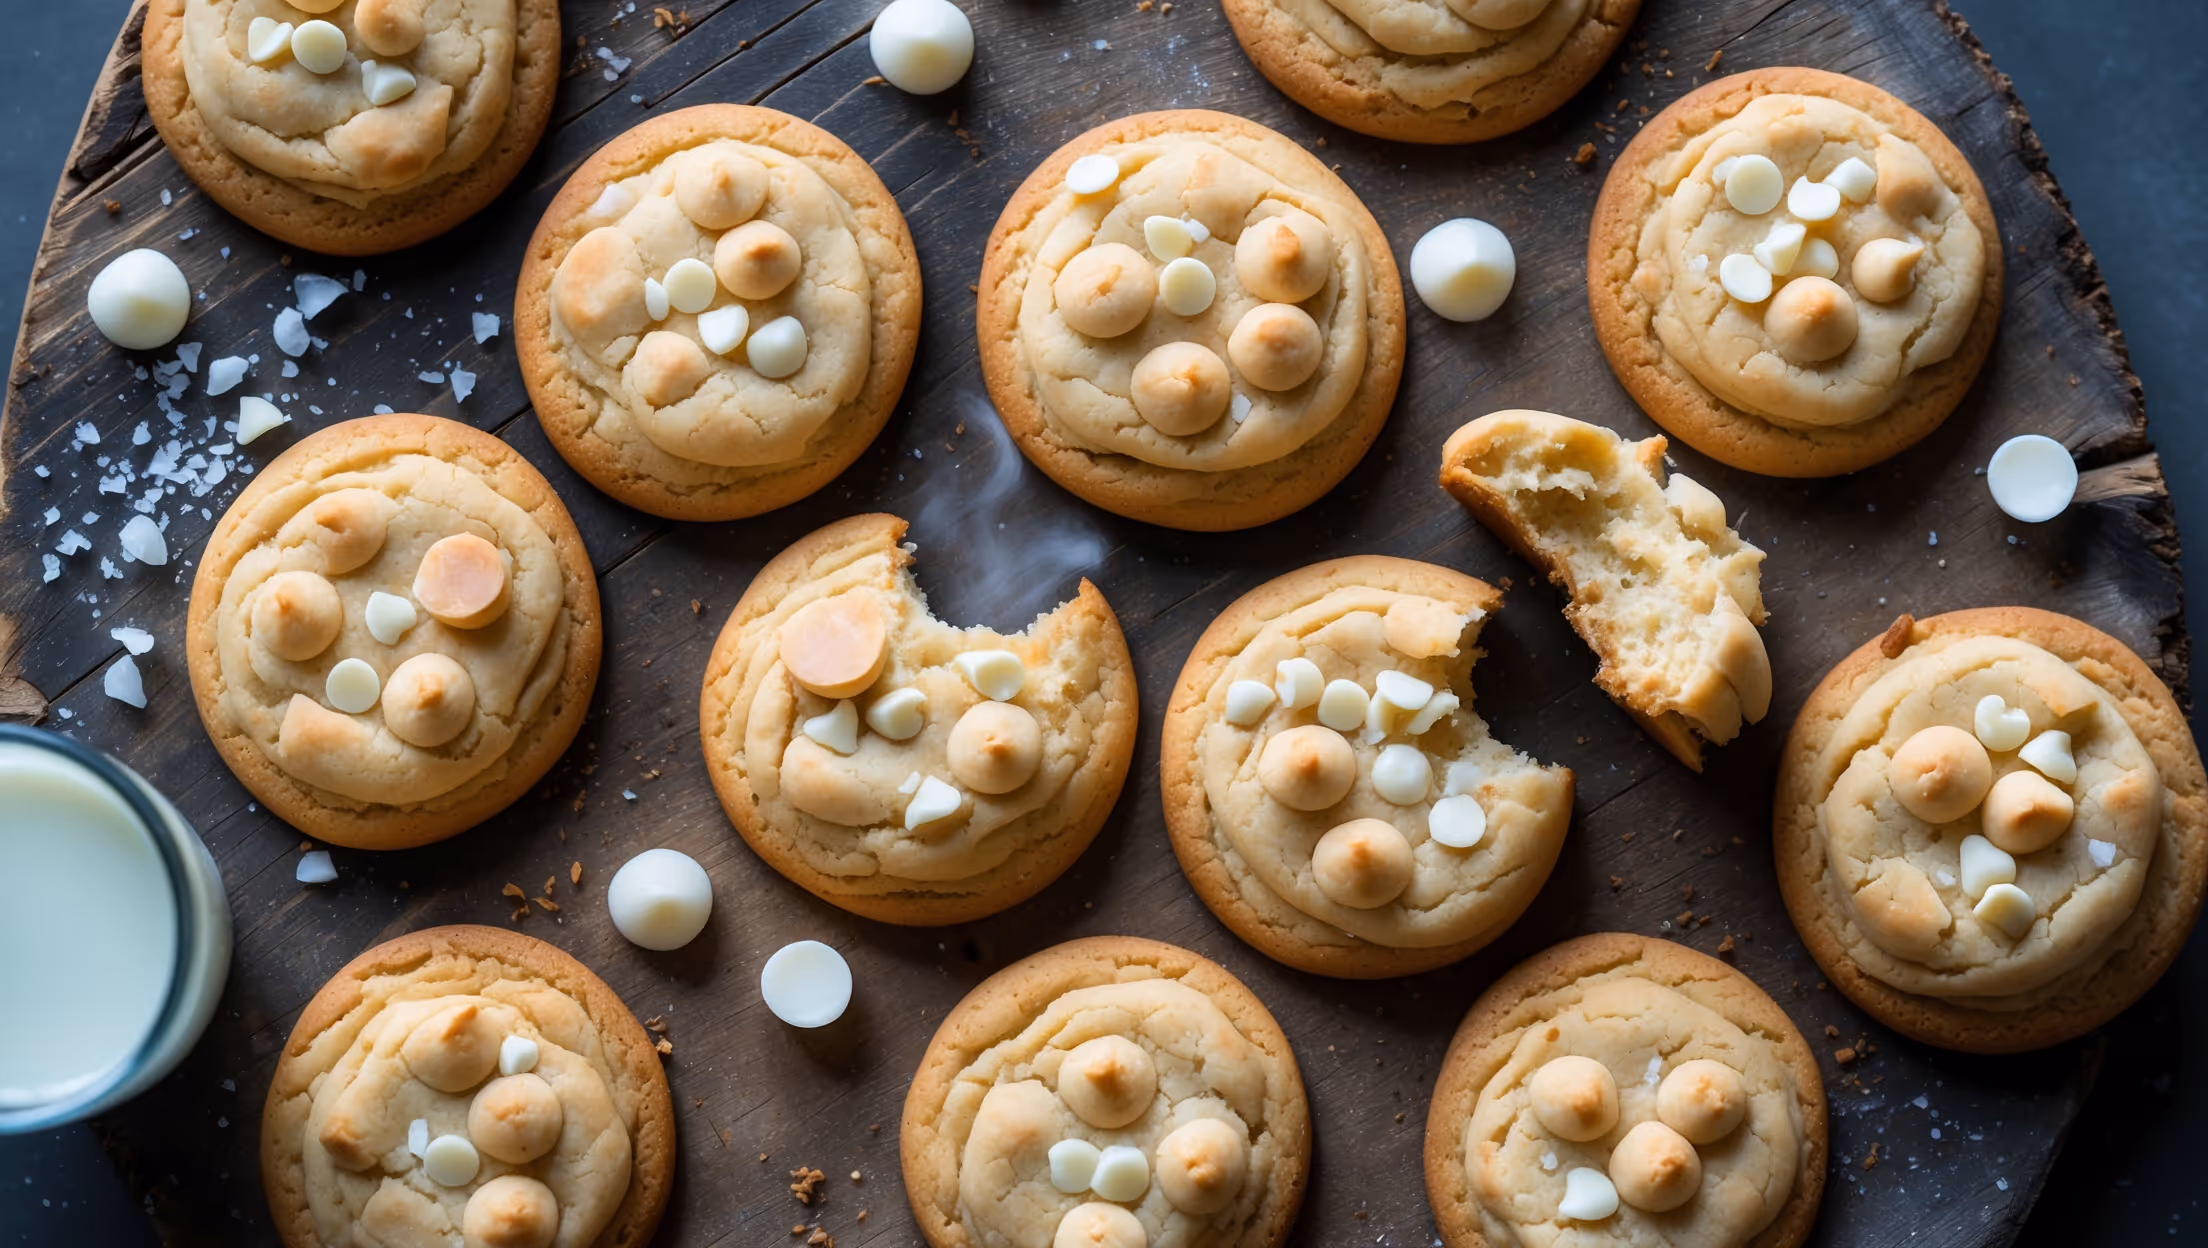
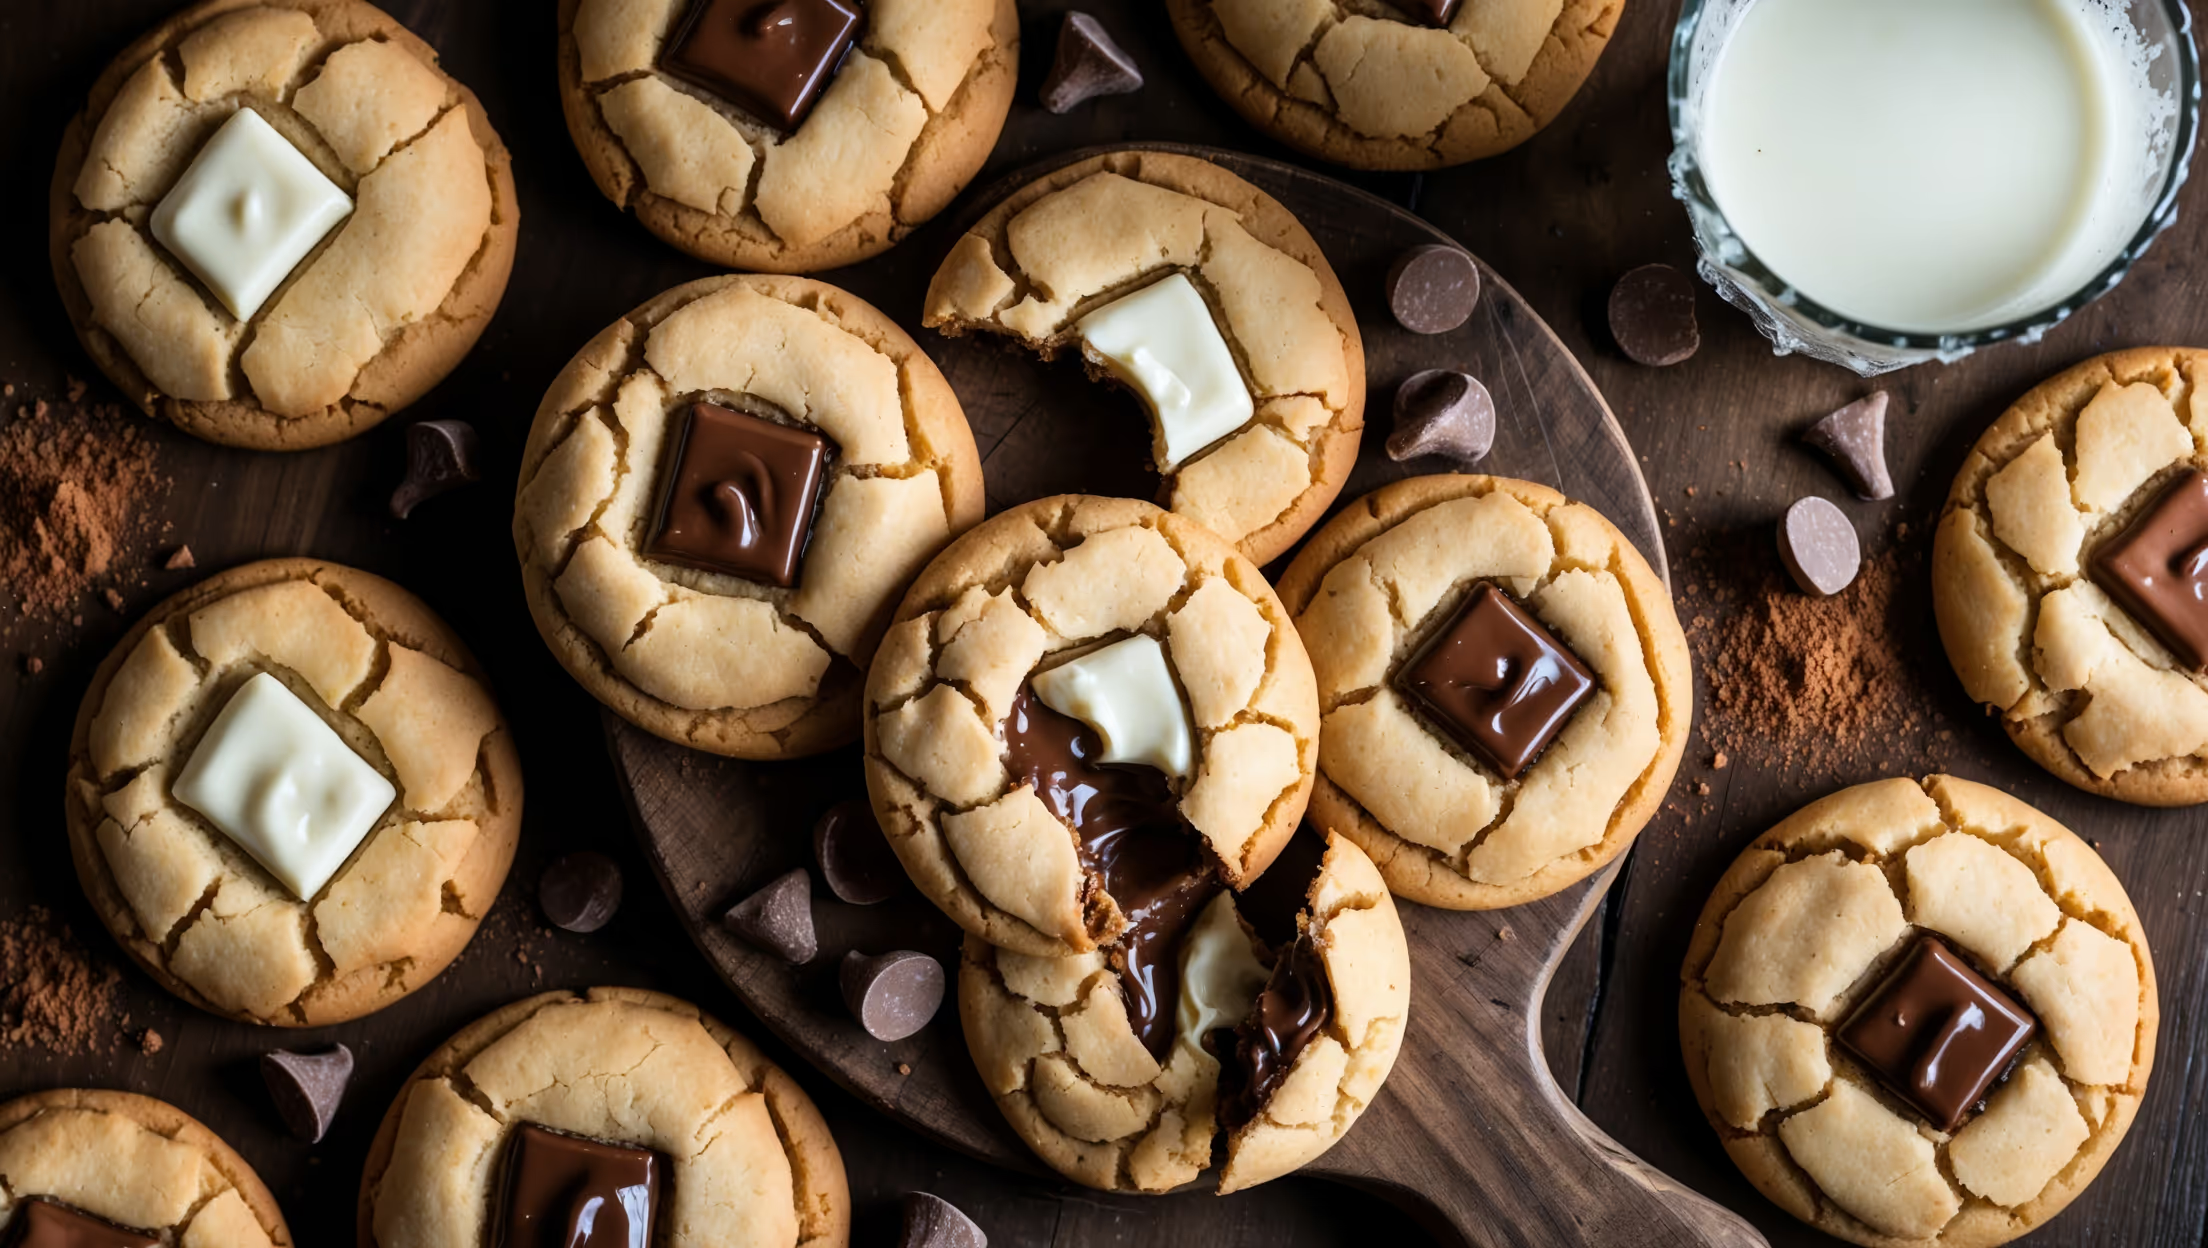
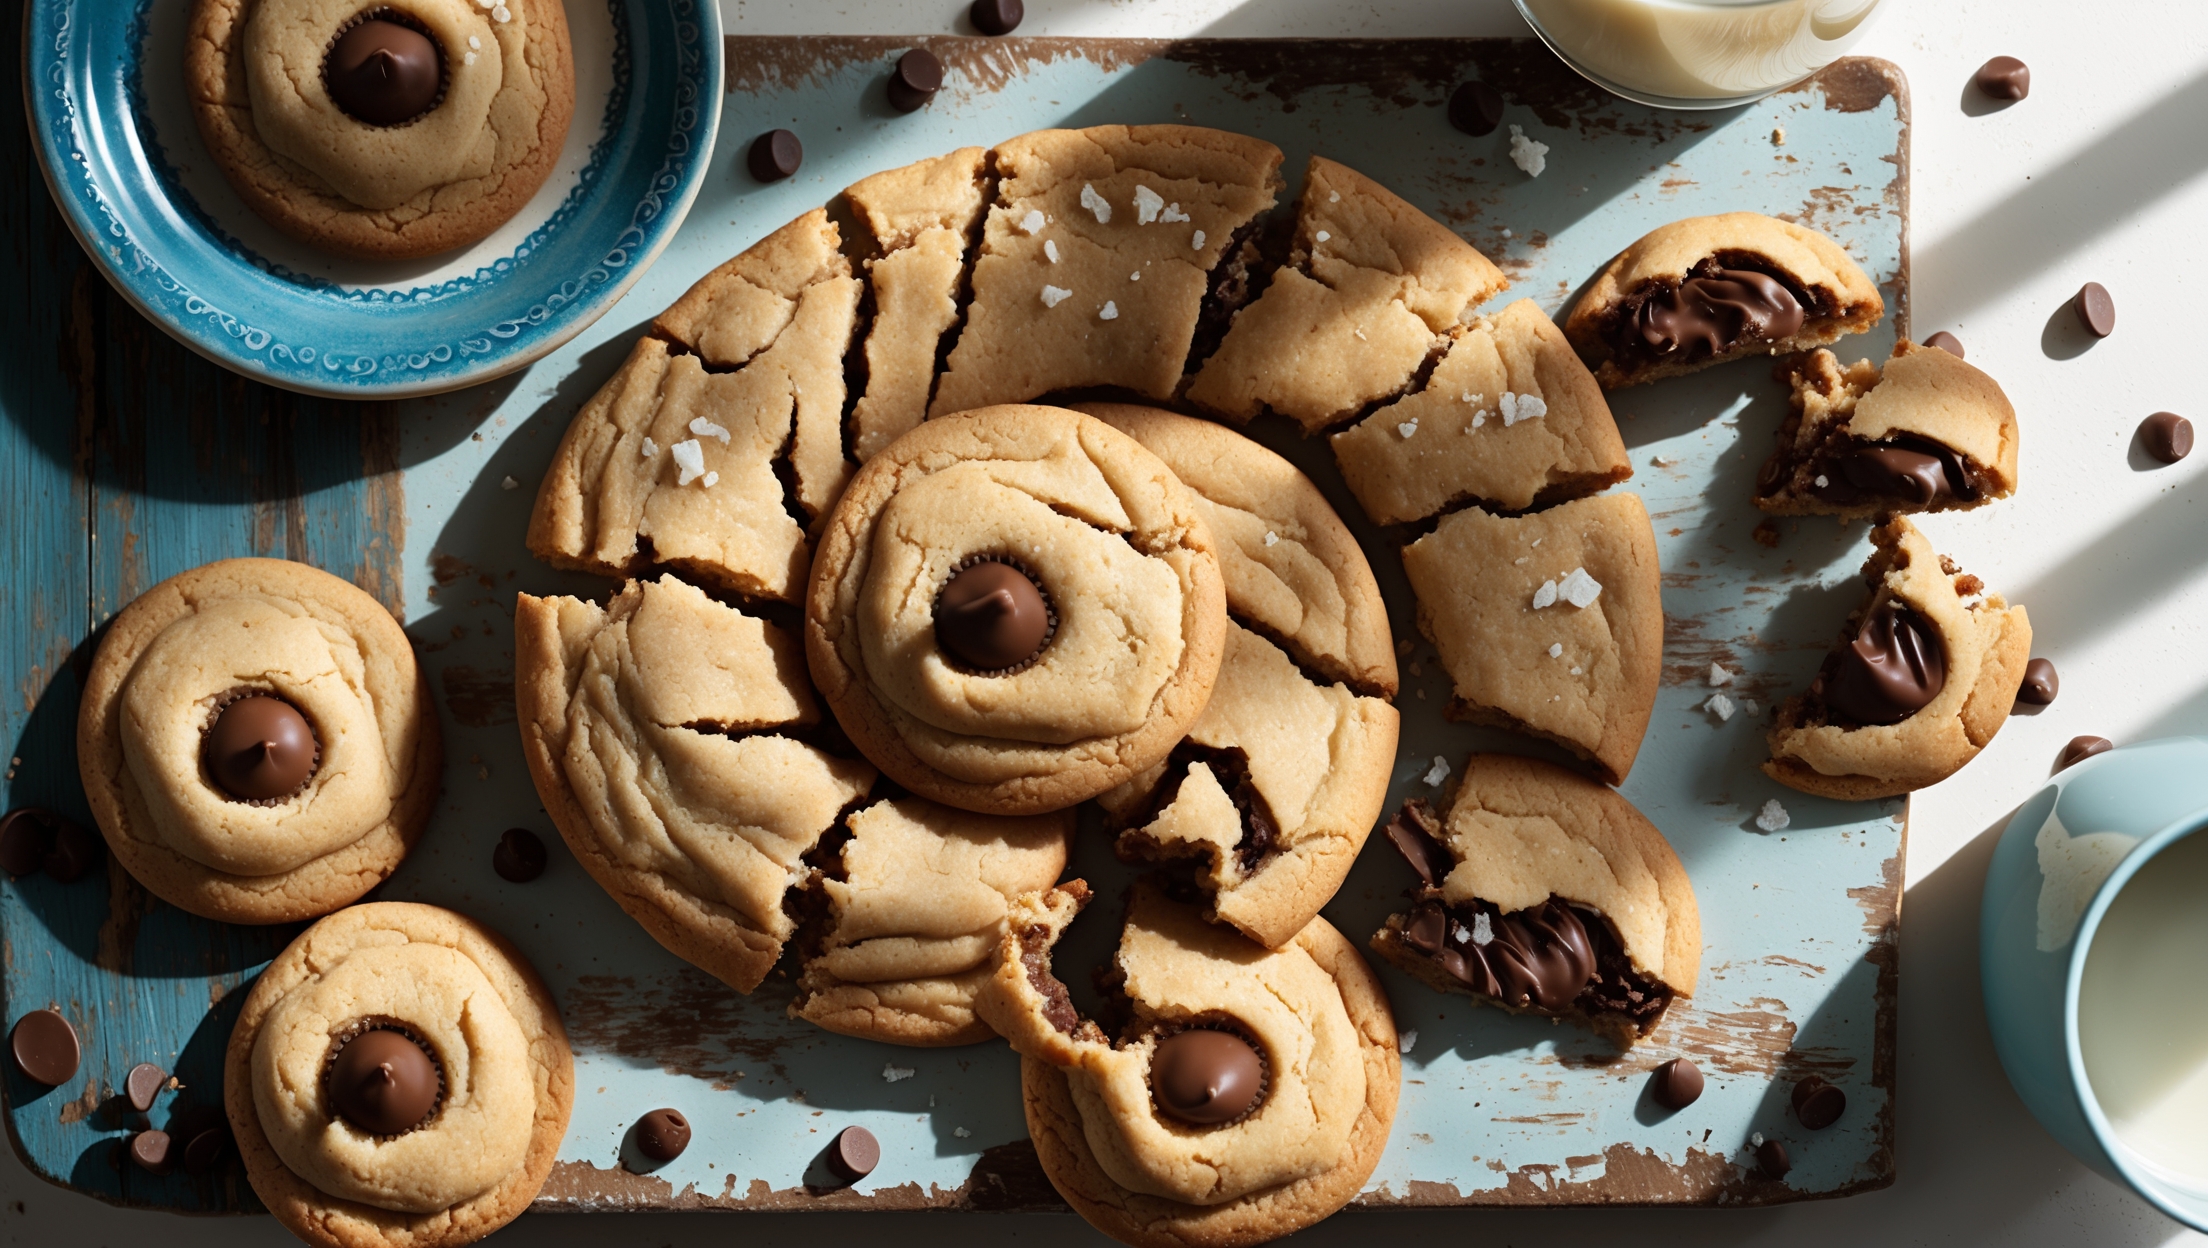
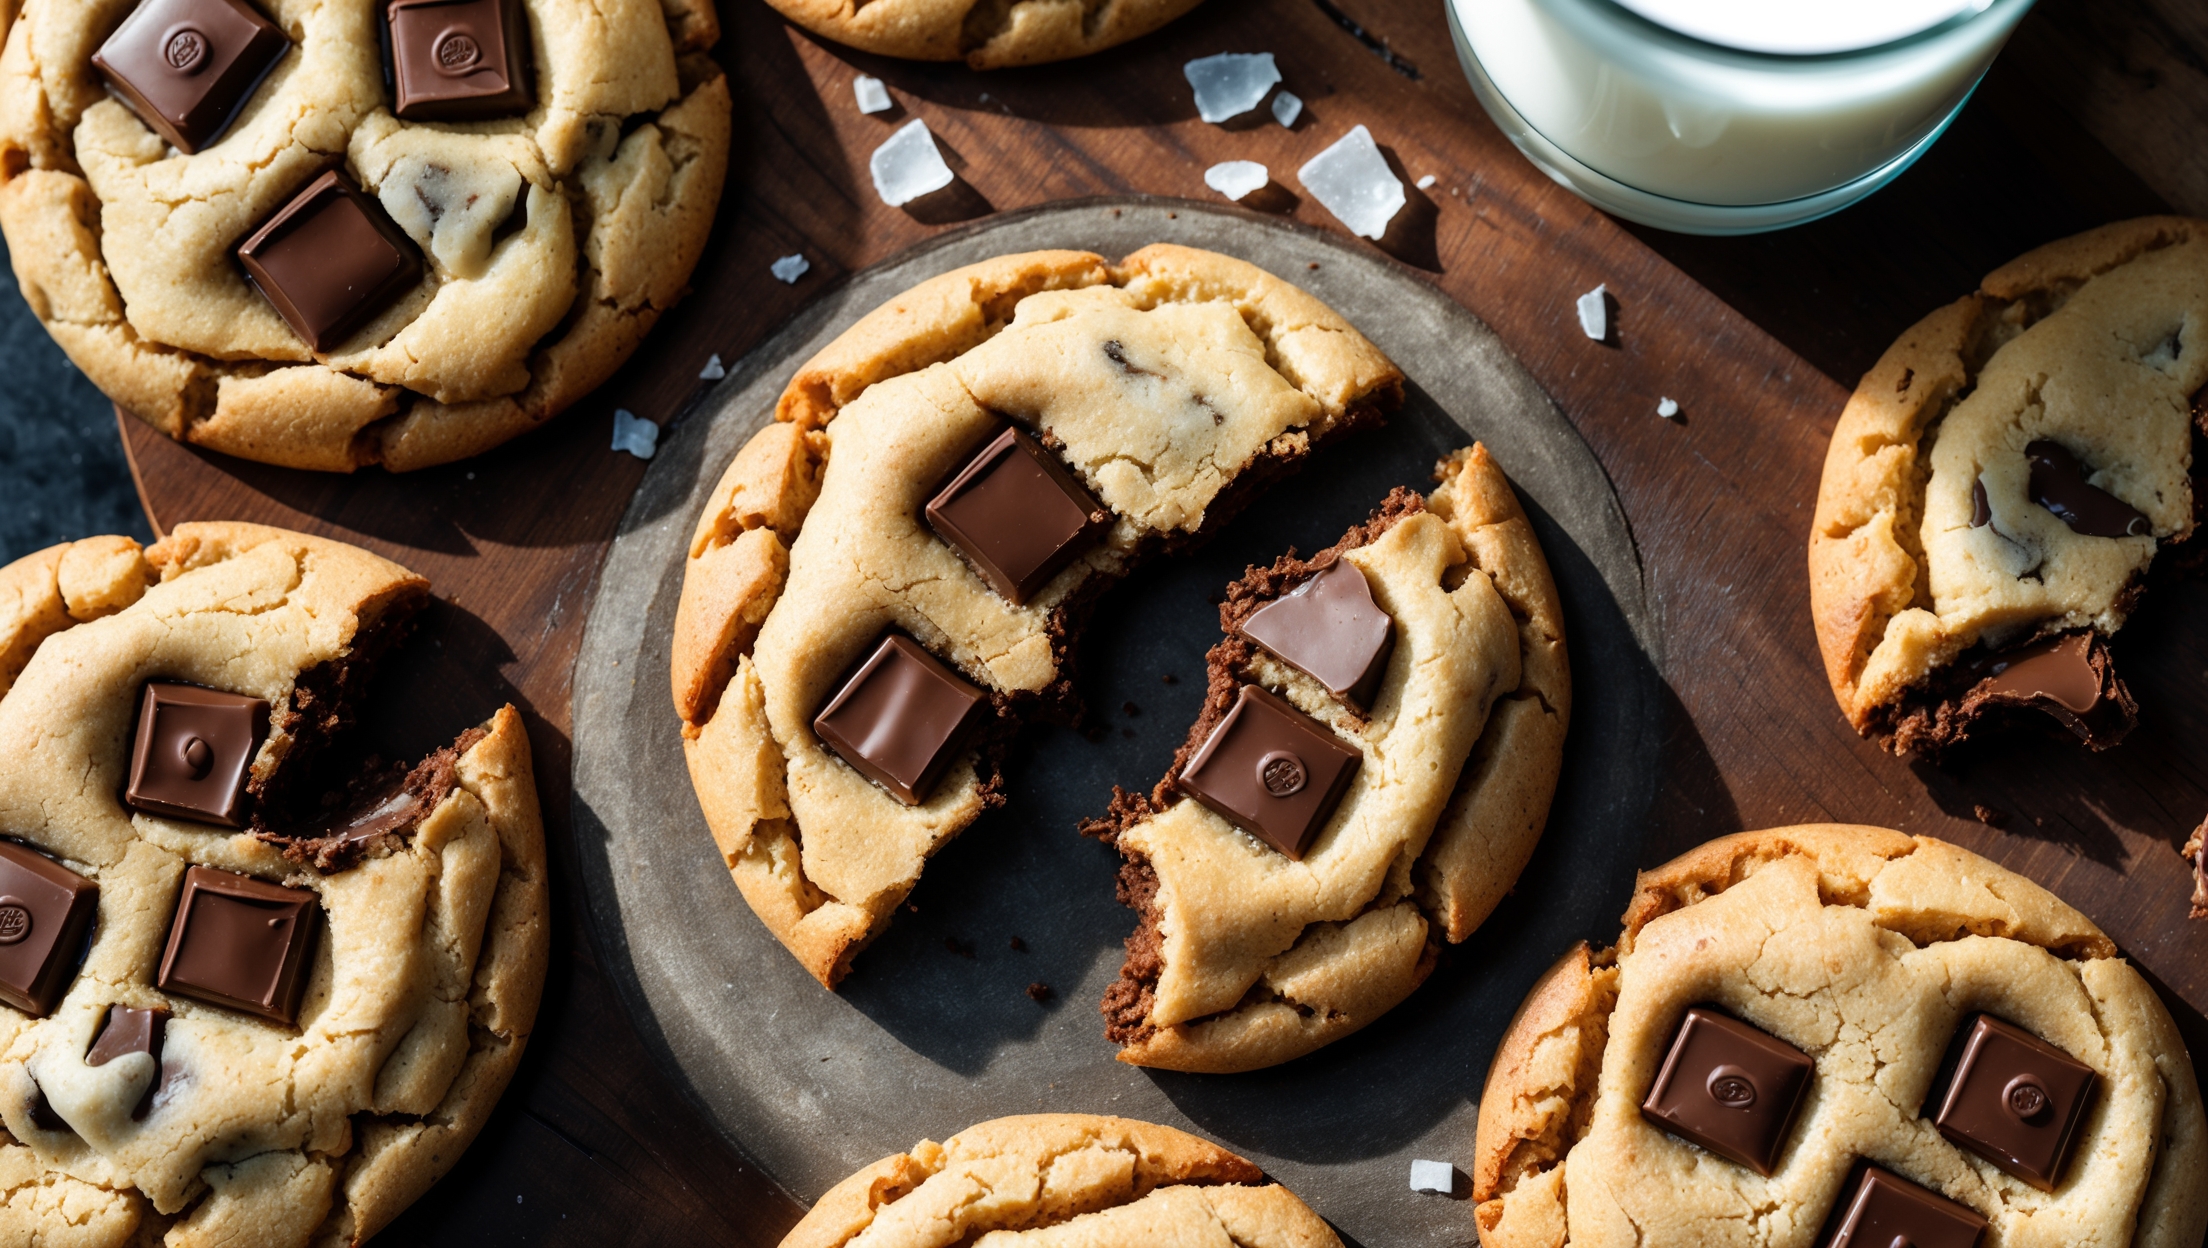
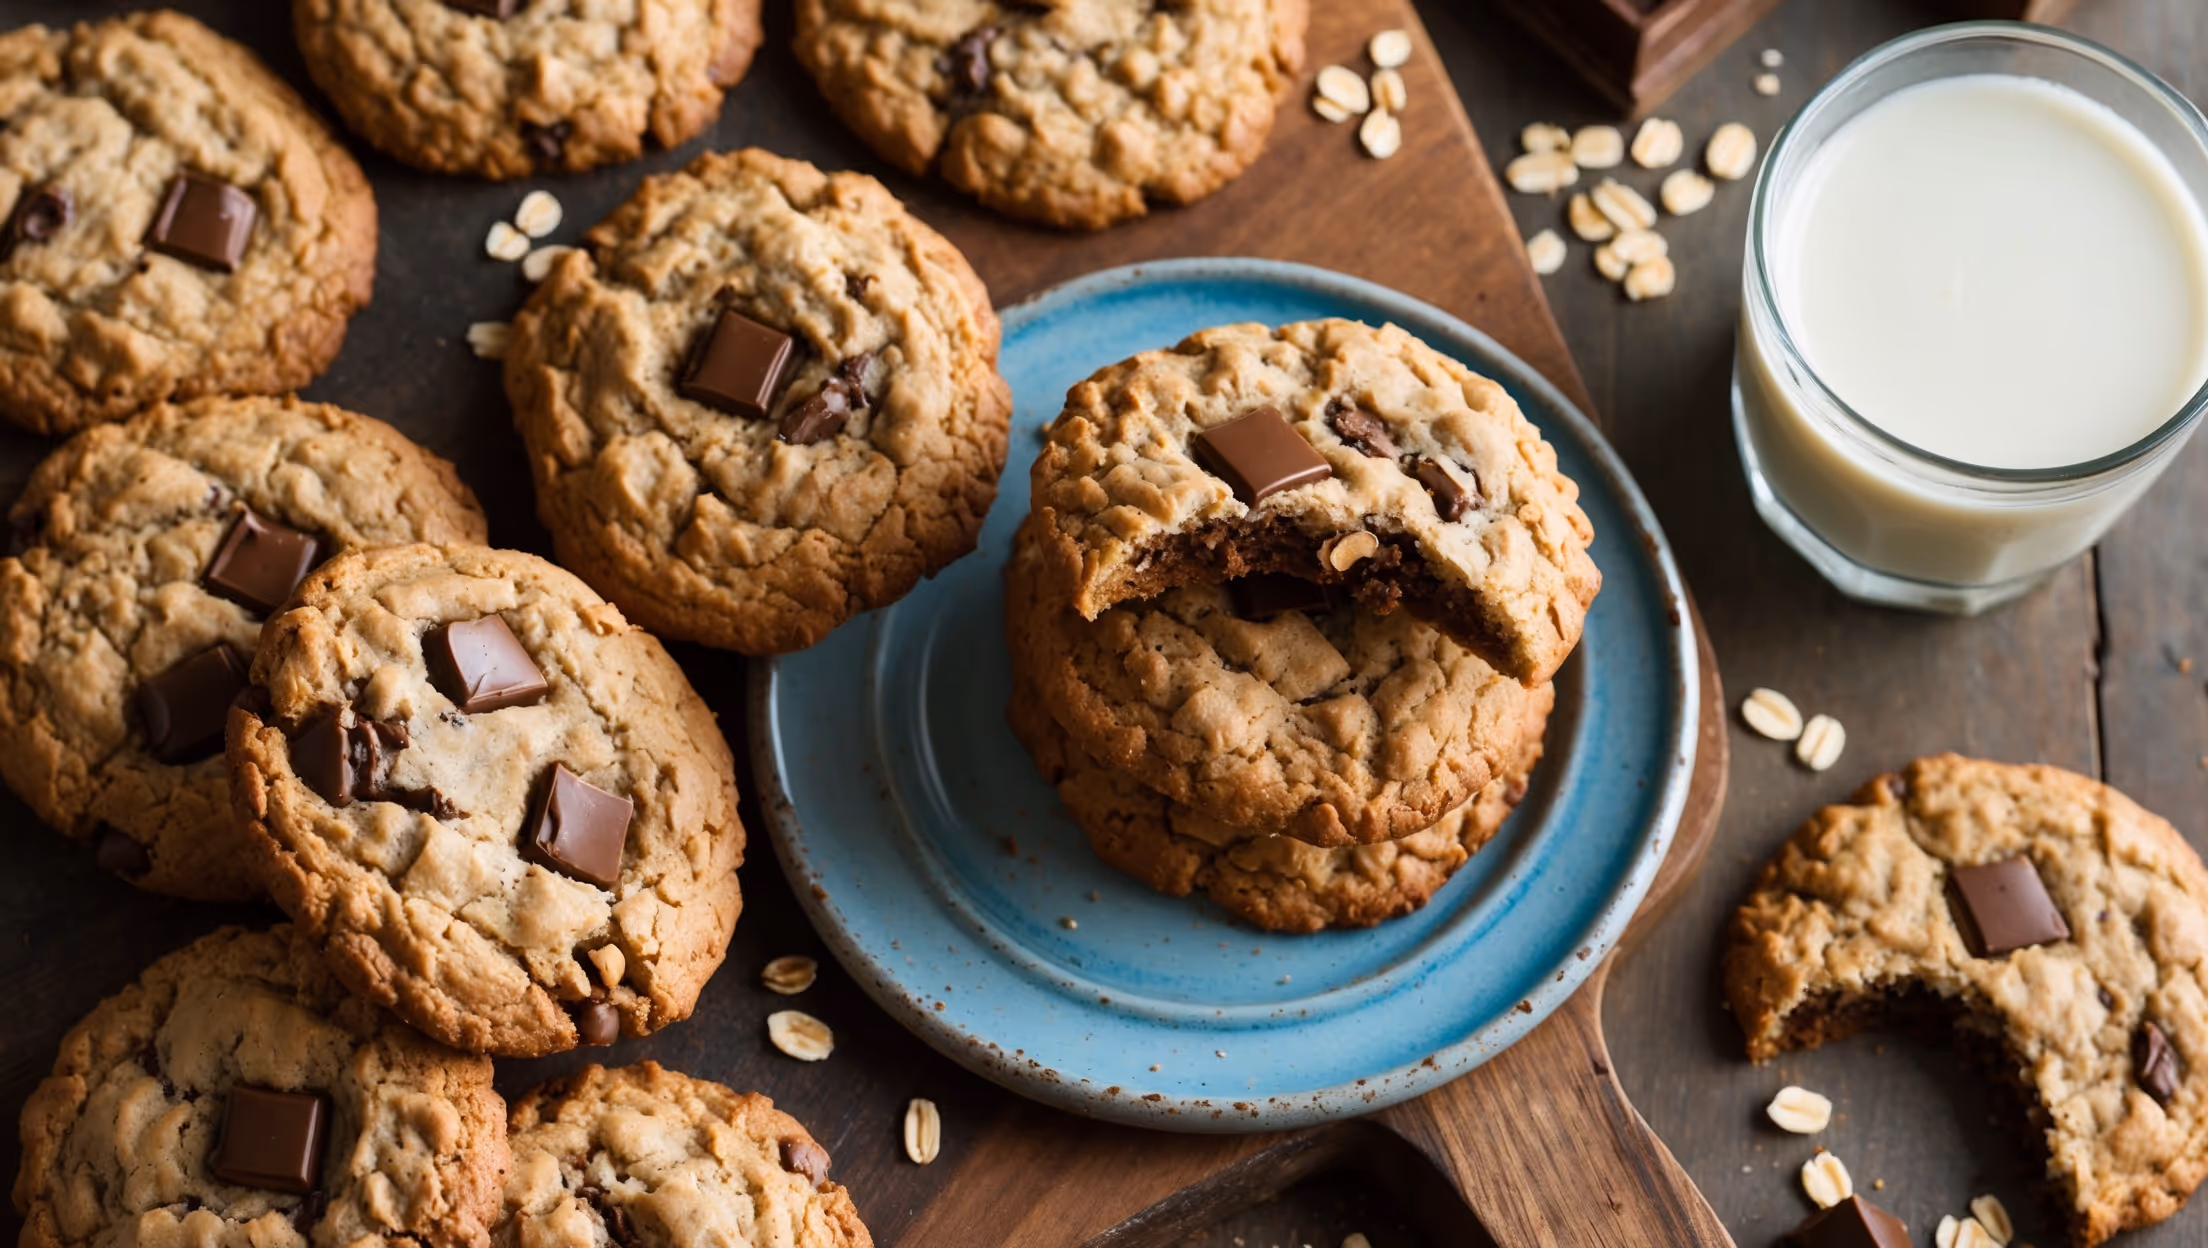
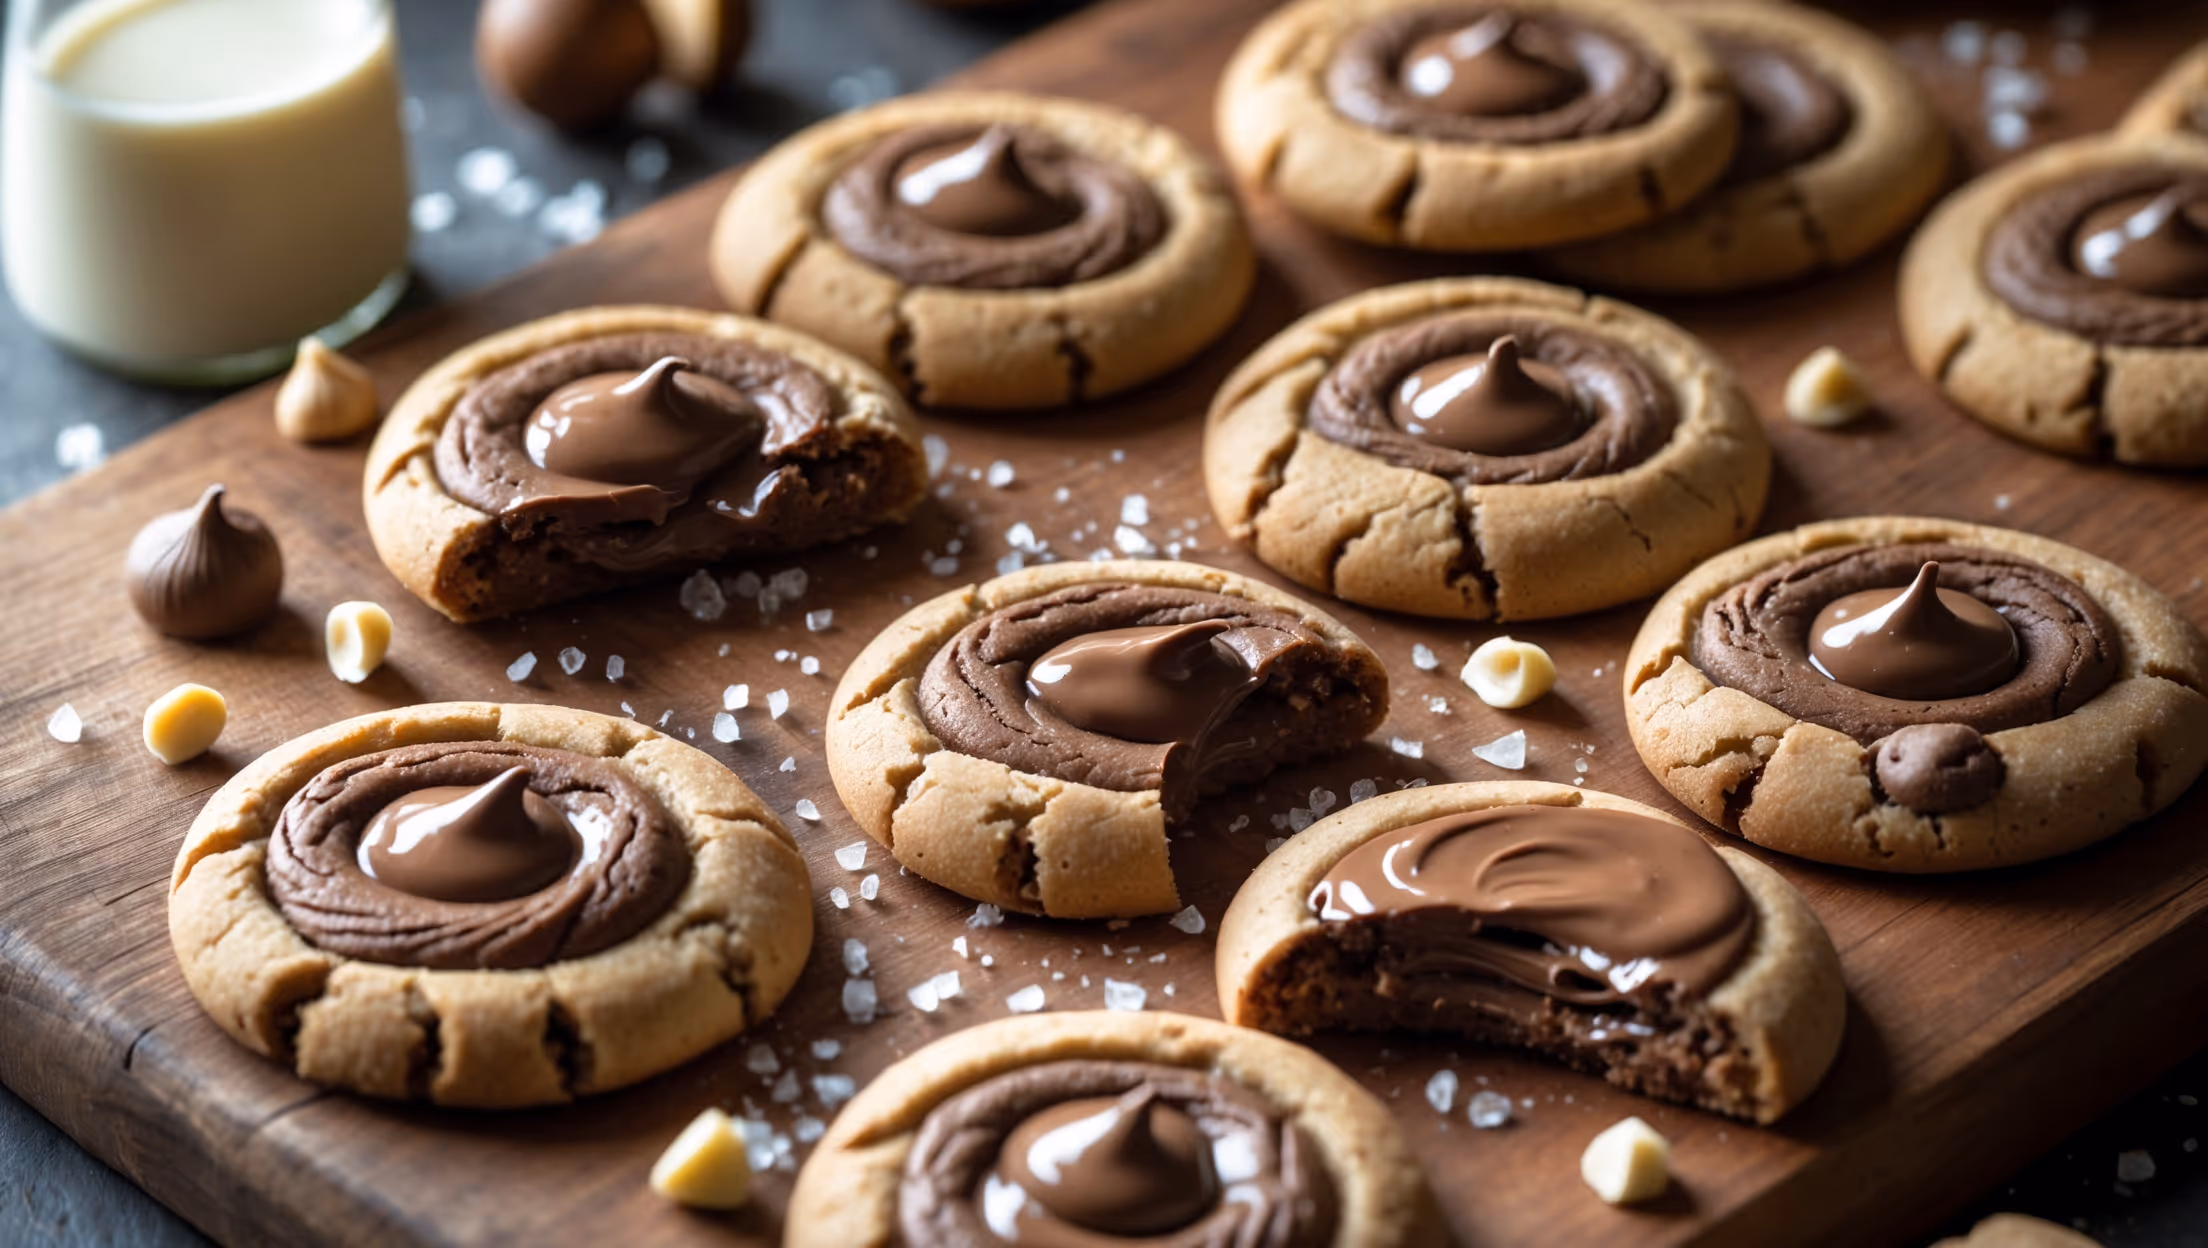
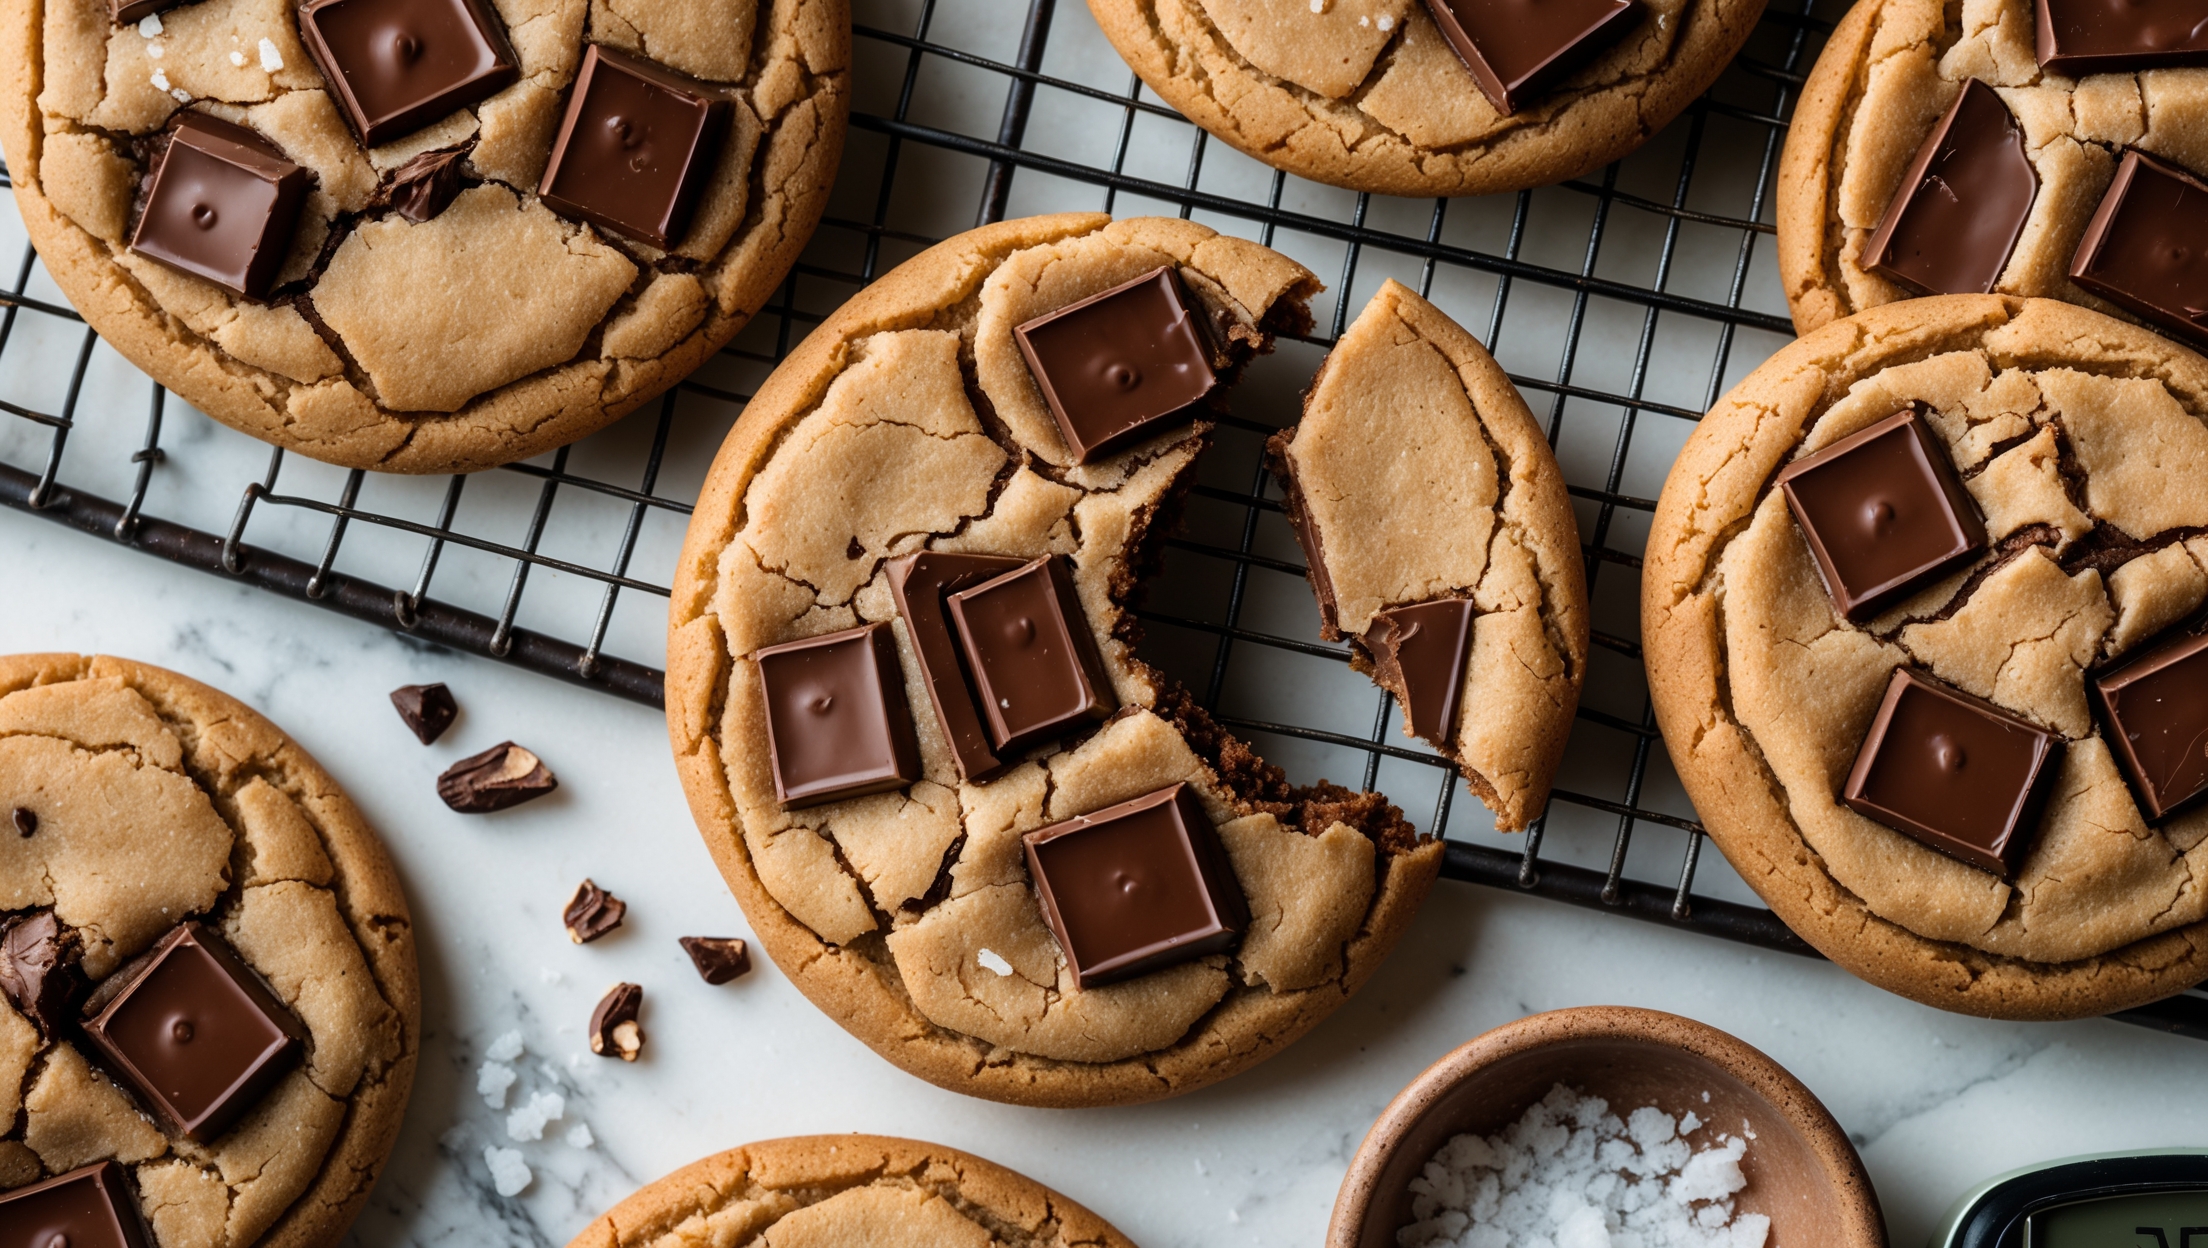
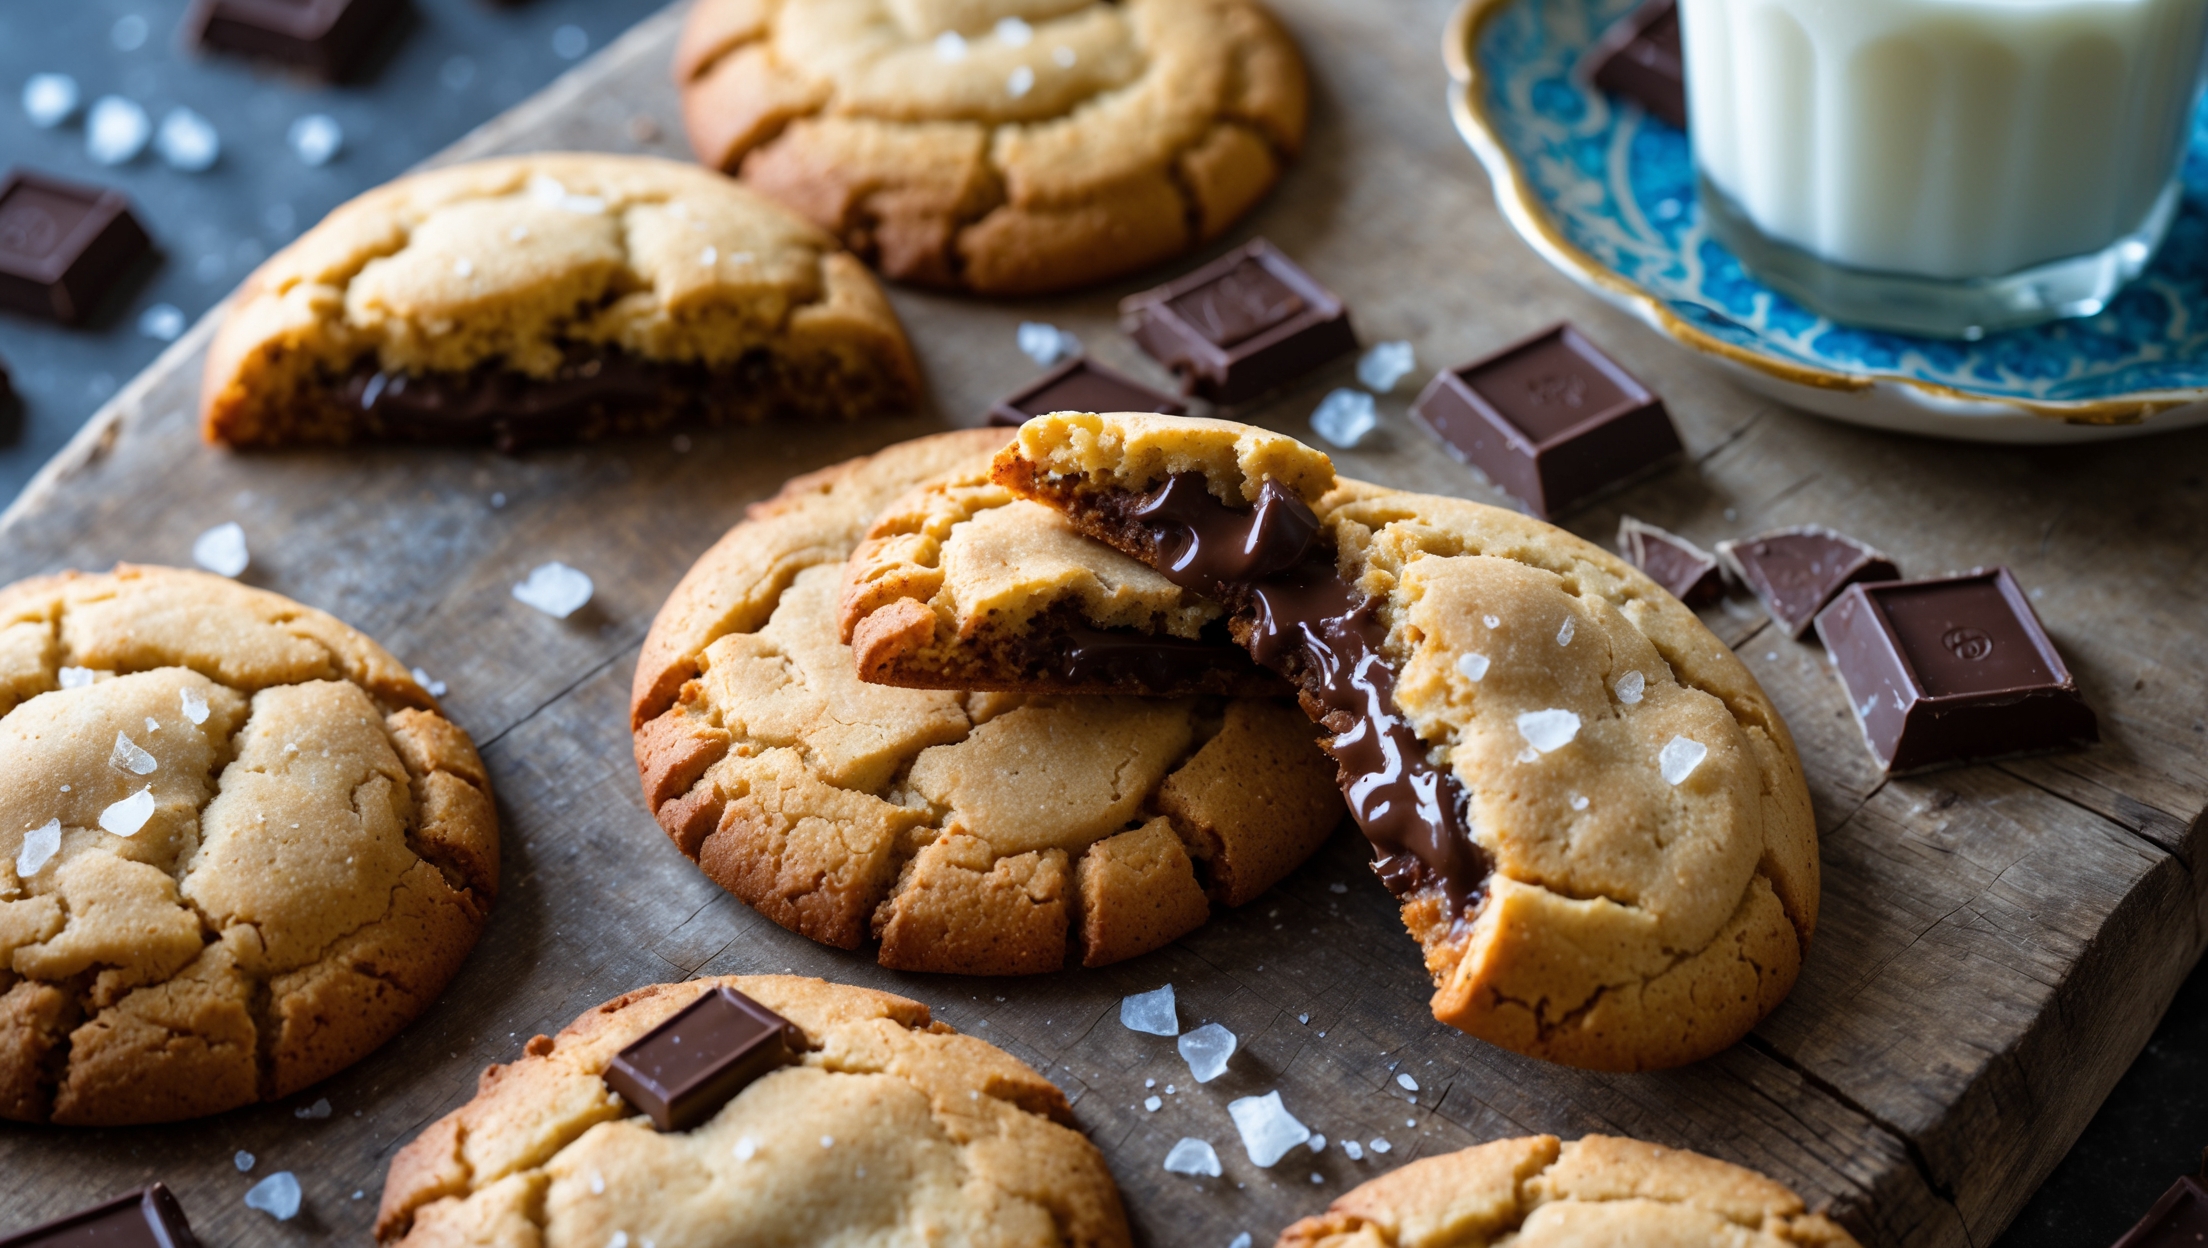
This recipe uses unsalted butter (browned), light brown sugar, granulated sugar, eggs, vanilla extract, all-purpose flour, baking soda, fine sea salt, dark chocolate, milk chocolate (optional), and flaky sea salt for sprinkling. The star ingredient is brown butter, which gives the cookies their distinctive nutty, caramel flavour.
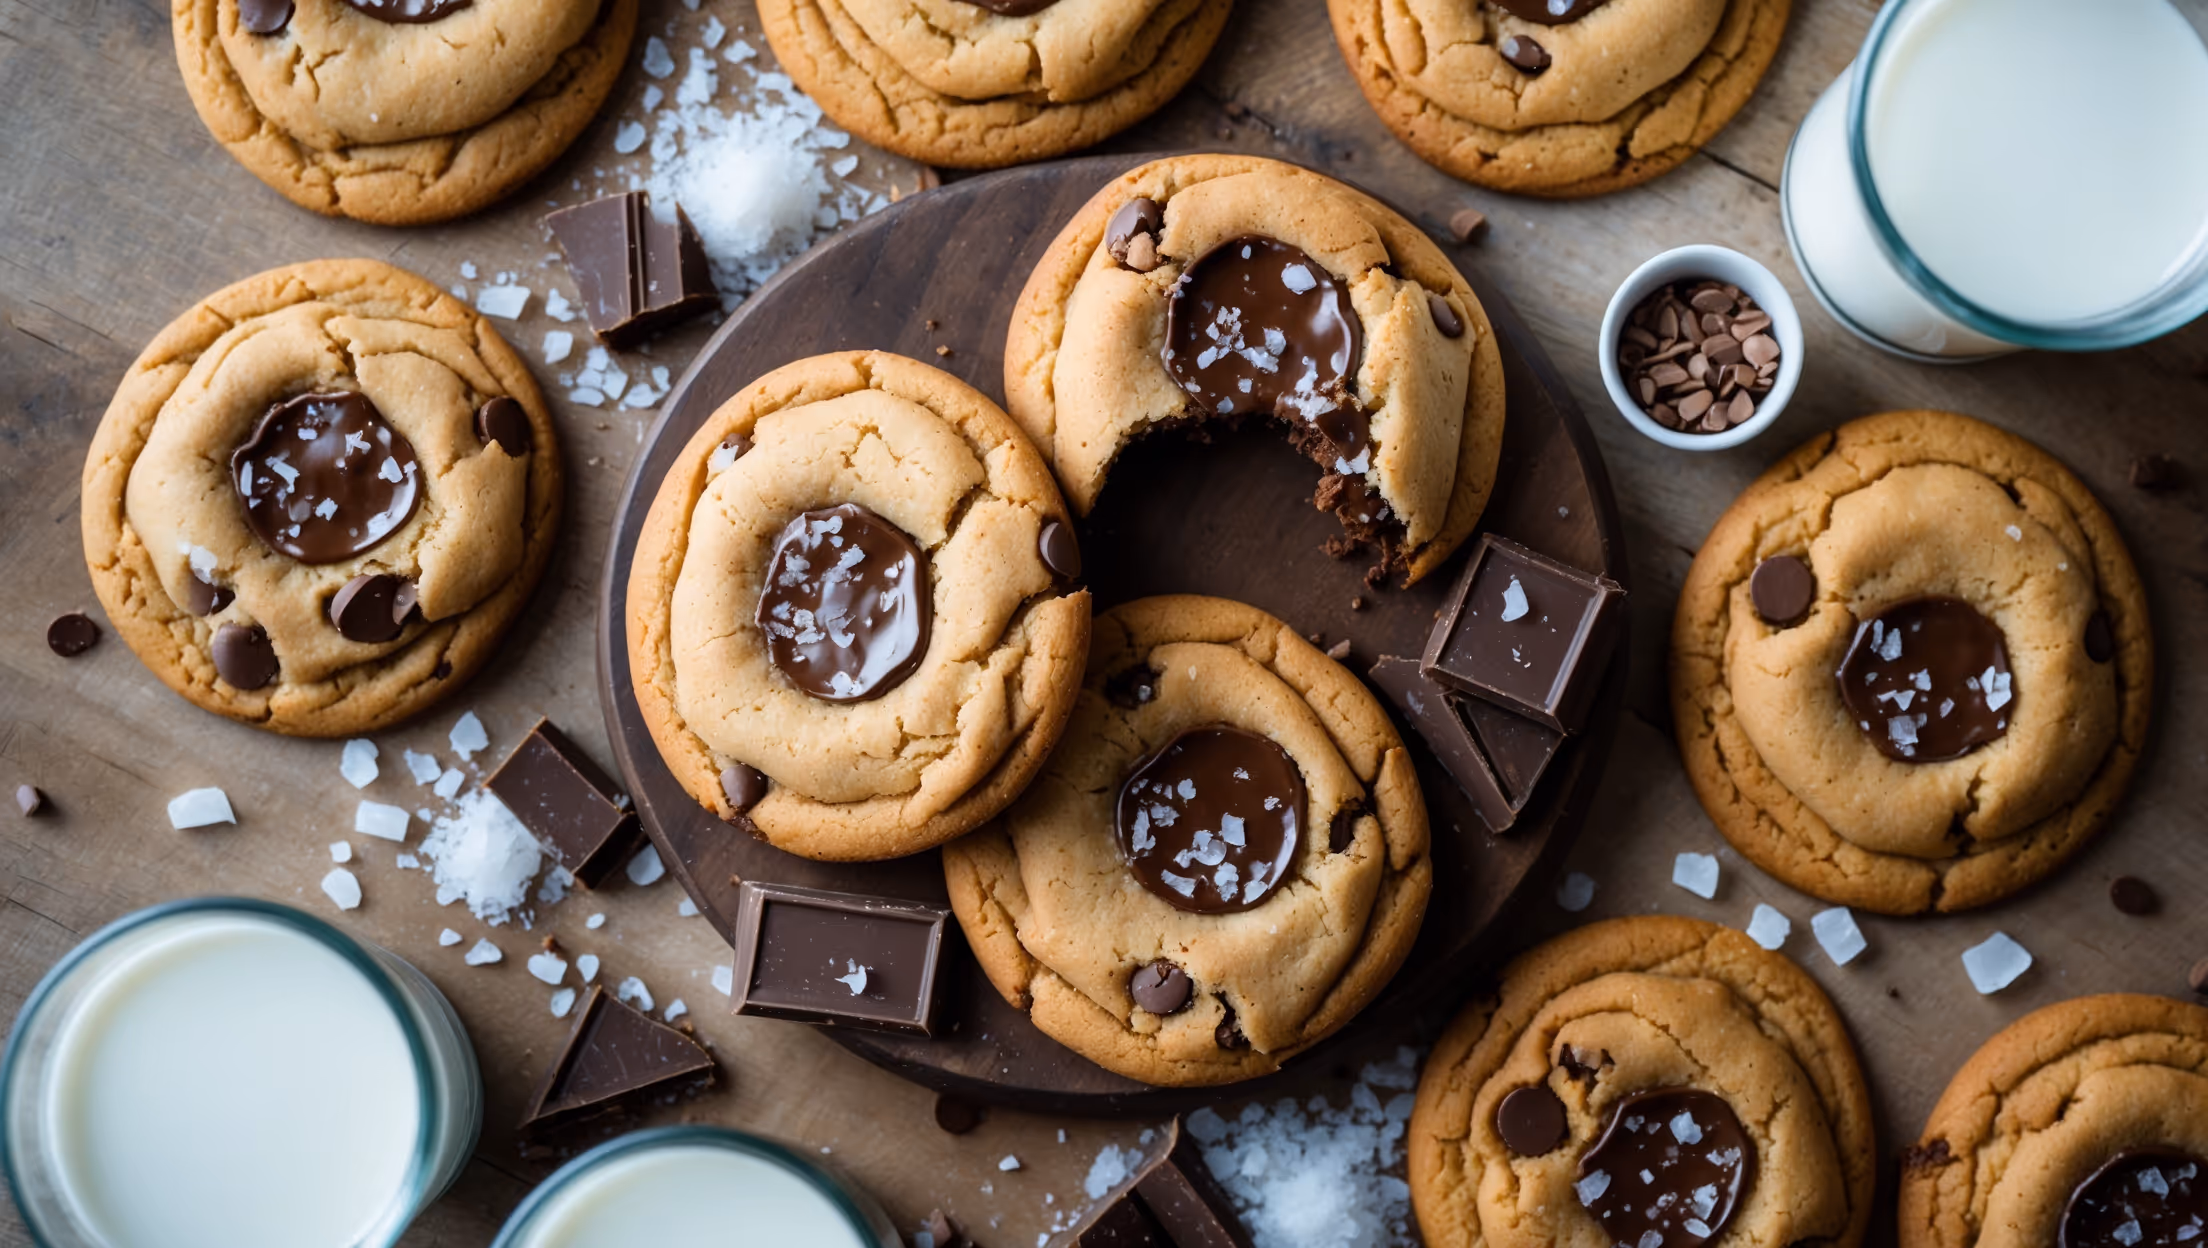
Learn how to cook Brown Butter Chocolate Chip Cookies by first browning butter until nutty and amber-coloured, then mixing it with sugars and eggs. Add dry ingredients, fold in chopped chocolate, and chill the dough for at least 2 hours. Portion into balls, bake at 180°C for 10-12 minutes until edges are golden but centres are slightly underbaked, then sprinkle with sea salt for the perfect chewy-crispy texture.
Browning butter creates a complex, nutty flavour that transforms ordinary cookies into extraordinary ones. The process caramelises the milk solids in butter, adding toffee and caramel notes that complement the chocolate and enhance the cookies' depth. This simple technique elevates the classic chocolate chip cookie with minimal effort.
Resting cookie dough in the refrigerator for at least 2 hours (preferably overnight and up to 72 hours) allows flavours to develop fully, particularly the complex brown butter notes. This time also allows flour to hydrate properly and firms up the dough, resulting in cookies with better texture and less spreading.
The secret lies in slightly underbaking the cookies, using the right ratio of sugars (more brown sugar for chewiness), and employing techniques like the "pan-banging" method. Brown butter adds moisture without excess liquid, creating that perfect texture contrast, while proper dough chilling prevents excessive spreading.
Chocolate Chip Cookies
Try following recommended recipes