On this page
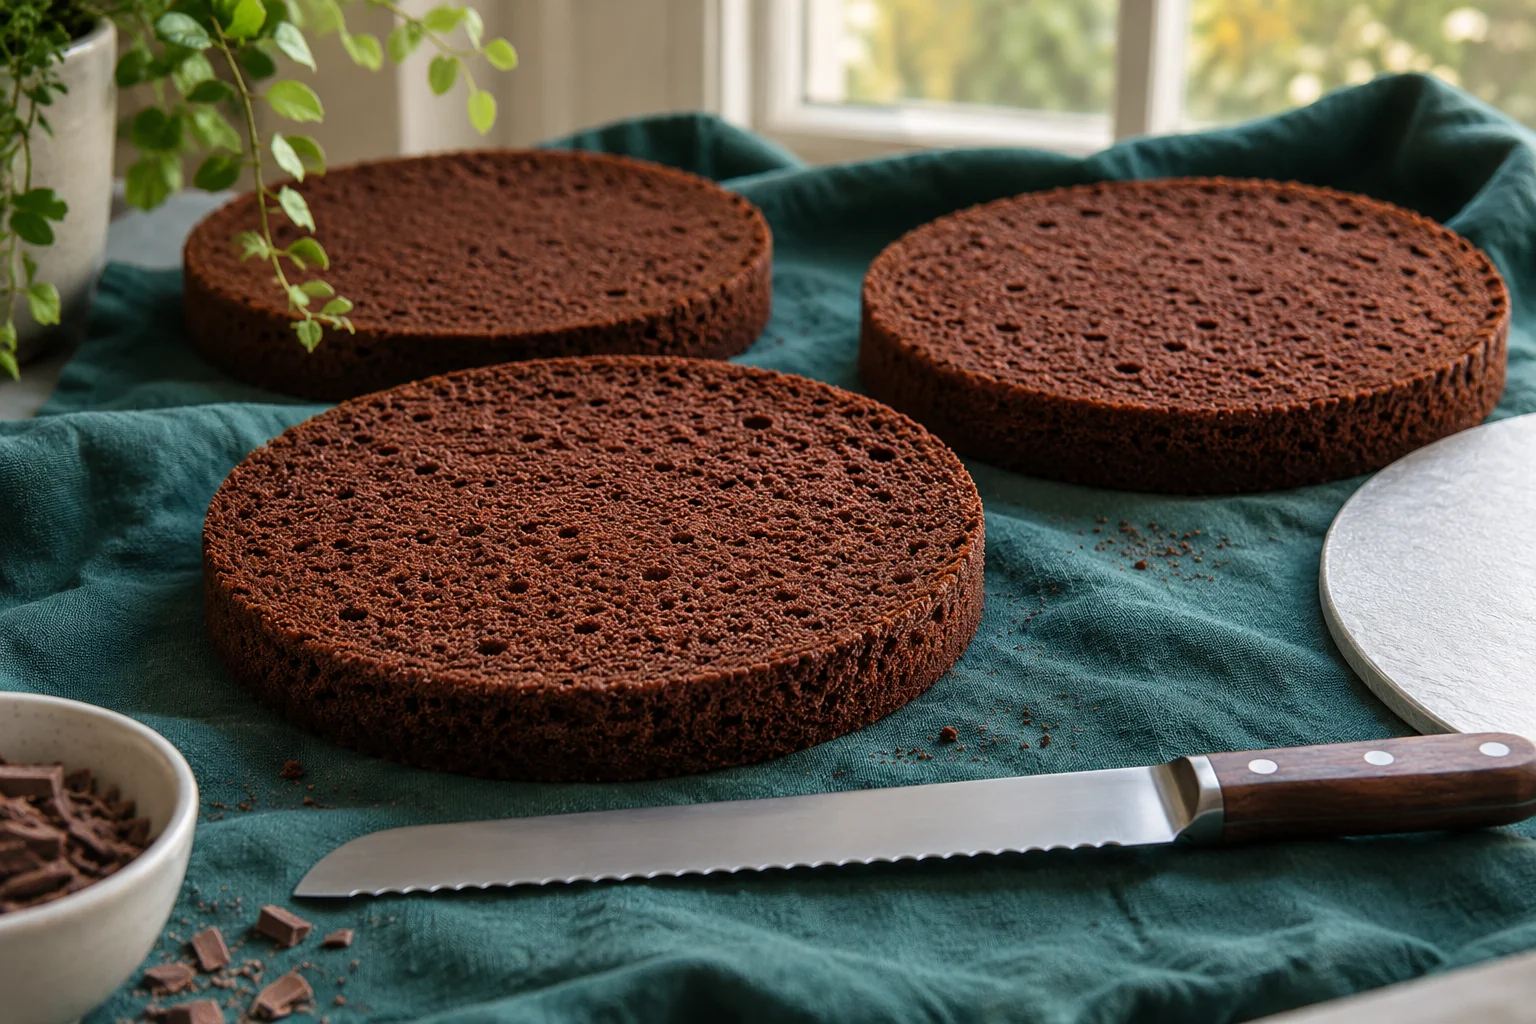
Turning one thick cake into two or three even horizontal layers creates more opportunities for filling and beautiful striped slices. It can also be intimidating. An uneven cut gives you a thick top layer and a paper-thin bottom; a warm sponge can tear, and a blunt knife can drag crumbs through the centre. With a cool cake, a marked cutting line and gentle rotation, torting becomes a repeatable technique.
What does it mean to split or torte cake?
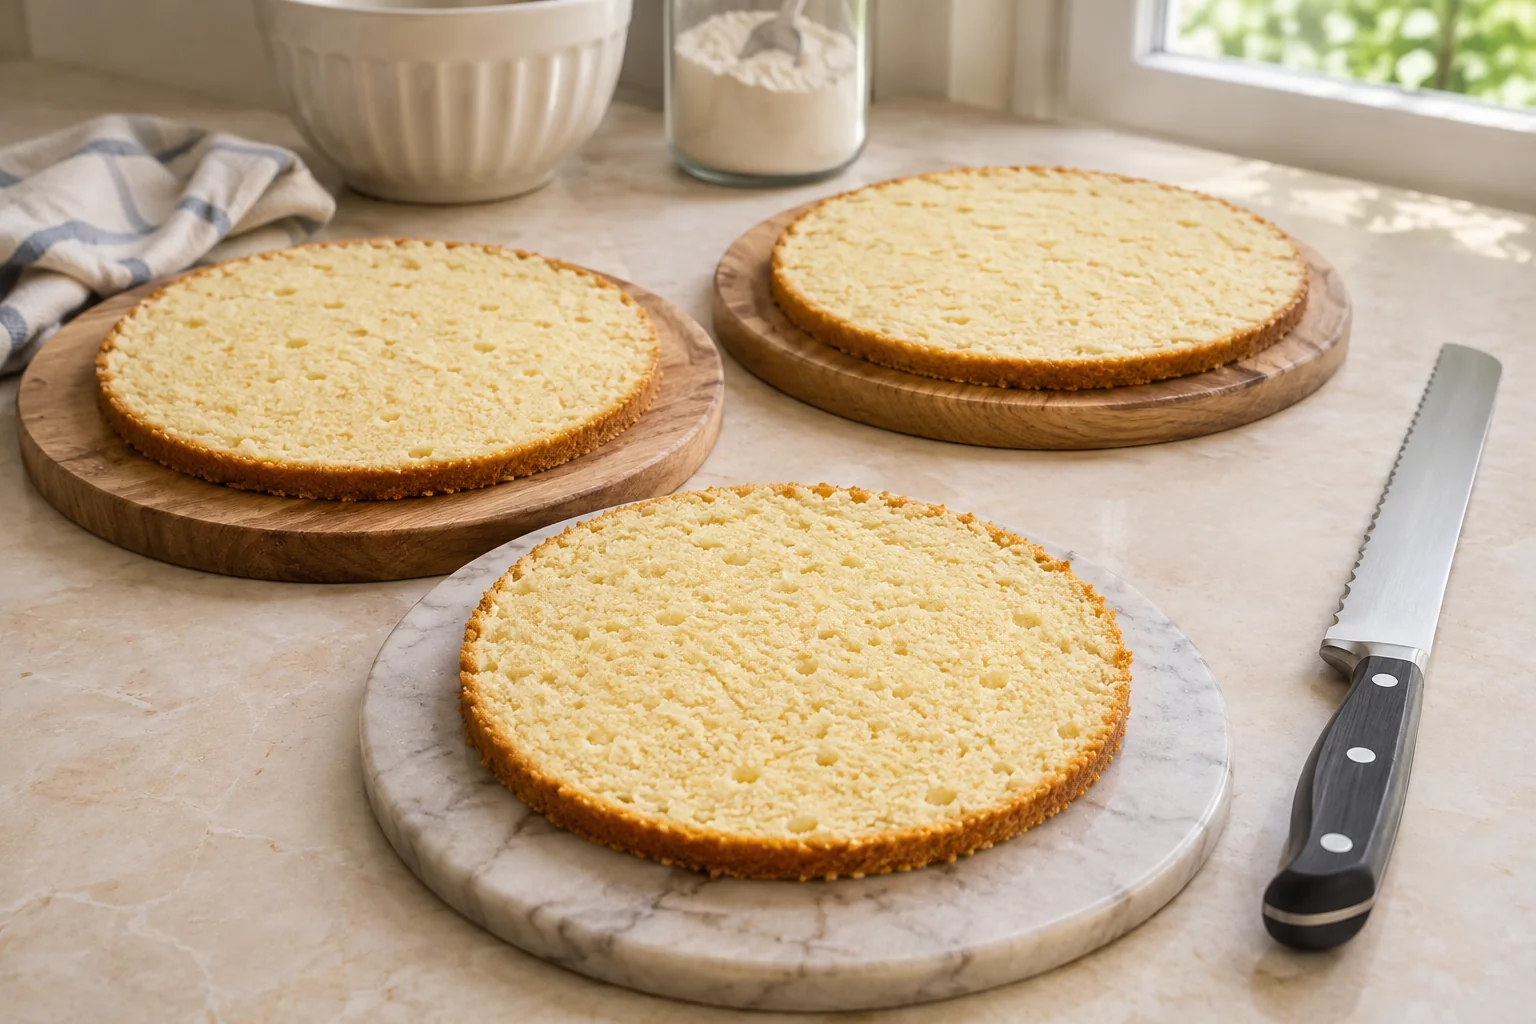
Torting is slicing a baked cake horizontally into thinner layers. It is different from trimming a dome, which only flattens the top. A single tall baked round may provide two or more usable layers if the recipe was designed for that height and the crumb is firm enough to handle.
Use a cake suitable for splitting
Sturdy butter cakes and some sponge cakes can be cut into thinner layers. Extremely delicate chiffon, fragile flourless cakes and still-warm airy sponges may require specialized handling. Before baking, decide how many layers the formula is expected to yield rather than trying to create four paper-thin layers from any cake.
Recipe to try: Classic Vanilla Layer Cake. A tender, moist three-layer vanilla cake with silky buttercream frosting that delivers pure, aromatic vanilla flavor in every delicate, buttery bite.
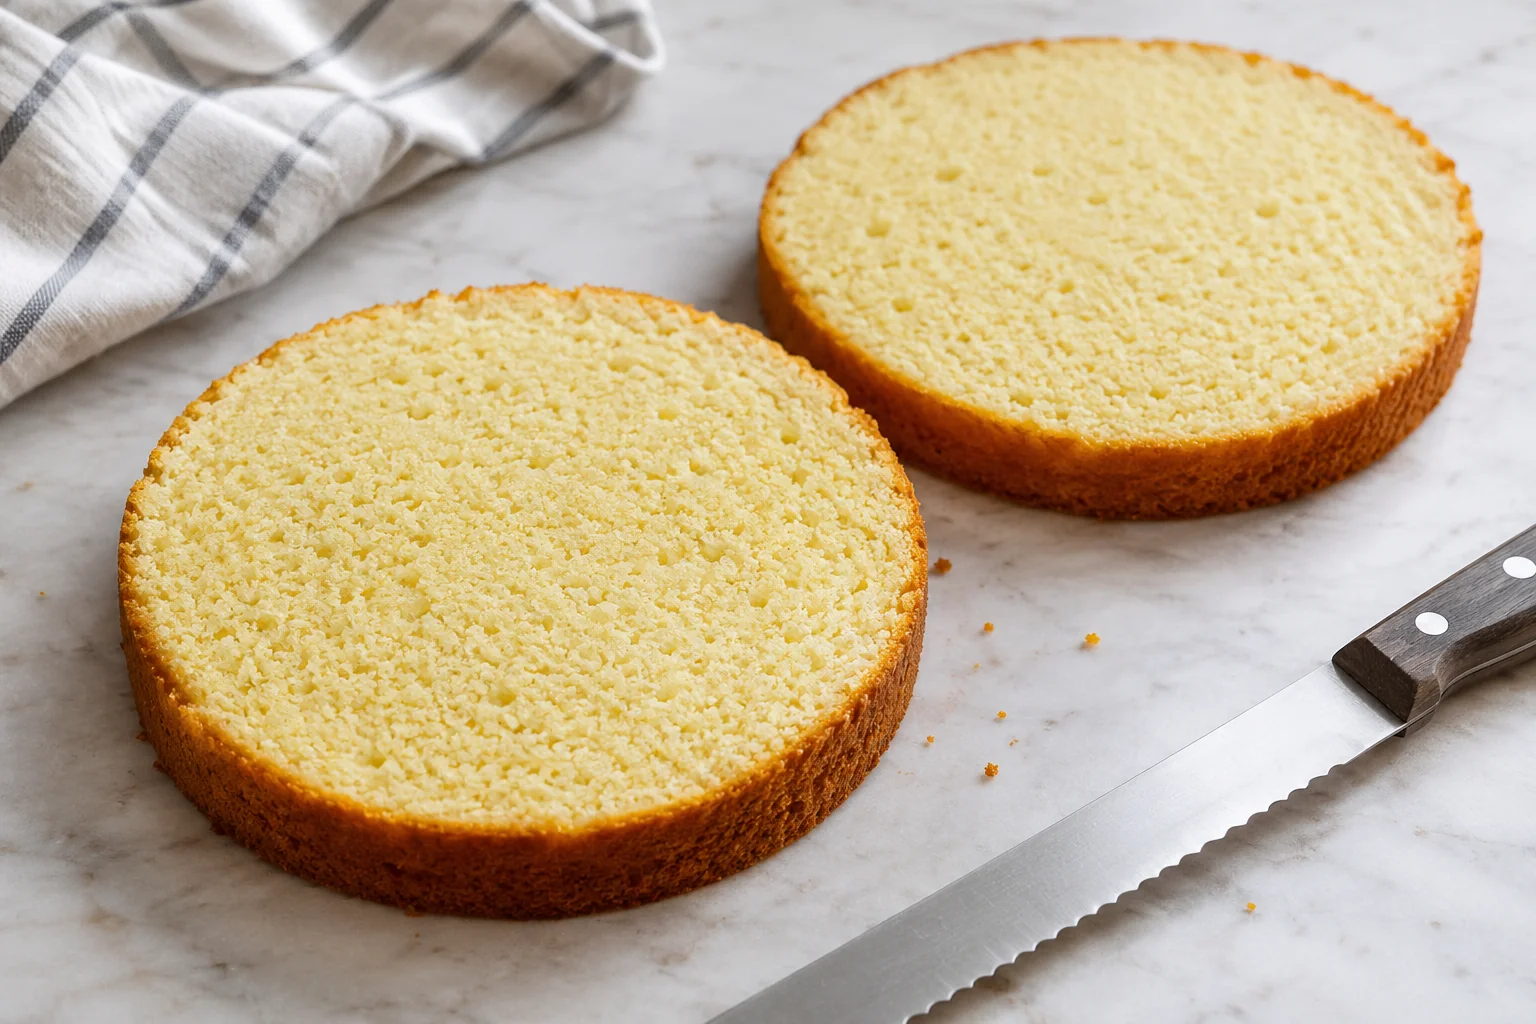
Cool thoroughly before cutting
A warm cake is soft and can tear or compress under the knife. Cool the layers according to the recipe; a brief recipe-approved chill can make a tender crumb more manageable. Avoid wrapping a steaming cake in plastic or handling it while the centre is still fragile.
Level the dome first
If the top is strongly rounded, trim it before dividing the rest of the cake. A level top makes thickness calculations easier and gives you a stable reference. Save fully baked trimmings for crumbs or another dessert if their storage and ingredients allow.
Measure cake height
Measure from the base to the flat top at multiple points. For two layers, mark approximately half the usable height; for three, mark thirds. Uneven cake edges can make a single measurement misleading, so check around the circumference.
Mark the line with toothpicks or small guides
Place a few food-safe markers at the intended cutting height, using care to remove all of them afterward. Some bakers score a shallow guide around the sides with a knife instead. Markers help the eye stay level, but do not force the blade to follow an already crooked cake.
Choose a long serrated knife
A sharp serrated bread or cake knife helps slice through tender crumb with minimal pressure. Ideally the blade is long enough to reach across most of the cake. A very short knife encourages uneven sawing and may leave a step in the middle.
Begin with a shallow perimeter cut
Set the blade at the marked level, gently score around the outside and turn the cake or rotate yourself as needed. Don't push the entire blade through at the first cut. Working progressively around the circumference establishes a guide for the deeper pass.
Rotate while moving inward
Continue with small horizontal sawing motions and gradually increase cut depth, keeping the knife parallel to the table. A rotating cake stand can help, but it must be stable and not spin wildly. Apply only enough pressure to pass through the crumb.
Avoid compressing the top
Pressing hard with a free hand can collapse airy cake and distort the cutting line. Support gently and keep the knife level. If you notice the cake bending dramatically, it may need more cooling or a different cutting technique.
What about a wire cake leveler?
A wire or blade leveler provides a physical height setting that can improve consistency on suitable cakes. It should be sharp and correctly adjusted. Some soft cakes bunch up ahead of a wire, so use the tool best suited to the crumb instead of assuming a gadget guarantees perfect layers.
Can dental floss or string work?
Some bakers use clean food-safe thread or unwaxed floss to cut delicate cakes after establishing a level path. This method may suit certain soft sponges but can tear a firm crust. Avoid flavoured or unsuitable coated floss and use a tested technique if choosing it.
Separate layers without tearing
Once cut, slide a thin cake board or wide offset tool beneath the upper layer before lifting. Unsupported thin cake can split under its own weight. Transfer to a flat clean surface and keep track of which faces were cut for even assembly.
Recipe to try: Chocolate Layer Cake. Rich, decadent chocolate layers enveloped in silky frosting create a celebration-worthy cake with deep cocoa flavor and melt-in-your-mouth texture.
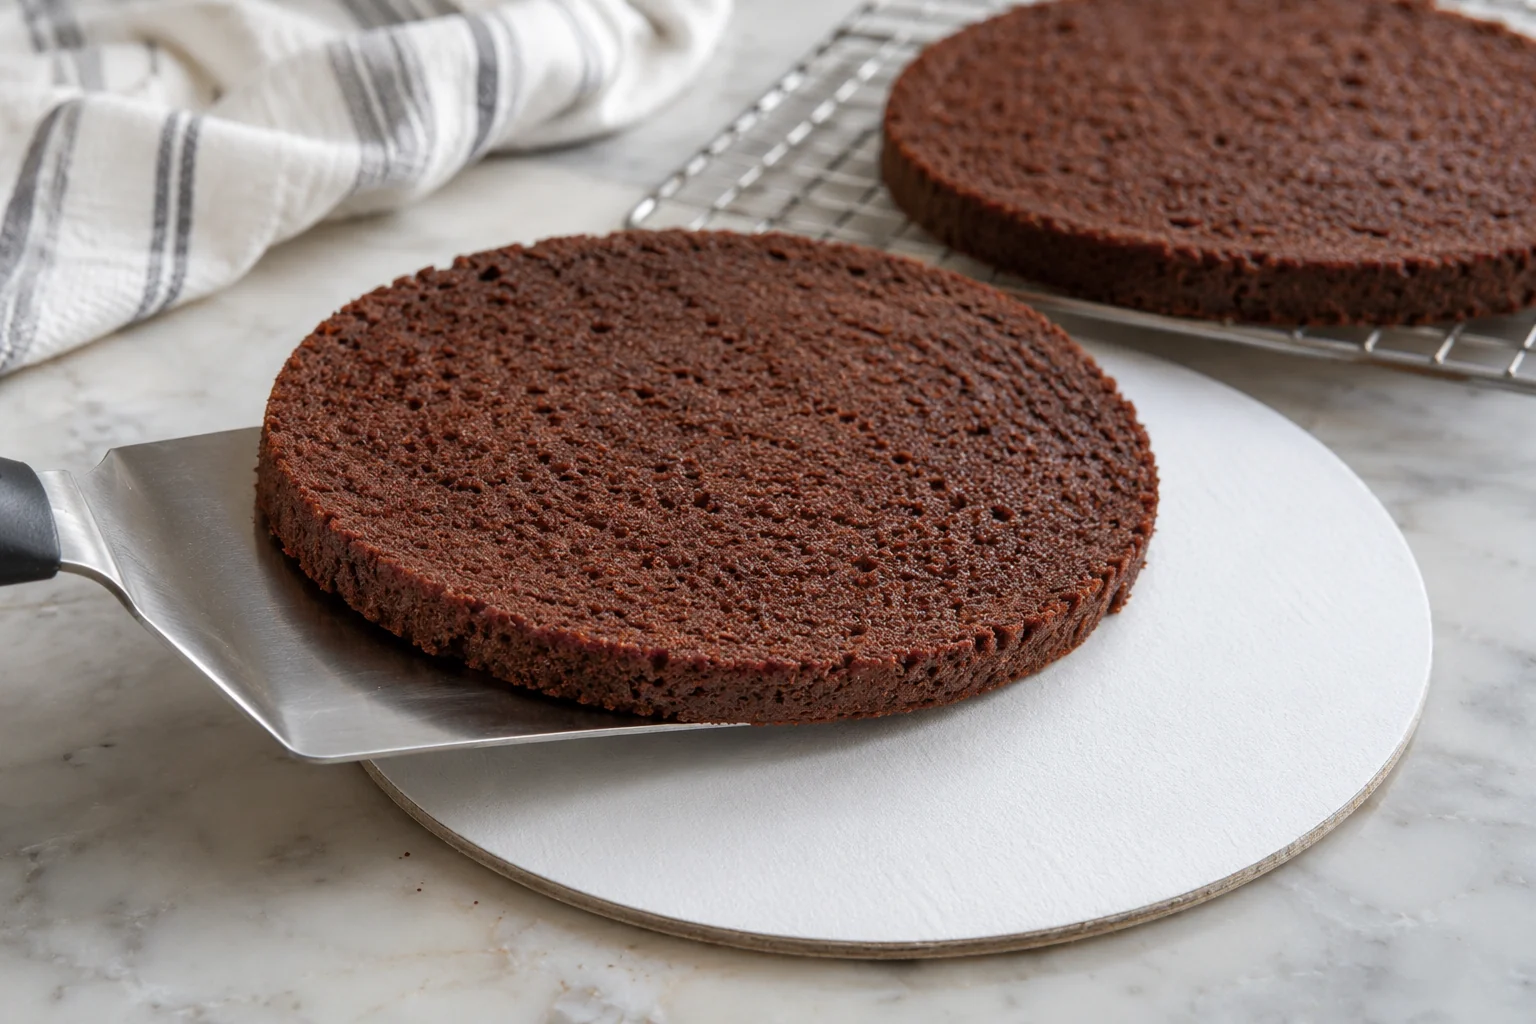
Flip versus keeping orientation
Some bakers invert the top layer to use its flat cut face for filling or frosting. Others preserve the original orientation to keep crumb texture aligned. Either can work when the layers are structurally sound; follow the assembly instructions for your particular cake.
What if you accidentally cut diagonally?
A gently uneven surface can sometimes be leveled with a small trim, leaving the layers slightly thinner. A dramatic wedge cut may leave a piece too fragile for stacking. Don't force an uneven layer to stand straight by adding an enormous mound of frosting at one side.
What if the cake crumbles?
Possible causes include excessive dryness, a blunt blade, cutting while warm or a cake style not designed for torting. Refrigerate or chill if the recipe permits and use gentle long strokes. Adding water or syrup won't glue a fragmented cake into a stable layer.
Why frosting can highlight unevenness
When a thin layer rests over a thicker one, filling depth becomes irregular and the stack can lean. Torting evenly reduces the temptation to compensate with extra filling. Use a buttercream dam for soft fillings and keep layer thicknesses consistent.
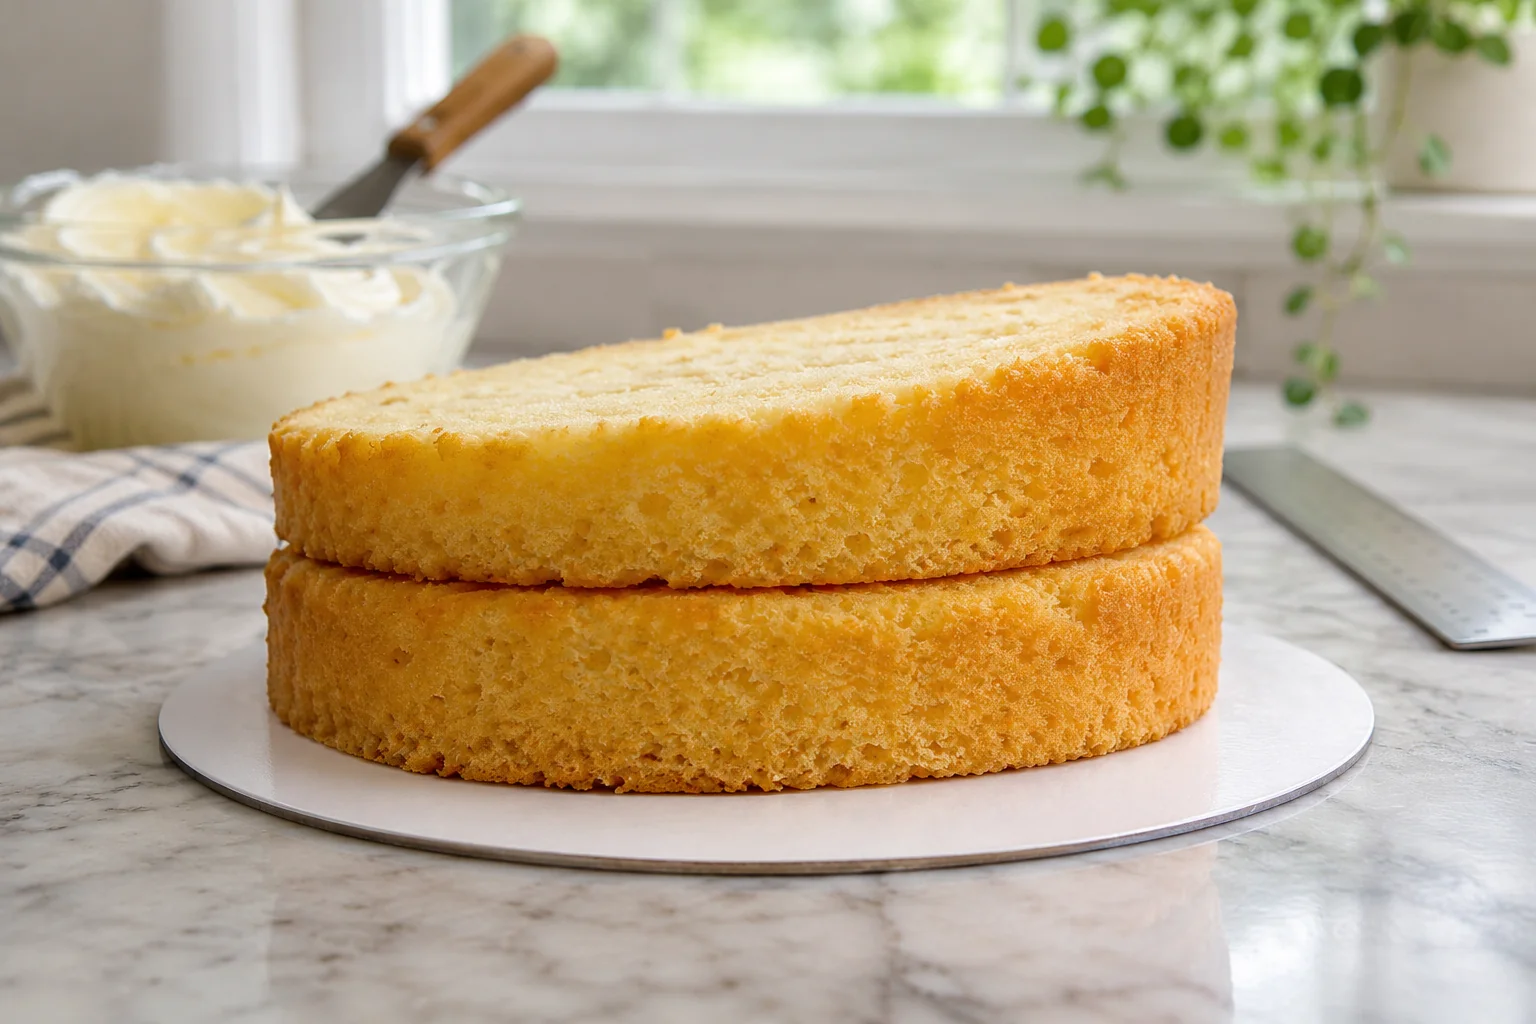
How to plan more layers
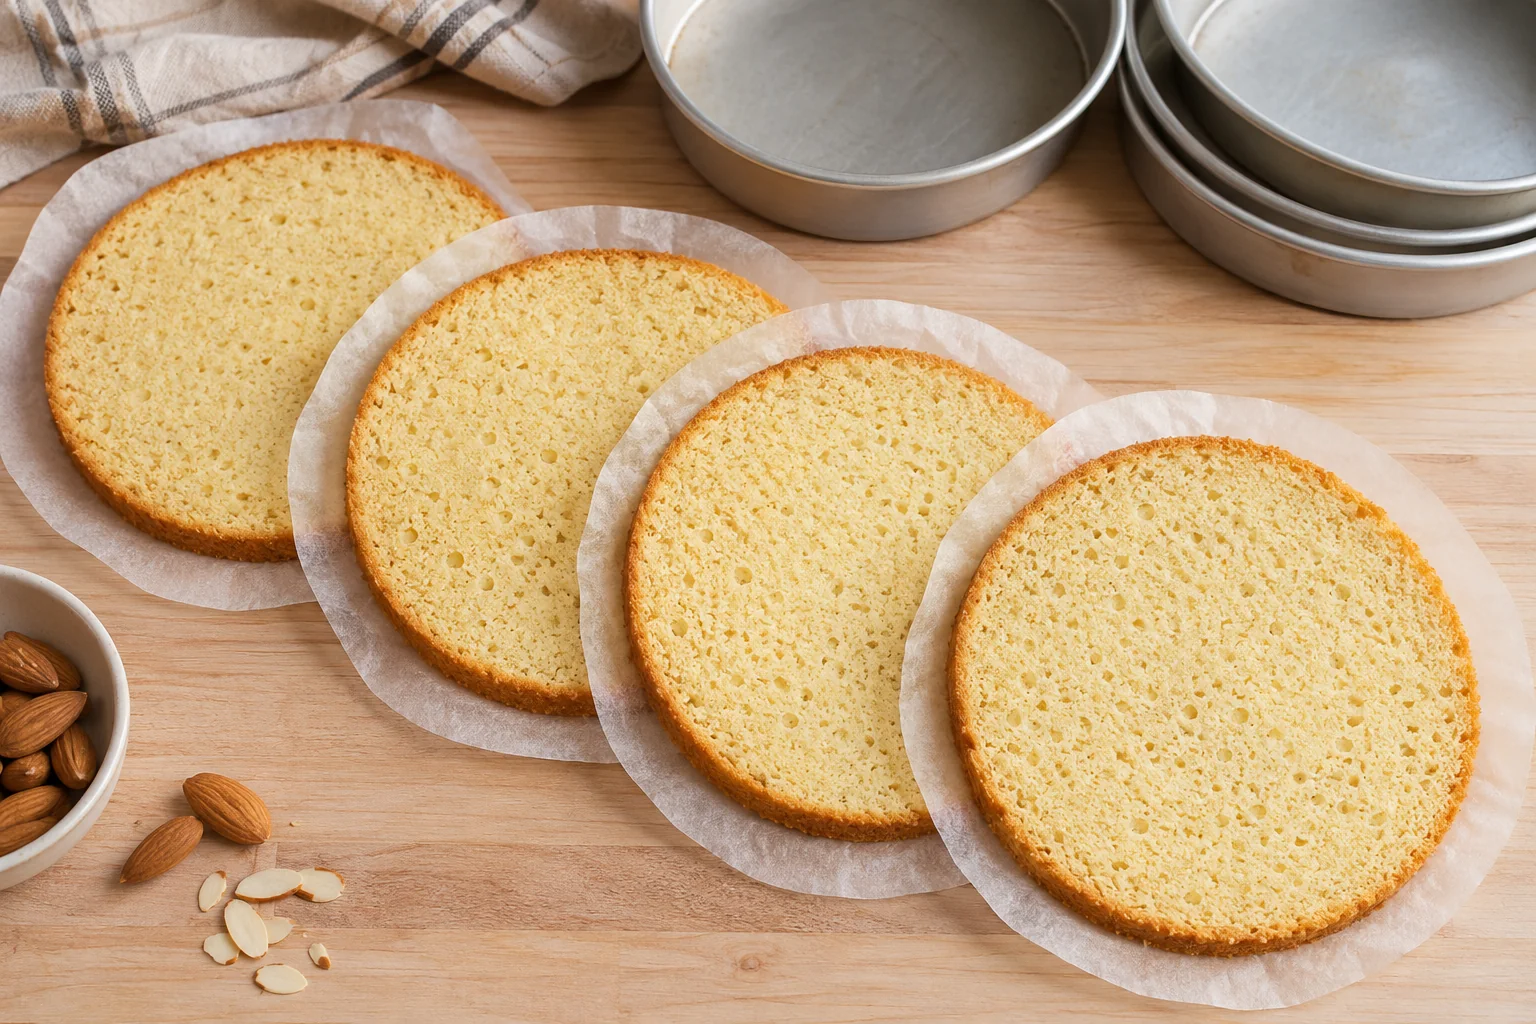
For a tall cake, it is often easier to bake several shallow rounds and split each once than bake one extremely deep round. Pan dimensions, oven heat and formula must support the plan. A deep cake may have an underbaked centre even if the outside looks finished.
Recipe to try: Lemon Layer Cake. A show-stopping triple-layer cake bursting with bright lemon flavor, filled with tangy lemon curd, and wrapped in silky lemon buttercream for the perfect balance of sweet and citrus.
Food safety when handling cake
Use clean tools and work surfaces. Return cakes with perishable dairy or fruit fillings to refrigeration after assembly. If the cooled cake is being frozen for later torting, follow recipe-specific wrap and thaw instructions.
Frequently asked questions
How many layers from one cake? Depends on its height and strength. Is a serrated knife necessary? It's helpful for many sponges. Can I split cake while hot? Generally wait for cooling. Does chilling make cutting easier? Often. Why do layers tear when lifted? They're too thin or unsupported.
Cut slowly, stack confidently
Measure, mark and rotate a cool cake while slicing progressively inward. Support thin layers during transfer. A smooth horizontal cut makes fillings easier to distribute and helps the finished cake stand tall without leaning.
IN PICTURES
From the baking notebook
FROM THE RECIPE BOX