On this page
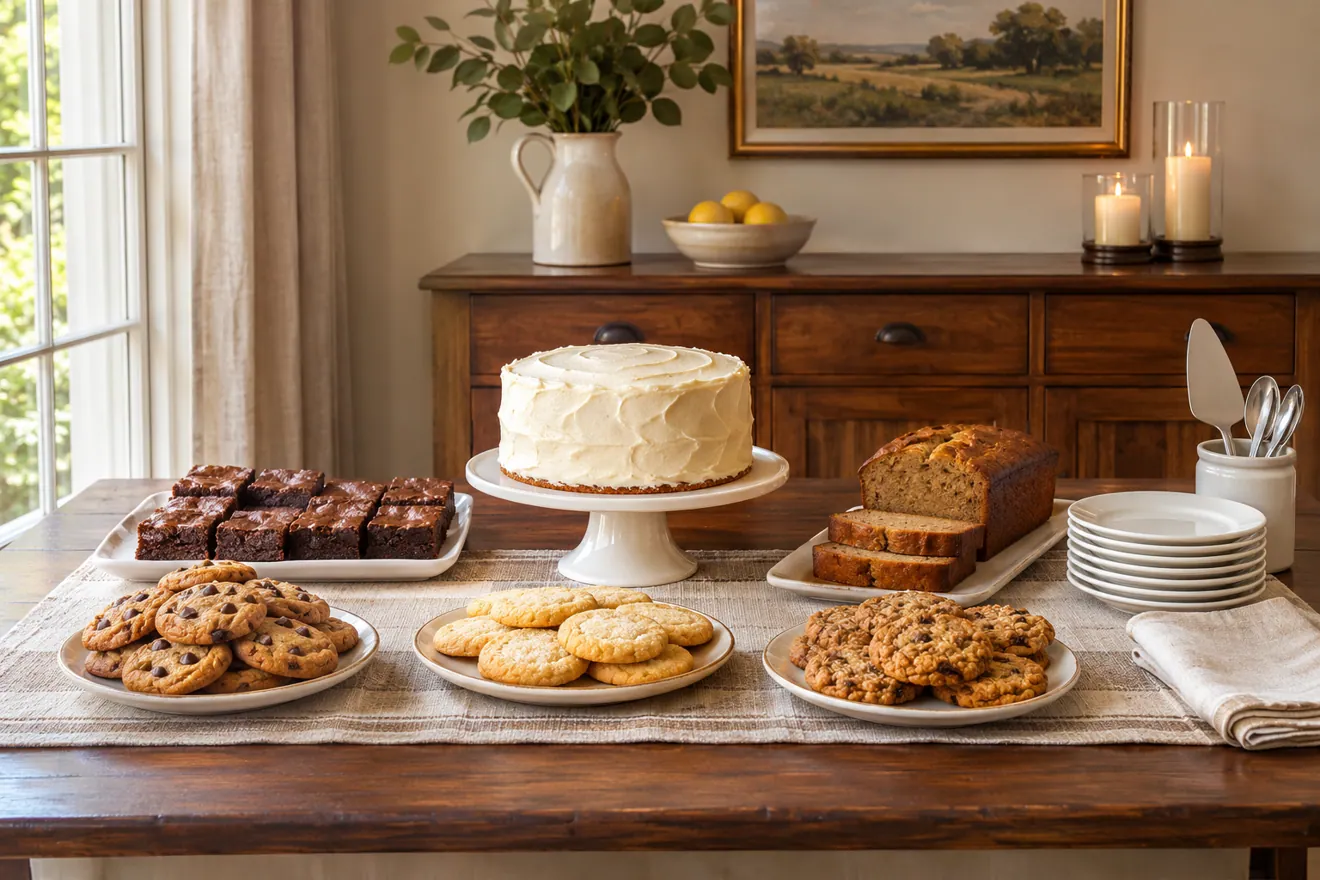
A beautiful dessert table can make a party feel welcoming before anyone takes a bite. It doesn't need towering cake stands or an expensive display. The tables that work best are thoughtful: enough dessert for the guests, a few contrasting flavours, serving tools where people need them and a layout that lets everyone choose without crowding one end.
Whether you're planning a birthday, holiday dinner, baby shower or weekend gathering, this guide explains how to build a dessert table from the menu outward. We'll cover serving estimates, visual arrangement, make-ahead planning and the practical details that turn an attractive display into something guests can actually enjoy.
Begin With Guests and Occasion, Not Decorations
Start by writing down the approximate guest count, the time of day and what other food will be served. A dessert table after a three-course dinner needs fewer portions than a dessert-and-coffee reception. A children's birthday gathering may favour familiar cookies and cupcakes, while an anniversary dinner might call for a small centerpiece cake and a couple of elegant treats.
Ask about allergies and dietary restrictions before choosing the menu. It is easier to incorporate a suitable dessert from the beginning than to discover just before serving that one guest can't safely eat anything on the table.
Step 1: Estimate Total Dessert Portions
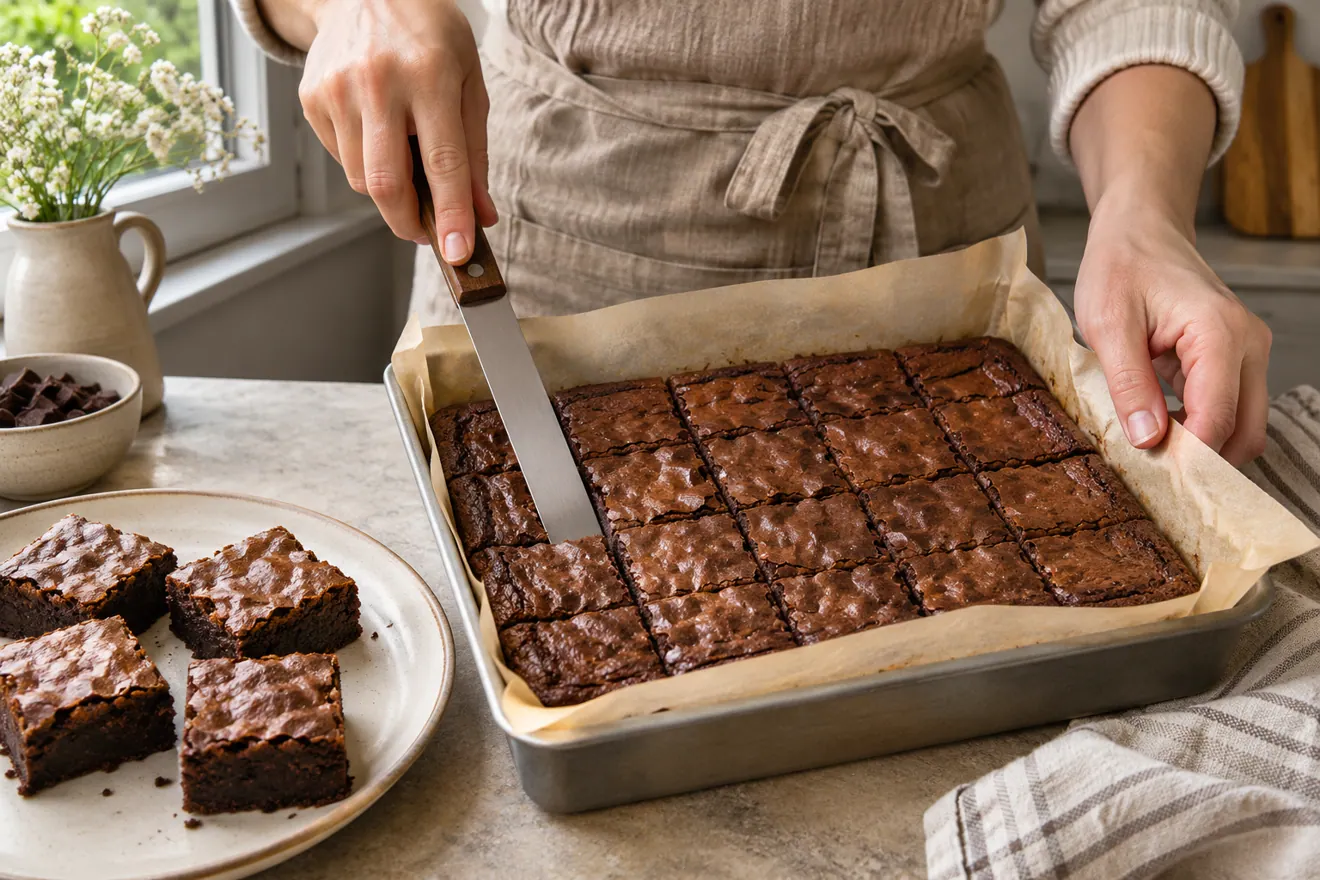
Count actual portions, not just the number of recipes. A cheesecake may yield twelve slices, a pan of brownies twenty small squares and a batch of cookies twenty-four individual pieces. That collection contains several different options, but it also has a measurable number of servings.
For dessert following a full meal, an initial estimate of one to one-and-a-half modest portions per guest may work for planning, adjusted for appetites and dessert size. For a tasting-focused event with miniature treats, two or three small bites per person can be a starting point. These are flexible estimates, not universal food-service rules.
Record every chosen recipe's stated yield. If you want a buffer for unexpected guests, add some easily stored cookies or bars rather than making a second fragile centerpiece.
Start with a stated yield. One pan of Gluten-Free Blondies gives 16 squares, which you can count alongside the cake portions.
Step 2: Choose Two to Five Dessert Categories
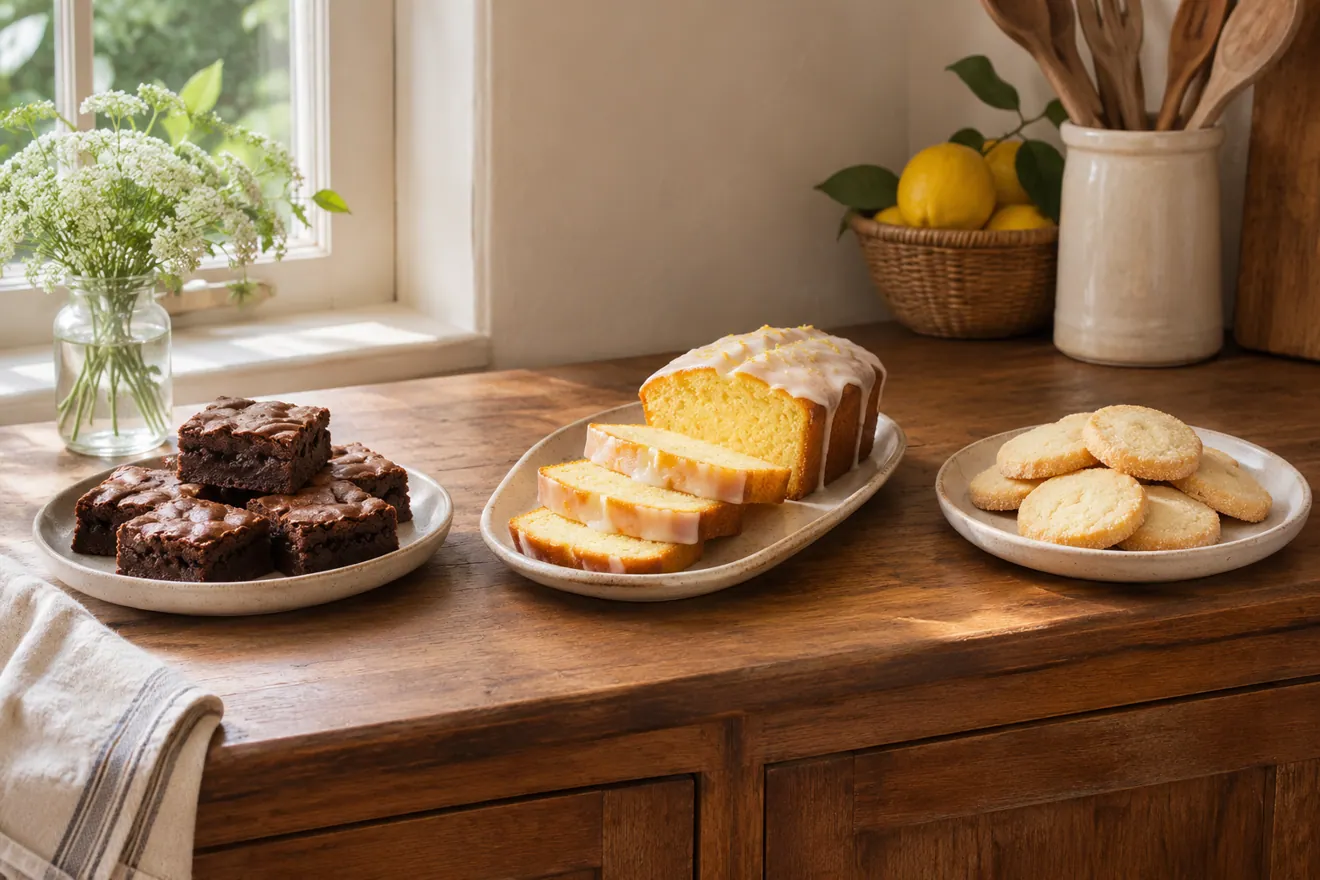
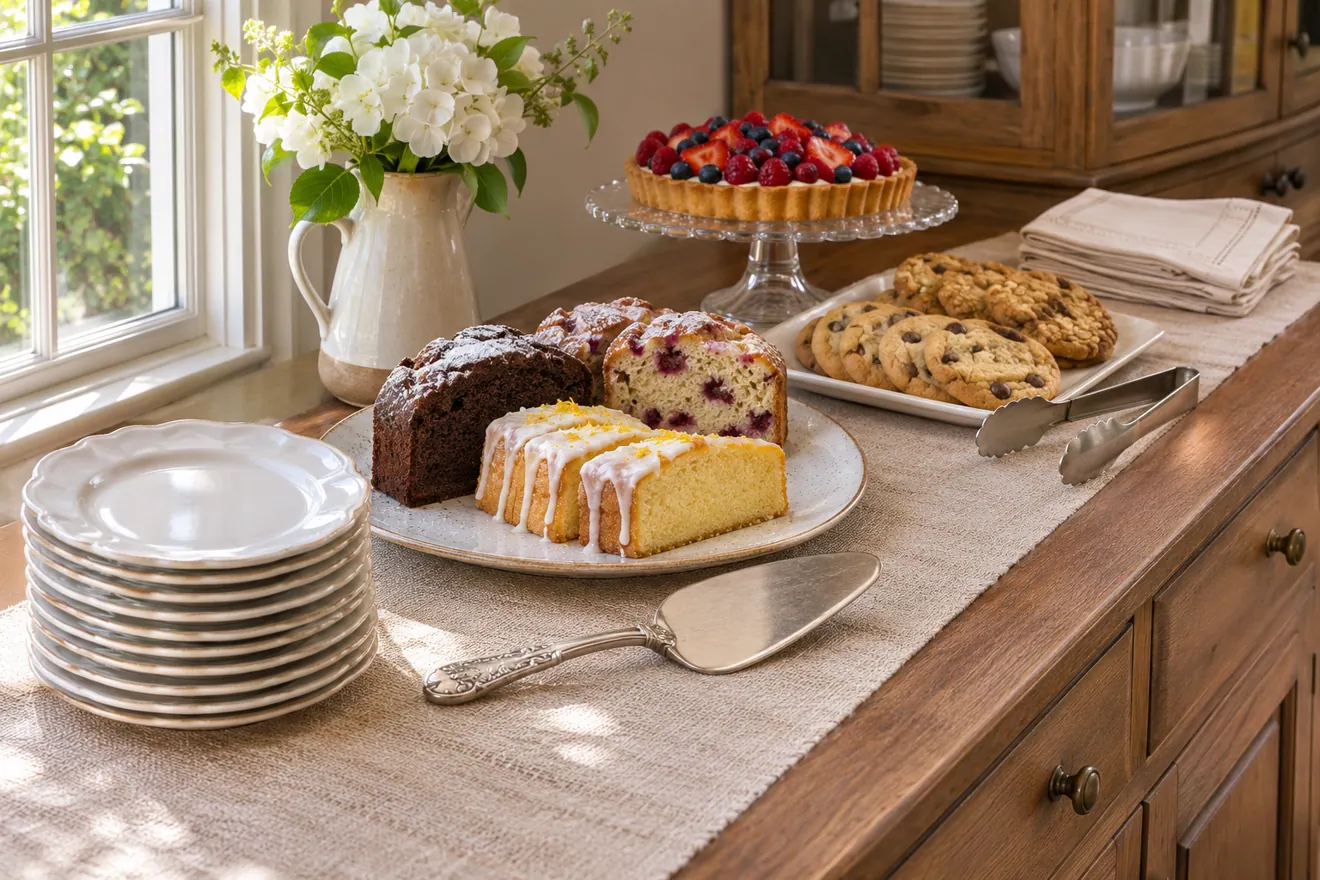
Think in terms of flavour and texture. A useful combination might include something chocolatey, a fruit or citrus dessert and a crisp or vanilla-based option. For a winter party, try brownies, cranberry cake and shortbread. For a summer gathering, consider a berry cake, lemon tartlets and simple cookies.
Don't choose five recipes with essentially the same texture. Chocolate mousse, chocolate pudding and chocolate cream pie may all be delicious, but the table may feel repetitive. One rich dessert paired with something tart and something crisp usually offers better balance.
Step 3: Pick One Centerpiece
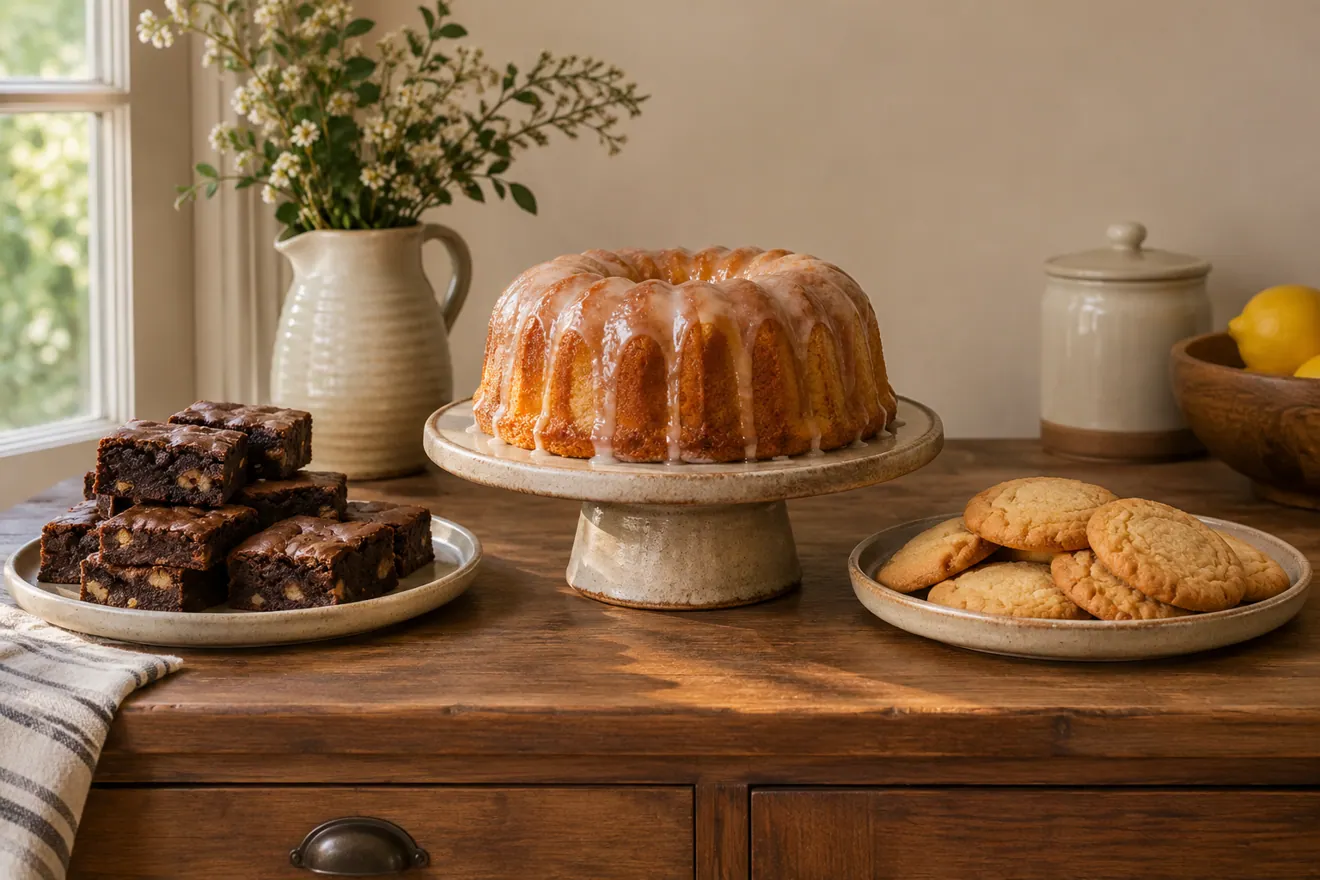
A centerpiece gives the table a focal point. It could be a decorated layer cake, a Bundt cake, a tall plate of cookies or an elegant tart. It doesn't have to be the largest or most complicated item.
Make sure the centerpiece can actually be served: leave room for slicing, place a suitable cake server nearby and choose a stand sturdy enough for the dessert's weight. If the cake requires refrigeration, don't put it on display hours ahead merely to complete the look.
For a single cake without a layered filling, consider the Lemon Poppy Seed Bundt Cake and its simple lemon glaze.
Step 4: Add Easy-to-Serve Supporting Desserts
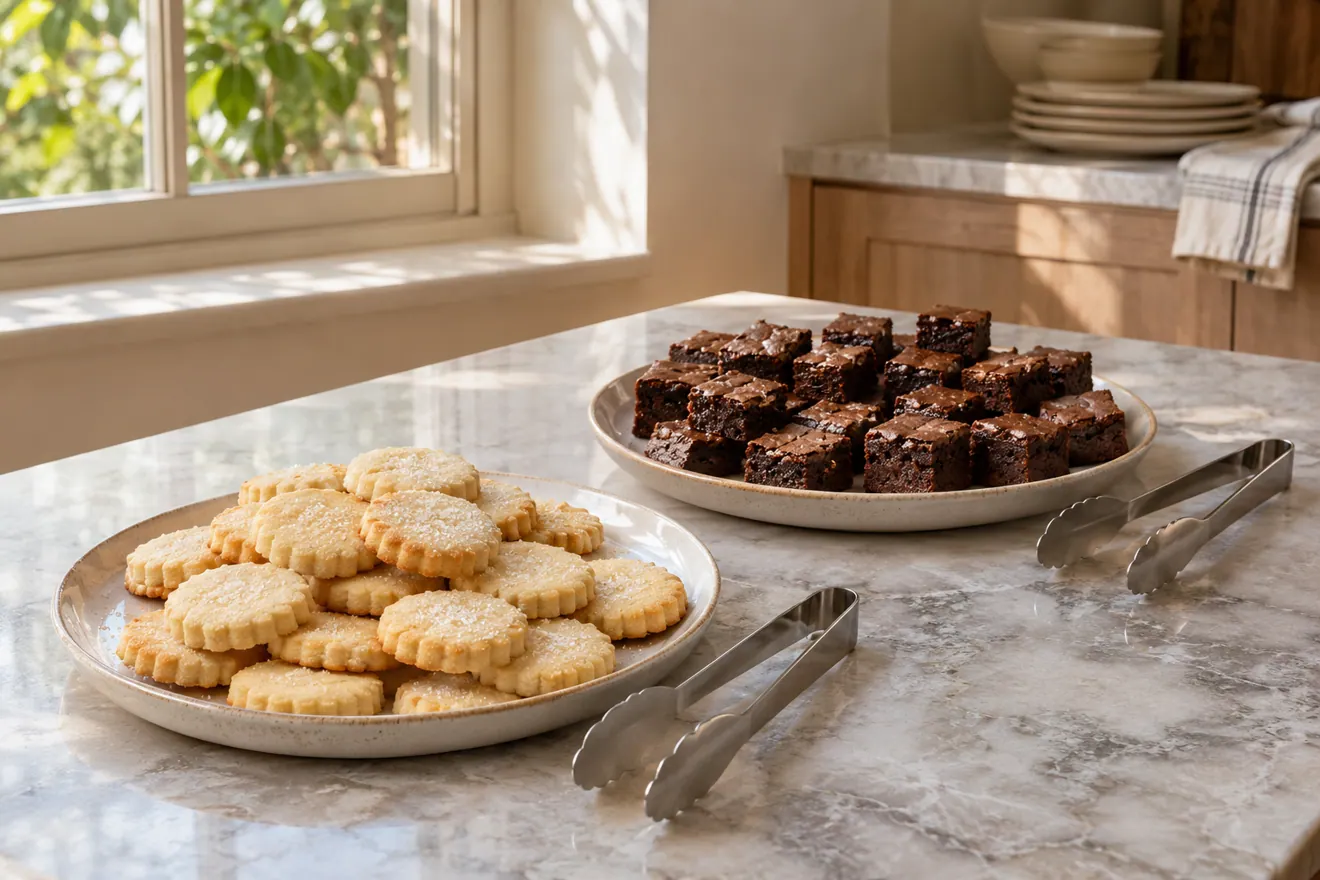
Bars, cookies and individual pastries are easy to arrange around a centrepiece and give guests a choice of portions. Pick one batch that slices cleanly and one that can be lifted with tongs.
Choose a fitted carrier for tall cupcakes or pastries with delicate toppings. Set aside space for a separate chilled tray if a filling or topping requires refrigeration.
Vegan Shortbread Cookies sit neatly on a low platter and give guests a smaller option beside cake.
Step 5: Sketch the Layout Before Baking
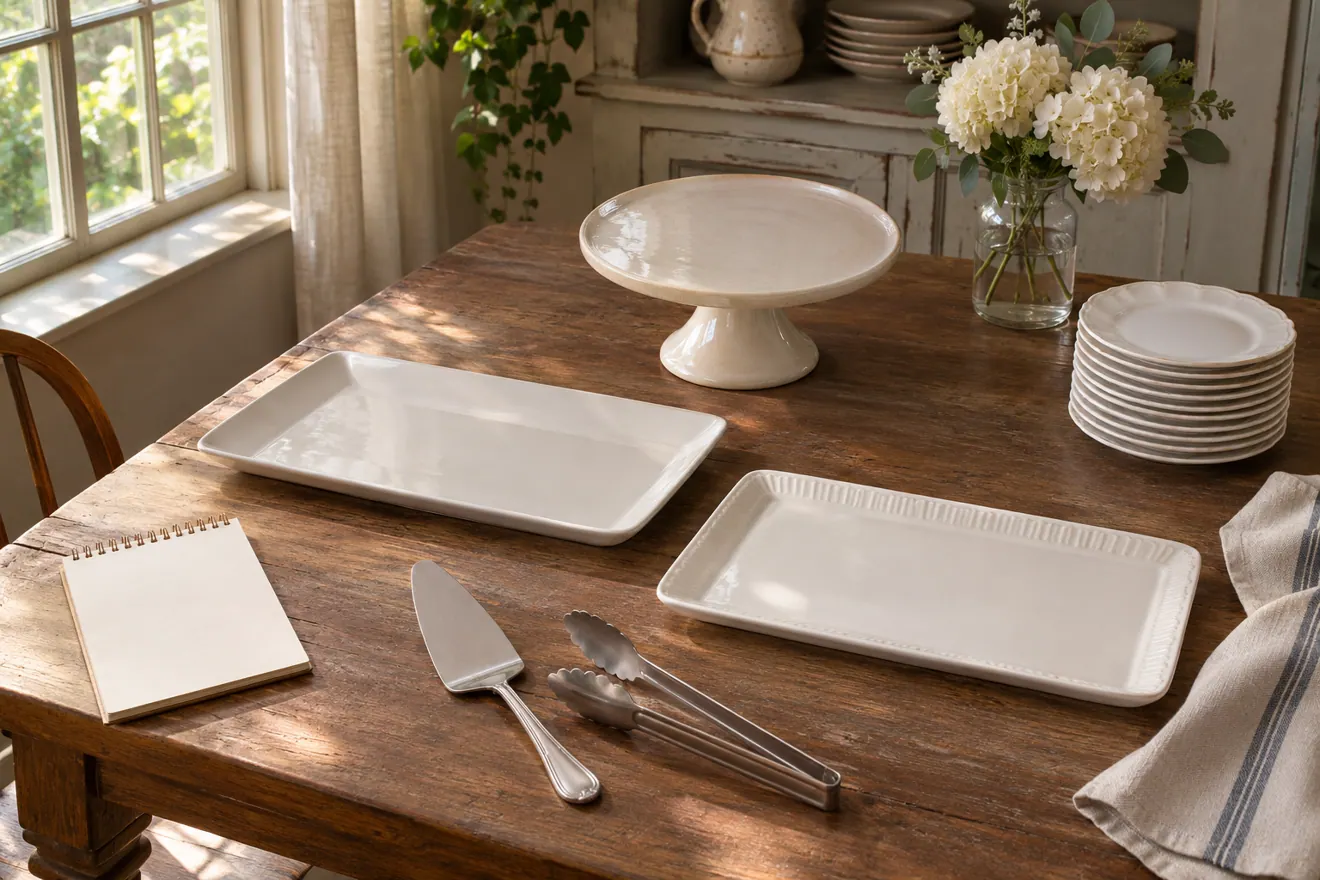
Measure the table or counter and collect the serving stands you already own. Set empty trays in their approximate positions to see whether everything fits. Leave space for plates, napkins, labels and serving utensils, not just dessert plates.
If people will approach the table from one side, place the serving line along that edge. For a narrow table, avoid setting tall decorations in front of small desserts. The display should be readable and easy to reach.
Try the layout with the actual plates and serving tools before baking day. Leave enough room for a guest to set down a plate while using a server. Put familiar items toward the front. Move narrow jars, unstable stacks and long decorations away from busy reach points.
Use Height Without Creating Obstacles
A modest amount of height makes a table visually interesting. Put the centerpiece on a stable stand and let low platters of cookies or bars fill the foreground. Slightly raised trays can help separate neighbouring desserts.
Don't balance heavy platters on unstable boxes or use decorative risers that tip when guests remove a slice. Check the stand's footprint and avoid overloading a small table.
Group Desserts by Type
Grouping small items helps the table look intentional: brownies together, fruit pastries together and cookies in their own area. It also makes ingredient and allergen labels easier to understand.
For a more relaxed look, keep a little space between groups rather than arranging every piece in a tight grid. Empty space lets guests pick up a cookie without brushing icing off the next tray.
Build a Simple Colour Palette
Let the desserts provide much of the colour. Cream-coloured plates, pale linens and natural wood can make chocolate, berries and golden pastry stand out. For Christmas, a restrained green or cranberry accent may be enough; for a birthday, a few coordinated napkins can establish the theme.
Avoid strongly coloured lighting or tall arrangements that make food harder to see. Guests should recognize the desserts easily and read their labels.
Use Different Shapes and Textures
Round cookies, square brownies, triangular pie slices and small tartlets create natural variety. You don't need to force every dessert into an individual cup or matching wrapper.
Choose serving pieces that suit their texture. A soft cheesecake needs a firm plate and server; a crisp cookie may sit well in a shallow bowl. Fragile pastry can break if stacked in a deep jar.
Step 6: Prepare Clear Dessert Labels
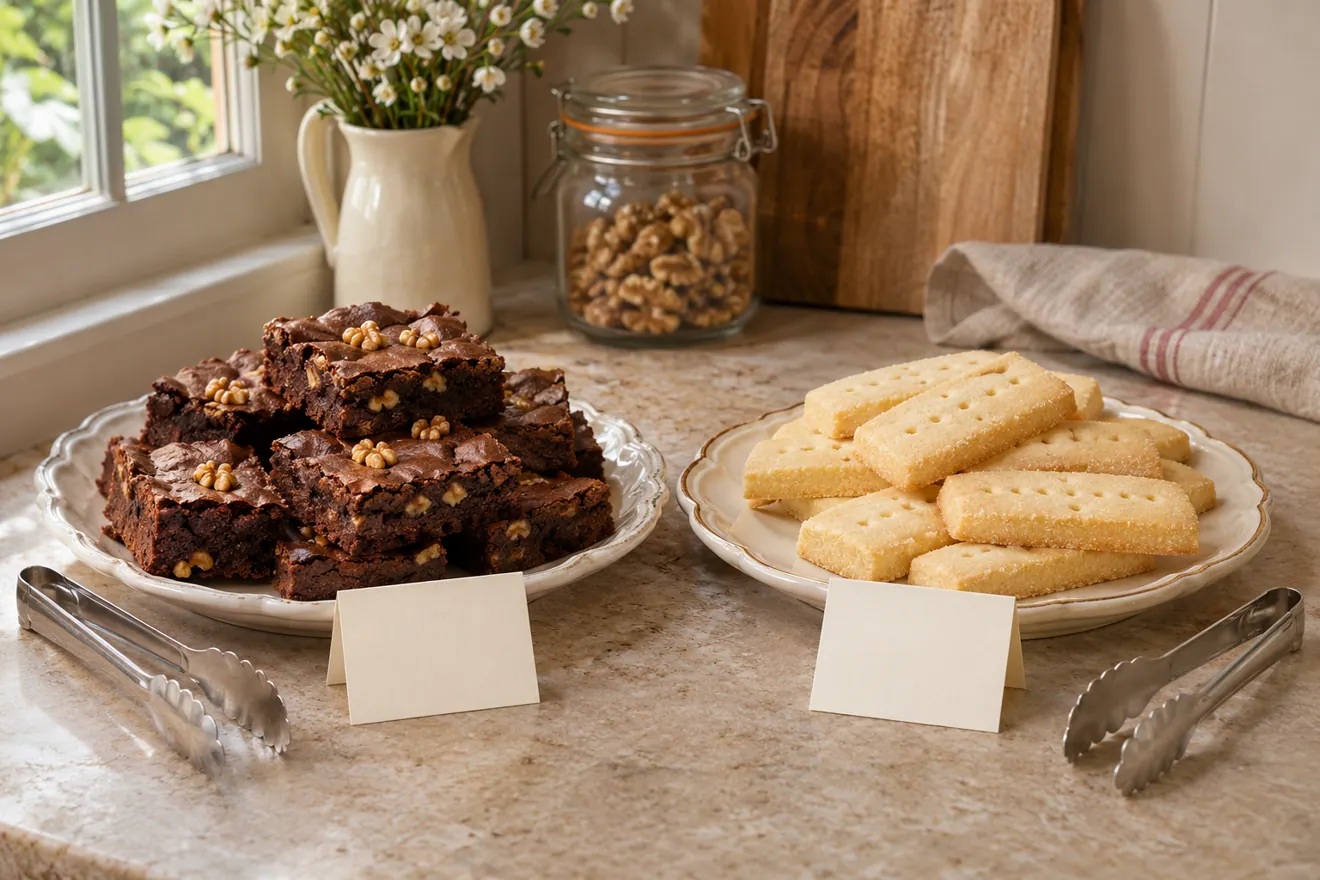
Small cards with each dessert's name help guests choose quickly. Include useful ingredient information and identify major allergens such as nuts, milk, wheat and eggs where relevant. For dietary-specific desserts, be cautious about claims like “nut-free” or “gluten-free” if cross-contact is possible in the kitchen.
Use easy-to-read handwriting or printing and keep labels close to the correct trays. Avoid decorative label holders that could fall into food.
Place the dish name and its ingredient or allergen information beside the correct tray. Keep ingredient packages or a written list nearby for follow-up questions. Give each dish its own utensil. Ask guests with allergies what they need and explain any shared-kitchen limitations before they choose.
Step 7: Plan Serving Tools and Plates
Put forks or small spoons beside desserts that need them. Include a knife and cake server for whole cakes, tongs for suitable pastries and napkins where people can reach them. Guests shouldn't need to search through the kitchen to cut a pie.
Provide separate utensils for different desserts, especially where allergens or strong flavours could transfer. Make sure the serving table has room for used tools to rest without touching table linen or other food.
Step 8: Make a Baking Schedule
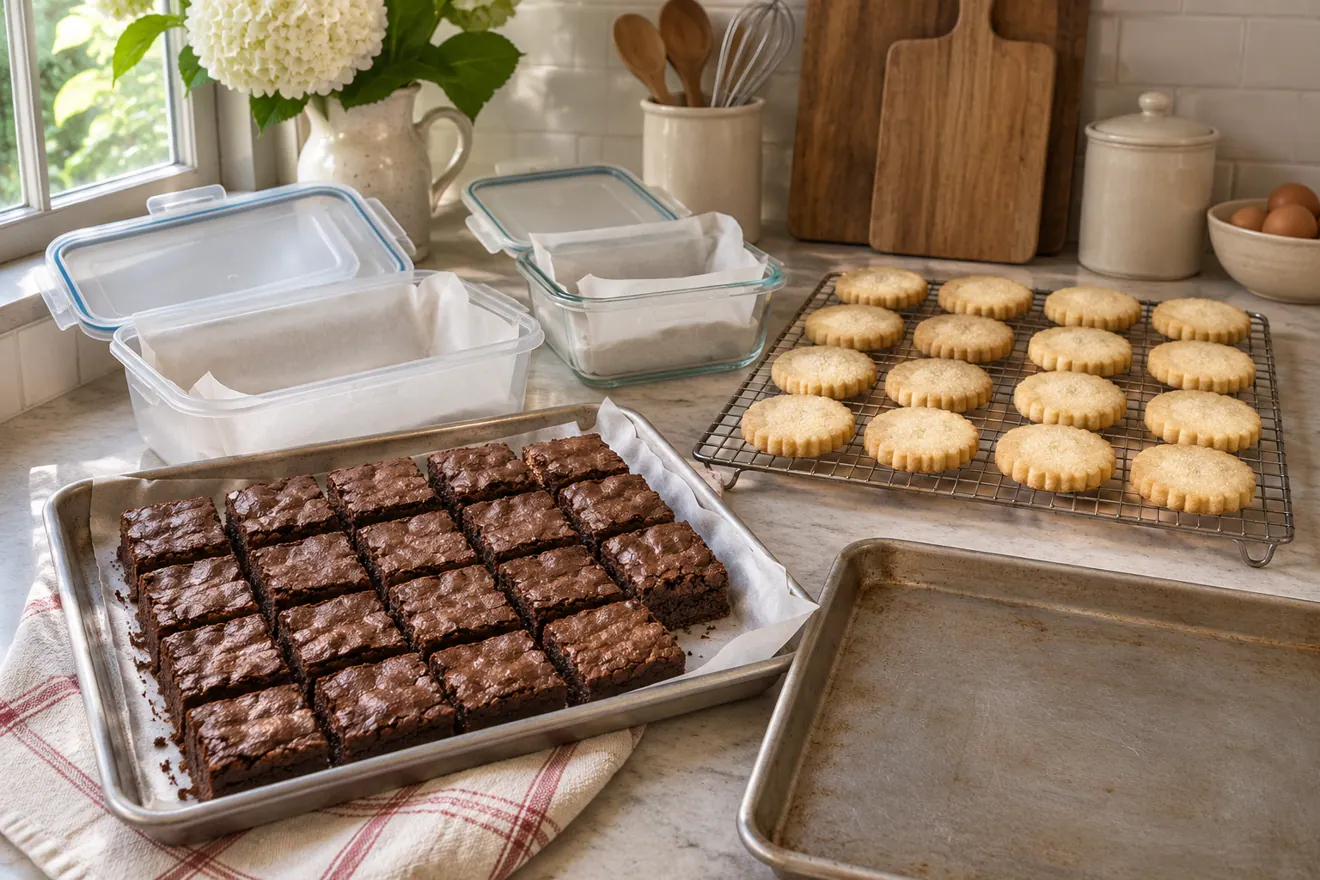
Write a list of what can be prepared two days before, the day before and on party day. Recipes for sturdy bars and some plain cookies may allow advance preparation. Some cake layers can be frozen when their recipes support it. Cheesecake often requires a planned chilling period.
Fresh fruit toppings, whipped cream and crisp pastry fillings may be better finished close to serving. Include cooling time before frosting or packaging; a dessert that's still warm when guests arrive may not be ready to display.
Bake Classic Chocolate Chip Cookies early enough to cool fully before packing. Leave delicate or chilled finishes for their recipe’s serving window.
Step 9: Think About Storage Before Styling
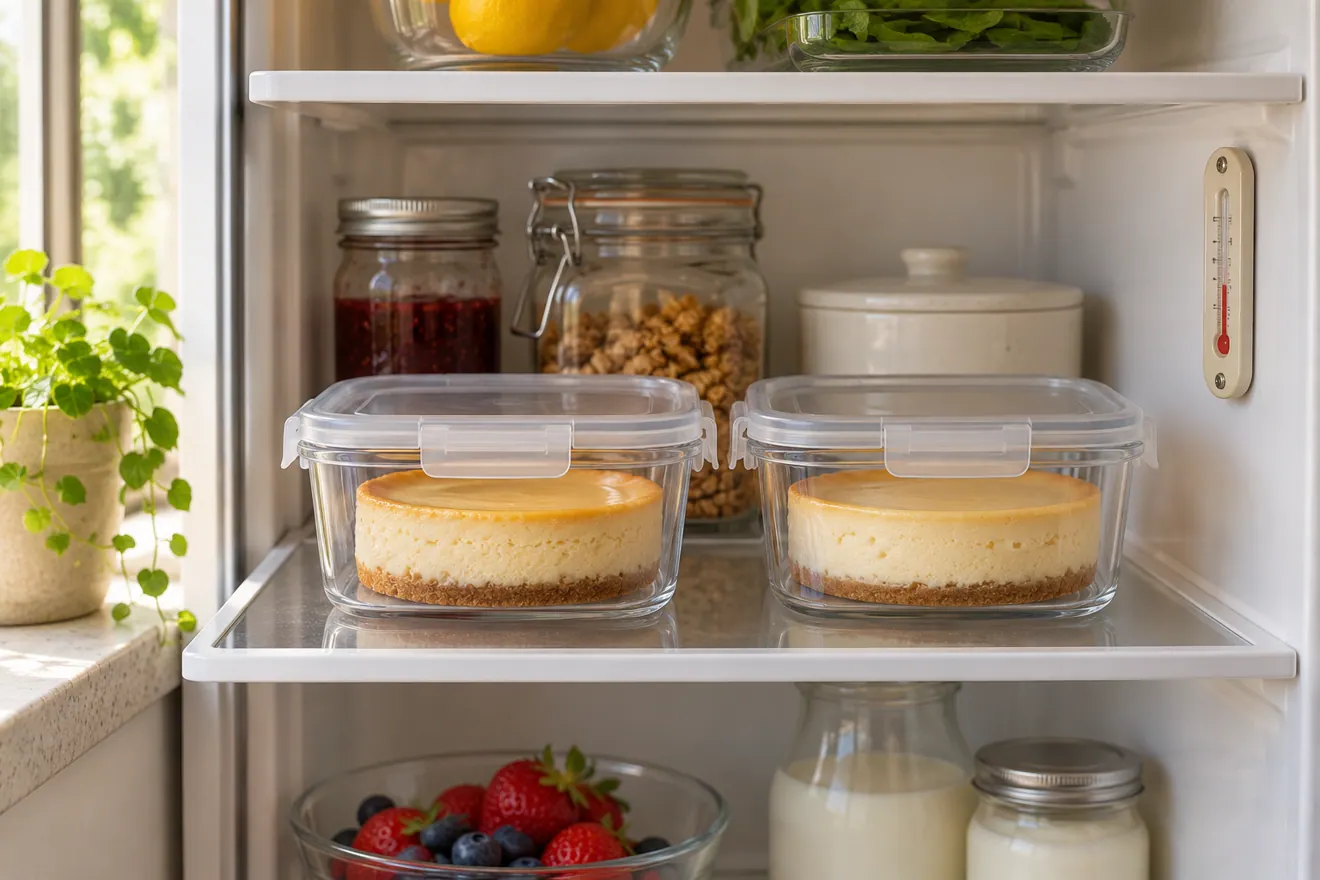
Make space in a refrigerator at 4°C (40°F) or colder for cheesecakes, custards, mousse and desserts with perishable frostings. Refill small serving trays from cold storage during a longer event. Label when each chilled tray was put out and follow Health Canada’s leftover guidance for food that has been at room temperature.
Step 10: Arrange the Table in Serving Order
A practical order begins with plates and napkins, followed by easy-to-grab desserts, larger items needing cutting, and any drinks or accompaniments in a separate area if space allows. Keep the busiest serving point away from a narrow doorway or hot equipment.
If there are children at the gathering, avoid unstable stands and decorations with sharp edges. Keep fragile glassware or heavy cake stands out of reach of very young guests.
Set plates where guests begin, then arrange the smaller items before the cake. Give the dish that needs cutting its own clear space and place napkins and cutlery toward the exit. For a larger group, mirror the plate stacks or let someone serve the centrepiece from a second position.
A Dessert Table for 12 Guests
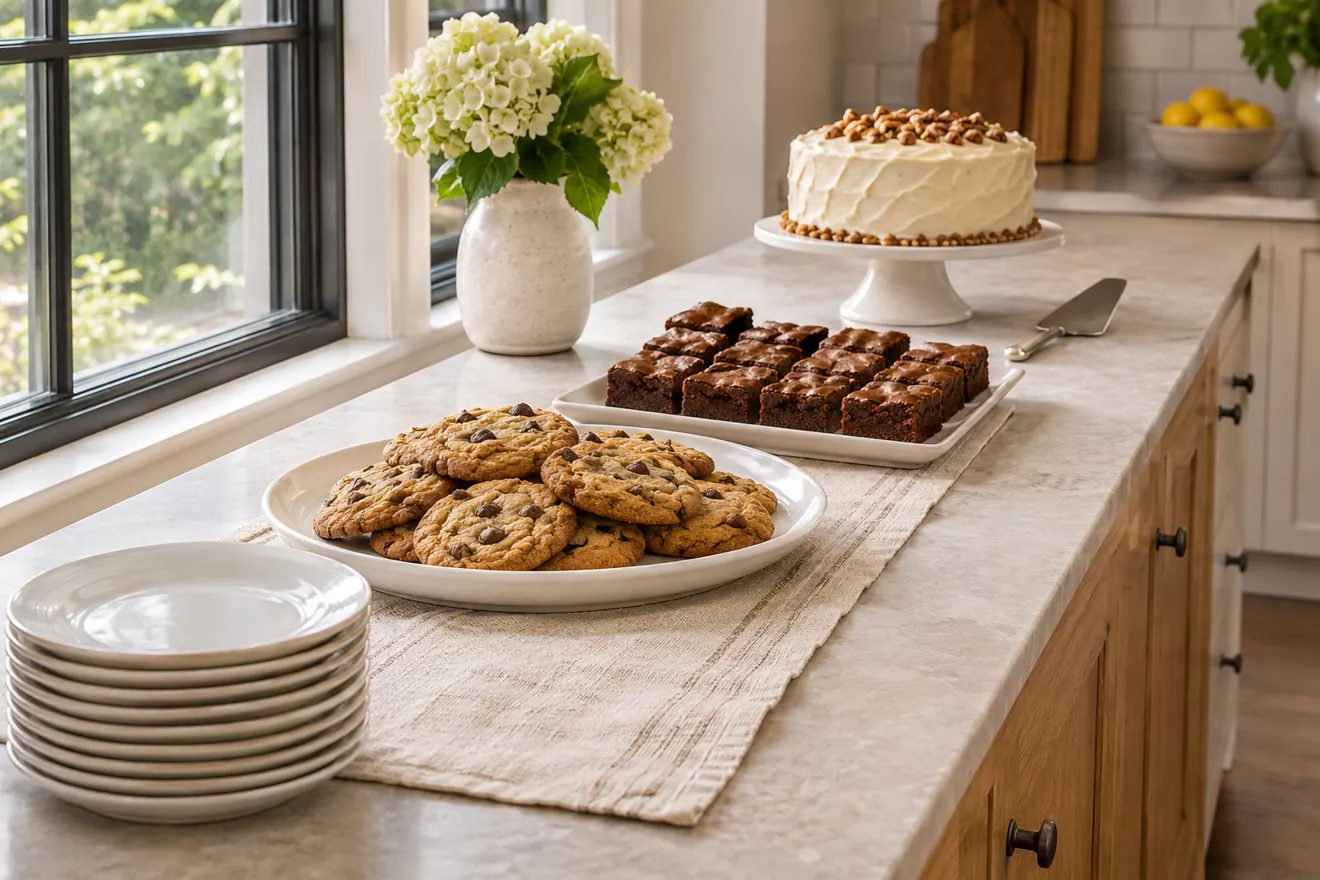
For a small dinner, choose one cake yielding about twelve slices and a plate of sturdy cookies or small bars for guests who prefer a second taste. Use a single centerpiece stand and one or two low platters.
Keep presentation relaxed. Too many trays can make a small table look crowded and create unnecessary leftovers.
The Iced Lemon Loaf can sit alongside one smaller platter. Count how many slices you actually get before setting the final menu.
A Dessert Table for 20 Guests
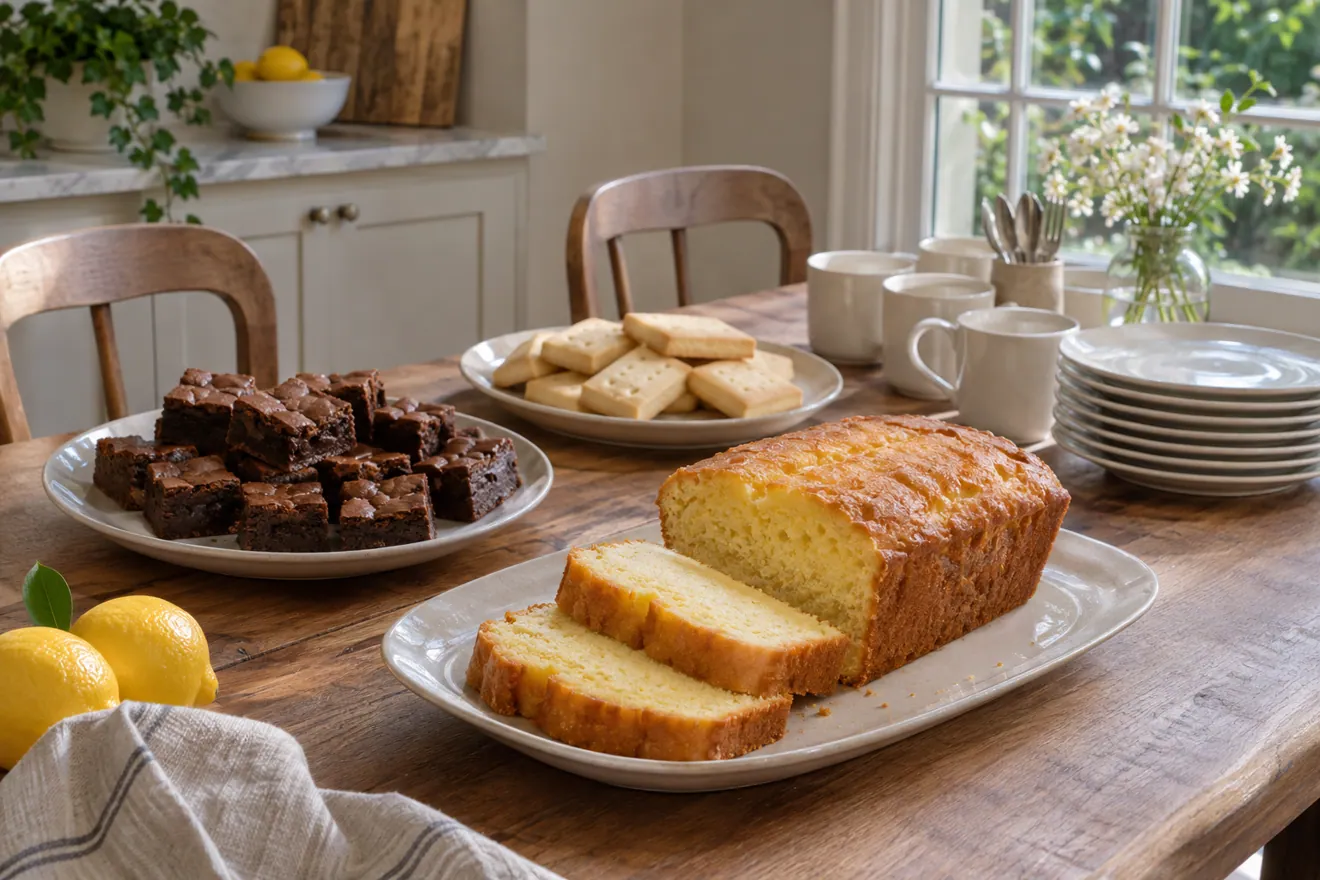
One cake with a suitable yield, a tray of brownies and an additional tart or cookie platter can offer good variety. Count the actual portions so the combined menu aligns with the number of guests and whether dessert follows a meal.
Use two distinct flavour profiles beyond the centerpiece. A lemon or berry option can help balance a rich chocolate cake.
If you add Air Fryer Brownies to the cookie and cake selection, check the size of the batch and how much room it needs on the table.
A Dessert Table for 30 to 50 Guests
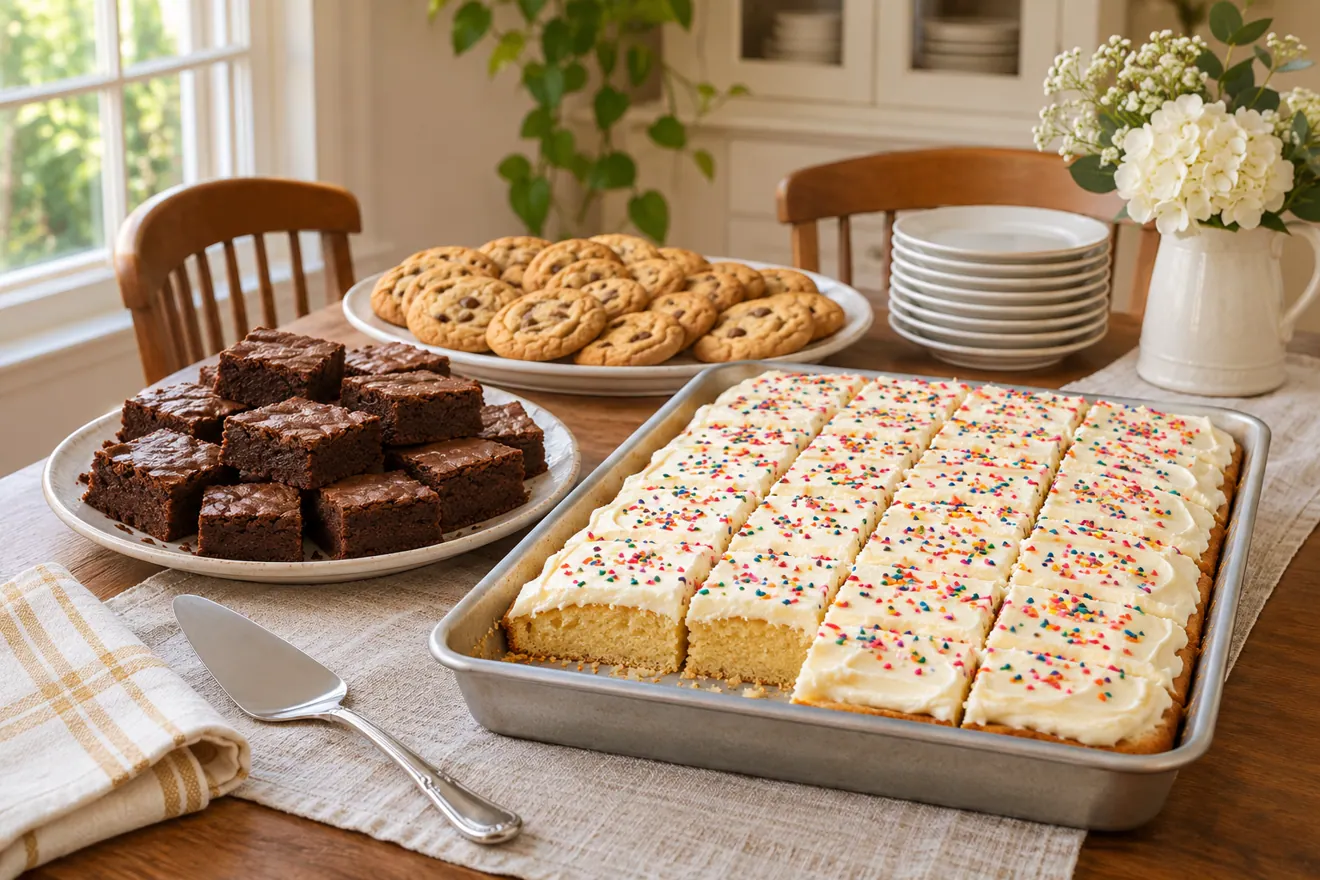
For larger parties, look at several sturdy batches rather than trying to create an enormous number of elaborate individual pastries. A sheet cake, multiple trays of bars and a clearly labelled cookie selection can create generous portions without requiring complicated equipment.
Consider traffic flow, replenishment and accessibility. Two smaller serving areas can be more practical than one crowded point for a very large group, as long as temperature-sensitive desserts are managed safely.
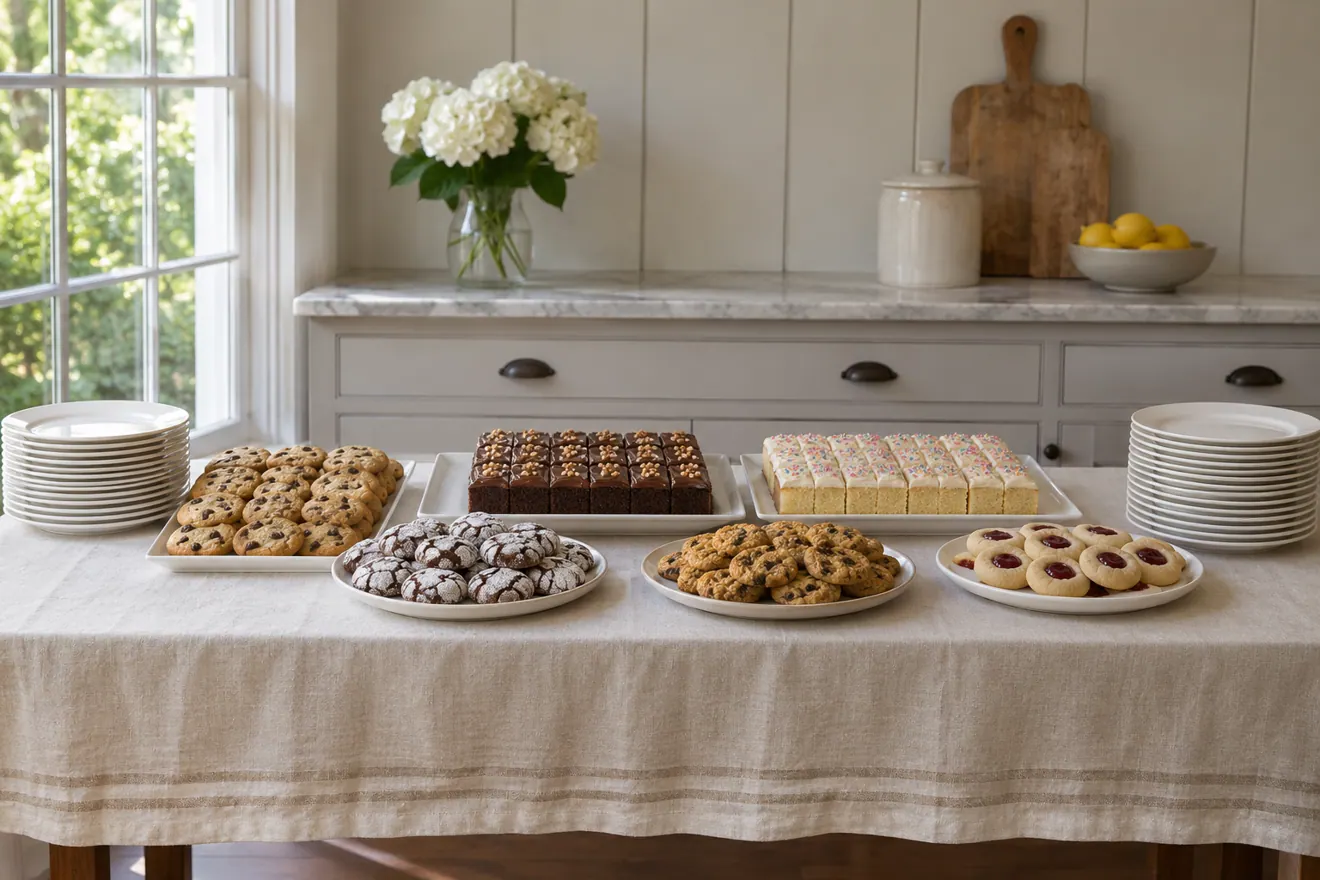
Should You Make Every Dessert Yourself?
Not necessarily. A well-planned table can combine homemade centerpiece baking with a few quality purchased items, or contributions from friends who enjoy baking. The important part is coordinating quantities, flavours and allergens.
Ask contributors for their recipes' storage requirements and ingredient information. Don't assume a homemade contribution can remain unrefrigerated just because it arrived in a cake box.
Common Dessert Table Mistakes
Too much variety: five nearly identical cakes crowd the table and inflate leftovers. No portion plan: a beautiful display runs out early or produces too much waste. Overcrowded stands: guests damage desserts while reaching. Missing serving tools: whole cakes become difficult to cut. Ignoring storage: chilled desserts sit out too long. Unreadable labels: guests can't identify flavours or allergens.
The solution isn't more decoration. It's a short menu, a practical layout and a clear serving plan.
Frequently Asked Questions
How many different desserts do I need for a dessert table?
For a small party, two or three contrasting choices may be enough. Larger events may benefit from four or five types, but total portions and guest preferences matter more than recipe count.
How do I make a dessert table look full without overbaking?
Use appropriate trays, modest height differences and small groups of desserts. Avoid placing tiny quantities on oversized platters that make the table look sparse.
What can I make ahead?
Some cookies, bars, unfrosted cake layers and chilled desserts can be prepared ahead according to their recipes. Fragile toppings and crisp pastry fillings may be better finished on serving day.
Do I need matching cake stands?
No. A consistent colour palette and stable stands of suitable heights are more important than identical serving dishes.
How do I keep a dessert table safe outdoors?
Cover food, use a shaded serving space and keep perishable desserts properly chilled in a cooler or refrigerator. If you cannot keep them cold, choose plain bakes whose recipes support room-temperature storage. Follow Health Canada’s outdoor food safety guidance for hot-weather holding times.
A Table Designed for Real Guests
The best dessert table is beautiful because it is easy to enjoy. Start with the people you're feeding, choose a few desserts that complement one another and arrange them so serving feels natural. Add just enough height and decoration to create a little celebration, then let the baking do the talking.
Some images are AI-generated illustrations of the desserts and techniques described.
IN PICTURES
From the baking notebook
FROM THE RECIPE BOX