Directions
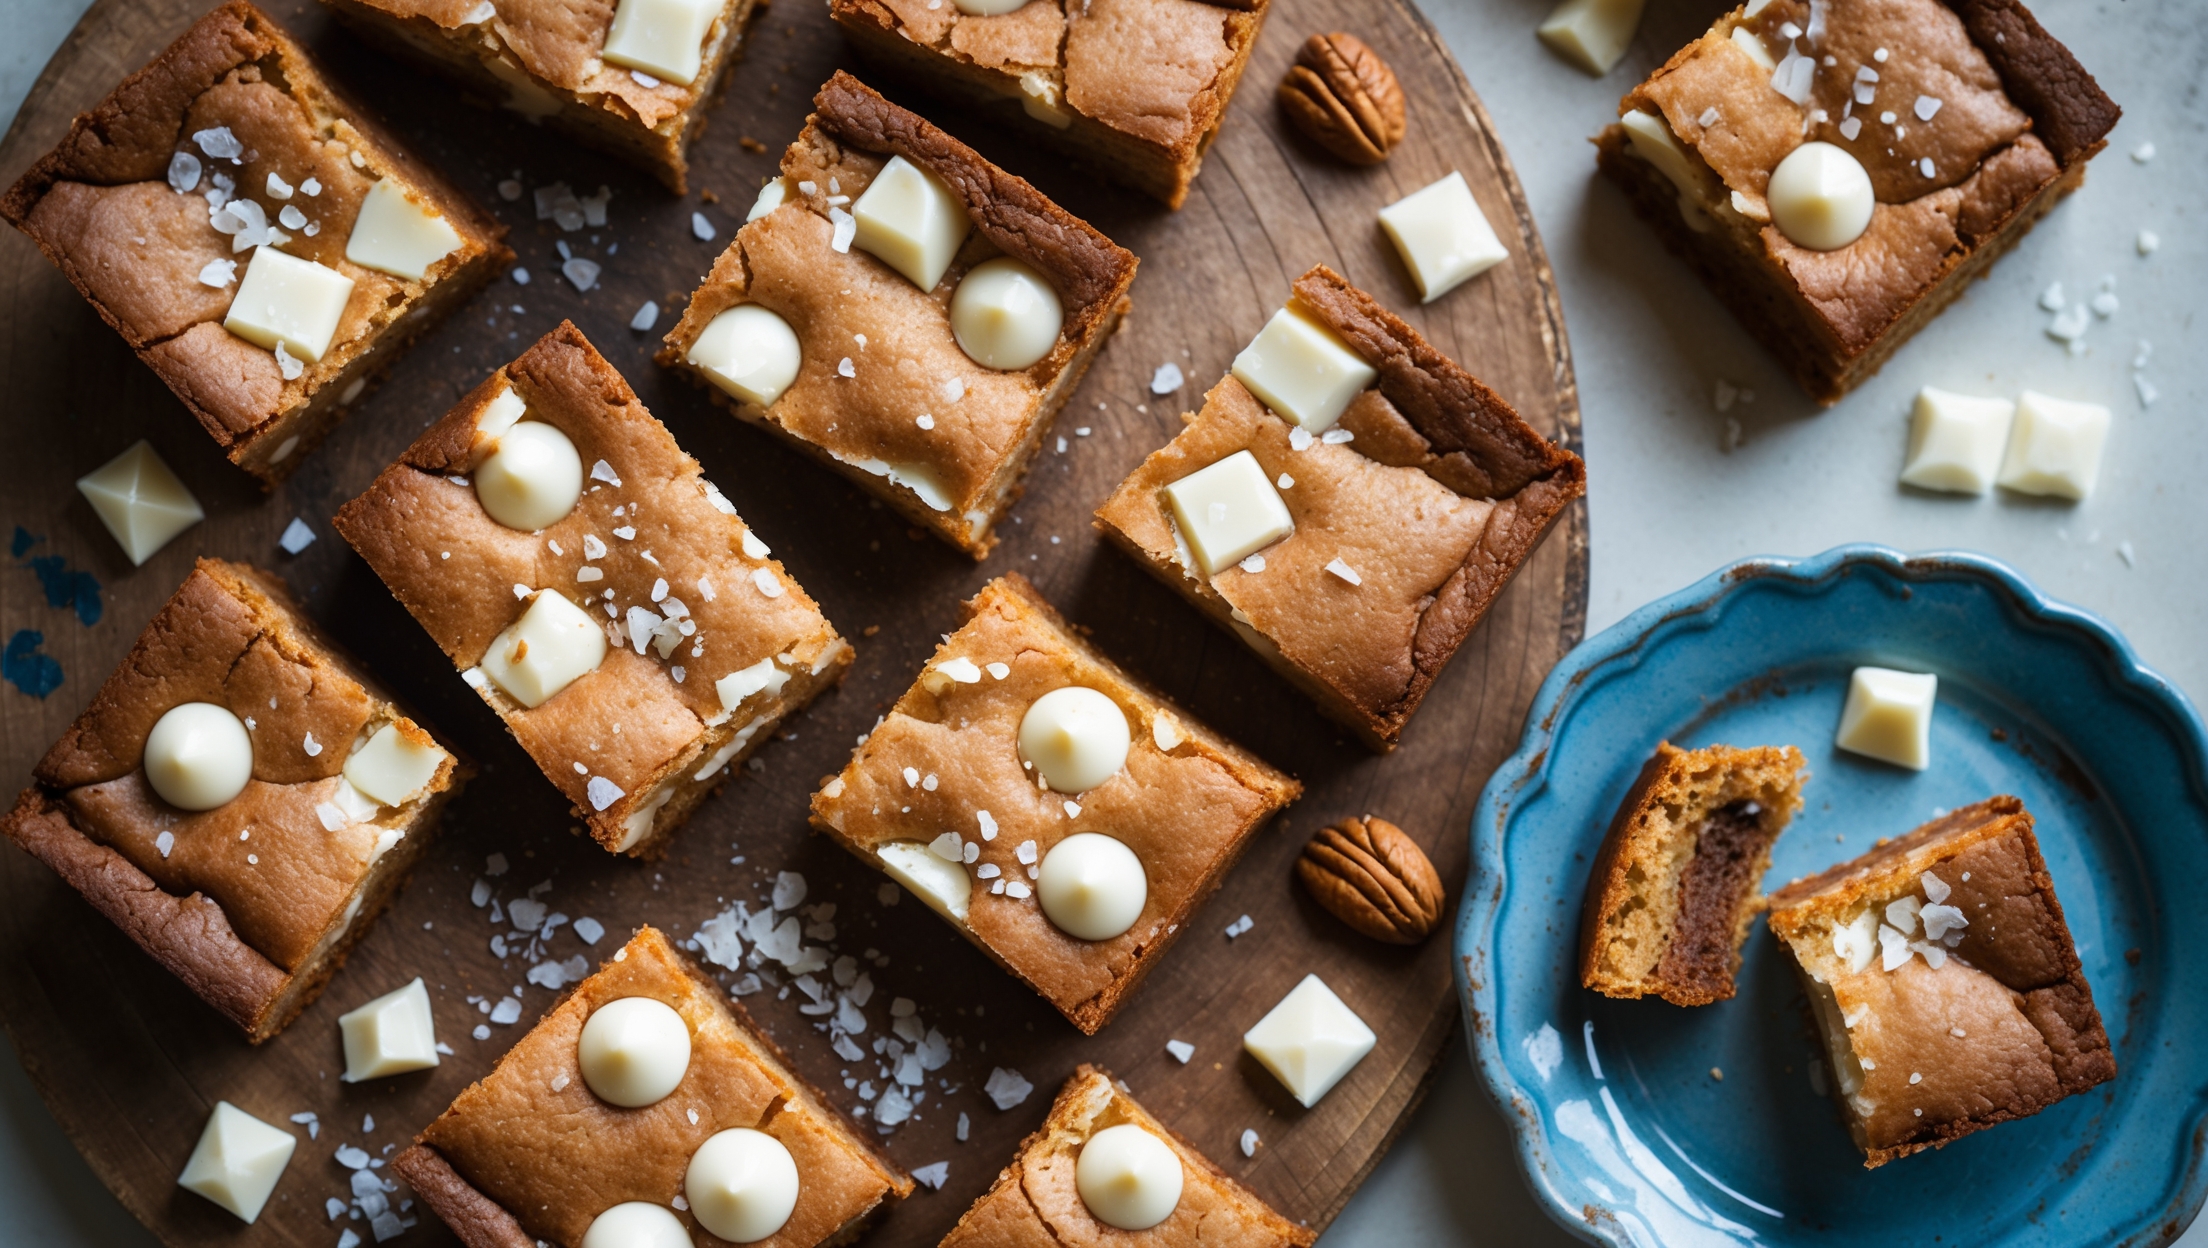
<ol class="no-list-style"><li class="MethodStepper"><h4 class="step-title">Step 1</h4>Preheat your oven to 180°C (350°F). Line your 20cm square baking tin with parchment paper, leaving some overhang on the sides to easily lift the blondies out later. This "parchment sling" is essential for clean removal.</li><li class="MethodStepper"><h4 class="step-title">Step 2</h4>In a medium saucepan over medium heat, melt the butter, swirling occasionally. Continue cooking until the butter foams, then turns amber and smells nutty, about 5-7 minutes. You'll notice brown bits forming at the bottom – these contain incredible flavor! Remove from heat immediately to prevent burning and let cool for 10 minutes. Browning the butter creates a complex toffee-like flavor that makes these blondies exceptional.</li><li class="MethodStepper"><h4 class="step-title">Step 3</h4>In a large bowl, combine the cooled brown butter and brown sugar, whisking vigorously for about 1 minute until well incorporated. The sugar will partially dissolve and create a glossy mixture that produces that signature crackly top.</li><li class="MethodStepper"><h4 class="step-title">Step 4</h4>Add the eggs one at a time, whisking well after each addition until fully incorporated. Stir in the vanilla extract. This gradual addition creates an emulsion that helps with the structure of your blondies.</li><li class="MethodStepper"><h4 class="step-title">Step 5</h4>In a separate bowl, whisk together the white rice flour, tapioca flour, almond flour, xanthan gum, baking powder, and salt. This gluten-free flour blend mimics the properties of regular flour while keeping a tender crumb – the xanthan gum provides the structure usually supplied by gluten.</li><li class="MethodStepper"><h4 class="step-title">Step 6</h4>Add the dry ingredients to the wet ingredients and fold gently with a rubber spatula until just combined. Avoid overmixing as this can make your blondies tough. The batter will be quite thick and sticky.</li><li class="MethodStepper"><h4 class="step-title">Step 7</h4>Fold in the white chocolate chips and toasted nuts (if using) until evenly distributed throughout the batter. Reserve a small handful to sprinkle on top.</li><li class="MethodStepper"><h4 class="step-title">Step 8</h4>Scrape the batter into your prepared tin and spread evenly into the corners using your spatula or slightly dampened fingertips. Sprinkle the reserved chocolate chips and nuts on top, along with a light dusting of flaky sea salt if desired. The salt enhances the butterscotch notes and balances the sweetness.</li><li class="MethodStepper"><h4 class="step-title">Step 9</h4>Bake for 22-25 minutes, until the edges are set and lightly golden and a toothpick inserted into the center comes out with a few moist crumbs (but not wet batter). For perfect blondies, it's better to slightly underbake than overbake – they will continue firming up as they cool.</li><li class="MethodStepper"><h4 class="step-title">Step 10</h4>Place the tin on a wire rack and allow the blondies to cool completely in the tin, about 1 hour. This cooling period is crucial as it allows the structure to set properly. Once cooled, use the parchment overhang to lift the blondies out and cut into 16 squares with a sharp knife.</li><li class="MethodStepper"><h4 class="step-title">Step 11</h4>Store in an airtight container at room temperature for up to 3 days, or refrigerate for up to a week. You can also freeze them for up to 3 months – simply thaw at room temperature before enjoying. These blondies actually improve in flavor after a day as the ingredients meld together!</li></ol>