Whole Wheat Focaccia Recipe

Rustic, aromatic whole wheat focaccia with a crispy herb-infused crust and a tender, airy interior that's perfect for dipping in olive oil or serving alongside soups and salads.
Difficulty:
Intermediate
Prep Time:
20 mins
Cook Time:
25 mins
Serves:
1 focaccia (12 slices)
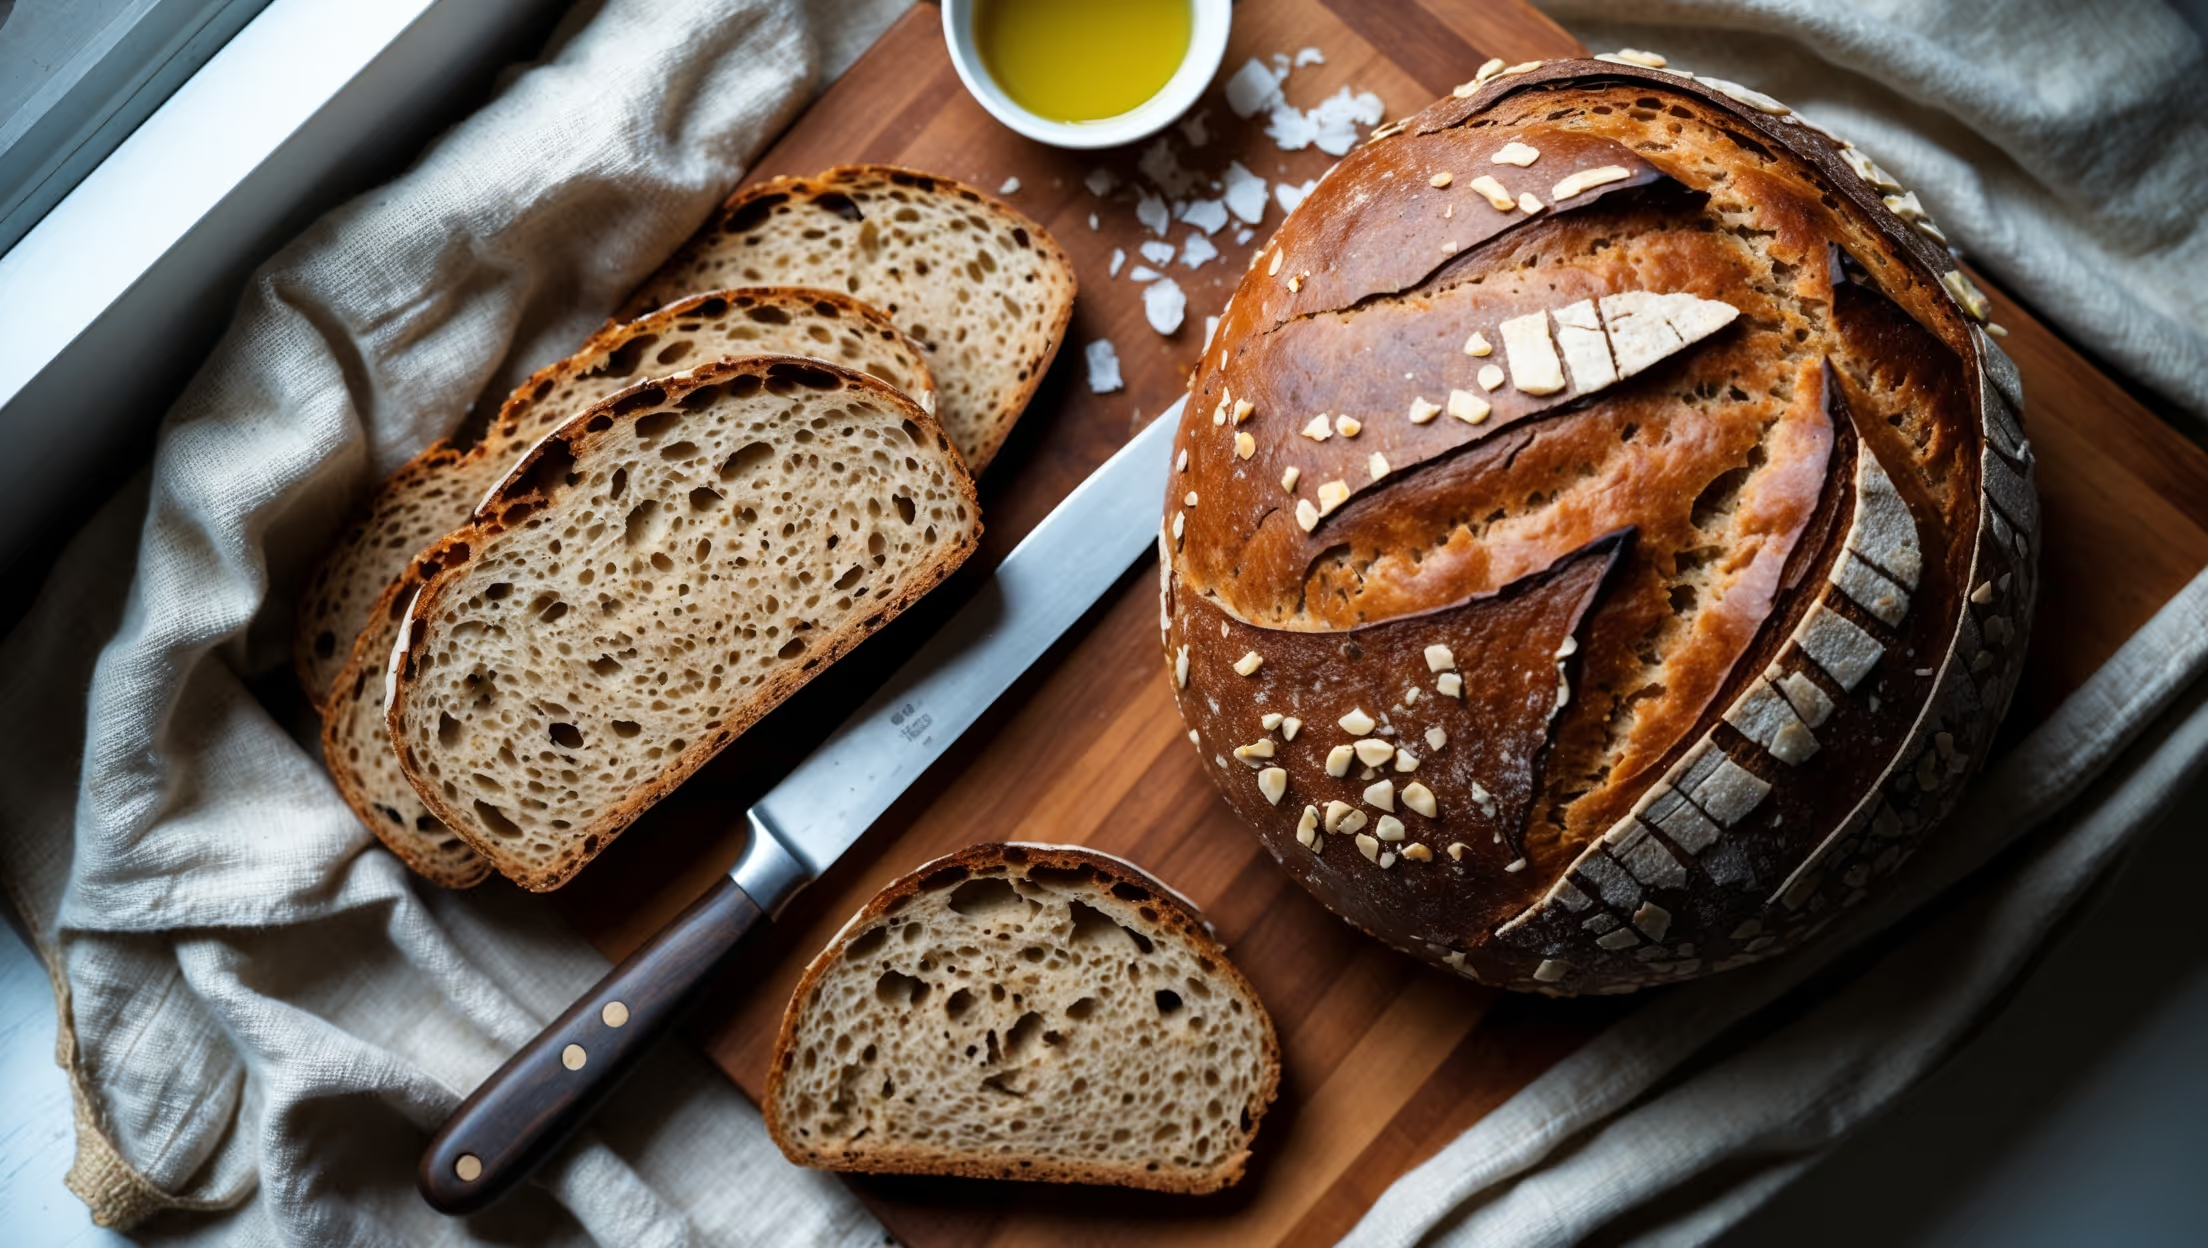
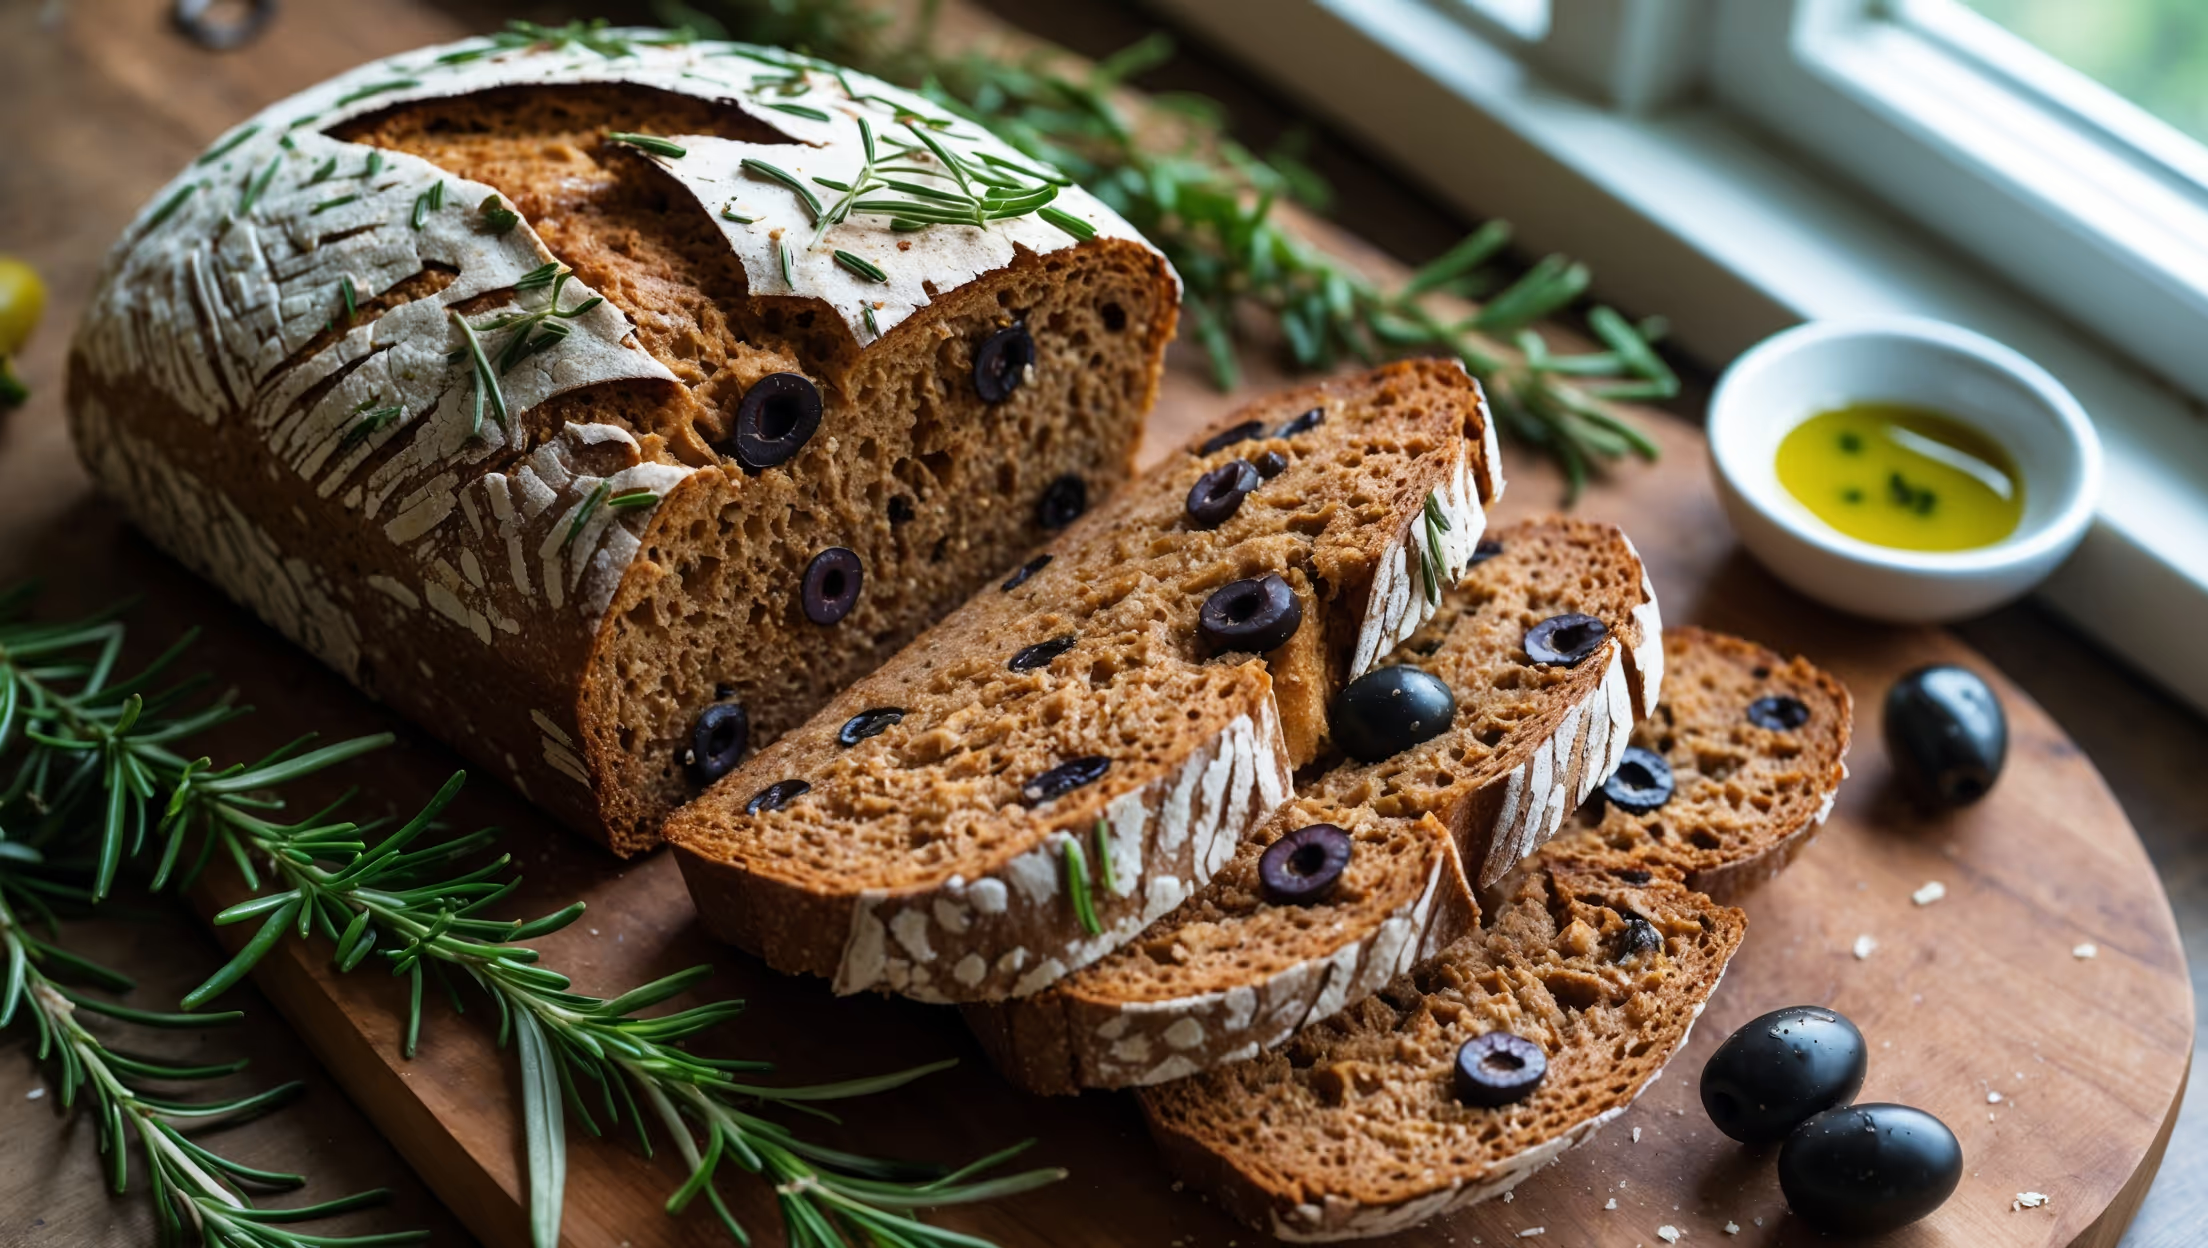
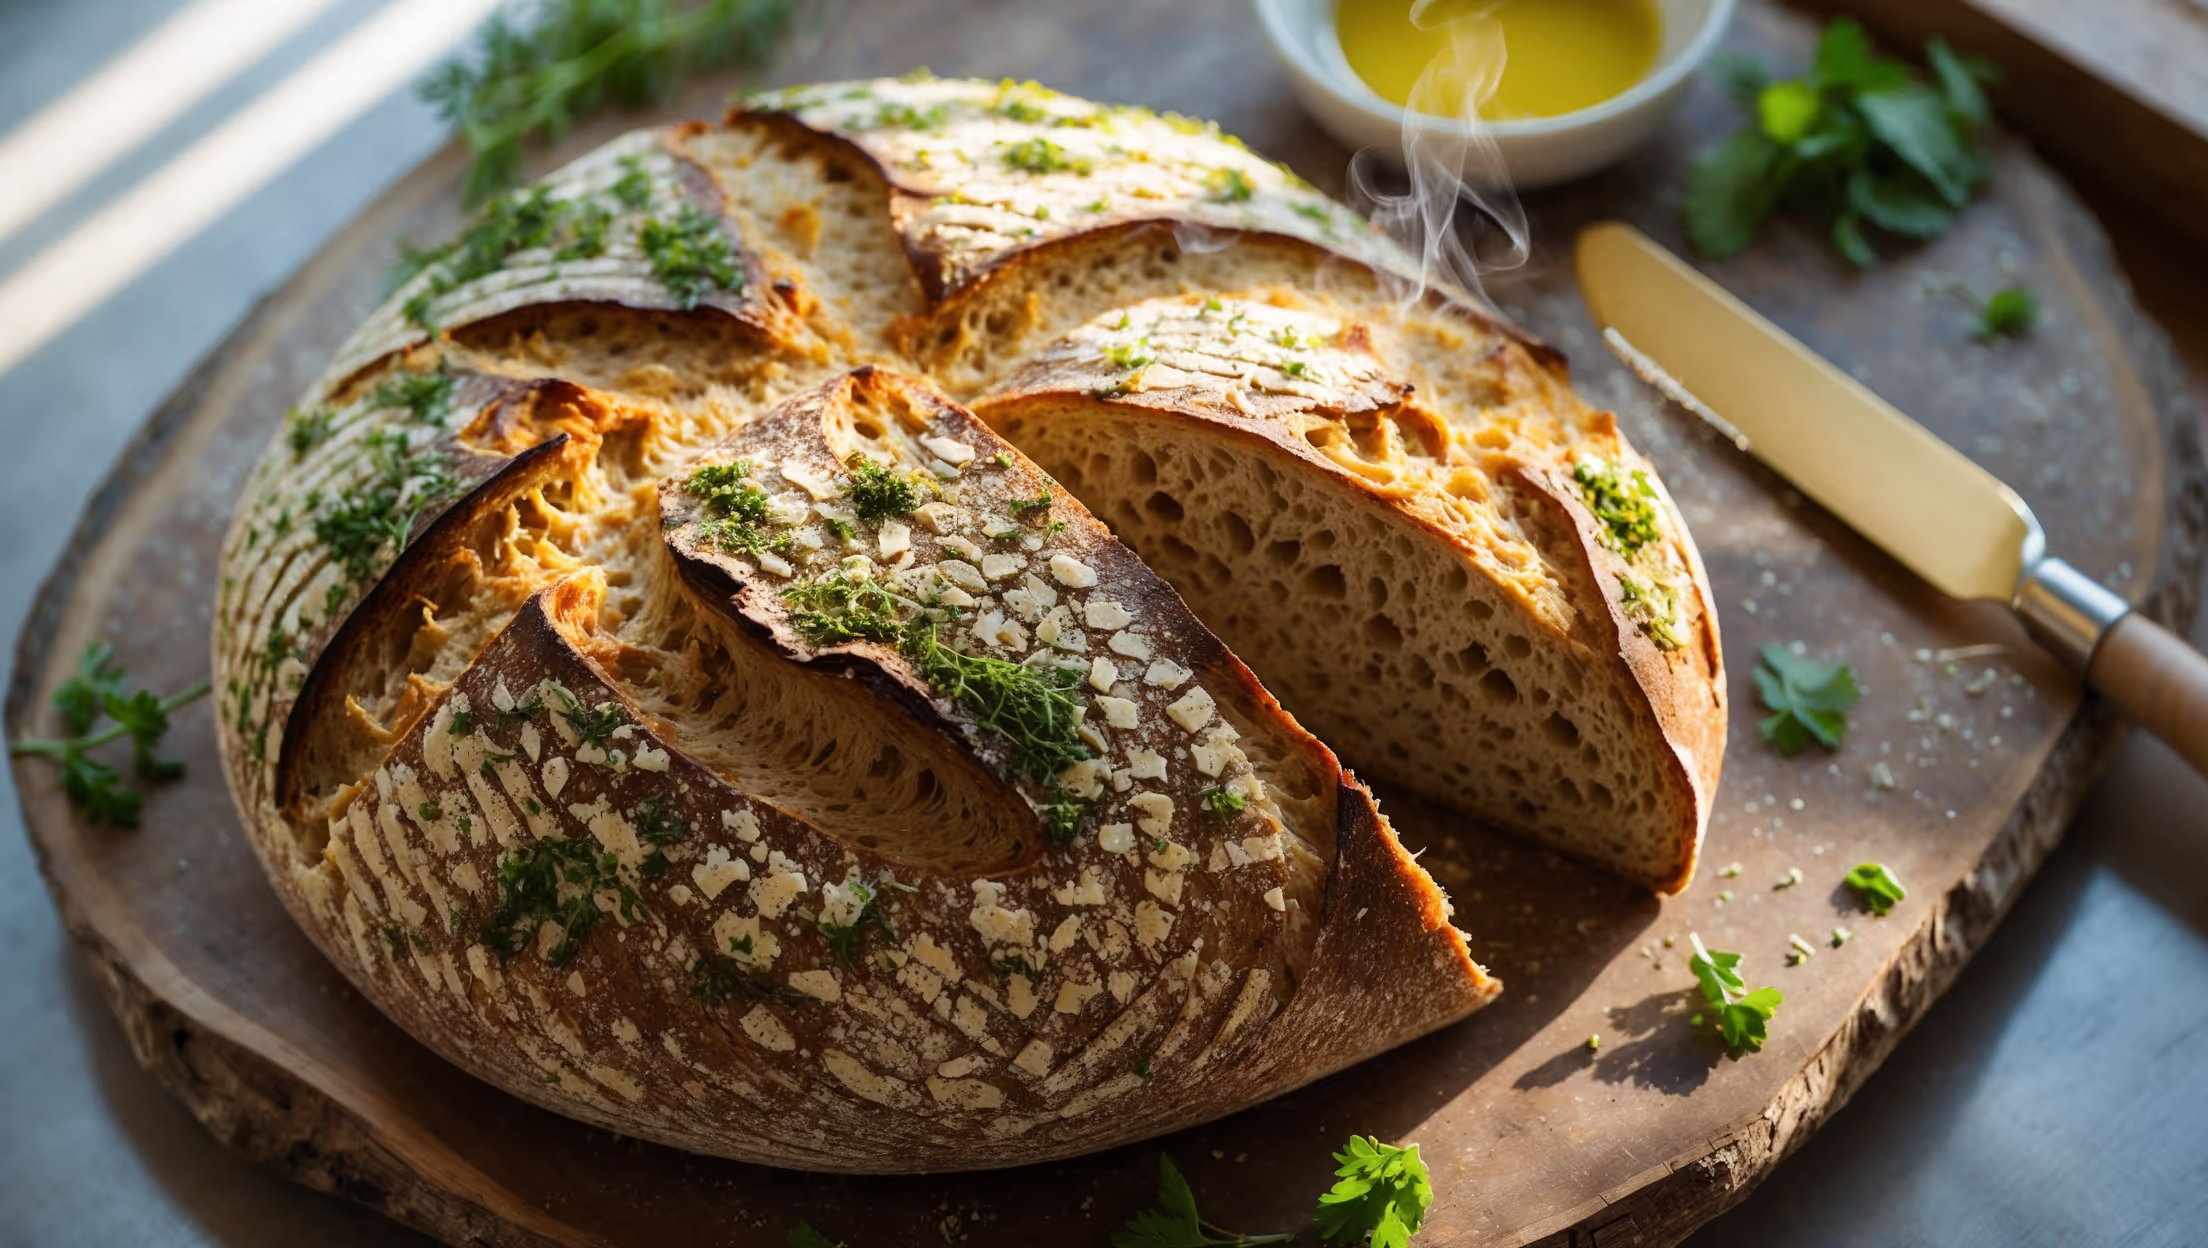
An overhead shot of a golden-brown rectangular whole wheat focaccia on a rustic wooden board, with fingertip dimples filled with glistening olive oil and flecks of rosemary, thyme, and sea salt crystals catching the soft natural light. A cross-section view reveals the open, airy crumb structure with visible whole grain flecks throughout the tender interior. In the background, a small bowl of extra virgin olive oil with floating herbs and a scatter of fresh rosemary sprigs frame the bread, while a linen napkin adds texture to the warm, inviting composition.

Ingredients

<ul class="ingredients-main-list"><li class="ingredients-single-item">300g whole wheat flour</li><li class="ingredients-single-item">100g all-purpose flour</li><li class="ingredients-single-item">7g active dry yeast (1 packet)</li><li class="ingredients-single-item">300ml warm water (about 38°C)</li><li class="ingredients-single-item">2 tbsp honey (or maple syrup)</li><li class="ingredients-single-item">10g salt</li><li class="ingredients-single-item">60ml extra virgin olive oil, plus extra for drizzling</li><li class="ingredients-single-item">2 sprigs fresh rosemary, leaves removed</li><li class="ingredients-single-item">1 tbsp fresh thyme leaves</li><li class="ingredients-single-item">1 tsp flaky sea salt</li></ul>

Equipment

<ul class="equipment-main-list"><li class="equipment-single-item">Stand mixer with dough hook (optional)</li><li class="equipment-single-item">25x35cm (10x14 inch) baking sheet</li><li class="equipment-single-item">Parchment paper</li><li class="equipment-single-item">Plastic wrap or clean kitchen towel</li></ul>
BAKE SMARTER

Kitchen Converter

Quickly switch between common baking units without leaving the recipe.

Convert
Result—

Volume uses US cups, tablespoons, and teaspoons. Converting weight to volume depends on the ingredient.

Directions

<ol class="no-list-style"><li class="MethodStepper"><h4 class="step-title">Step 1</h4>In a large bowl or the bowl of your stand mixer, combine the warm water (38°C) and honey, stirring until dissolved. Sprinkle the yeast over the top and let it sit for 5-10 minutes until foamy. This activation step ensures your yeast is alive and will properly leaven your bread.</li><li class="MethodStepper"><h4 class="step-title">Step 2</h4>Add both flours, salt, and 2 tablespoons of olive oil to the yeast mixture. Mix with a wooden spoon or on low speed with the dough hook until combined. Then knead by hand on a floured surface for 8-10 minutes or with the stand mixer on medium-low for 5-6 minutes. The dough should be slightly sticky but pull away from the sides of the bowl, developing elasticity as the gluten forms.</li><li class="MethodStepper"><h4 class="step-title">Step 3</h4>Drizzle 1 tablespoon of olive oil into a clean bowl and transfer the dough, turning to coat all sides. Cover with plastic wrap or a damp kitchen towel and let rise in a warm spot until doubled in size, about 1-1.5 hours. The slow rise develops flavor and allows the whole wheat flour to fully hydrate.</li><li class="MethodStepper"><h4 class="step-title">Step 4</h4>Line your baking sheet with parchment paper and drizzle with 2 tablespoons of olive oil. Gently deflate the risen dough and transfer it to the prepared baking sheet. Using your fingertips, stretch the dough to fill the pan, being careful not to tear it. If the dough resists stretching, let it rest for 5-10 minutes to relax the gluten, then try again.</li><li class="MethodStepper"><h4 class="step-title">Step 5</h4>Once the dough fills the pan, cover it again and let it rise for another 30-45 minutes until puffy. Meanwhile, preheat your oven to 220°C (425°F). Position a rack in the middle of the oven.</li><li class="MethodStepper"><h4 class="step-title">Step 6</h4>When the dough has finished its second rise, use your fingertips to create the signature focaccia dimples all over the surface, pressing down firmly but not all the way through the dough. These dimples catch the olive oil and create the classic focaccia texture with crispy and chewy spots.</li><li class="MethodStepper"><h4 class="step-title">Step 7</h4>Drizzle the remaining olive oil over the top, ensuring some pools in the dimples. Sprinkle evenly with rosemary, thyme, and flaky sea salt. The herbs will become aromatic and slightly crisp during baking, while the oil creates a beautiful golden crust.</li><li class="MethodStepper"><h4 class="step-title">Step 8</h4>Bake for 20-25 minutes until deeply golden brown on top and bottom. The internal temperature should reach about 95°C (200°F) when fully baked. The bread should sound hollow when tapped on the bottom.</li><li class="MethodStepper"><h4 class="step-title">Step 9</h4>Transfer the focaccia to a wire rack and let cool for at least 15 minutes before slicing. This resting period allows the crumb structure to set and makes for easier slicing. Serve warm or at room temperature. Focaccia is best enjoyed the day it's made but can be stored in an airtight container for up to 2 days or frozen for up to 1 month.</li></ol>

Nutrition Facts (per serving)

🍽️ Serving Size: 1 slice
🔥 Calories: 175 calories
🥑 Fat: 7 g
🧈 Saturated Fat: 1 g
🍞 Carbohydrates: 24 g
🍭 Sugar: 1 g
🍗 Protein: 4 g
🫀 Cholesterol: 0 mg
🧂 Sodium: 390 mg

Chef’s Notes

A few helpful details for making this recipe.

Why does focaccia dough need to rise twice?

The double rise is crucial for proper texture. The first rise develops flavour and allows the whole wheat flour to fully hydrate. The second rise creates the airy, open crumb structure that's characteristic of good focaccia, resulting in the perfect balance of chewiness and tenderness.

Can I make focaccia without a stand mixer?

Absolutely! While a stand mixer makes the process easier, you can mix the dough by hand with a wooden spoon and then knead on a floured surface for 8-10 minutes until elastic. The hands-on approach can actually help you better understand when the dough reaches the right consistency.

What's the best way to store homemade focaccia bread?

Focaccia is best enjoyed fresh on the day it's baked. For short-term storage, wrap it in a clean tea towel for up to 24 hours. For longer storage, wrap tightly in cling film and freeze for up to a month. Refresh frozen focaccia in a 180°C oven for 5-10 minutes before serving.

Want to try something else in ...

More recipes you might like

Keep exploring with more recipes from What's Baking.