Directions
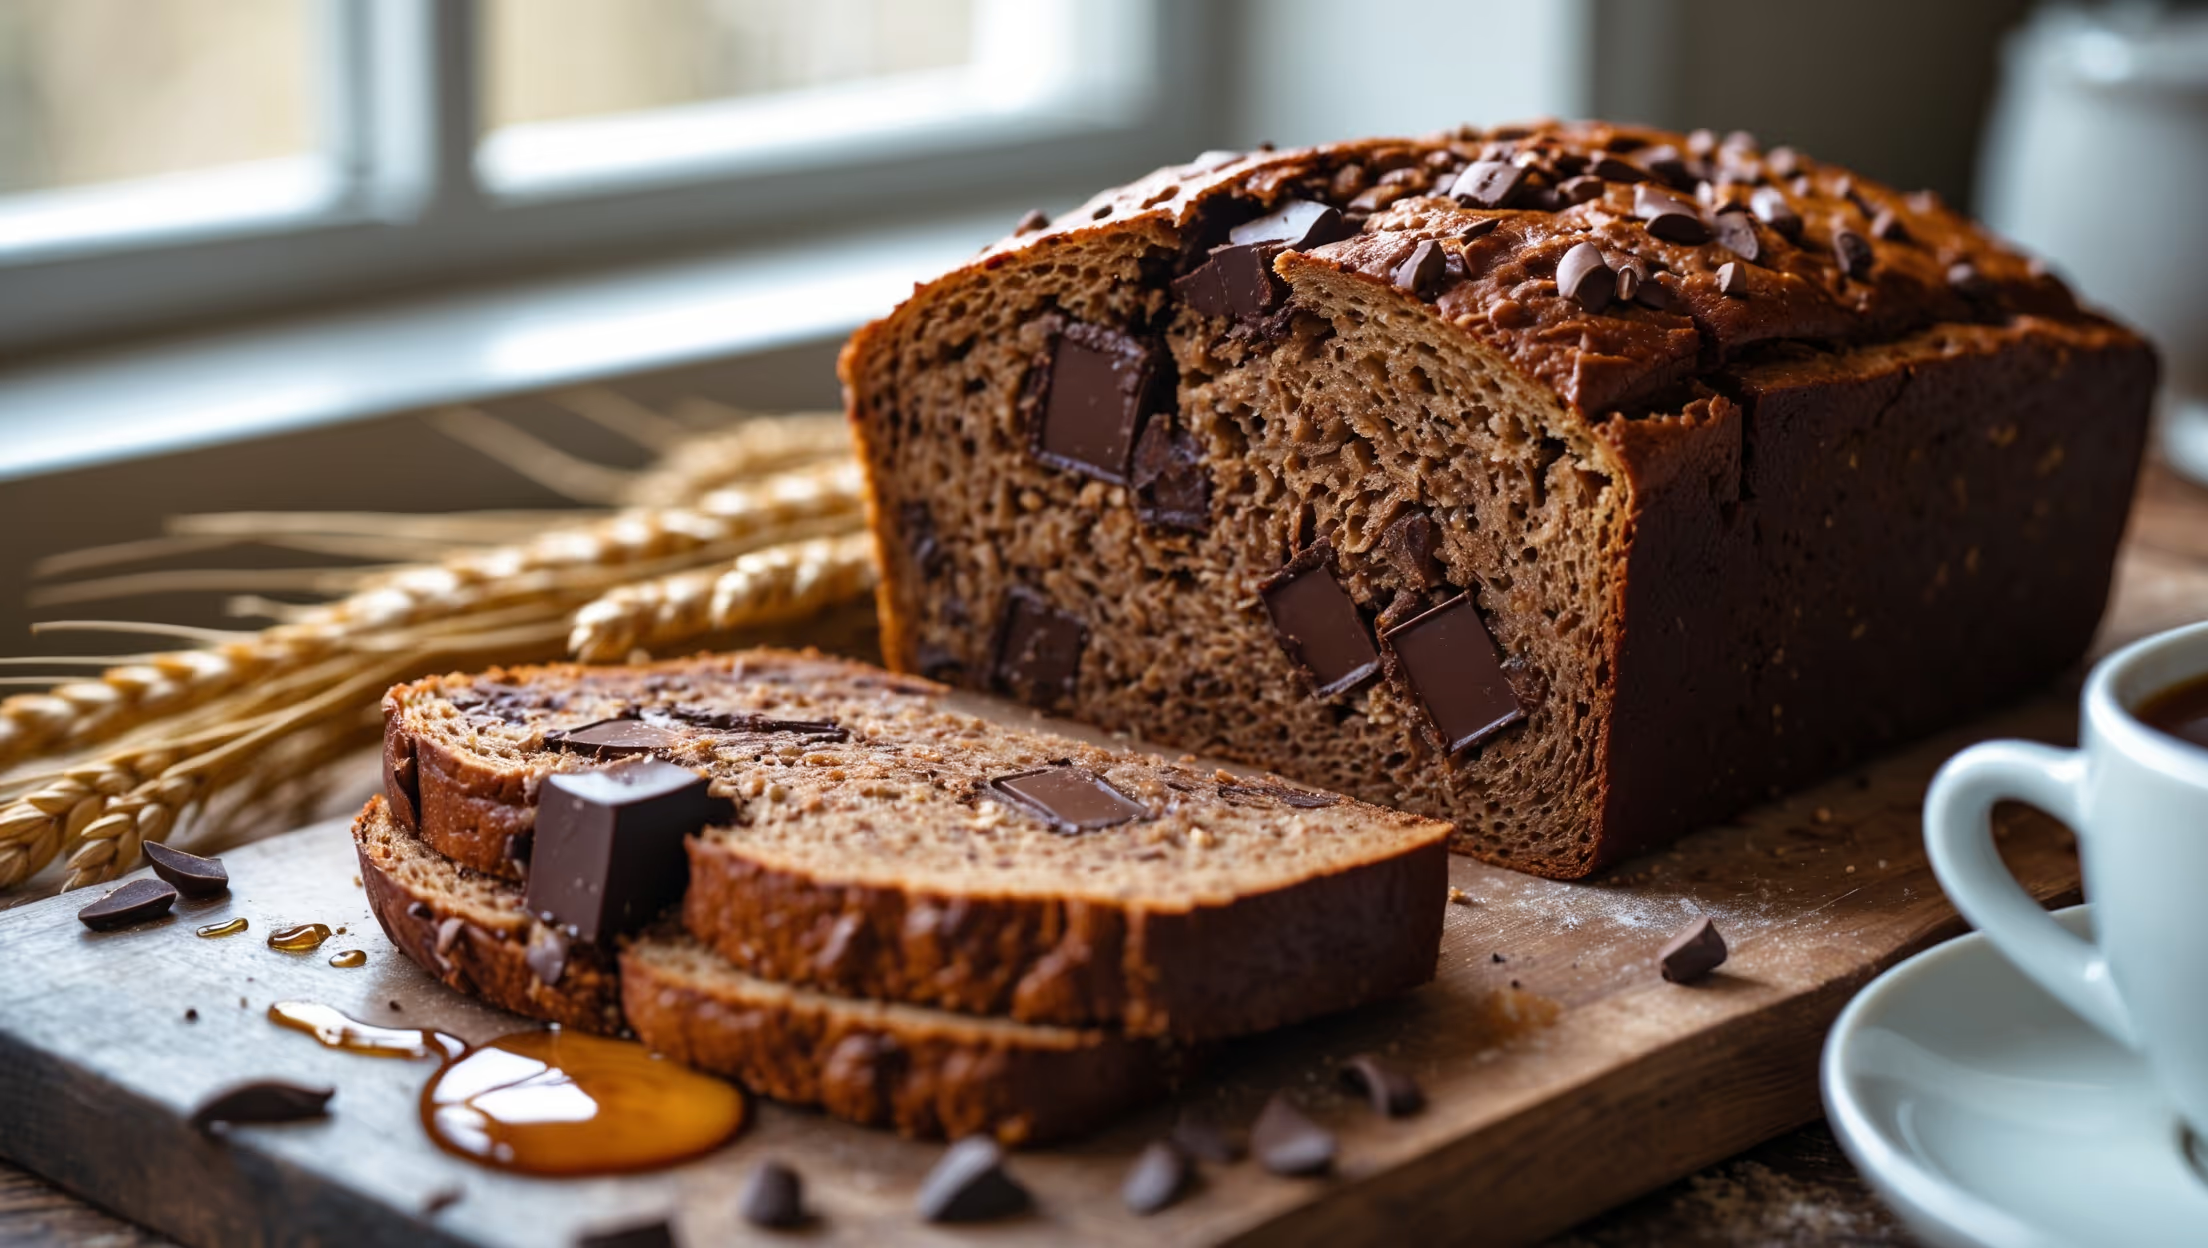
<ol class="no-list-style"><li class="MethodStepper"><h4 class="step-title">Step 1</h4>Begin by activating your yeast. In the bowl of your stand mixer, combine the warm milk (38°C/100°F - any hotter will kill the yeast) with honey and sprinkle the yeast over the top. Let it sit for 5-10 minutes until foamy and fragrant. This activation step ensures your bread will rise properly.</li><li class="MethodStepper"><h4 class="step-title">Step 2</h4>Once the yeast is activated, add the melted butter (cooled slightly so it doesn't cook the eggs), room temperature eggs, and vanilla extract. Mix on low speed to combine. Room temperature eggs incorporate much better than cold ones and help maintain the warm environment for the yeast.</li><li class="MethodStepper"><h4 class="step-title">Step 3</h4>In a separate bowl, whisk together both flours, cocoa powder, and salt. With the mixer on low, gradually add the dry ingredients to the wet mixture. Increase to medium speed and mix until a cohesive dough forms, about 3-4 minutes. The dough should pull away from the sides of the bowl but still be slightly tacky to the touch.</li><li class="MethodStepper"><h4 class="step-title">Step 4</h4>Add the chopped chocolate to the dough and mix on low just until incorporated. Be careful not to overmix – we want distinct pockets of chocolate in the finished bread, not a completely homogeneous dough.</li><li class="MethodStepper"><h4 class="step-title">Step 5</h4>Turn the dough out onto a lightly floured surface and knead by hand for 1-2 minutes until smooth and elastic. Form into a ball and place in a lightly oiled bowl, turning once to coat. Cover with a clean kitchen towel or plastic wrap and let rise in a warm, draft-free place for 1-1.5 hours, or until doubled in size. The slow rise develops flavor and improves the texture of the final bread.</li><li class="MethodStepper"><h4 class="step-title">Step 6</h4>Once doubled, gently punch down the dough to release air bubbles. Turn out onto a lightly floured surface and shape into a loaf by patting into a rectangle roughly the length of your loaf pan, then rolling it tightly from one short end to the other. Pinch the seam to seal.</li><li class="MethodStepper"><h4 class="step-title">Step 7</h4>Place the shaped dough seam-side down in a greased 23x13cm loaf pan. Cover again and allow to rise for another 45-60 minutes, until the dough has risen about 2.5cm above the rim of the pan. Meanwhile, preheat your oven to 180°C.</li><li class="MethodStepper"><h4 class="step-title">Step 8</h4>Just before baking, gently brush the top of the loaf with egg wash for a beautiful shine. If desired, make a shallow slash down the center of the loaf with a sharp knife or razor blade to control the expansion during baking.</li><li class="MethodStepper"><h4 class="step-title">Step 9</h4>Bake in the preheated oven for 45-55 minutes, until the bread reaches an internal temperature of 93°C (200°F) when tested with a digital thermometer. If the top browns too quickly, tent with aluminum foil after 30 minutes of baking.</li><li class="MethodStepper"><h4 class="step-title">Step 10</h4>Remove from the oven and let rest in the pan for 10 minutes before transferring to a wire rack to cool completely. This resting period allows the structure to set, making slicing easier. The bread will continue cooking slightly as it cools, so resist the temptation to cut into it too soon!</li><li class="MethodStepper"><h4 class="step-title">Step 11</h4>Once completely cooled (at least 2 hours), slice with a serrated knife and enjoy. This bread is wonderful on its own, lightly toasted with a bit of butter, or even as the base for an extraordinary French toast. Store in an airtight container at room temperature for up to 3 days, or freeze slices wrapped individually for up to 3 months.</li></ol>