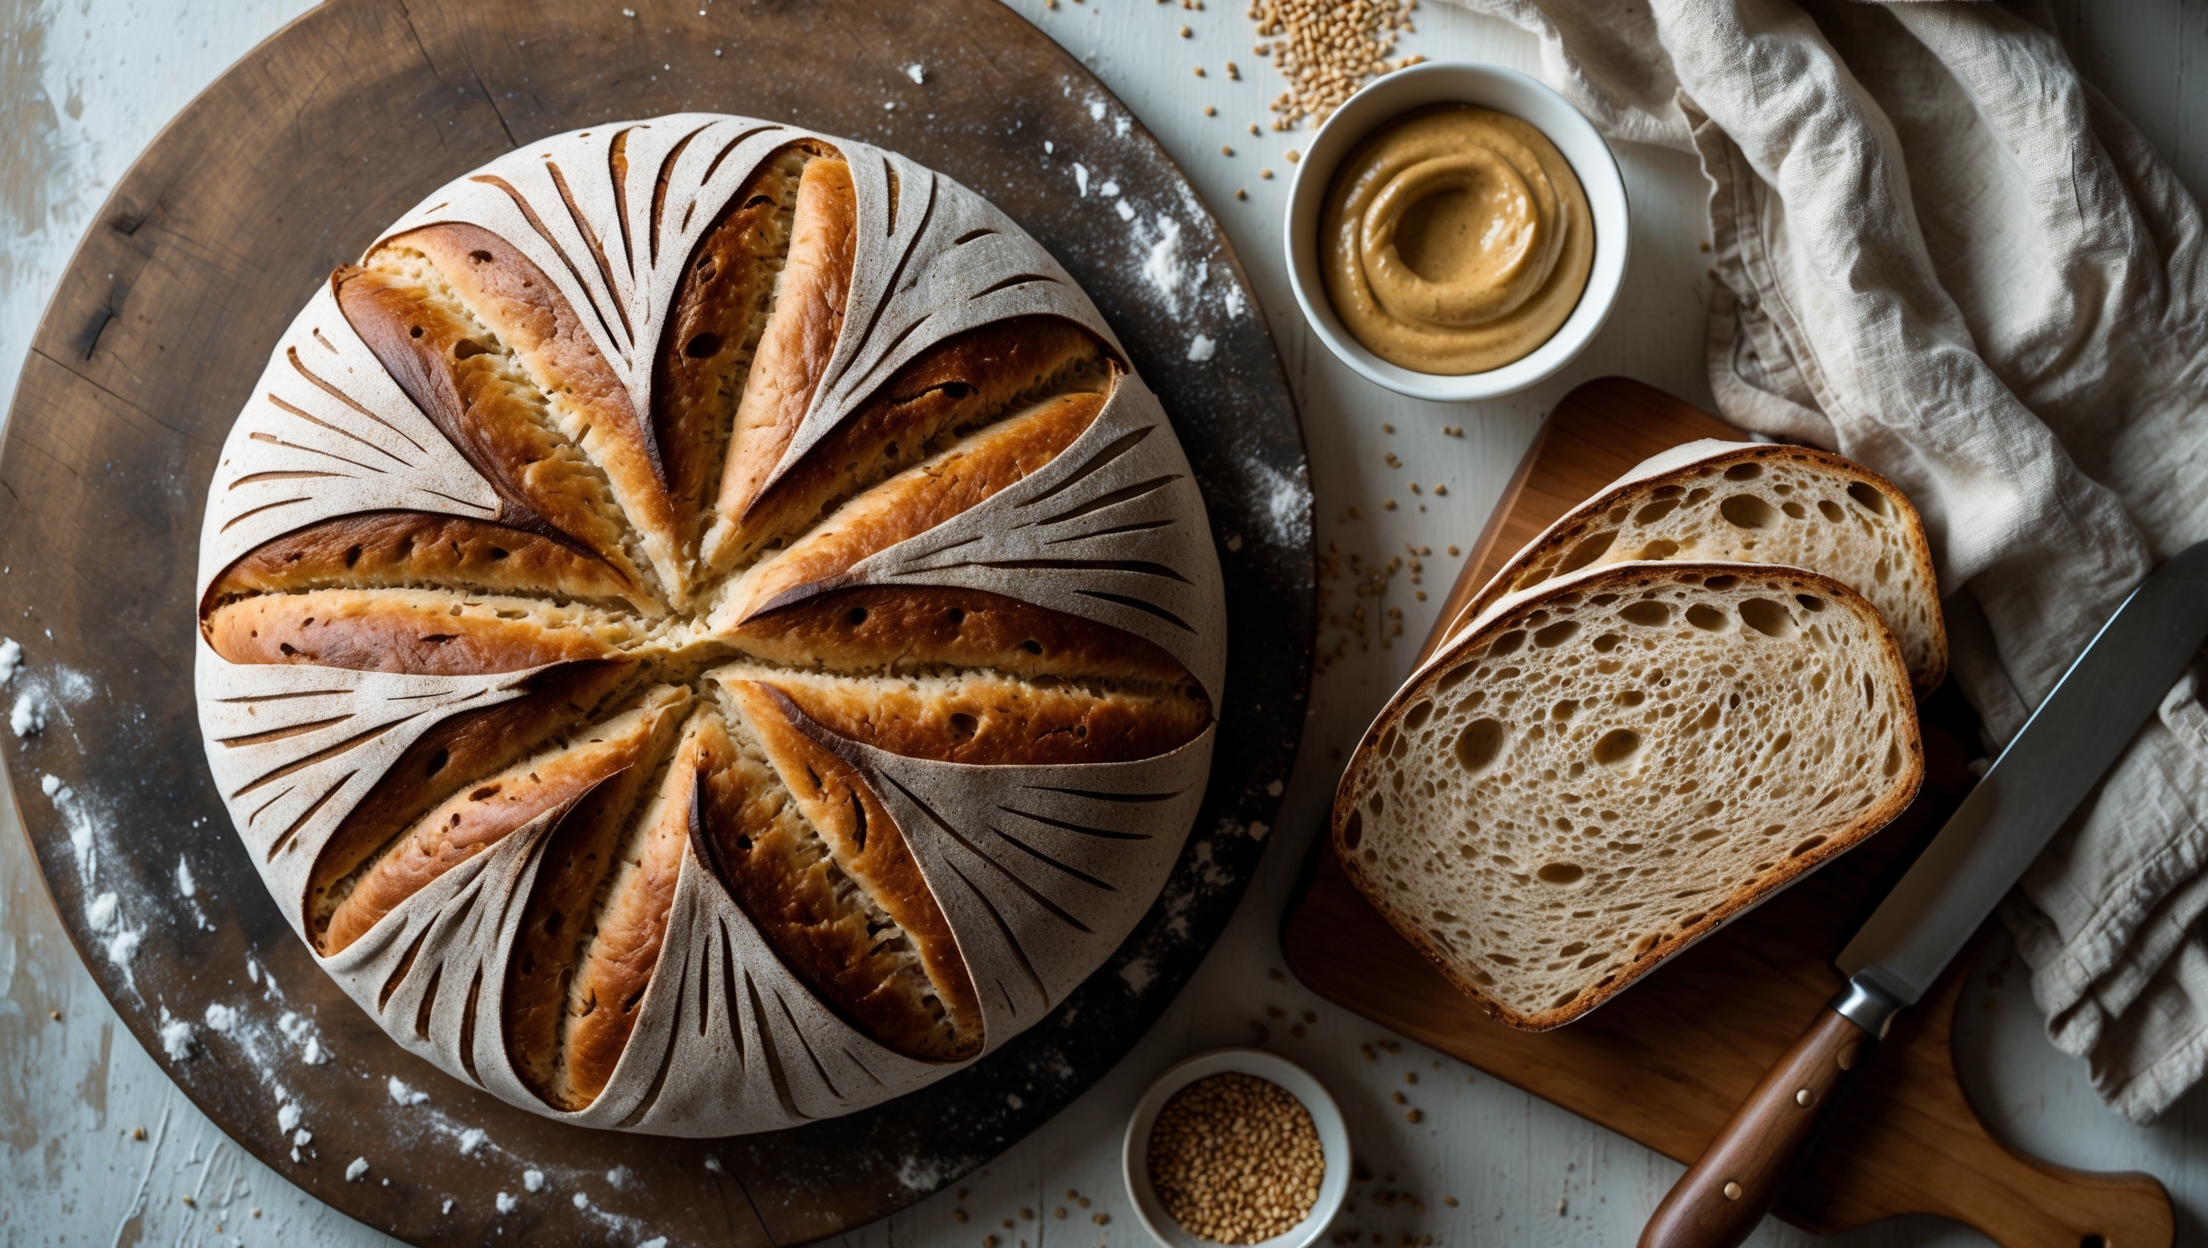
Farro Bread Recipe

Ingredients
Equipment
Directions
FAQs
Find answers to your most pressing questions about this delicious recipe right here.
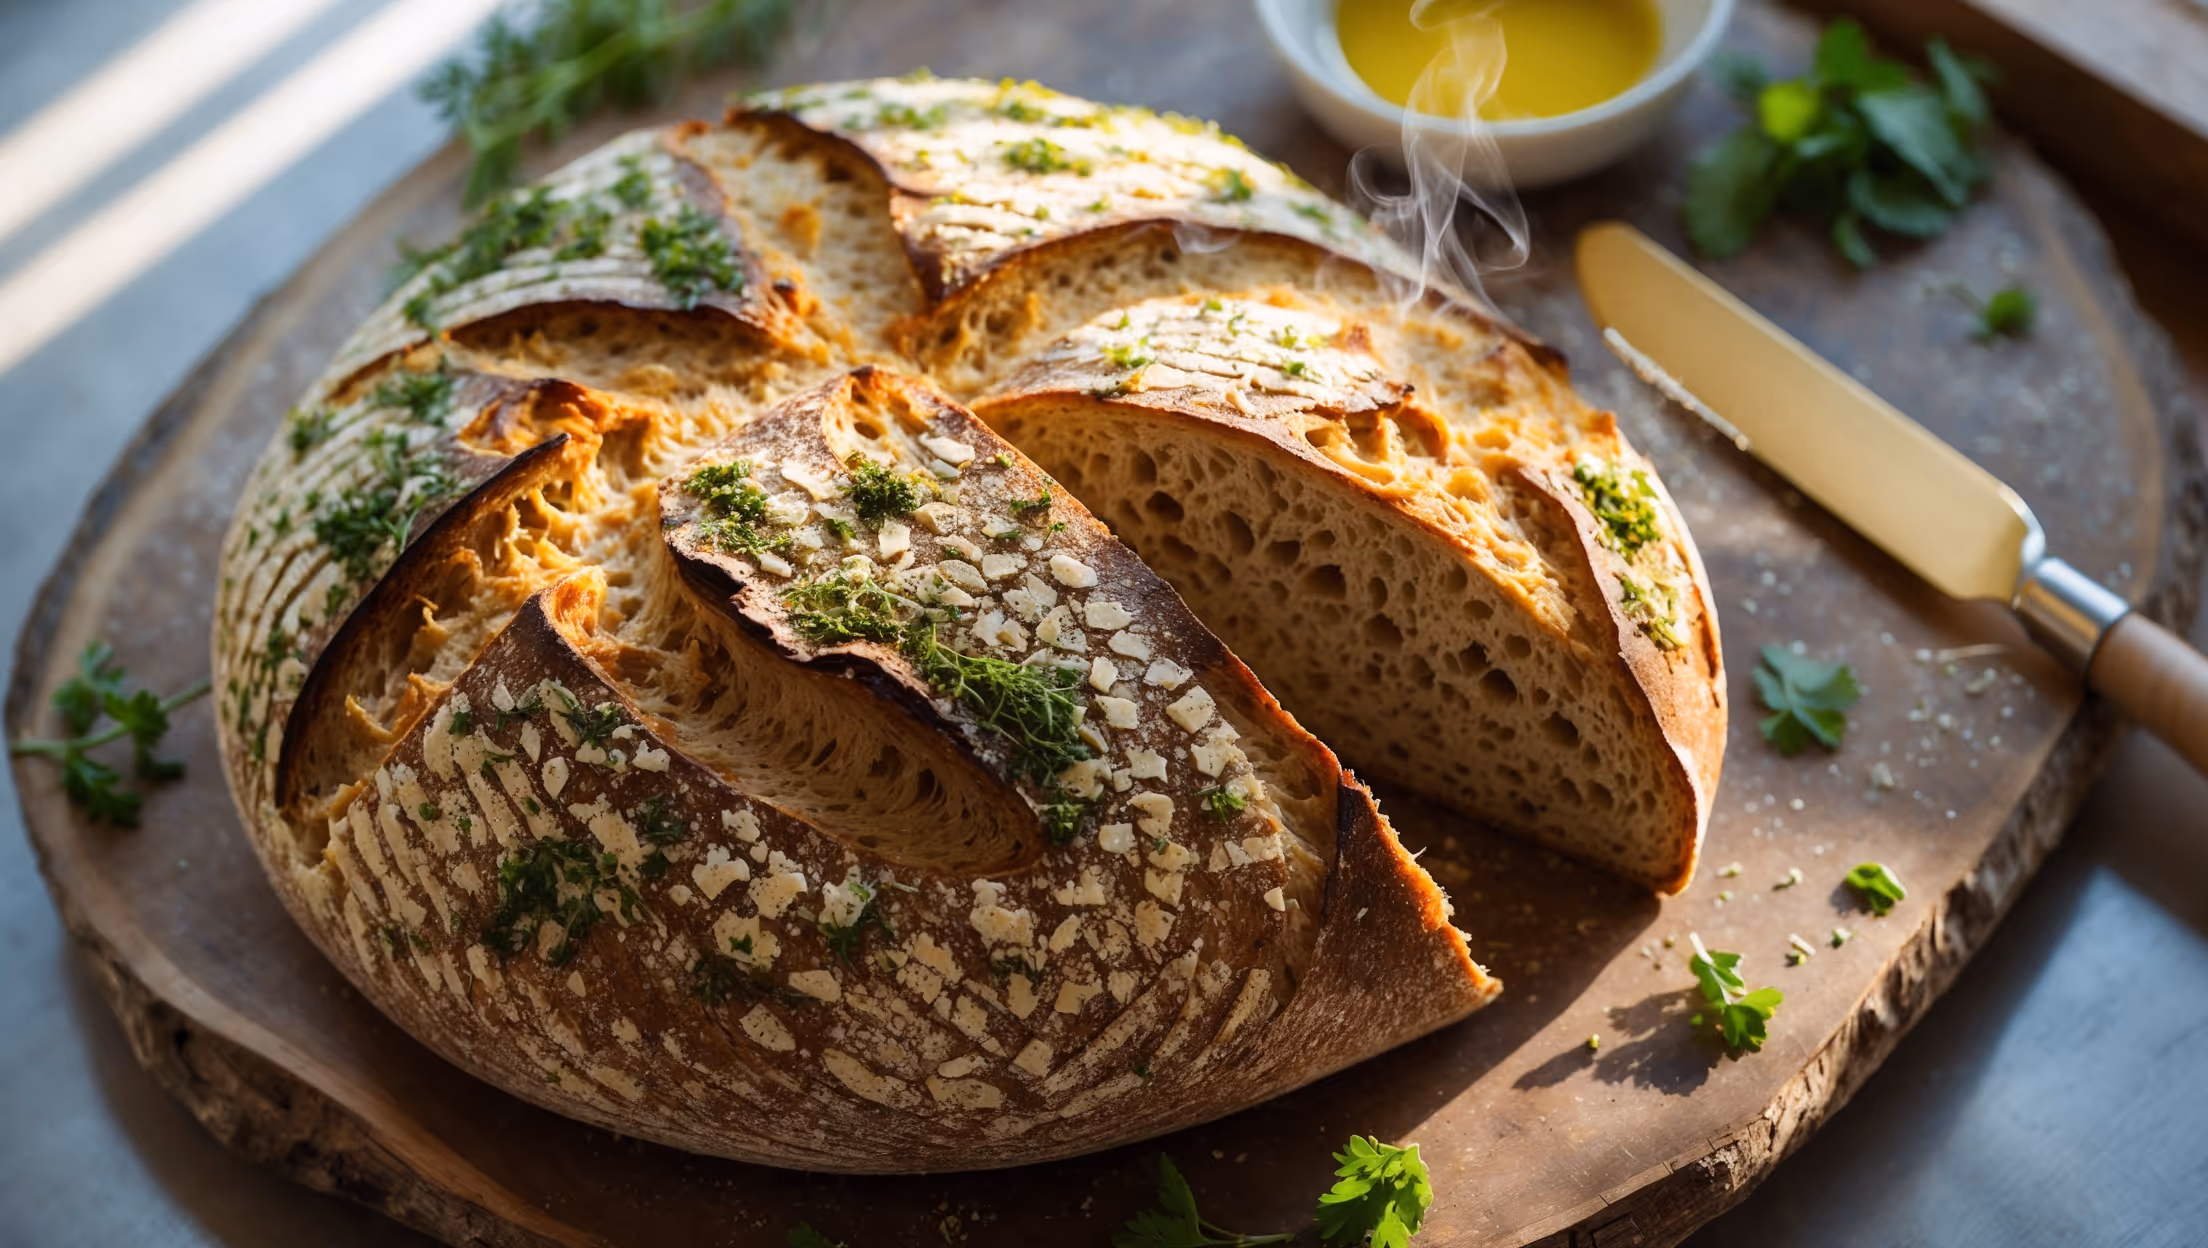
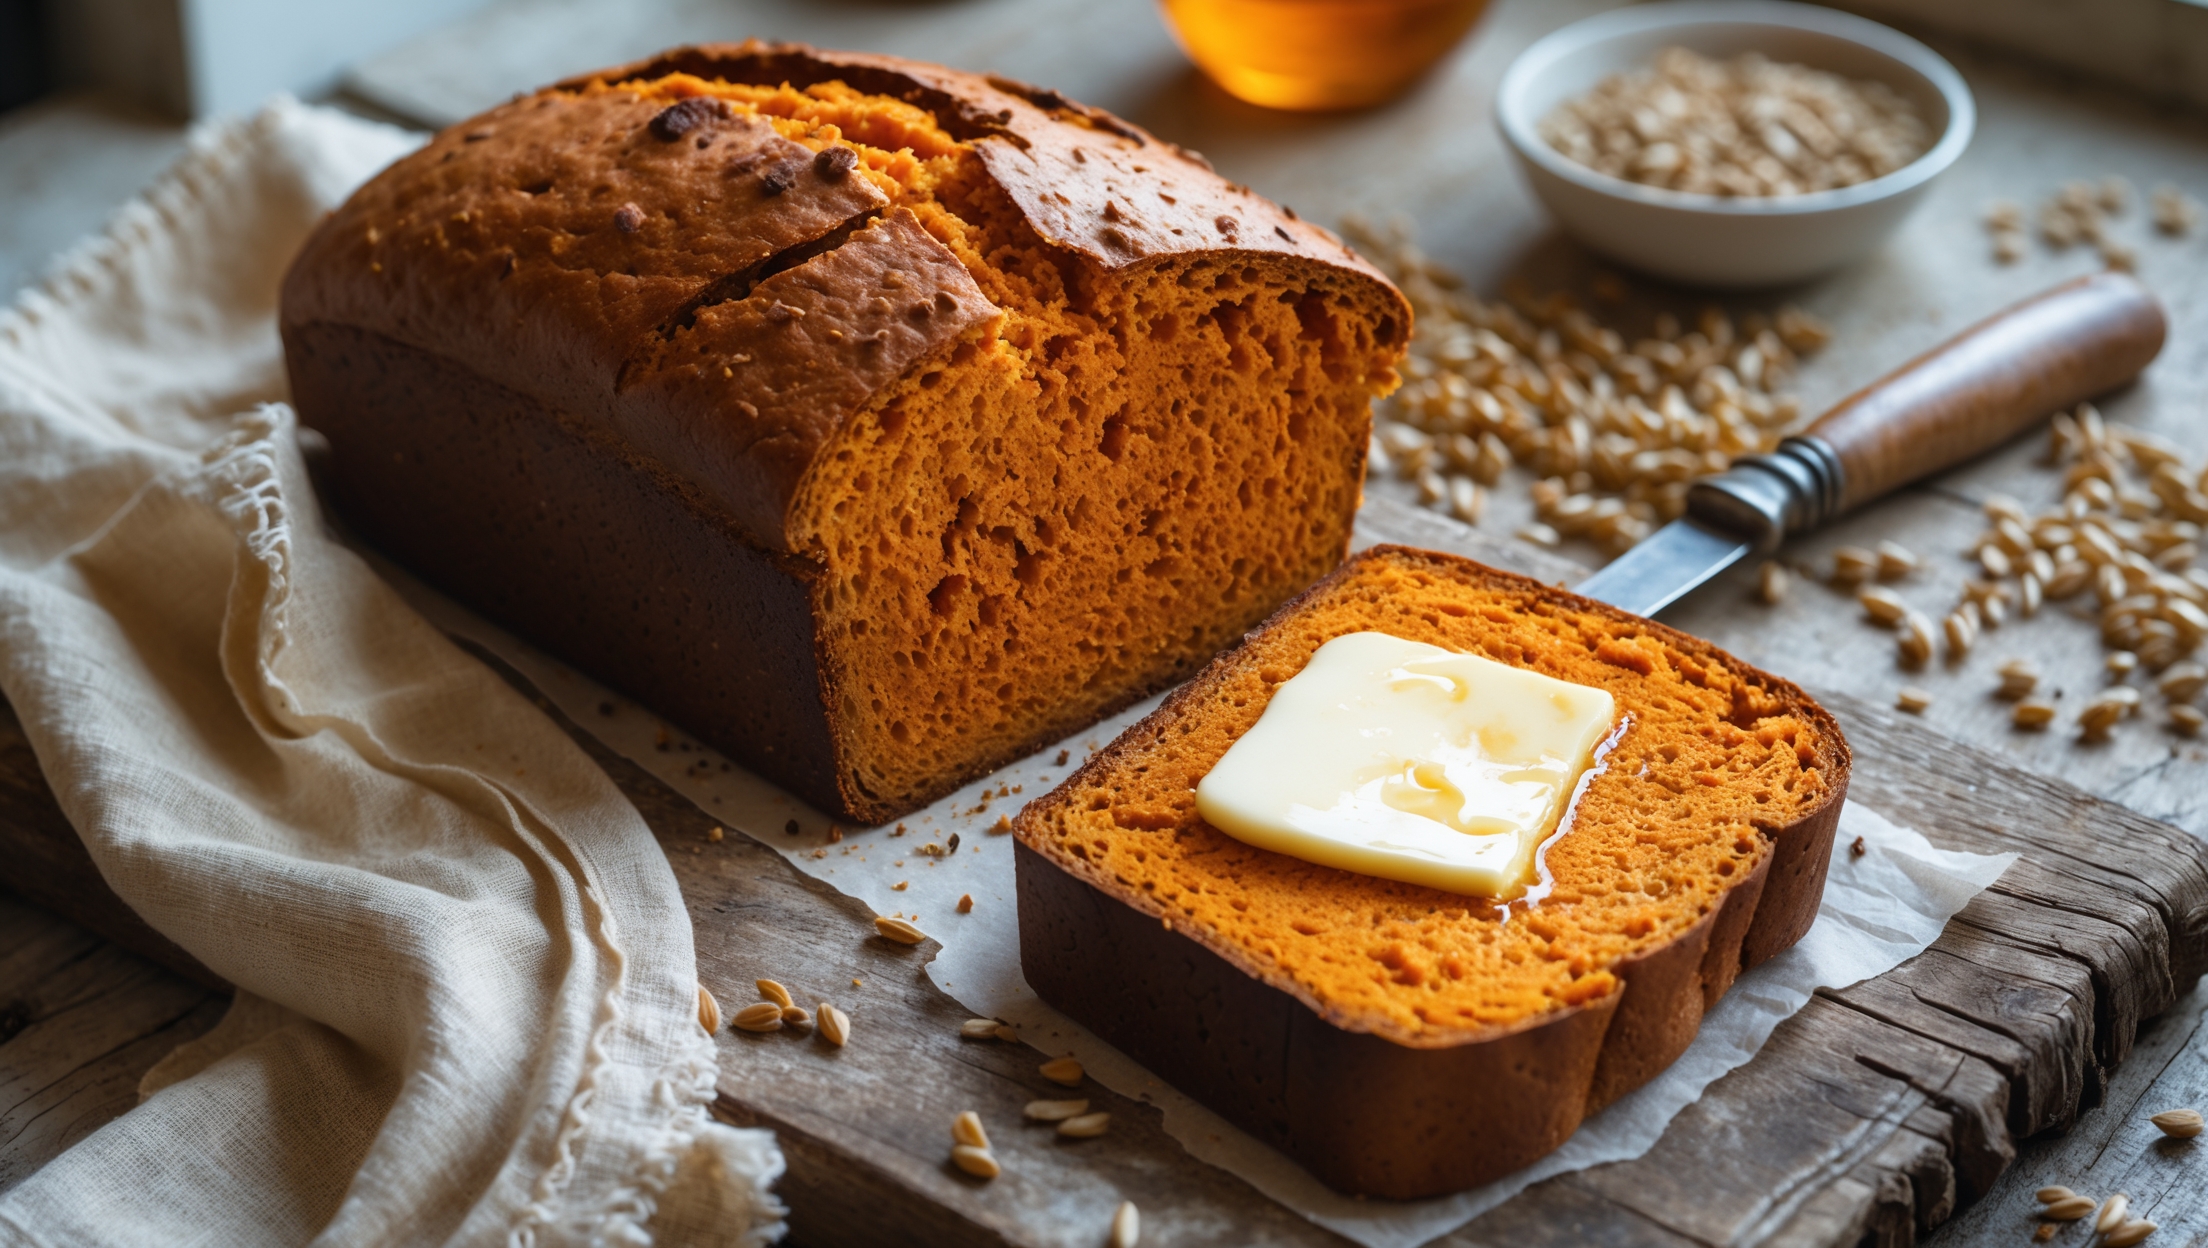
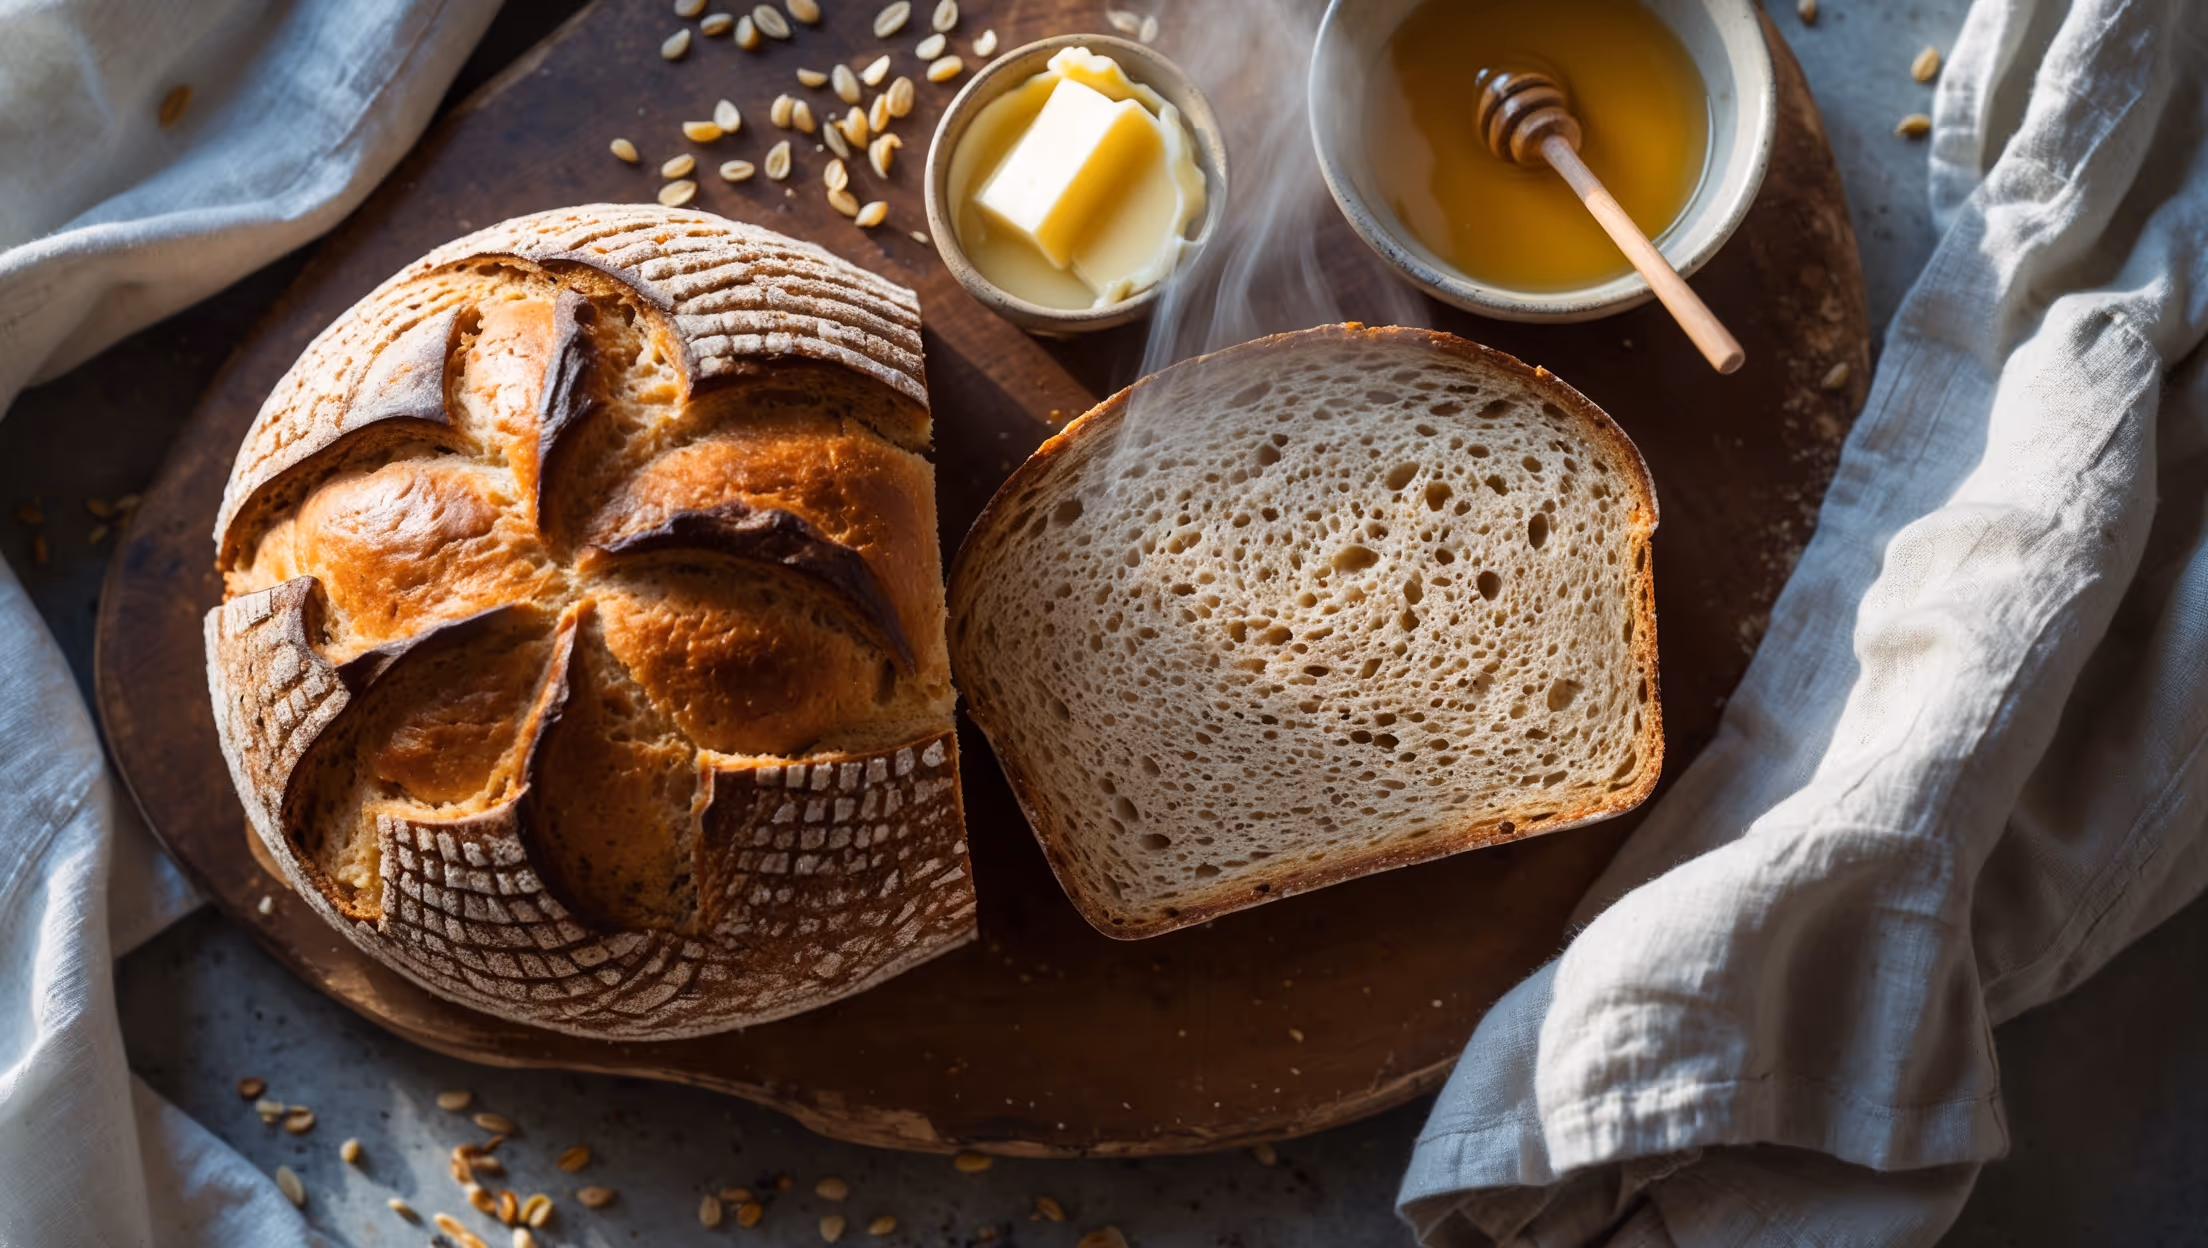
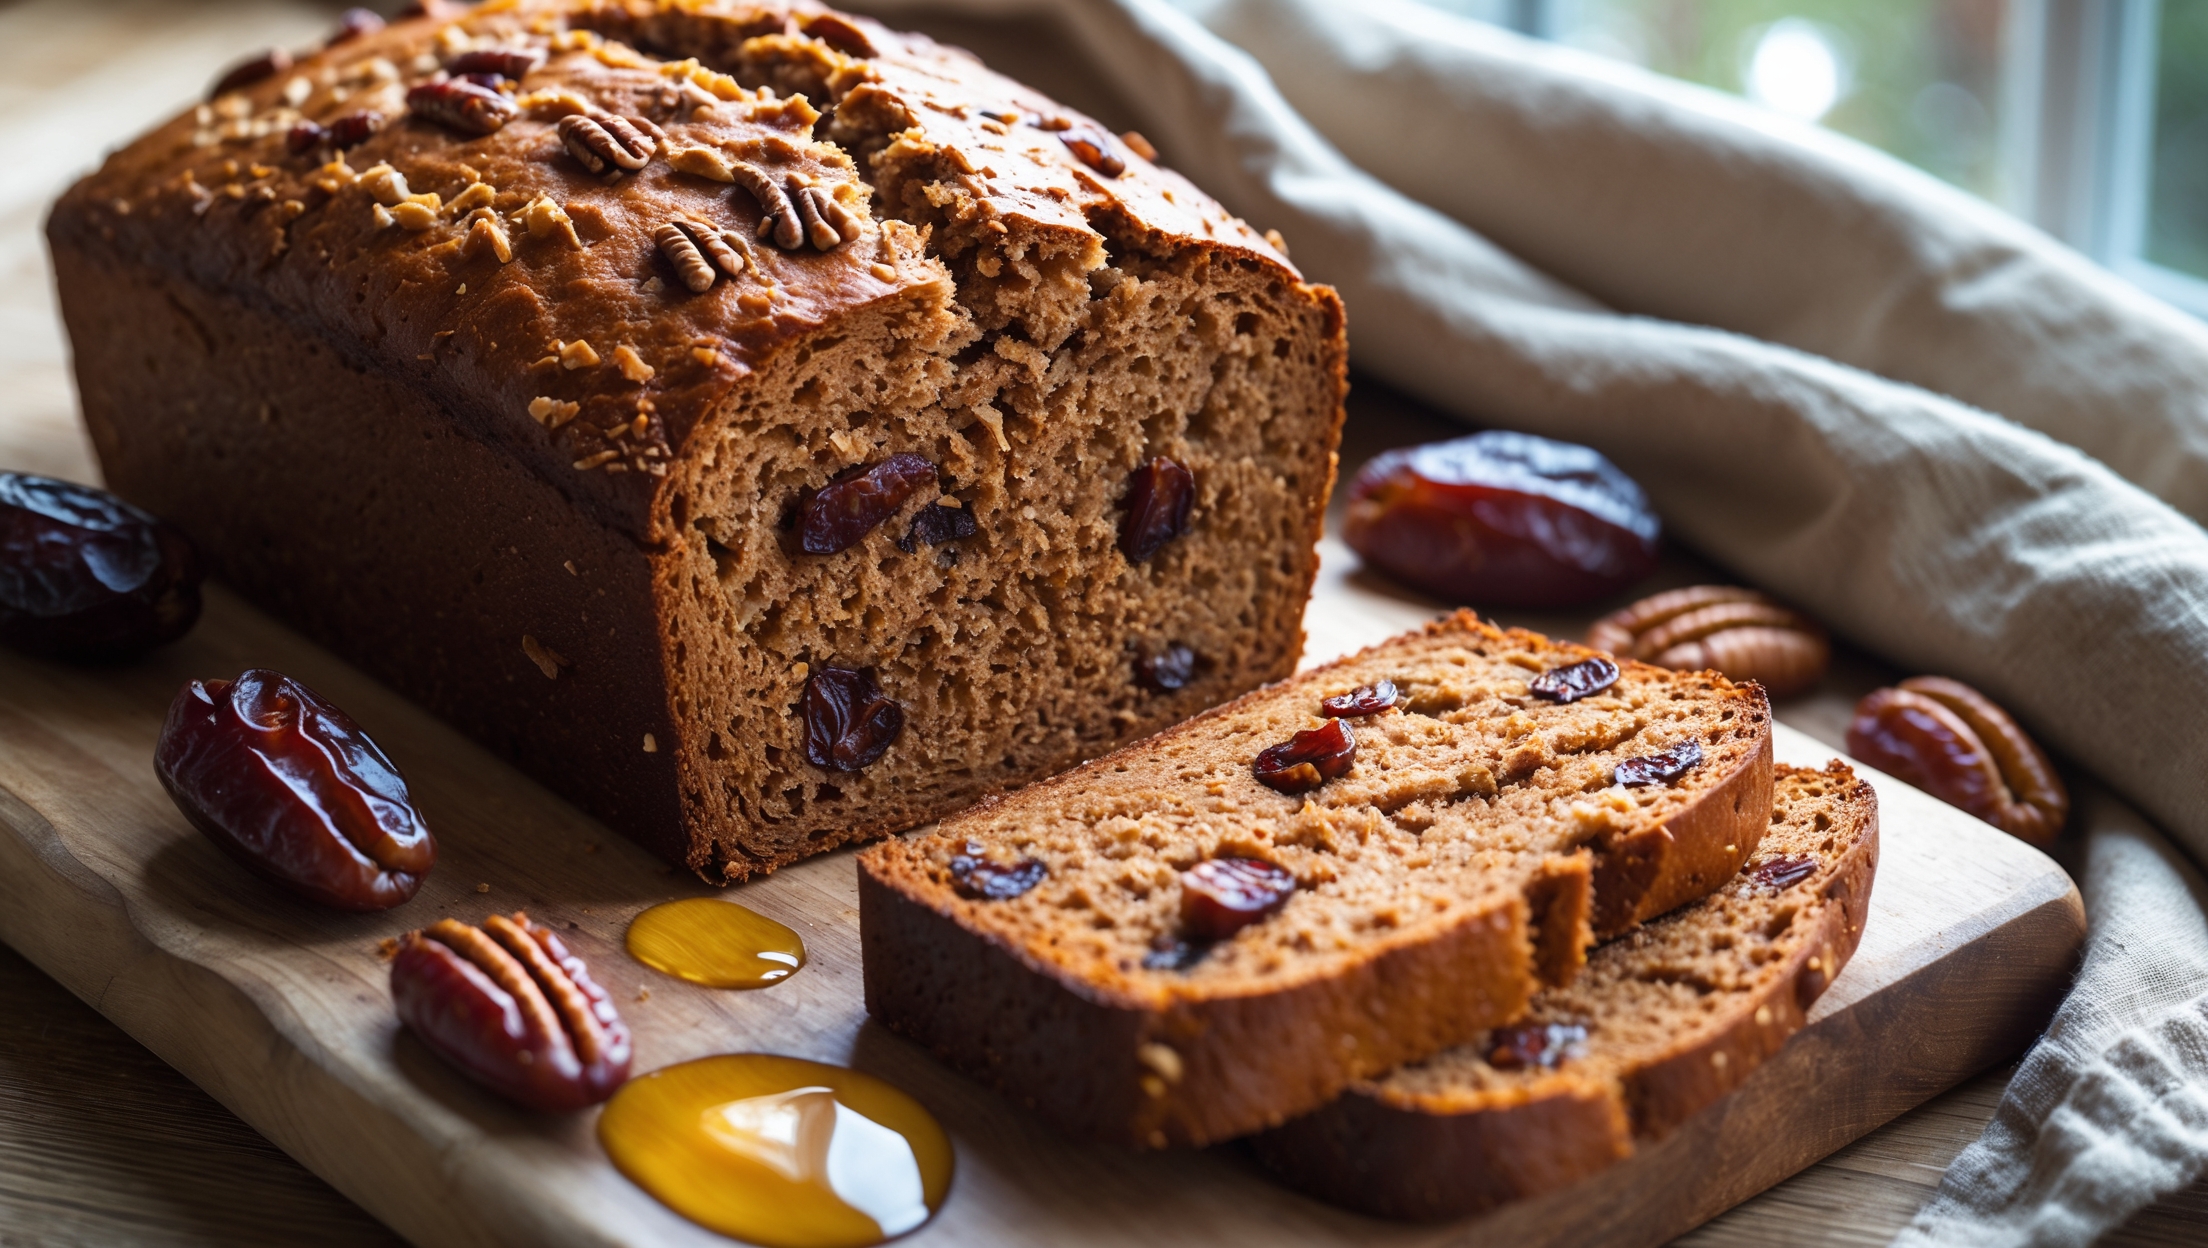
Farro Bread contains cooked farro grain, bread flour, whole wheat flour, instant yeast, salt, honey, olive oil, and warm water. The farro adds a delightful nutty flavour and chewy texture, while the combination of flours creates the perfect rustic structure.
Learn how to cook Farro Bread by first preparing cooked farro, then combining it with a mixture of flours and yeast. After incorporating warm water, honey and olive oil, knead the dough thoroughly, allow it to rise twice, then bake in a preheated Dutch oven for a crusty exterior and tender interior with nutty farro grains throughout.
Yes, you can experiment with other ancient grains like spelt, einkorn, or barley. Each grain will impart its unique flavour profile and texture. Ensure the grains are cooked to a similar tenderness as farro before incorporating them into your dough for consistent results.
A Dutch oven creates a mini steam oven environment that's crucial for developing that beautiful artisanal crust. The enclosed space traps moisture from the dough during the first stage of baking, allowing for optimal rise and crust formation before removing the lid for browning.
Store your bread at room temperature in a paper bag or bread box for 2-3 days. For longer storage, slice the completely cooled loaf and freeze in an airtight container. The high farro content helps this bread maintain moisture longer than typical white bread.
Whole Grain Bread
Try following recommended recipes