Directions
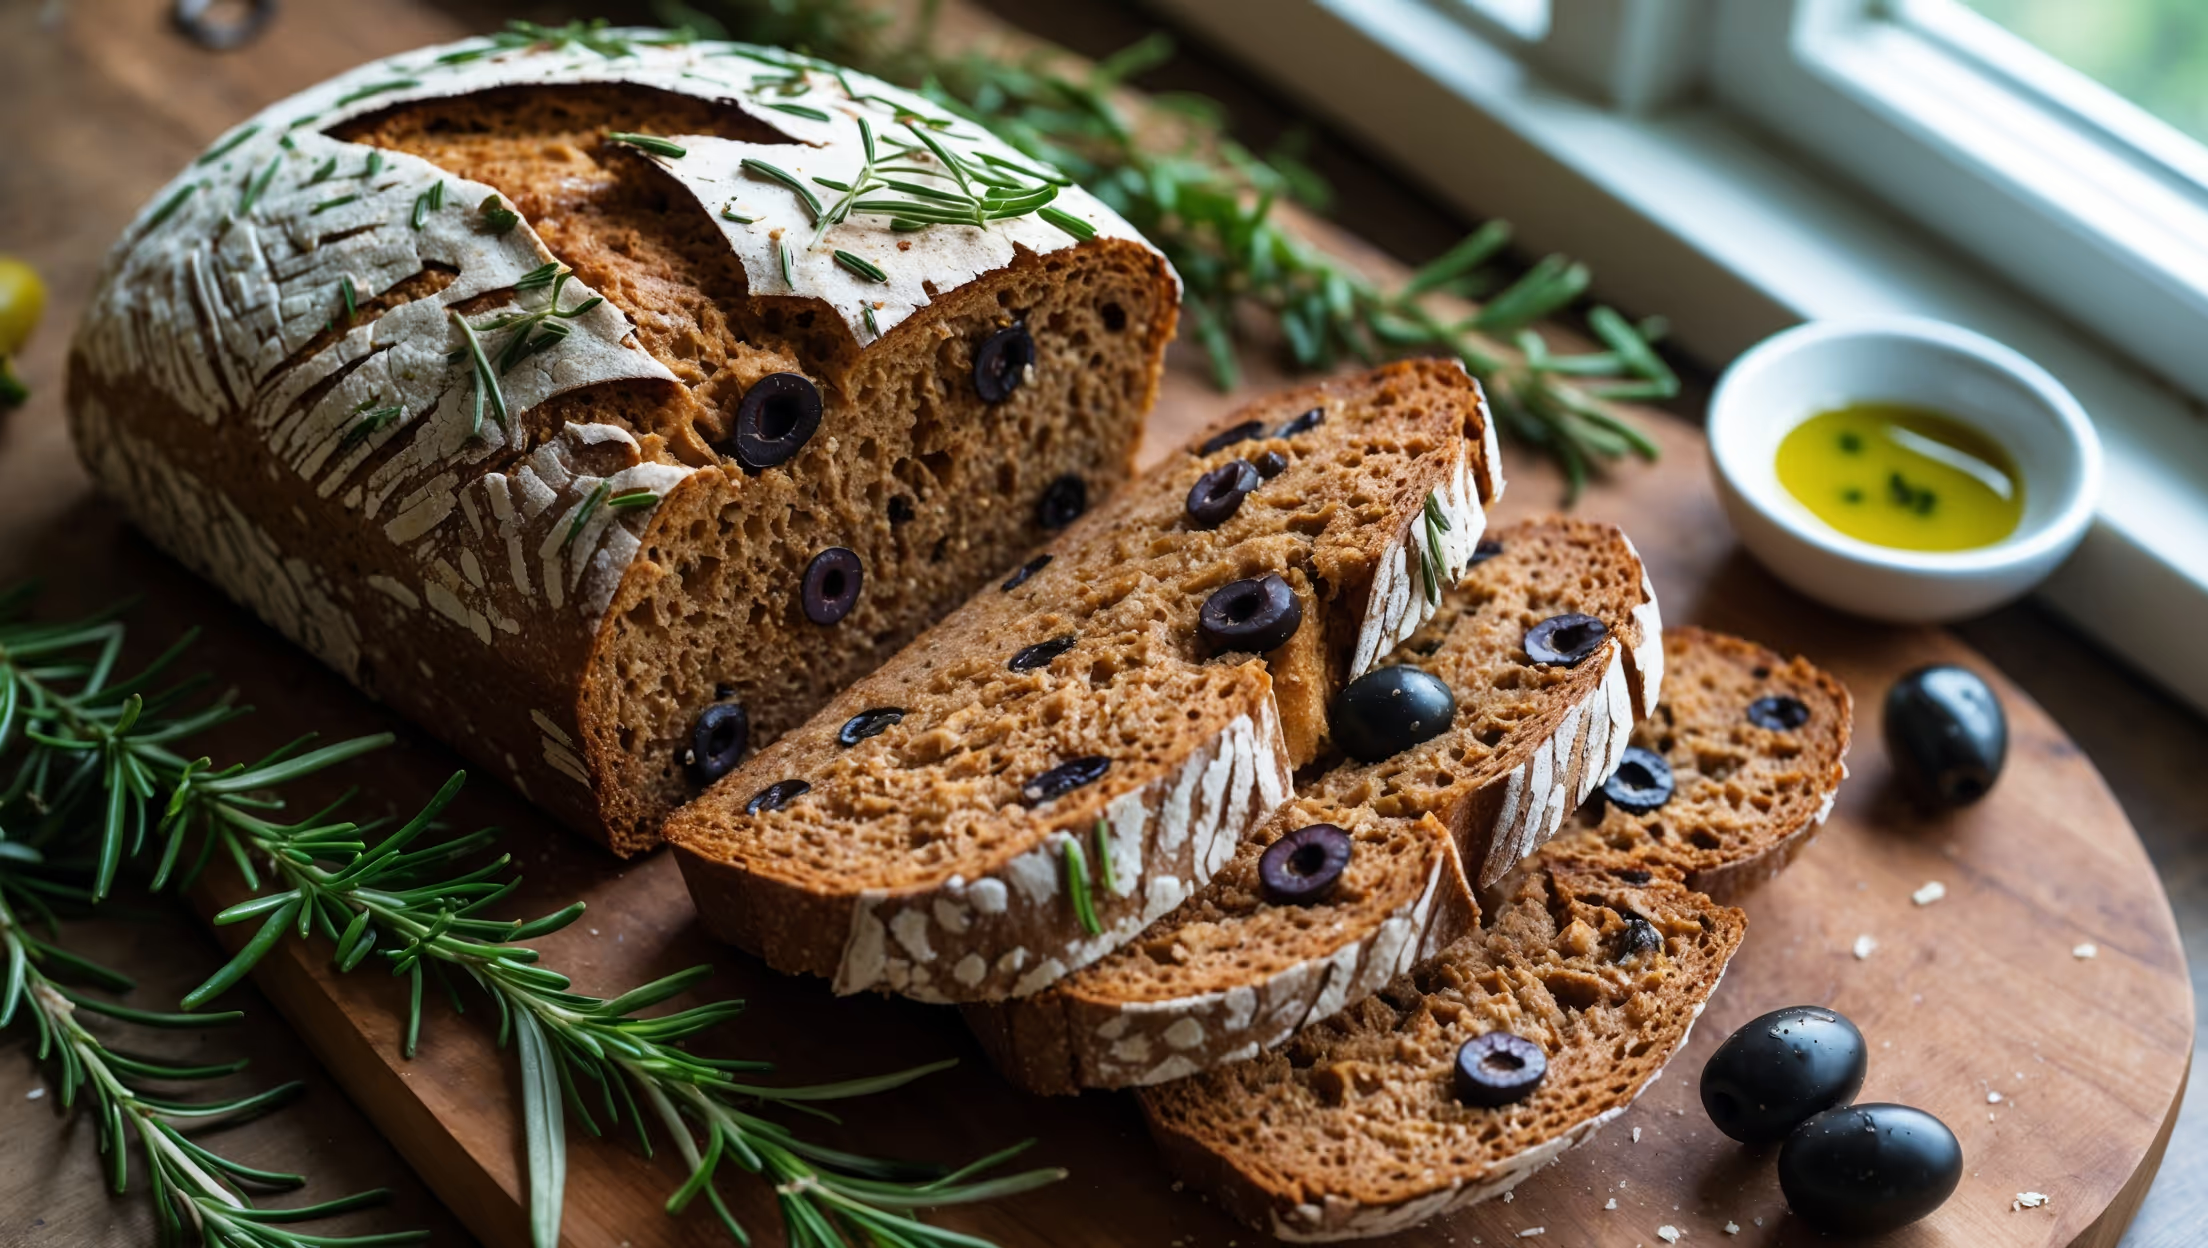
<ol class="no-list-style"><li class="MethodStepper"><h4 class="step-title">Step 1</h4>In a large mixing bowl, combine the warm water (38°C) with honey and yeast. Stir gently and let sit for 5-10 minutes until foamy. This activation step ensures your yeast is alive and will provide proper fermentation and rise.</li><li class="MethodStepper"><h4 class="step-title">Step 2</h4>In a separate bowl, whisk together the whole wheat flour, bread flour, rye flour, and salt. The bread flour provides necessary gluten structure while the whole grain flours contribute flavor, texture, and nutrition.</li><li class="MethodStepper"><h4 class="step-title">Step 3</h4>Pour the olive oil into the yeast mixture, then gradually add the flour blend. Mix until a shaggy dough forms. If using a stand mixer, use the dough hook on low speed for 2-3 minutes; otherwise, mix by hand with a wooden spoon until well combined.</li><li class="MethodStepper"><h4 class="step-title">Step 4</h4>Turn the dough onto a lightly floured surface and knead for 8-10 minutes until smooth and elastic. The dough will be slightly tacky but should pass the windowpane test - when a small piece can be stretched thin enough to see light through without tearing. This indicates proper gluten development.</li><li class="MethodStepper"><h4 class="step-title">Step 5</h4>Place the dough in a lightly oiled bowl, cover with a damp cloth or plastic wrap, and let rise in a warm place (around 24-27°C) for 1-1.5 hours, or until doubled in size. The slow rise develops flavor compounds that will enhance the bread's taste.</li><li class="MethodStepper"><h4 class="step-title">Step 6</h4>Gently punch down the dough to release excess gas. On a lightly floured surface, flatten the dough into a rectangle about 2cm thick. Sprinkle the chopped olives and 2 tablespoons of rosemary evenly across the surface, leaving a 2cm border.</li><li class="MethodStepper"><h4 class="step-title">Step 7</h4>Roll the dough from the short end like a Swiss roll, then fold the sides underneath to create surface tension. This technique distributes the olives and rosemary throughout the loaf while creating a tight outer skin for a good rise.</li><li class="MethodStepper"><h4 class="step-title">Step 8</h4>Dust a proofing basket or bowl lined with a clean kitchen towel generously with flour or semolina. Place the dough seam-side up in the basket. Cover and let proof for another 45-60 minutes until the dough springs back slowly when poked gently with your finger.</li><li class="MethodStepper"><h4 class="step-title">Step 9</h4>While the dough is proofing, place your Dutch oven or baking stone in the oven and preheat to 230°C. The preheated vessel creates immediate steam and heat transfer, essential for a crackling crust.</li><li class="MethodStepper"><h4 class="step-title">Step 10</h4>When ready to bake, carefully invert the proofed dough onto a piece of parchment paper. Brush lightly with olive oil and sprinkle with the remaining rosemary and a light dusting of flour. Score the top with a sharp blade or knife to allow for controlled expansion.</li><li class="MethodStepper"><h4 class="step-title">Step 11</h4>Carefully transfer the dough on the parchment paper into the preheated Dutch oven, cover with the lid, and bake for 30 minutes. Then remove the lid and continue baking for another 15 minutes until the crust is deep golden brown and the bread sounds hollow when tapped on the bottom (internal temperature should reach 96-98°C).</li><li class="MethodStepper"><h4 class="step-title">Step 12</h4>Transfer the bread to a wire rack and let cool completely for at least 1 hour before slicing. This crucial resting period allows the crumb structure to set and flavors to fully develop. Enjoy your beautiful, aromatic Olive Rosemary Whole Grain Bread!</li></ol>