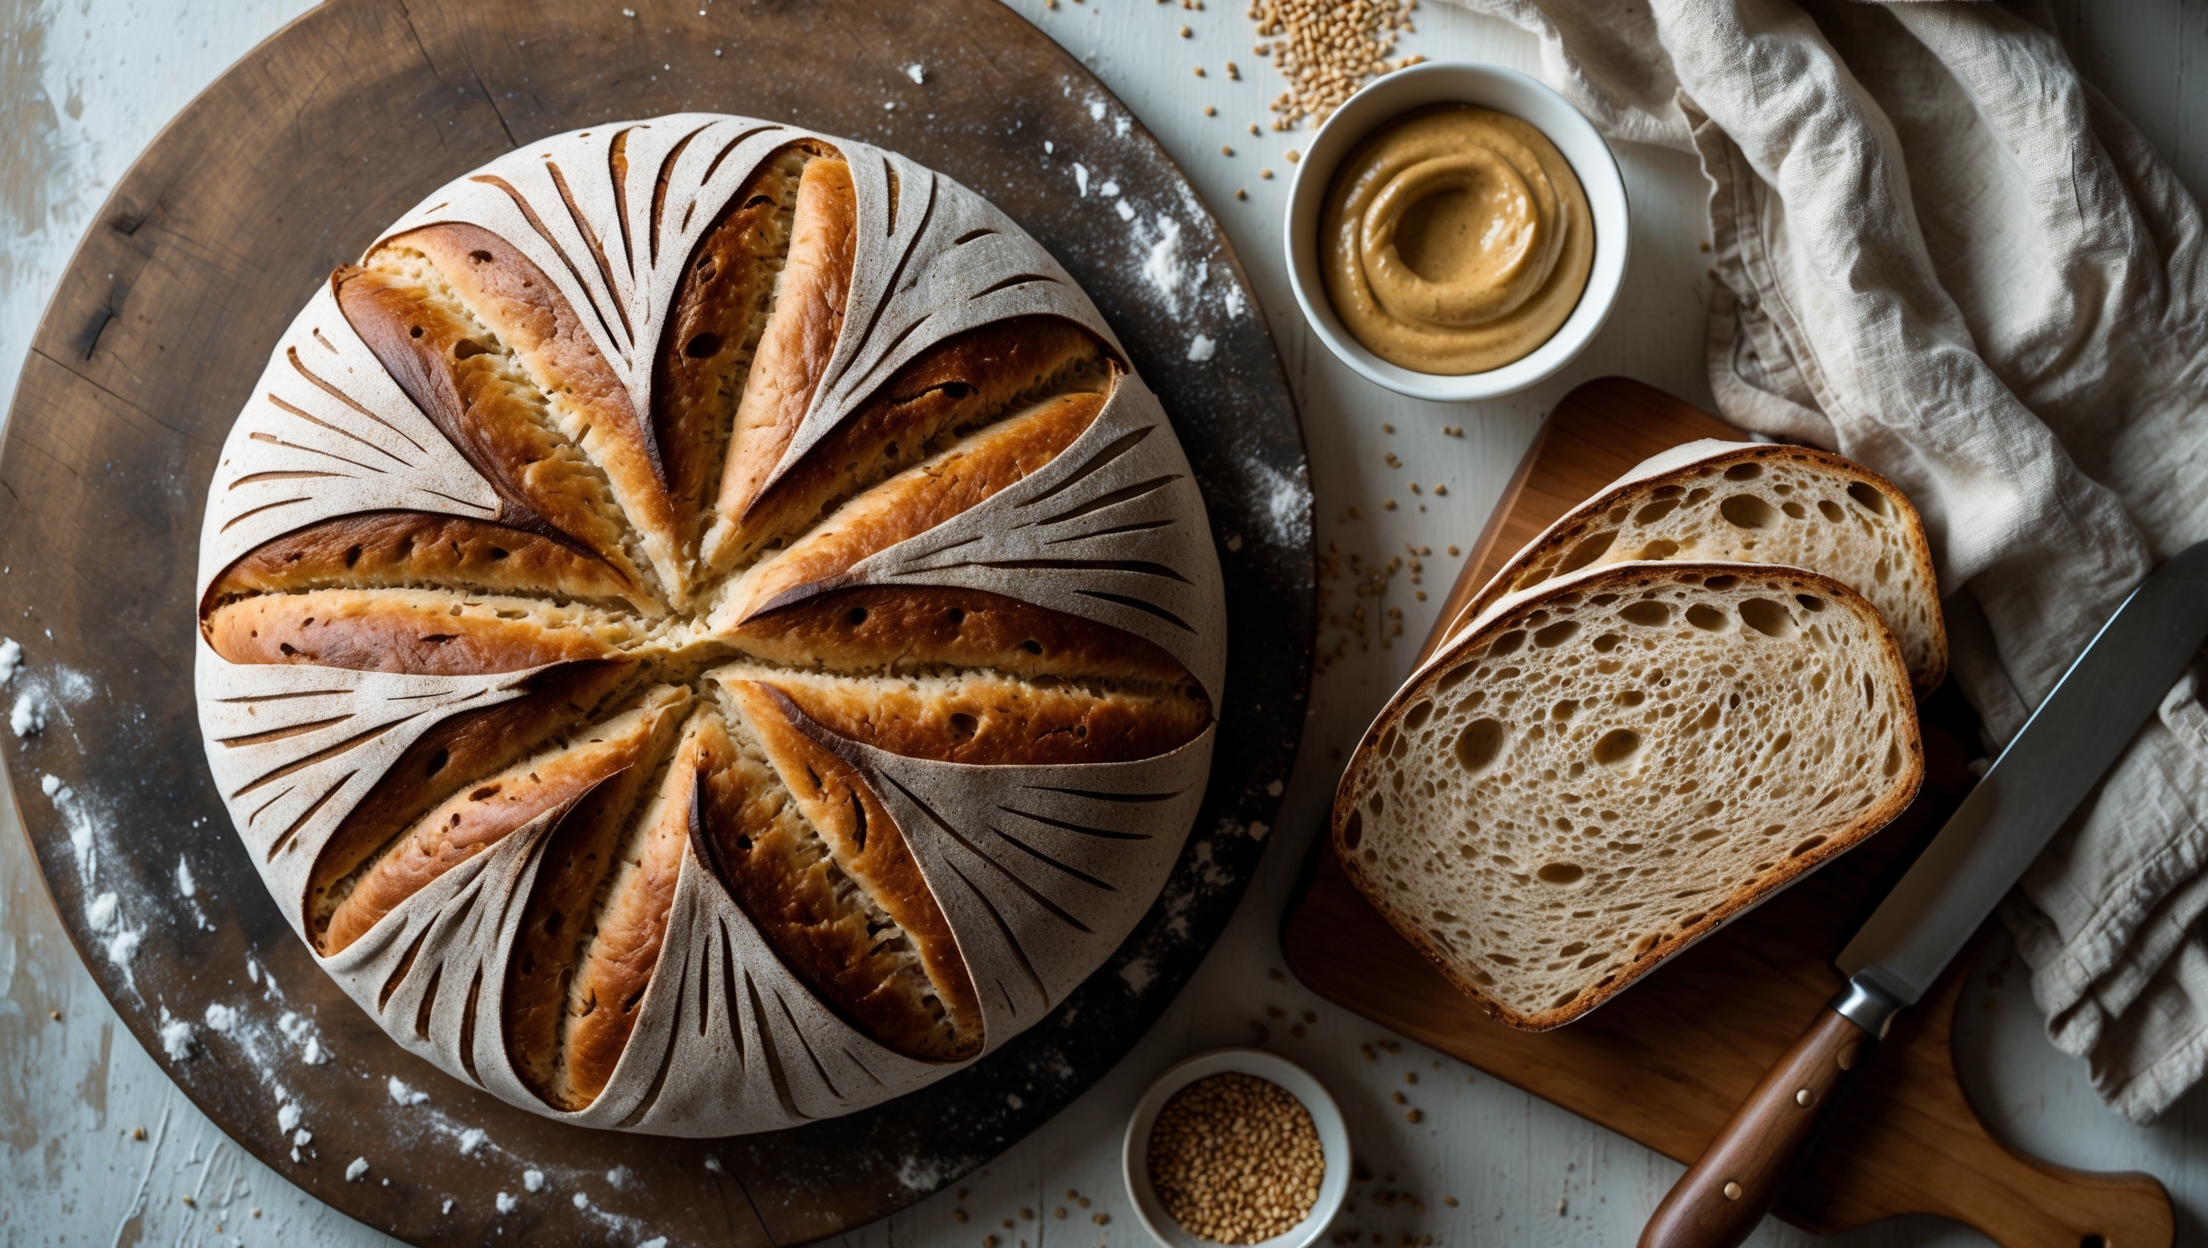
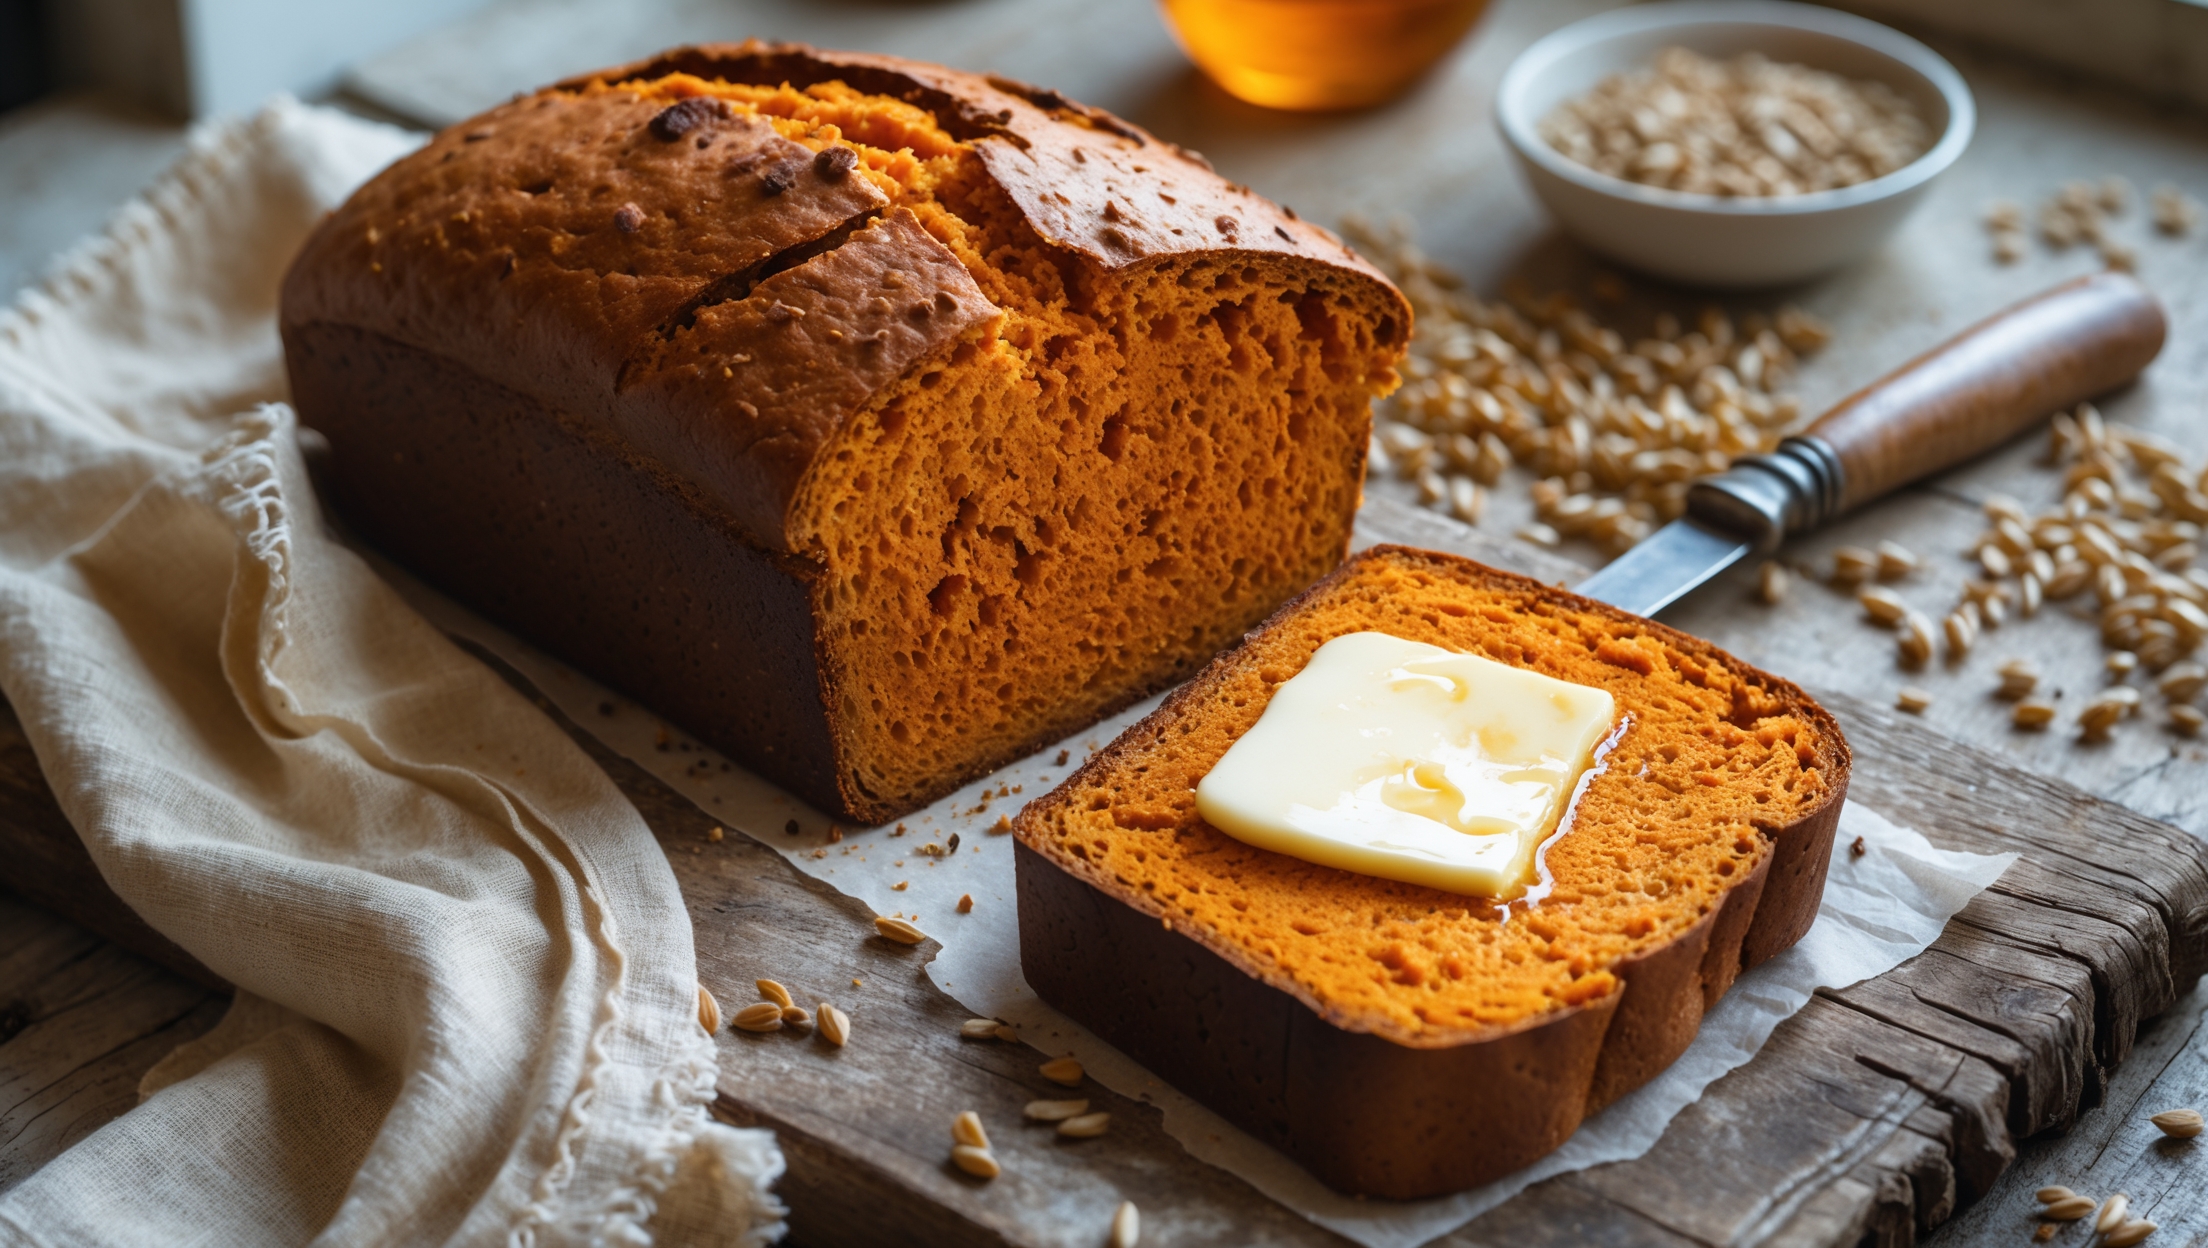
Whole Grain Buttermilk Bread Recipe
Ingredients
Equipment
Directions
FAQs
Find answers to your most pressing questions about this delicious recipe right here.
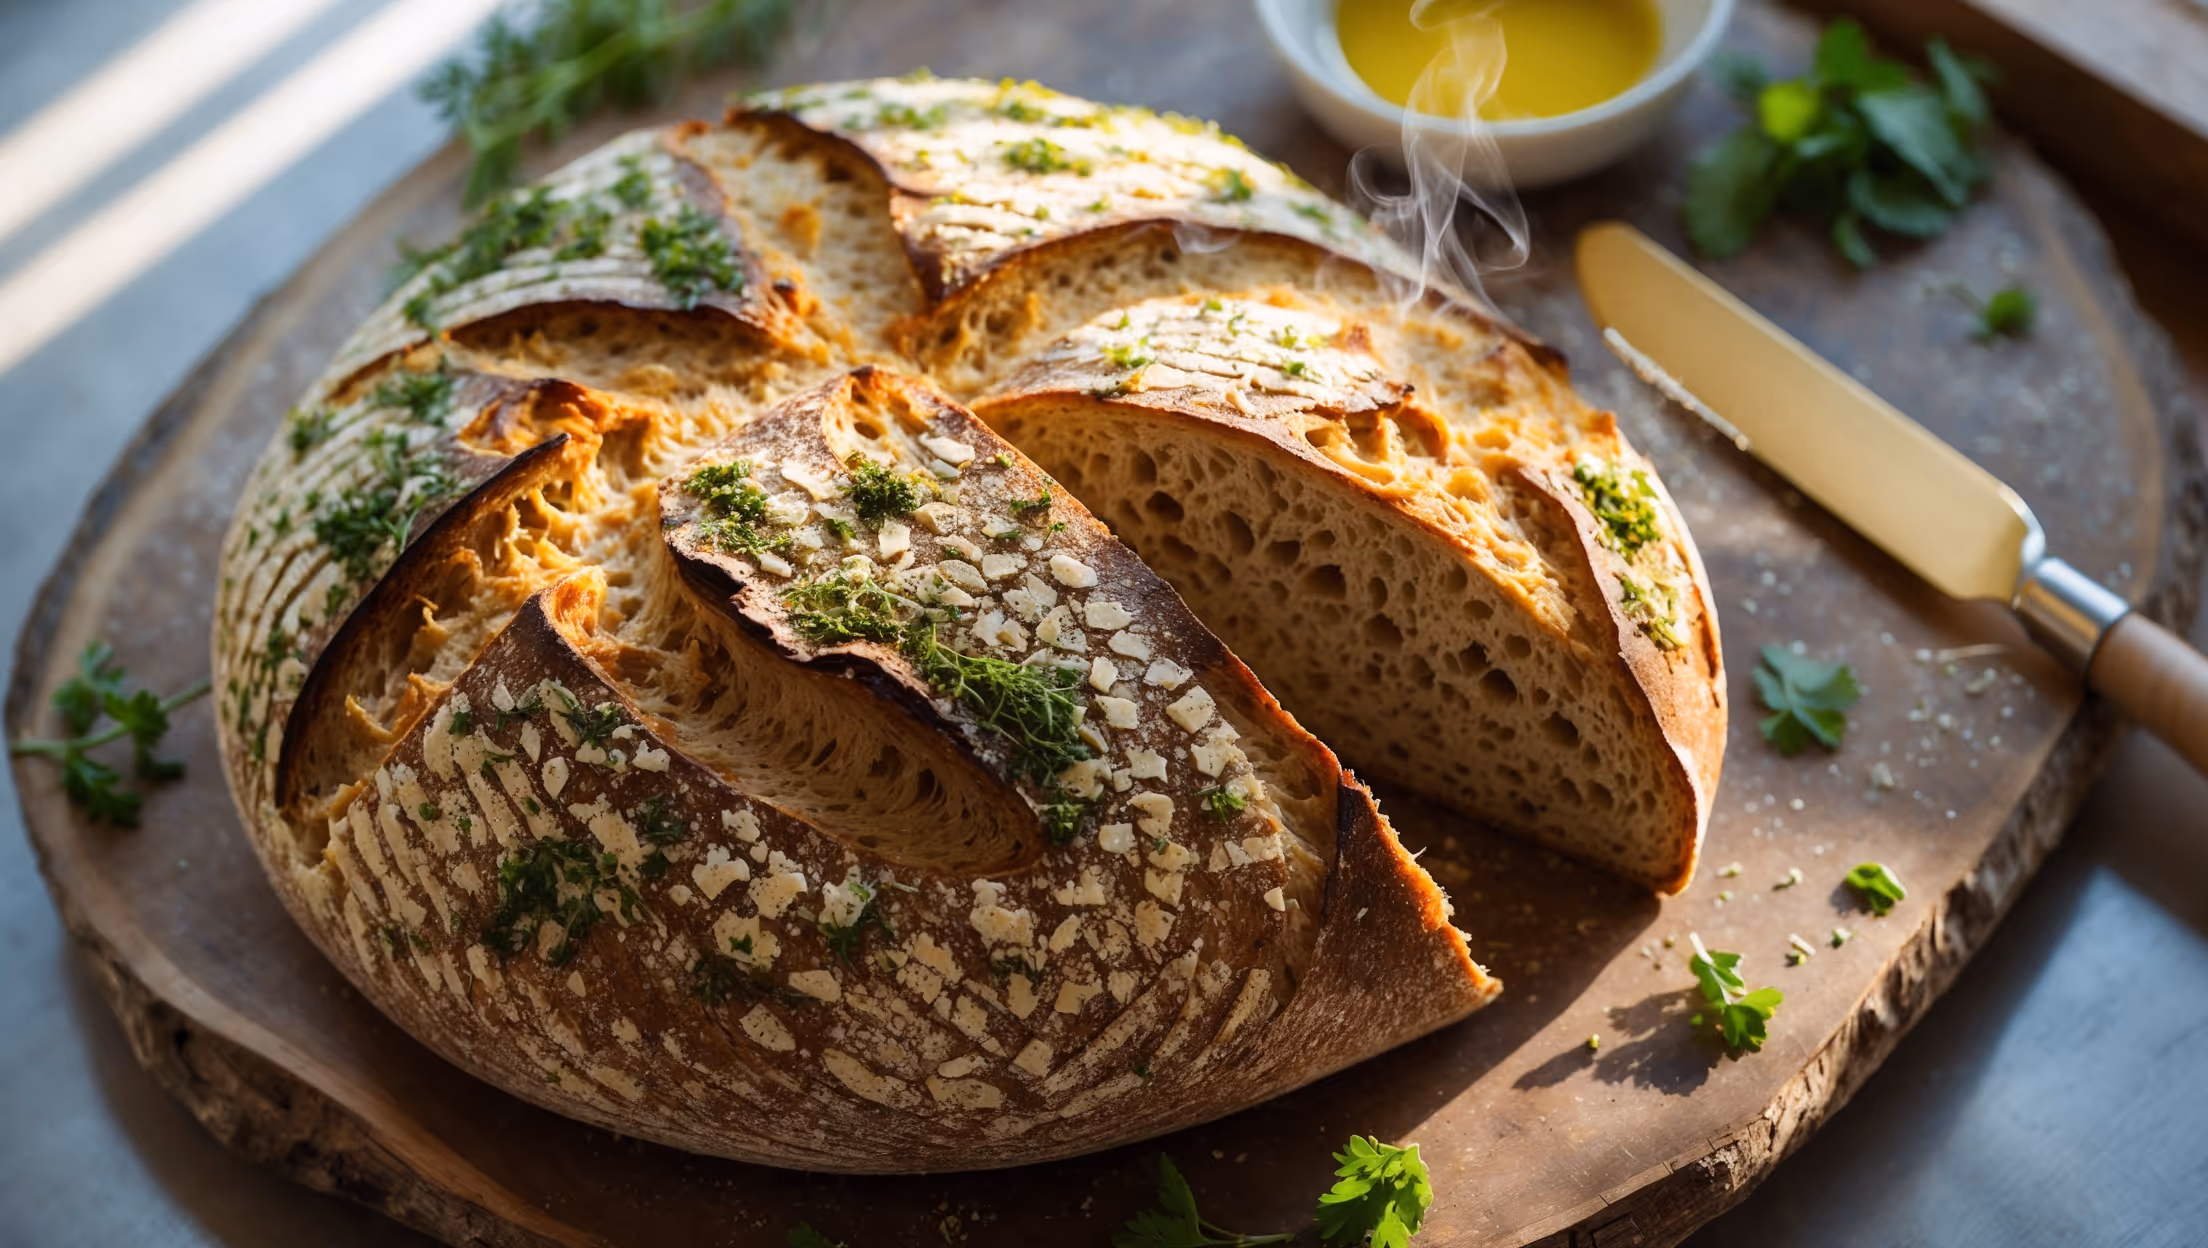
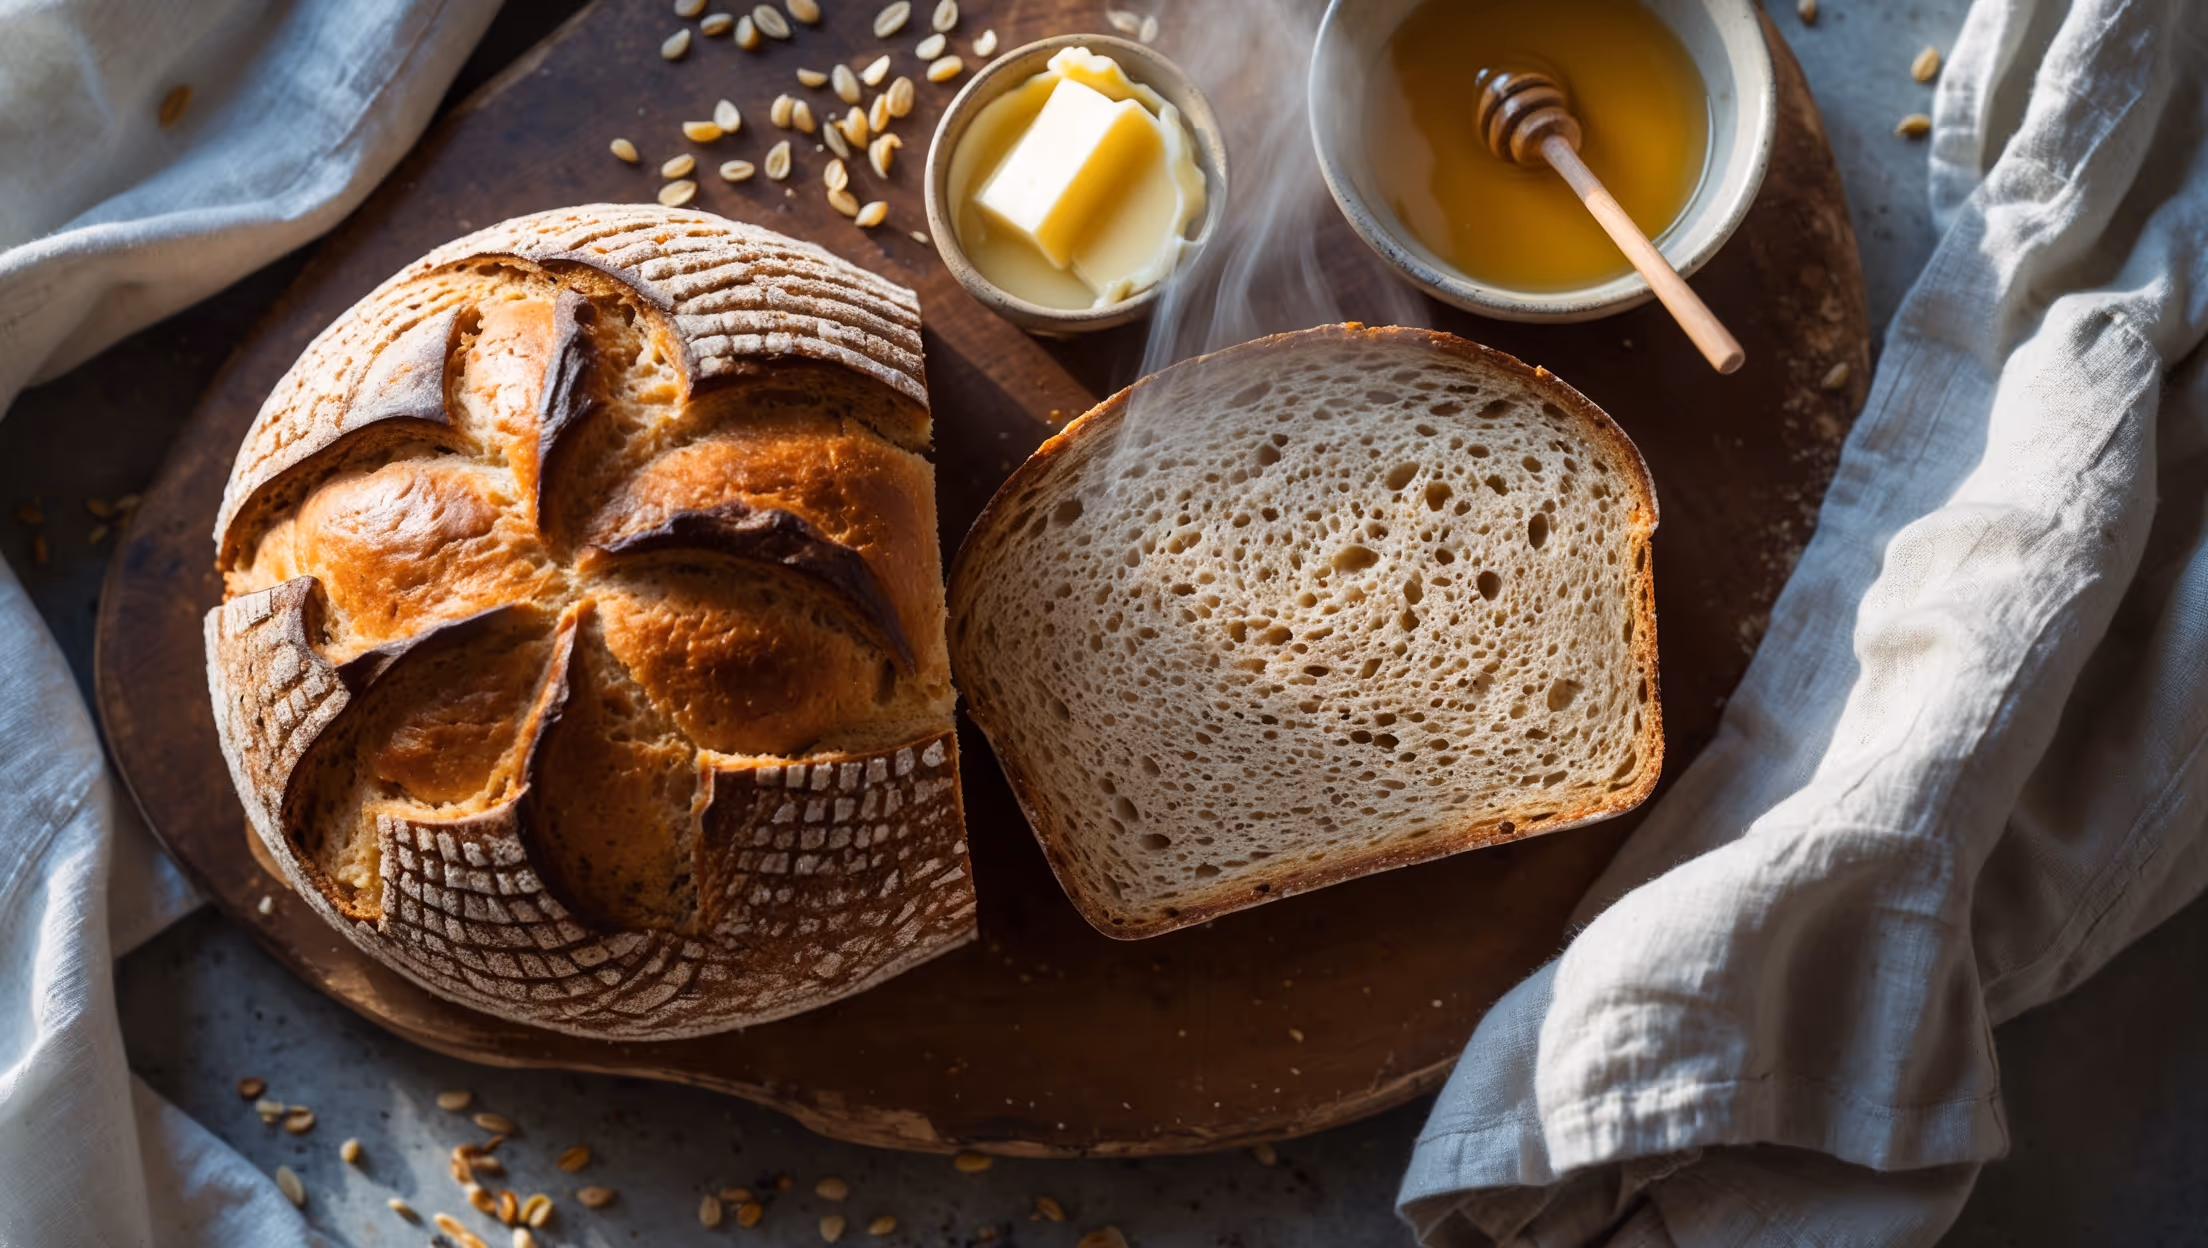
This bread uses whole wheat and bread flour, active dry yeast, honey, butter, salt, buttermilk, and mixed seeds (sunflower, pumpkin, flax). The buttermilk provides tanginess while the whole grains and seeds add nutritional value and a delightful texture.
Learn how to cook Whole Grain Buttermilk Bread by activating yeast in warm buttermilk and honey, kneading a dough of whole wheat and bread flour, allowing two rises, and baking until golden brown. The key is proper kneading to develop gluten, patient rising times, and ensuring the loaf reaches an internal temperature of 95-98°C for perfect doneness.
Buttermilk creates a softer texture because its acidity tenderizes the gluten strands in the dough. This chemical reaction prevents the proteins from forming overly strong bonds, resulting in a more tender crumb while still maintaining enough structure for a good rise and proper loaf formation.
Absolutely! Simply mix ingredients in a large bowl and knead by hand on a floured surface for 10-12 minutes until smooth and elastic. While more labour-intensive, hand-kneading gives you better feel for the dough's development and many bakers prefer this traditional method.
For maximum freshness, cool bread completely before storing in a bread box or paper bag at room temperature for 2-3 days. For longer storage, slice cooled bread and freeze in a zip-top bag with parchment between slices. Avoid refrigeration as this actually accelerates staling.
Whole Grain Bread
Try following recommended recipes