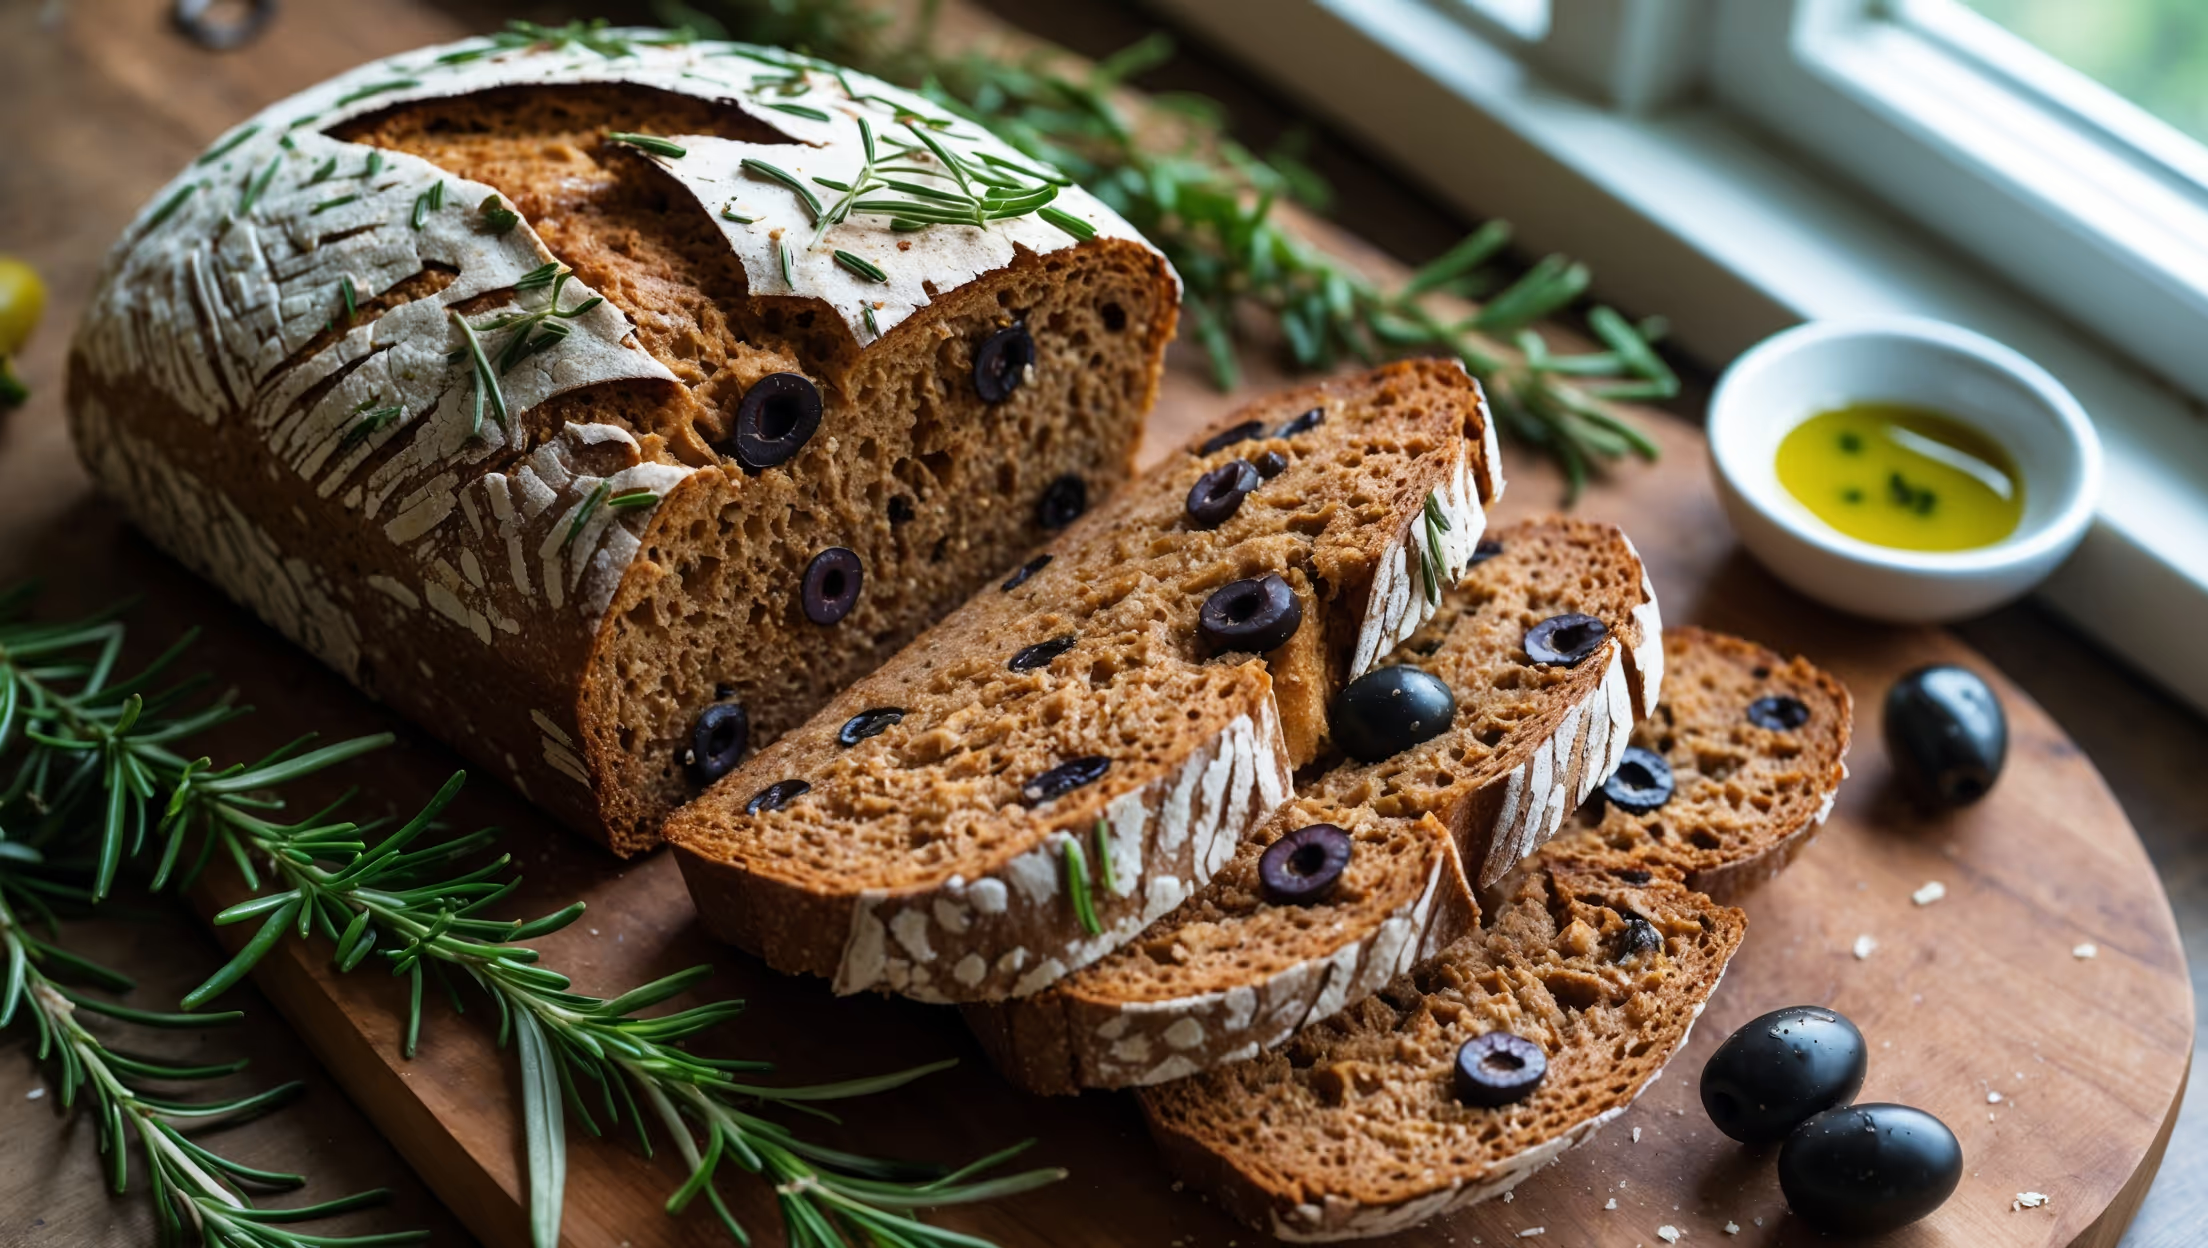
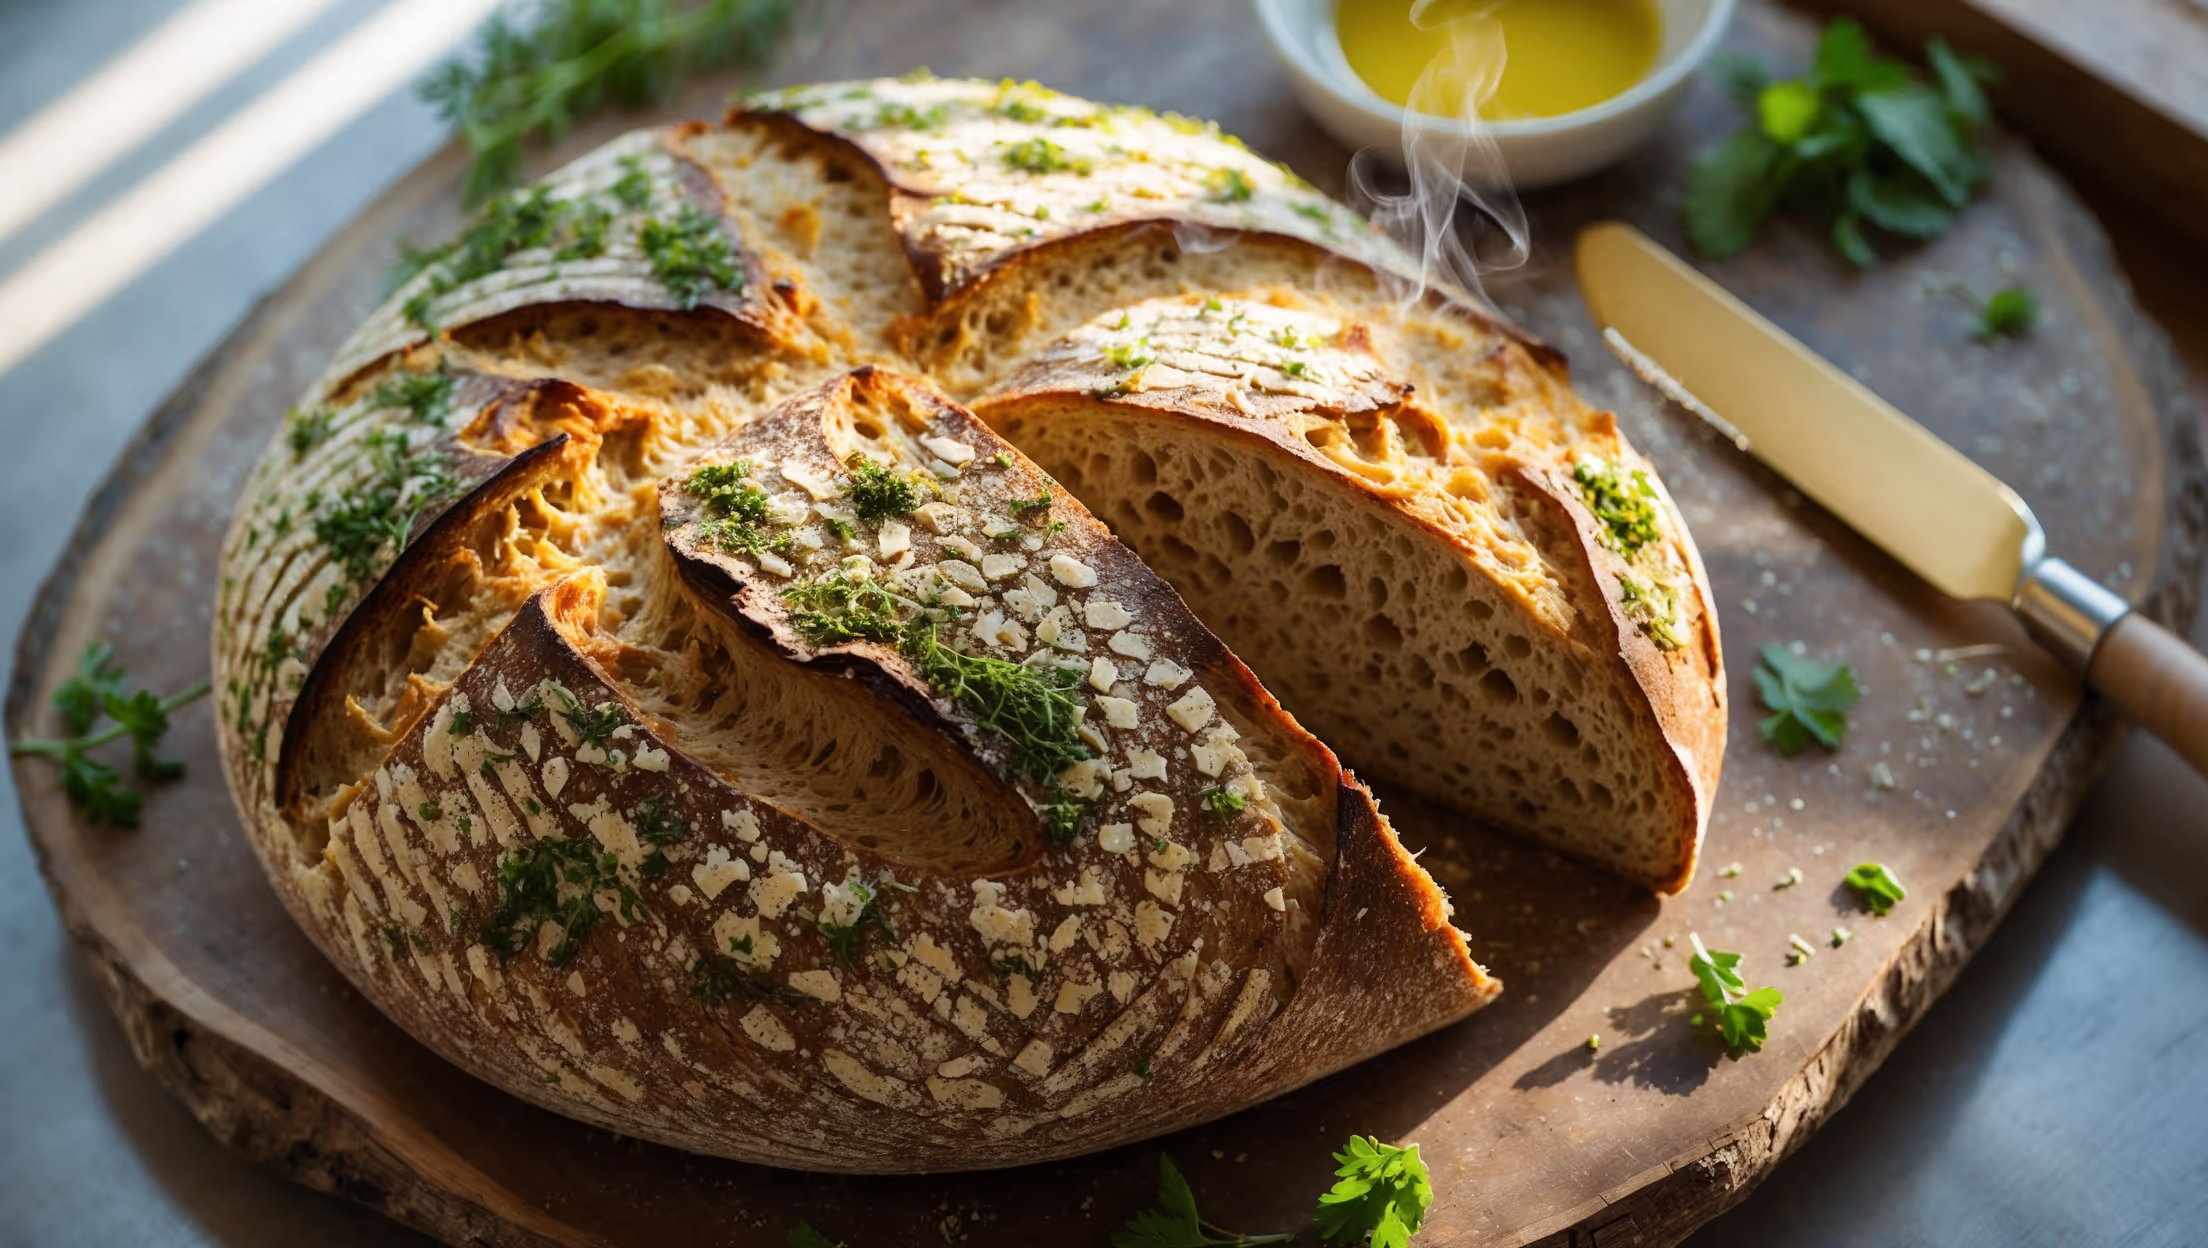
Directions
<ol class="no-list-style"><li class="MethodStepper"><h4 class="step-title">Step 1</h4>In a large bowl, combine the warm water (38°C) and honey, stirring until the honey dissolves. Sprinkle the yeast over the surface and let it sit for 5-10 minutes until foamy. This activation step ensures your yeast is alive and will provide proper rise to your bread.</li><li class="MethodStepper"><h4 class="step-title">Step 2</h4>Add the olive oil, whole wheat flour, bread flour, and salt to the yeast mixture. Mix until a shaggy dough forms. If using a stand mixer, use the dough hook and mix on low speed for 2 minutes. If mixing by hand, use a wooden spoon to combine ingredients thoroughly.</li><li class="MethodStepper"><h4 class="step-title">Step 3</h4>Knead the dough for 8-10 minutes by machine or 10-12 minutes by hand until smooth and elastic. The dough will feel slightly tacky but not sticky. When kneaded properly, it should pass the "windowpane test" - you can stretch a small piece thin enough to see light through without tearing. This develops the gluten structure that gives your bread proper texture.</li><li class="MethodStepper"><h4 class="step-title">Step 4</h4>Place the dough in a lightly oiled bowl, turning to coat all sides. Cover with a damp cloth or plastic wrap and let rise in a warm place (about 24°C) for 1-1.5 hours, or until doubled in size. The slow rise develops flavor in your whole grain bread.</li><li class="MethodStepper"><h4 class="step-title">Step 5</h4>While the dough rises, prepare the garlic butter. In a small bowl, mix the softened butter with minced garlic, chopped parsley, thyme, salt, and pepper until well combined. The warmth of your hands helps the butter absorb all the aromatic flavors. Set aside at room temperature.</li><li class="MethodStepper"><h4 class="step-title">Step 6</h4>Once the dough has doubled, gently punch it down to release air bubbles. Turn onto a lightly floured surface and shape into a rectangle about 30cm x 20cm (12" x 8"). Be gentle to preserve the air bubbles that give your bread a light texture.</li><li class="MethodStepper"><h4 class="step-title">Step 7</h4>Spread about two-thirds of the garlic butter mixture evenly over the dough surface, leaving a 1cm border around the edges. The butter will melt and infuse the bread with flavor during baking.</li><li class="MethodStepper"><h4 class="step-title">Step 8</h4>Starting from the long side, tightly roll the dough into a log, pinching the seam and ends to seal. This creates beautiful swirls of garlic butter throughout your bread. Place the loaf seam-side down on a parchment-lined baking sheet or in a lightly greased loaf pan.</li><li class="MethodStepper"><h4 class="step-title">Step 9</h4>Cover loosely with a clean kitchen towel and let rise again for 45-60 minutes, or until noticeably puffy. Meanwhile, preheat your oven to 190°C (375°F).</li><li class="MethodStepper"><h4 class="step-title">Step 10</h4>Just before baking, use a sharp knife to make 3-4 diagonal slashes about 1cm deep across the top of the loaf. This allows the bread to expand properly during baking and creates an attractive finished look.</li><li class="MethodStepper"><h4 class="step-title">Step 11</h4>Bake for 30-35 minutes until deeply golden brown and the bread sounds hollow when tapped on the bottom. If you have a thermometer, the internal temperature should reach 93-96°C (200-205°F).</li><li class="MethodStepper"><h4 class="step-title">Step 12</h4>As soon as the bread comes out of the oven, brush the top with the remaining garlic butter, which will melt into the hot crust. The heat activates the garlic flavor and infuses the crust with a final boost of aroma.</li><li class="MethodStepper"><h4 class="step-title">Step 13</h4>Allow the bread to cool on a wire rack for at least 20 minutes before slicing. This resting period allows the crumb structure to set and prevents the bread from becoming gummy when cut. Serve warm for the best garlic bread experience!</li></ol>