Directions
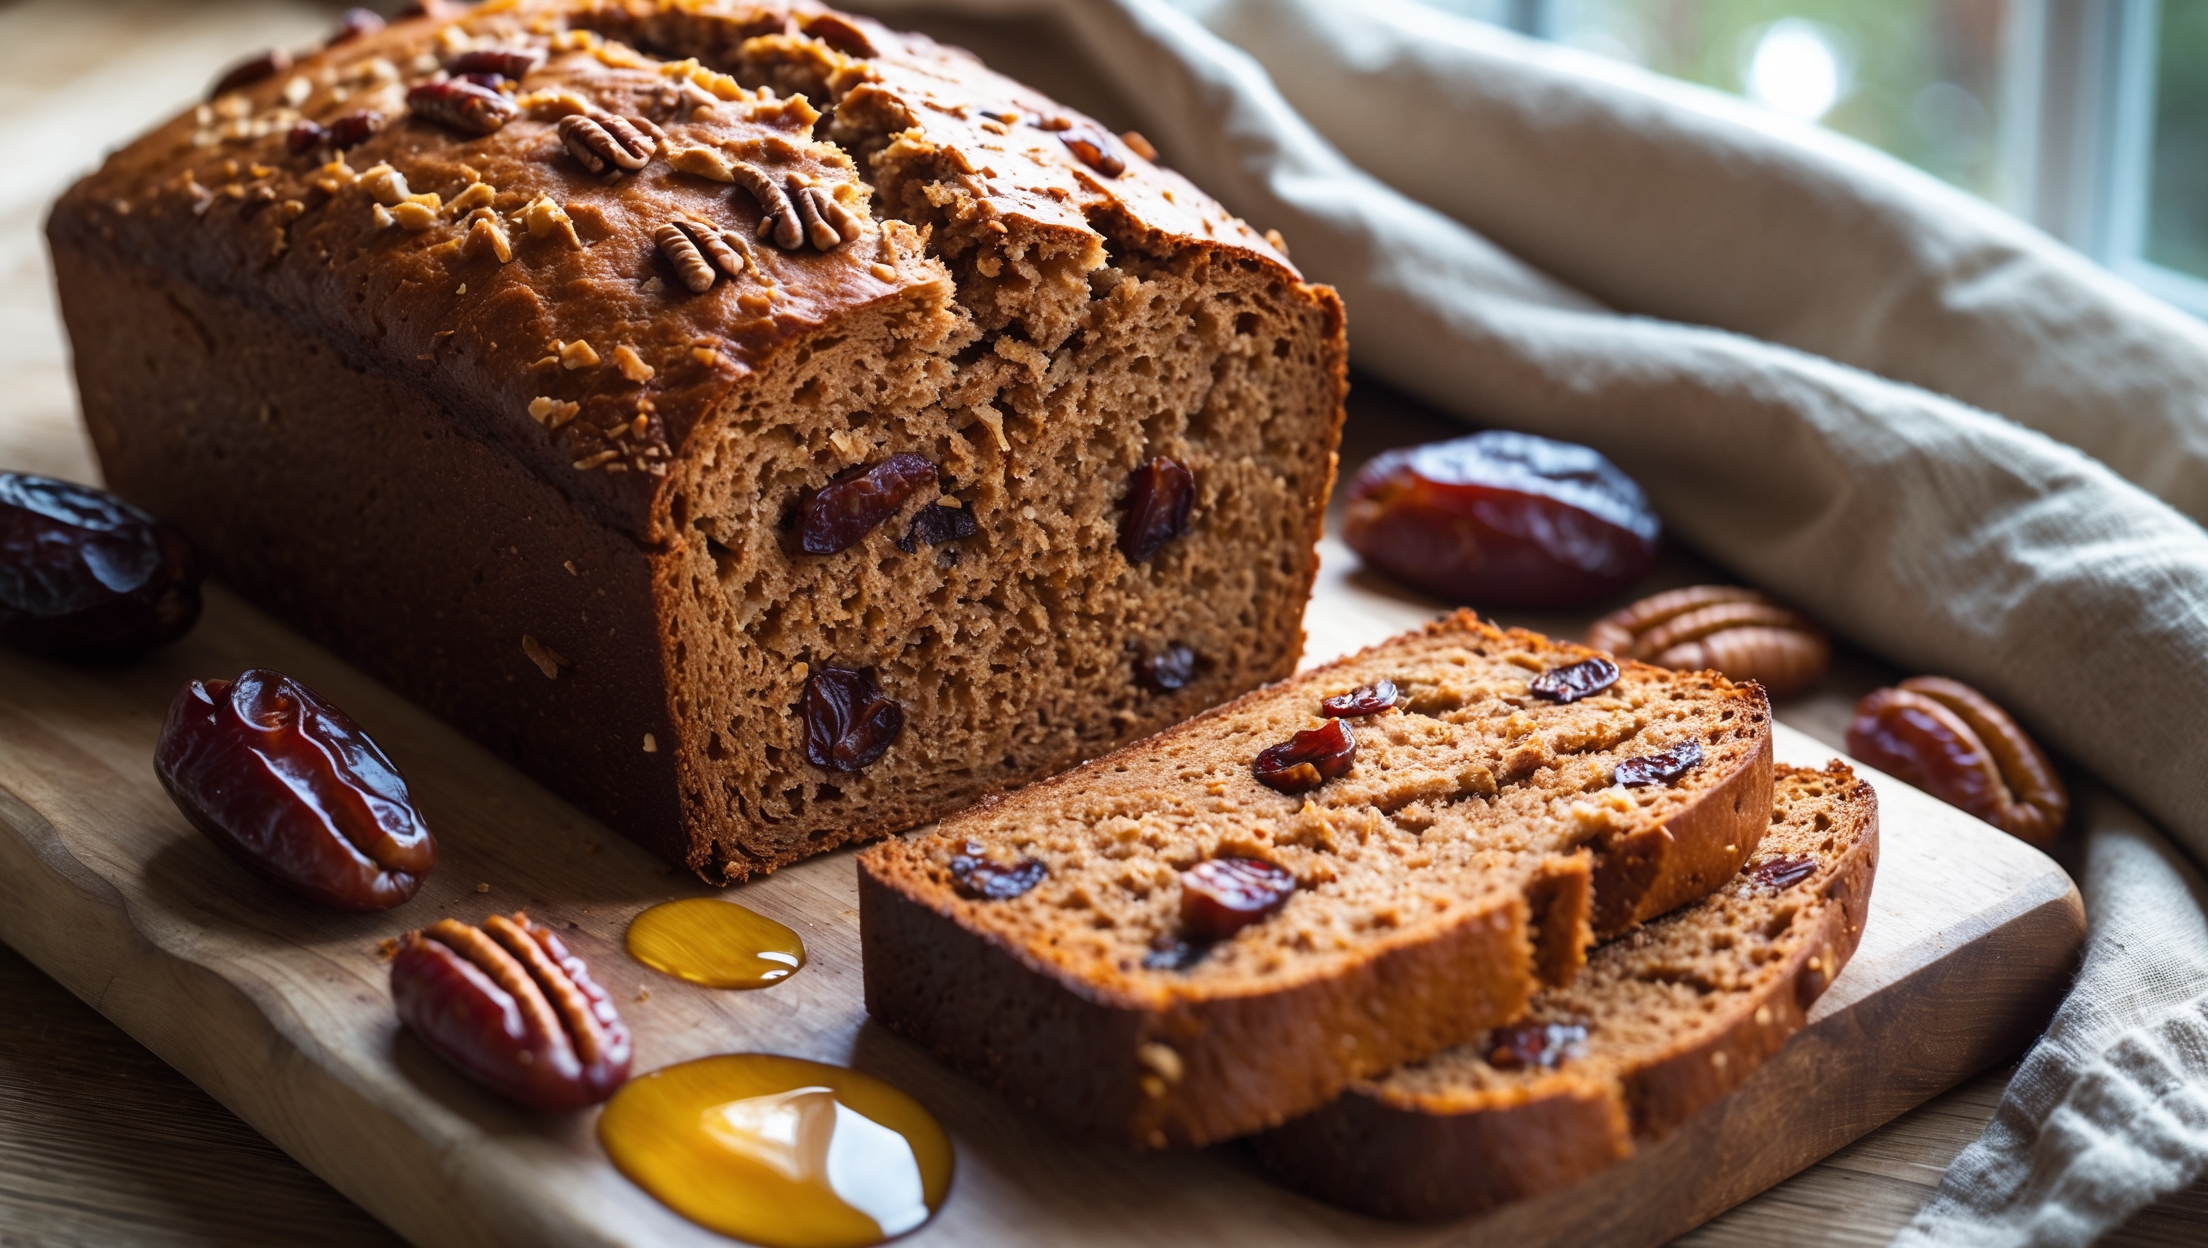
<ol class="no-list-style"><li class="MethodStepper"><h4 class="step-title">Step 1</h4>In a small bowl, combine the warm water (around 40°C - it should feel warm but not hot on your wrist) with the honey and yeast. Stir gently and let it sit for about 10 minutes until foamy. This activation step ensures your yeast is alive and ready to work its magic in helping your bread rise properly.</li><li class="MethodStepper"><h4 class="step-title">Step 2</h4>While the yeast is activating, toast your pecans in a dry skillet over medium heat for 5-7 minutes, stirring frequently until fragrant. This toasting process enhances the pecans' natural oils and flavors, adding depth to your bread. Allow to cool before roughly chopping.</li><li class="MethodStepper"><h4 class="step-title">Step 3</h4>In the bowl of your stand mixer, combine the whole wheat flour, all-purpose flour, and salt. Using the dough hook attachment, mix on low speed to combine. Slowly pour in the activated yeast mixture and olive oil while the mixer is running. Mix for about 2 minutes until the dough starts coming together.</li><li class="MethodStepper"><h4 class="step-title">Step 4</h4>Increase the mixer speed to medium and knead for about 8-10 minutes until the dough becomes smooth and elastic. Whole wheat flour contains bran which can cut through gluten strands, so this extended kneading time helps develop enough gluten for good structure.</li><li class="MethodStepper"><h4 class="step-title">Step 5</h4>Gently fold in the chopped dates and toasted pecans by hand, working them evenly throughout the dough. The dough will be slightly sticky - this is normal with date-filled bread as the fruit releases some moisture.</li><li class="MethodStepper"><h4 class="step-title">Step 6</h4>Transfer the dough to a lightly oiled bowl, turning once to coat all sides. Cover with a clean kitchen towel or plastic wrap and place in a warm, draft-free area to rise until doubled in size, about 1-1.5 hours. The ideal proofing temperature is around 24-27°C (75-80°F).</li><li class="MethodStepper"><h4 class="step-title">Step 7</h4>Once doubled, gently punch down the dough to release excess air bubbles. Turn it out onto a lightly floured surface and shape into a loaf by folding the sides toward the center and rolling it up tightly. Pinch the seams to seal.</li><li class="MethodStepper"><h4 class="step-title">Step 8</h4>Place the shaped loaf, seam side down, into a greased 23 x 13cm (9 x 5-inch) loaf pan. Cover again and let rise for another 45-60 minutes until the dough has risen about 2.5cm (1 inch) above the rim of the pan.</li><li class="MethodStepper"><h4 class="step-title">Step 9</h4>About 20 minutes before the final rise is complete, preheat your oven to 190°C (375°F). If using the optional oat topping, lightly brush the top of the loaf with water and sprinkle with rolled oats.</li><li class="MethodStepper"><h4 class="step-title">Step 10</h4>Bake in the preheated oven for 40-45 minutes until the bread is golden brown and sounds hollow when tapped on the bottom. If the top browns too quickly, loosely cover with aluminum foil for the remaining bake time.</li><li class="MethodStepper"><h4 class="step-title">Step 11</h4>Remove from the oven and immediately turn out onto a wire rack to cool completely, at least 1 hour before slicing. Cutting too soon will cause the bread to become gummy and lose moisture.</li><li class="MethodStepper"><h4 class="step-title">Step 12</h4>Once cooled, slice with a serrated knife and enjoy! This bread is wonderful fresh, toasted with a bit of butter, or as the base for a wholesome sandwich. Store in an airtight container at room temperature for up to 3 days, or freeze sliced for up to 3 months.</li></ol>