Directions
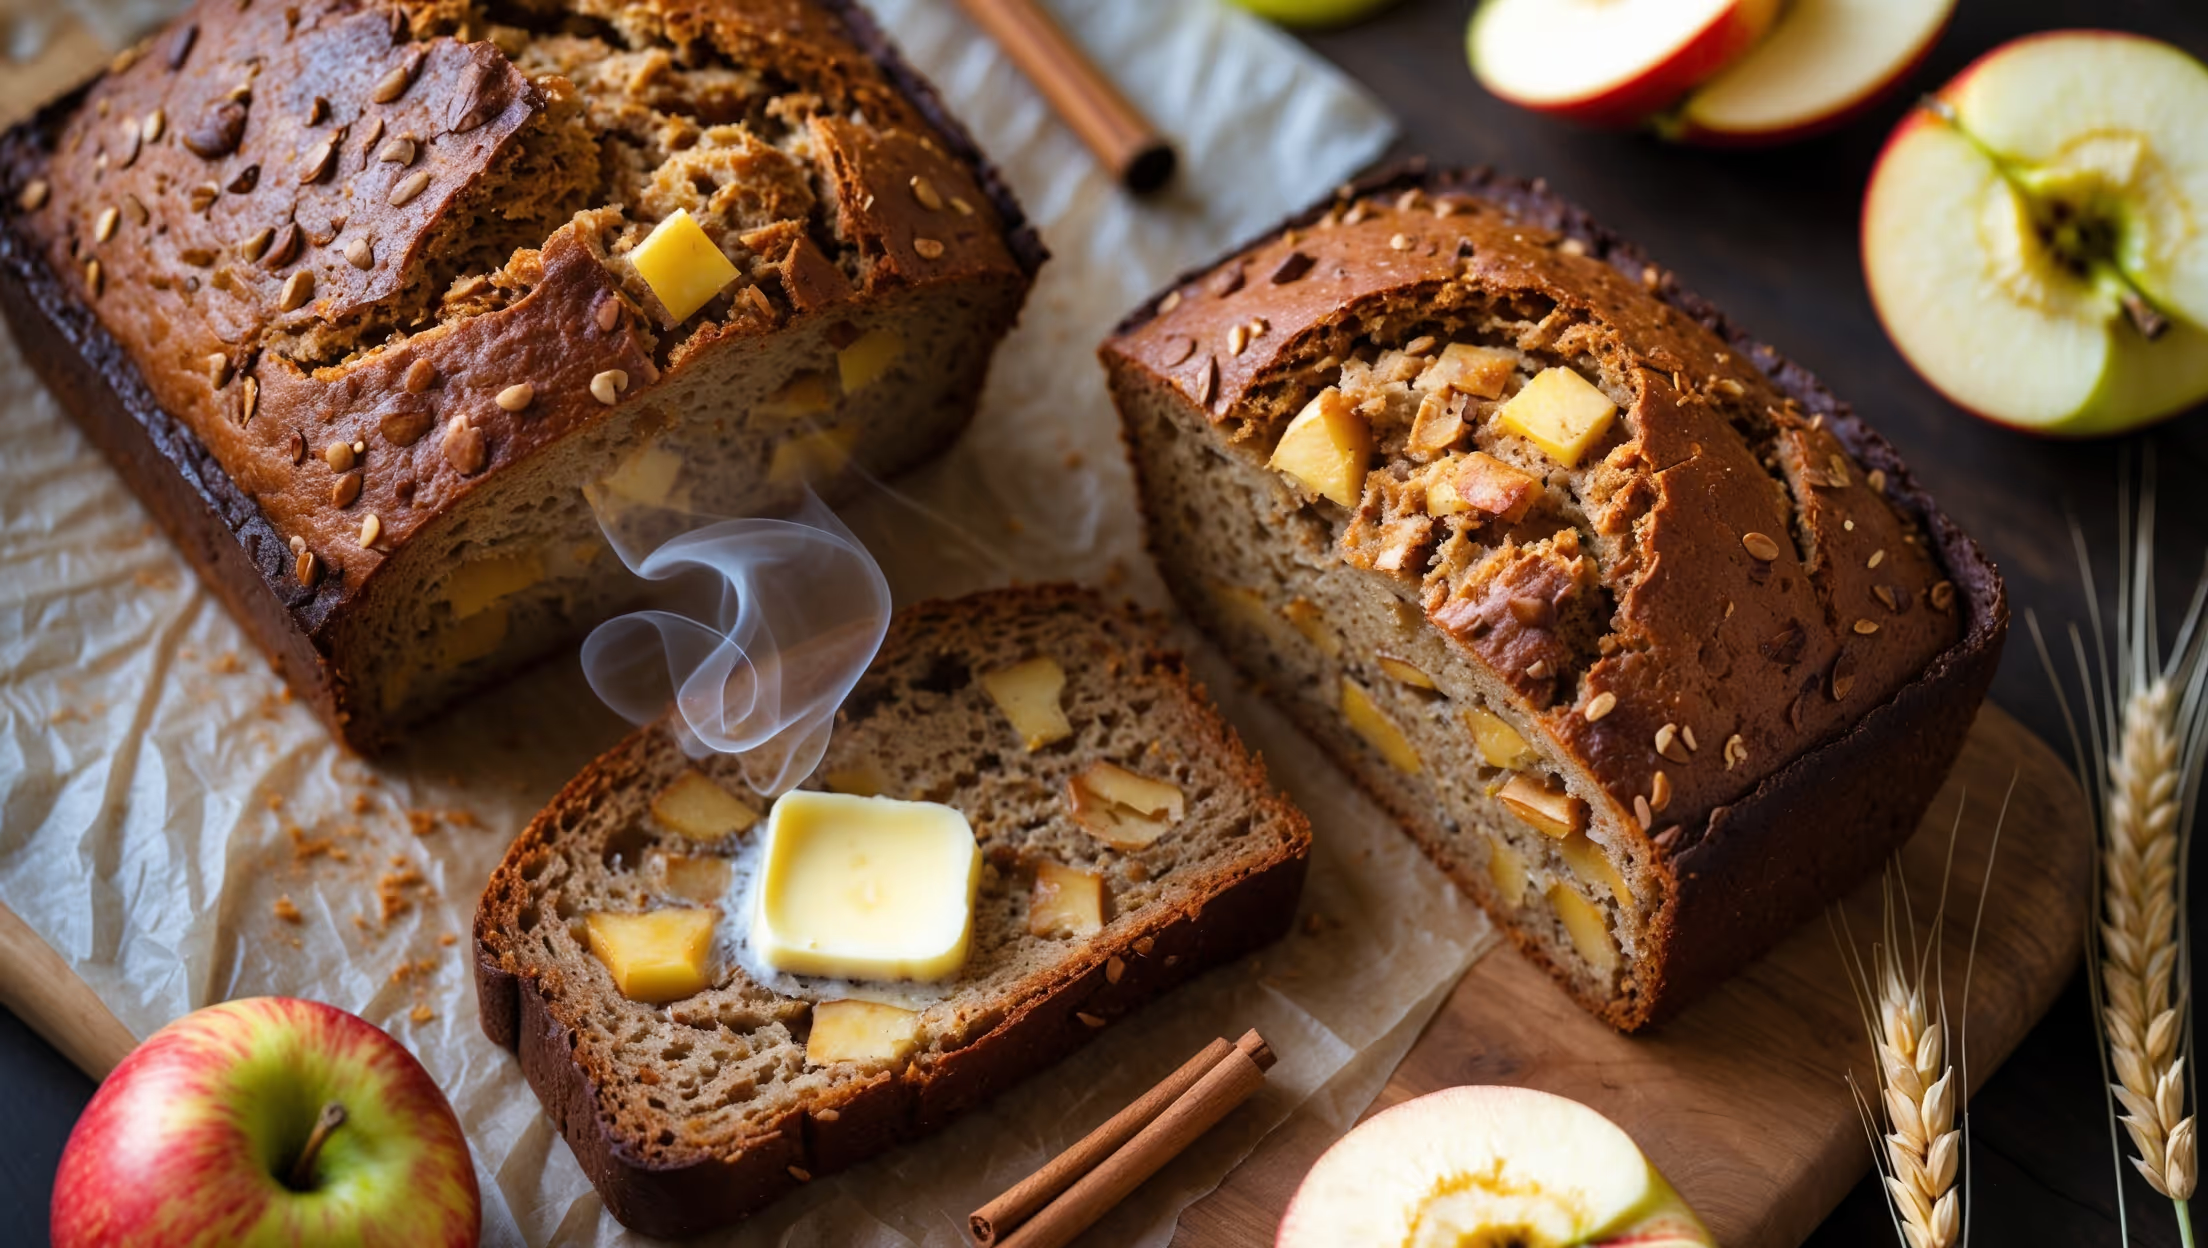
<ol class="no-list-style"><li class="MethodStepper"><h4 class="step-title">Step 1</h4>Preheat your oven to 180°C (350°F). Line a 23cm x 13cm loaf pan with parchment paper, leaving some overhang on the sides to easily lift the bread out after baking.</li><li class="MethodStepper"><h4 class="step-title">Step 2</h4>In a large bowl, whisk together the whole wheat flour, rolled oats, baking powder, baking soda, salt, cinnamon, and nutmeg until well combined. The oats add wonderful texture while the spices will complement the sweetness of the apples beautifully.</li><li class="MethodStepper"><h4 class="step-title">Step 3</h4>In a separate bowl, whisk the melted butter and brown sugar together until smooth. The brown sugar not only adds sweetness but also contributes moisture and a lovely caramel note to the bread.</li><li class="MethodStepper"><h4 class="step-title">Step 4</h4>Add the eggs one at a time to the butter-sugar mixture, whisking well after each addition until fully incorporated. Then stir in the yogurt, milk, and vanilla extract. This wet mixture provides the perfect amount of moisture for a tender crumb.</li><li class="MethodStepper"><h4 class="step-title">Step 5</h4>Pour the wet ingredients into the dry ingredients and fold gently with a spatula just until no dry flour remains visible. Overmixing will develop the gluten in the flour, resulting in a tougher bread, so mix just until combined.</li><li class="MethodStepper"><h4 class="step-title">Step 6</h4>Fold in the diced apples and chopped walnuts (if using) until evenly distributed throughout the batter. The pieces of apple will create pockets of moisture and sweetness as they bake.</li><li class="MethodStepper"><h4 class="step-title">Step 7</h4>Transfer the batter to your prepared loaf pan, spreading it evenly and smoothing the top with your spatula. The batter will be quite thick - this is perfect for supporting the apple pieces.</li><li class="MethodStepper"><h4 class="step-title">Step 8</h4>Bake in the preheated oven for 50-55 minutes, or until a wooden skewer inserted into the center comes out clean with just a few moist crumbs. If the top is browning too quickly, loosely cover with aluminum foil for the last 15-20 minutes of baking.</li><li class="MethodStepper"><h4 class="step-title">Step 9</h4>Allow the bread to cool in the pan for 15 minutes - this resting period allows the structure to set. Then use the parchment paper overhang to lift the bread out onto a wire rack to cool completely before slicing. This patience ensures the bread won't crumble when cut.</li><li class="MethodStepper"><h4 class="step-title">Step 10</h4>Once cooled, slice with a serrated knife. Store in an airtight container at room temperature for up to 3 days, or refrigerate for up to a week. You can also freeze slices wrapped individually for up to 3 months - simply thaw at room temperature or toast from frozen for a quick breakfast.</li></ol>