Teff Bread Recipe

Nutty, wholesome teff bread with a moist crumb and earthy flavor profile that pairs perfectly with both sweet and savory toppings.
Difficulty:
Intermediate
Prep Time:
20 mins
Cook Time:
45 mins
Serves:
1 loaf (12 slices)
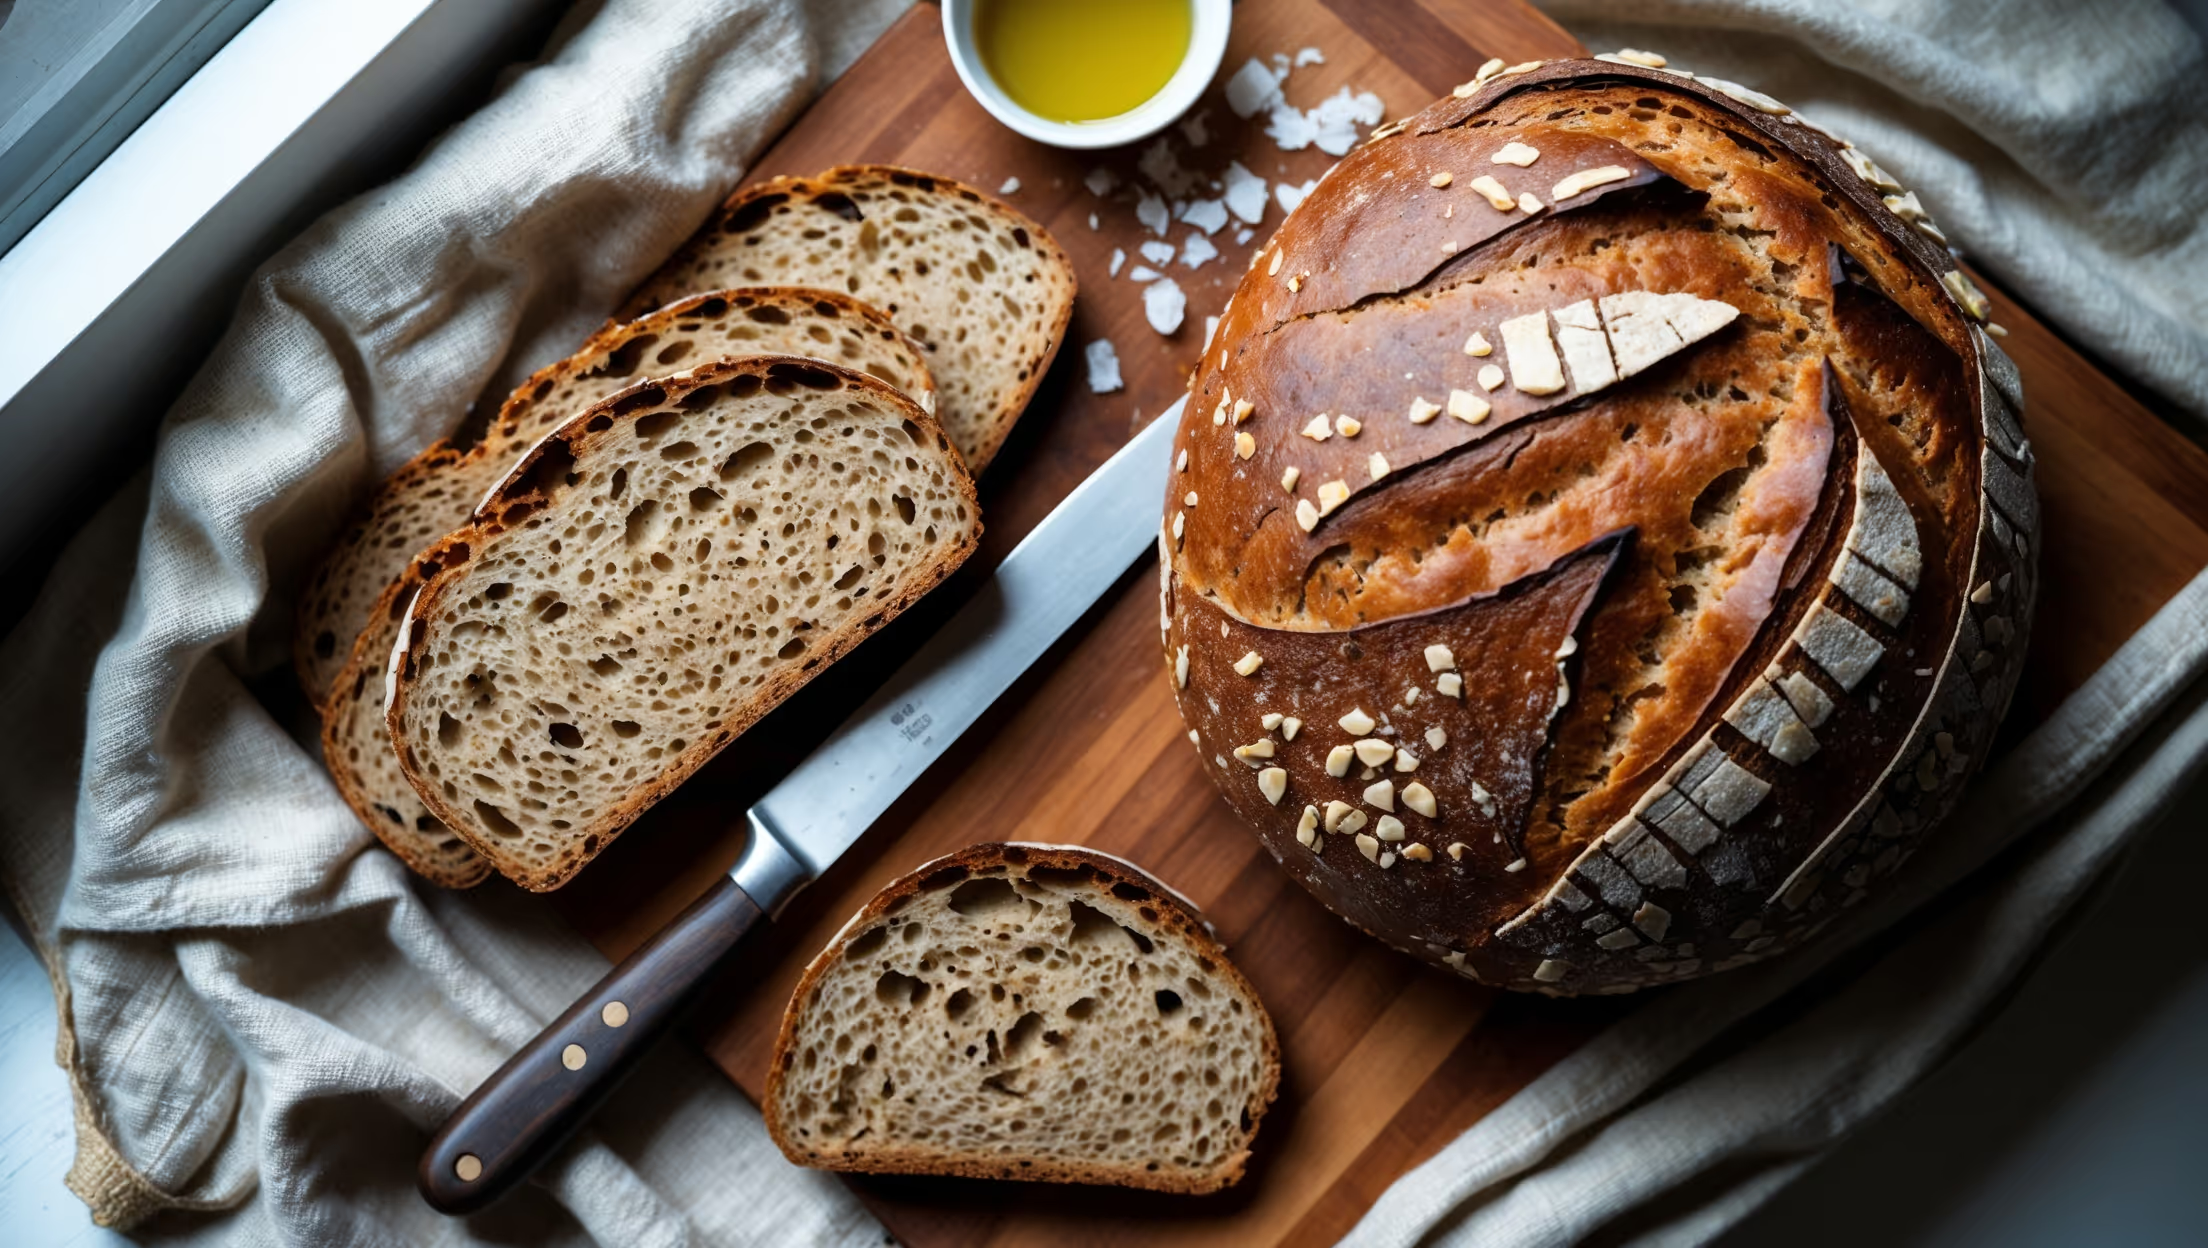
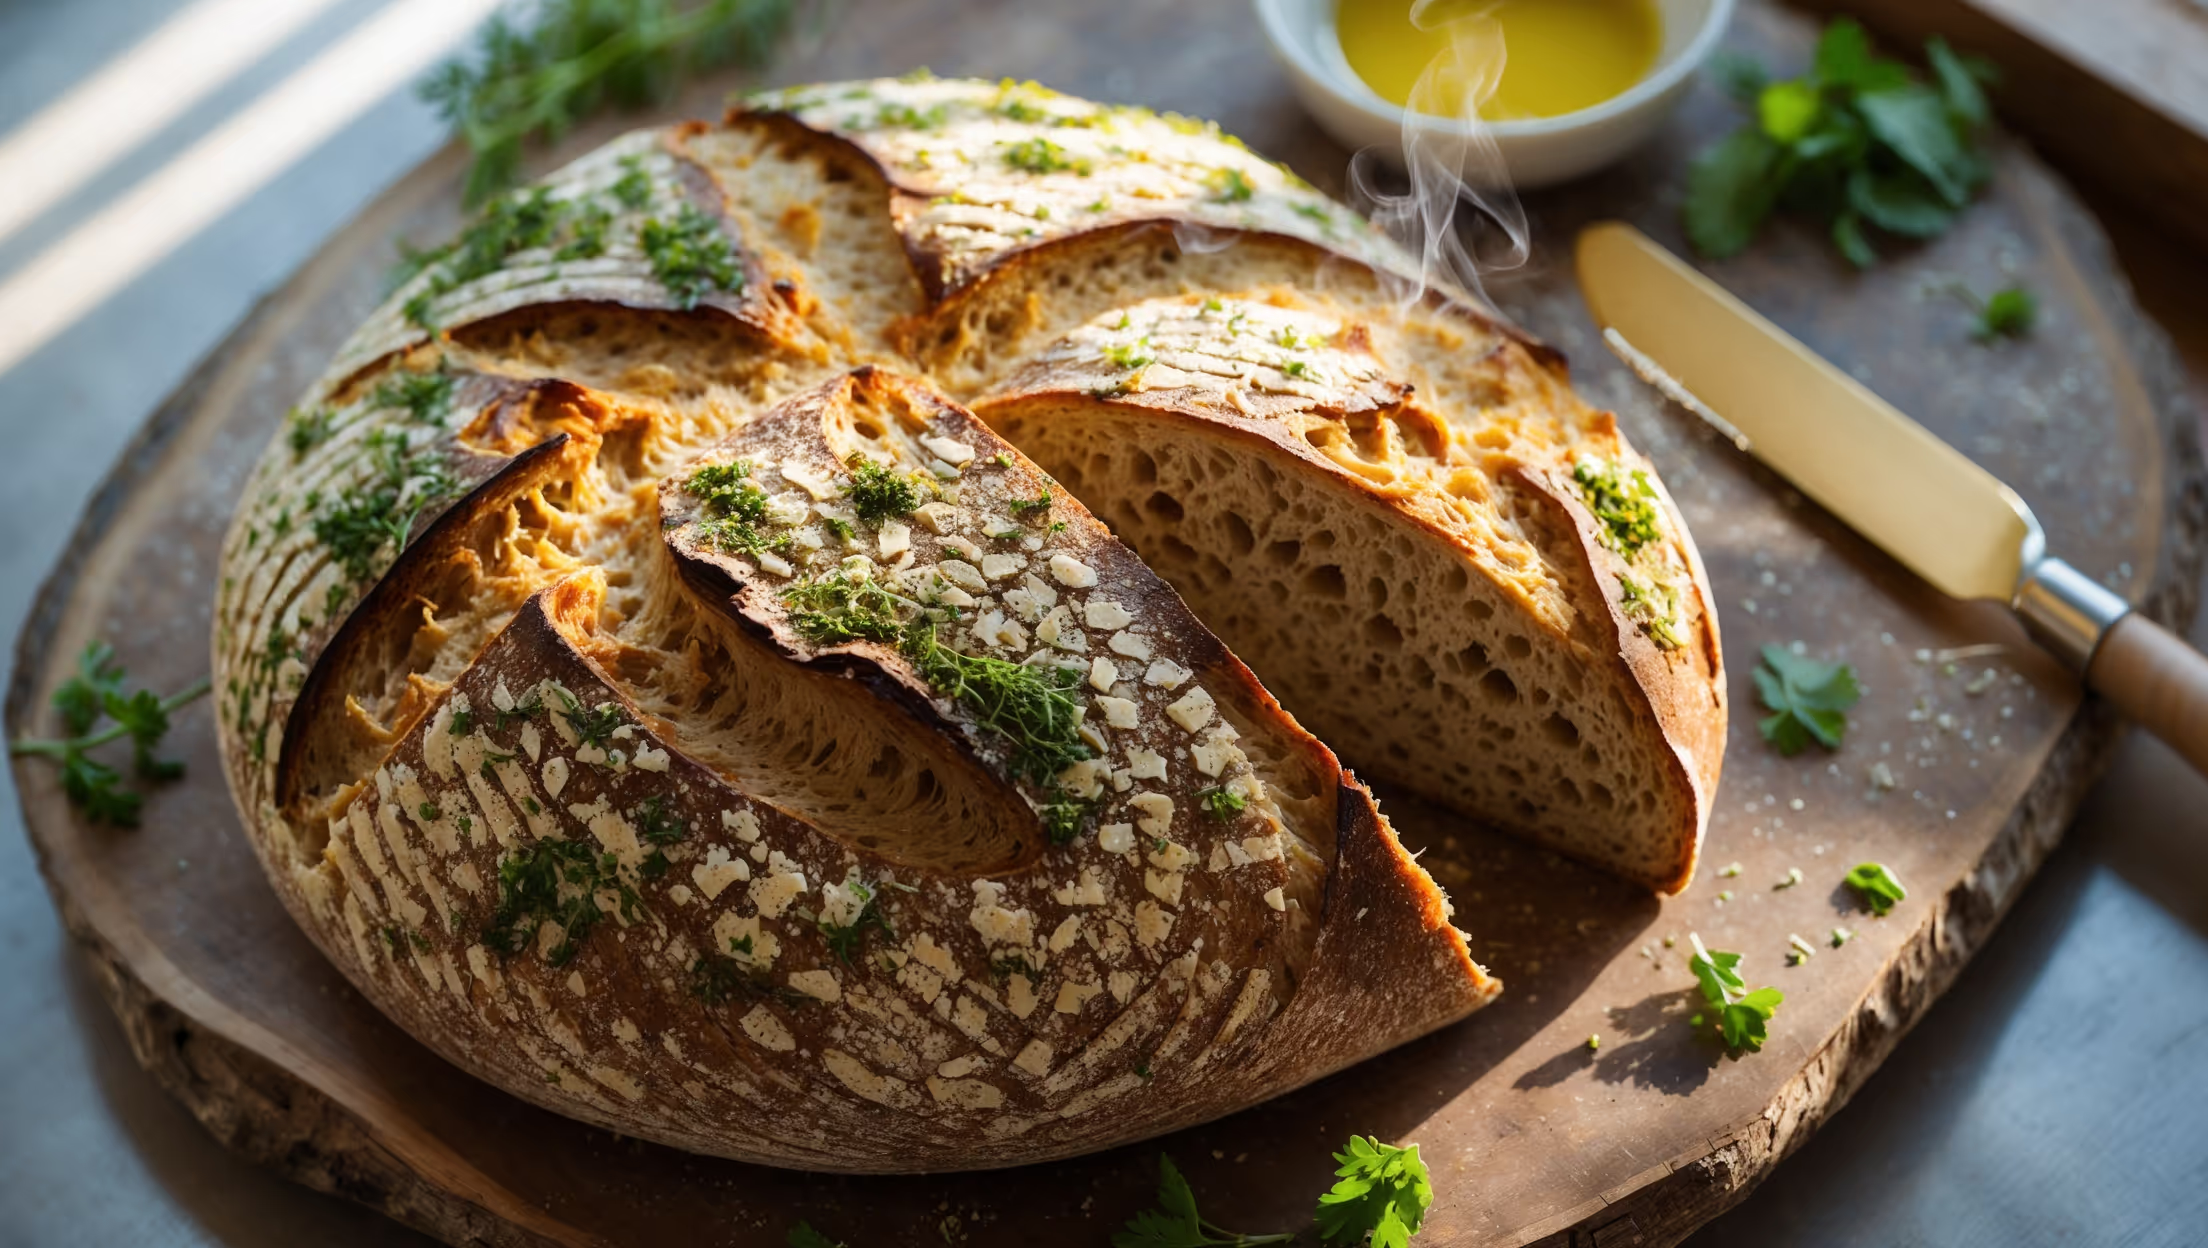
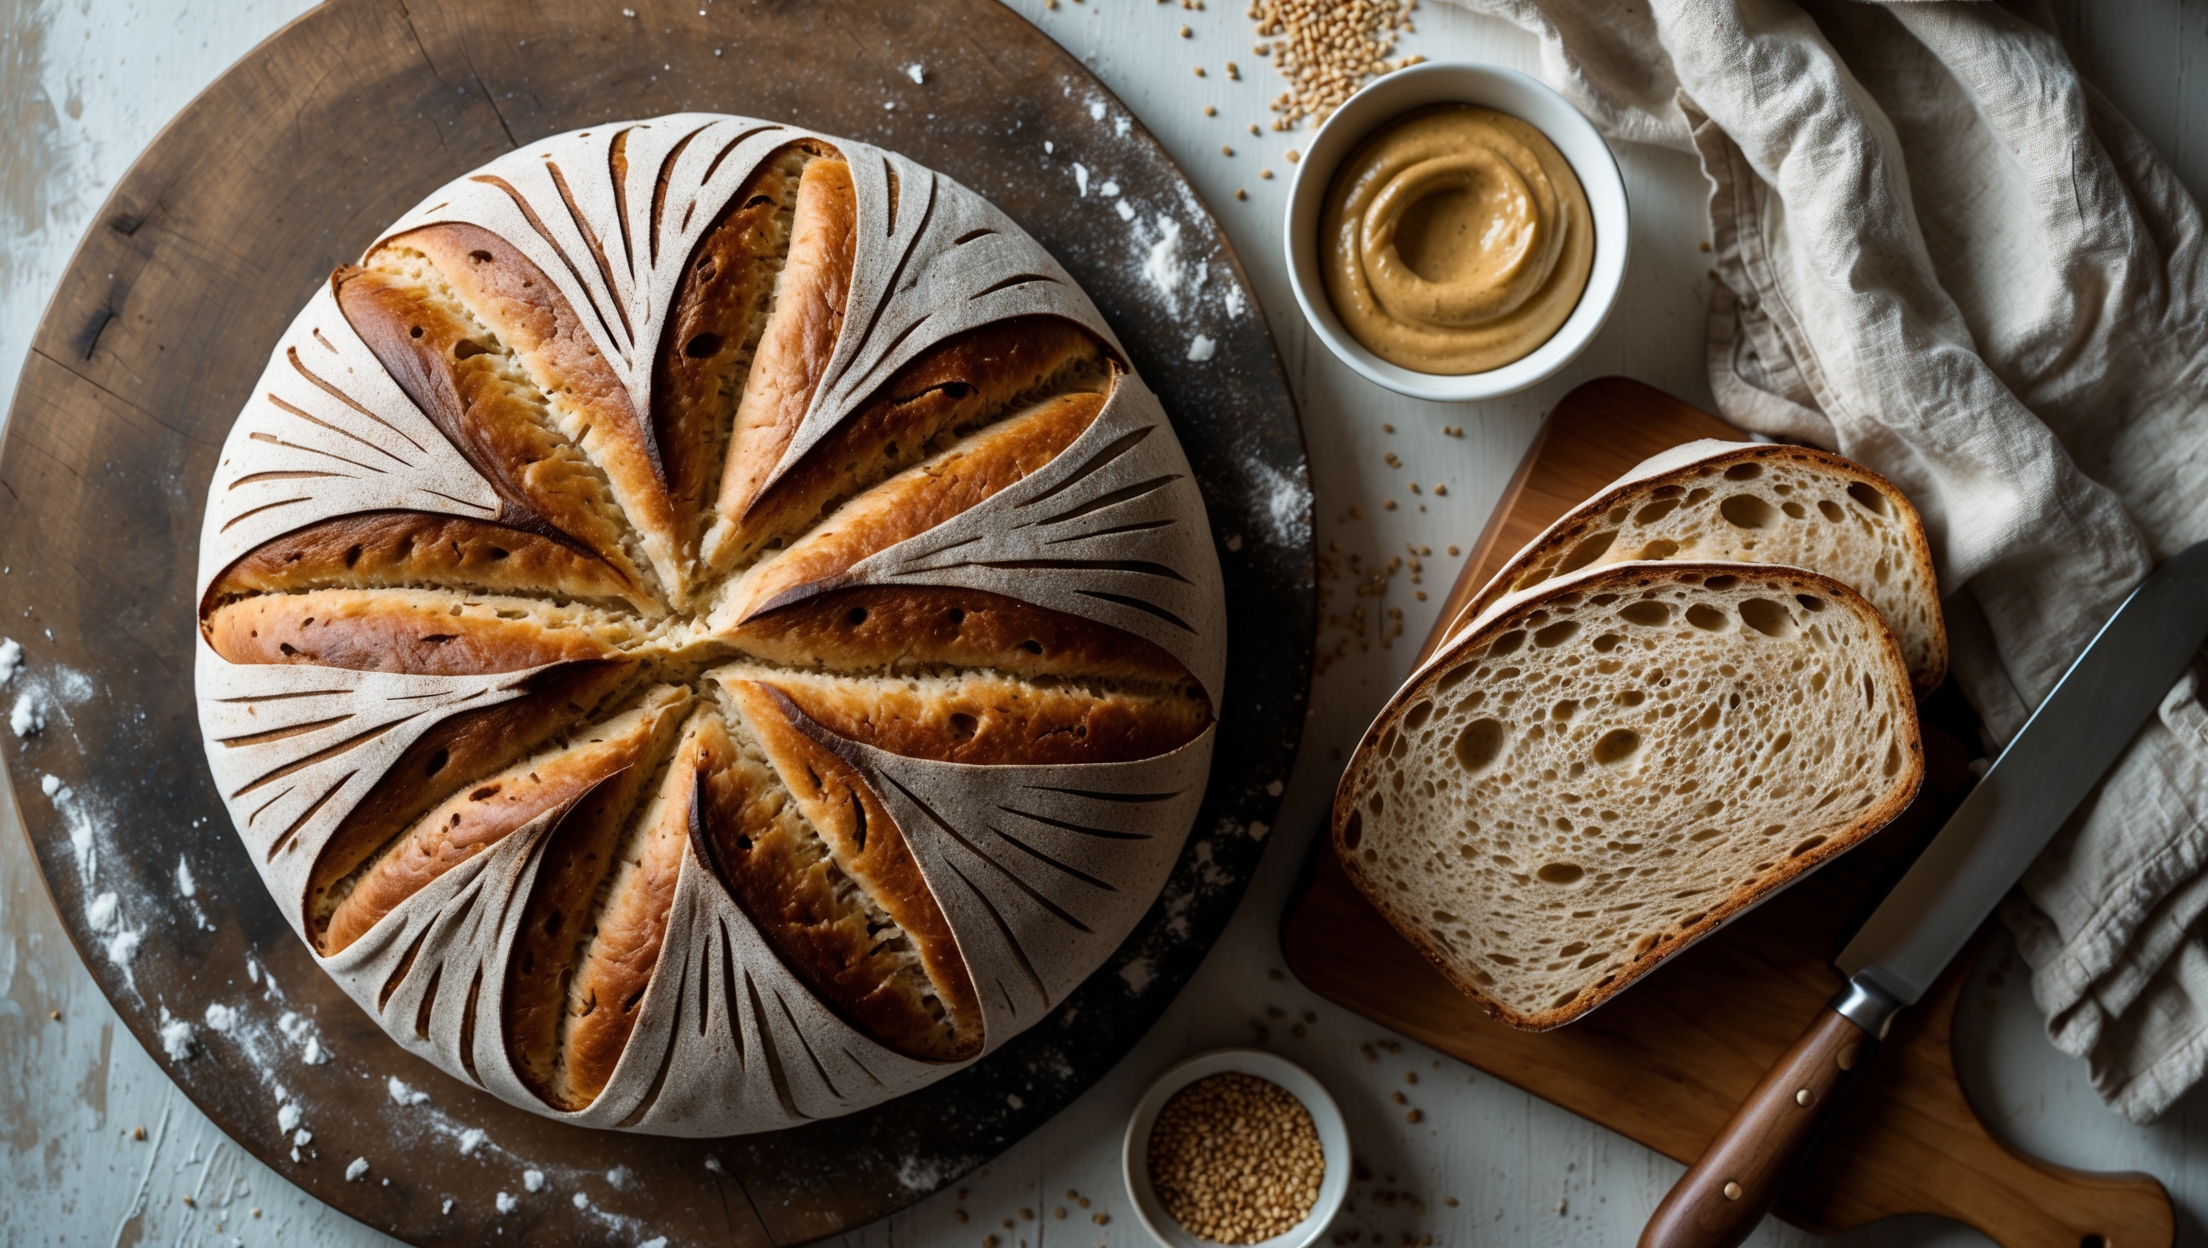
An overhead shot of a rustic loaf of teff bread, its dark chocolate-brown crust contrasting beautifully against a light wooden cutting board. A cross-section reveals the bread's moist, slightly dense interior with tiny flecks of teff grains visible throughout. Steam gently rises from a freshly cut slice, captured in soft natural morning light streaming through a kitchen window. Surrounding the loaf are scattered teff grains and a small bowl of honey with a wooden dipper. A butter knife with a smear of cultured butter sits alongside, while a linen napkin in earthy tones frames one corner of the composition, emphasizing the bread's wholesome, artisanal quality.

Ingredients

<ul class="ingredients-main-list"><li class="ingredients-single-item">200g teff flour</li><li class="ingredients-single-item">100g brown rice flour (or sorghum flour)</li><li class="ingredients-single-item">50g tapioca starch</li><li class="ingredients-single-item">7g instant dry yeast (1 packet)</li><li class="ingredients-single-item">8g salt</li><li class="ingredients-single-item">1 tsp xanthan gum</li><li class="ingredients-single-item">30g honey (or maple syrup)</li><li class="ingredients-single-item">2 large eggs, room temperature</li><li class="ingredients-single-item">280ml warm water (40-43°C)</li><li class="ingredients-single-item">30ml olive oil, plus extra for greasing</li><li class="ingredients-single-item">1 tbsp apple cider vinegar</li><li class="ingredients-single-item">2 tbsp mixed seeds for topping (optional: sesame, flax, sunflower)</li></ul>

Equipment

<ul class="equipment-main-list"><li class="equipment-single-item">23cm x 13cm (9x5 inch) loaf tin</li><li class="equipment-single-item">Stand mixer with paddle attachment</li><li class="equipment-single-item">Digital kitchen thermometer</li><li class="equipment-single-item">Plastic wrap or damp tea towel</li></ul>
BAKE SMARTER

Kitchen Converter

Quickly switch between common baking units without leaving the recipe.

Convert
Result—

Volume uses US cups, tablespoons, and teaspoons. Converting weight to volume depends on the ingredient.

Directions

<ol class="no-list-style"><li class="MethodStepper"><h4 class="step-title">Step 1</h4>Grease your loaf tin thoroughly with olive oil and line with parchment paper, leaving some overhang on the sides to help with removal later. This prevents the gluten-free bread from sticking, which can be more problematic than with regular bread.</li><li class="MethodStepper"><h4 class="step-title">Step 2</h4>In the bowl of your stand mixer, combine the teff flour, brown rice flour, tapioca starch, instant yeast, salt, and xanthan gum. Whisk thoroughly to ensure even distribution of the ingredients - this is crucial in gluten-free baking to achieve consistent texture throughout your loaf.</li><li class="MethodStepper"><h4 class="step-title">Step 3</h4>In a separate bowl, whisk together the warm water (check with your thermometer that it's between 40-43°C - too hot and you'll kill the yeast, too cool and it won't activate properly), honey, eggs, olive oil, and apple cider vinegar. The vinegar helps to activate the leavening agents and improves the bread's texture.</li><li class="MethodStepper"><h4 class="step-title">Step 4</h4>With the mixer on low speed using the paddle attachment (not the dough hook, as we don't need to develop gluten), gradually pour the wet ingredients into the dry ingredients. Once combined, increase to medium speed and beat for 3 minutes. The batter will resemble a thick cake batter rather than traditional bread dough - this is exactly what you want!</li><li class="MethodStepper"><h4 class="step-title">Step 5</h4>Transfer the batter to your prepared loaf tin, using a wet spatula to smooth the top (the moisture prevents sticking). Sprinkle with mixed seeds if using, gently pressing them into the surface. Cover with plastic wrap or a damp tea towel and place in a warm, draft-free area to rise for 45-60 minutes, or until the dough has risen to just below the rim of the tin.</li><li class="MethodStepper"><h4 class="step-title">Step 6</h4>While the dough is rising, preheat your oven to 190°C (375°F). Position a rack in the middle of the oven for even heat distribution.</li><li class="MethodStepper"><h4 class="step-title">Step 7</h4>When the dough has risen sufficiently, remove the covering and bake for 40-45 minutes, until the top is golden brown and a thermometer inserted into the center reads at least 99°C (210°F). If the top browns too quickly, loosely cover with aluminum foil for the remainder of the baking time.</li><li class="MethodStepper"><h4 class="step-title">Step 8</h4>Remove from the oven and let the bread cool in the tin for 10 minutes - this resting period is crucial for gluten-free breads, which can collapse if removed from the tin too soon. Then use the parchment overhang to lift the bread out onto a wire rack and cool completely before slicing. Slicing too soon can result in a gummy texture, so be patient!</li><li class="MethodStepper"><h4 class="step-title">Step 9</h4>Once completely cooled, slice with a serrated knife. This bread is best eaten within 2 days, kept in an airtight container at room temperature. For longer storage, slice the entire loaf and freeze with parchment paper between slices for up to 3 months, toasting slices as needed directly from frozen.</li></ol>

Nutrition Facts (per serving)

🍽️ Serving Size: 1 serving
🔥 Calories: 320 calories
🥑 Fat: 18 g
🧈 Saturated Fat: 9 g
🍞 Carbohydrates: 28 g
🍭 Sugar: 6 g
🍗 Protein: 15 g
🫀 Cholesterol: 85 mg
🧂 Sodium: 580 mg

Chef’s Notes

A few helpful details for making this recipe.

Why does gluten-free bread need xanthan gum?

Xanthan gum acts as a binding agent in gluten-free baking, mimicking the elastic properties of gluten. It provides structure to the bread, improves texture, prevents crumbling, and helps trap air bubbles during rising for a lighter, more cohesive loaf.

Can I make this ancient grain bread vegan?

Yes! Replace eggs with a flax egg mixture (2 tbsp ground flax + 6 tbsp water, left to gel for 10 minutes) and use maple syrup instead of honey. The texture may be slightly denser, but the nutty flavour profile and nutritional benefits remain excellent.

Why is teff flour gaining popularity in baking?

Teff flour is becoming popular due to its impressive nutritional profile—high in protein, fibre, calcium and iron. It's naturally gluten-free, has a pleasant nutty flavour, and as an ancient grain, appeals to those seeking traditional, minimally-processed foods with cultural heritage.

Want to try something else in ...

More recipes you might like

Keep exploring with more recipes from What's Baking.