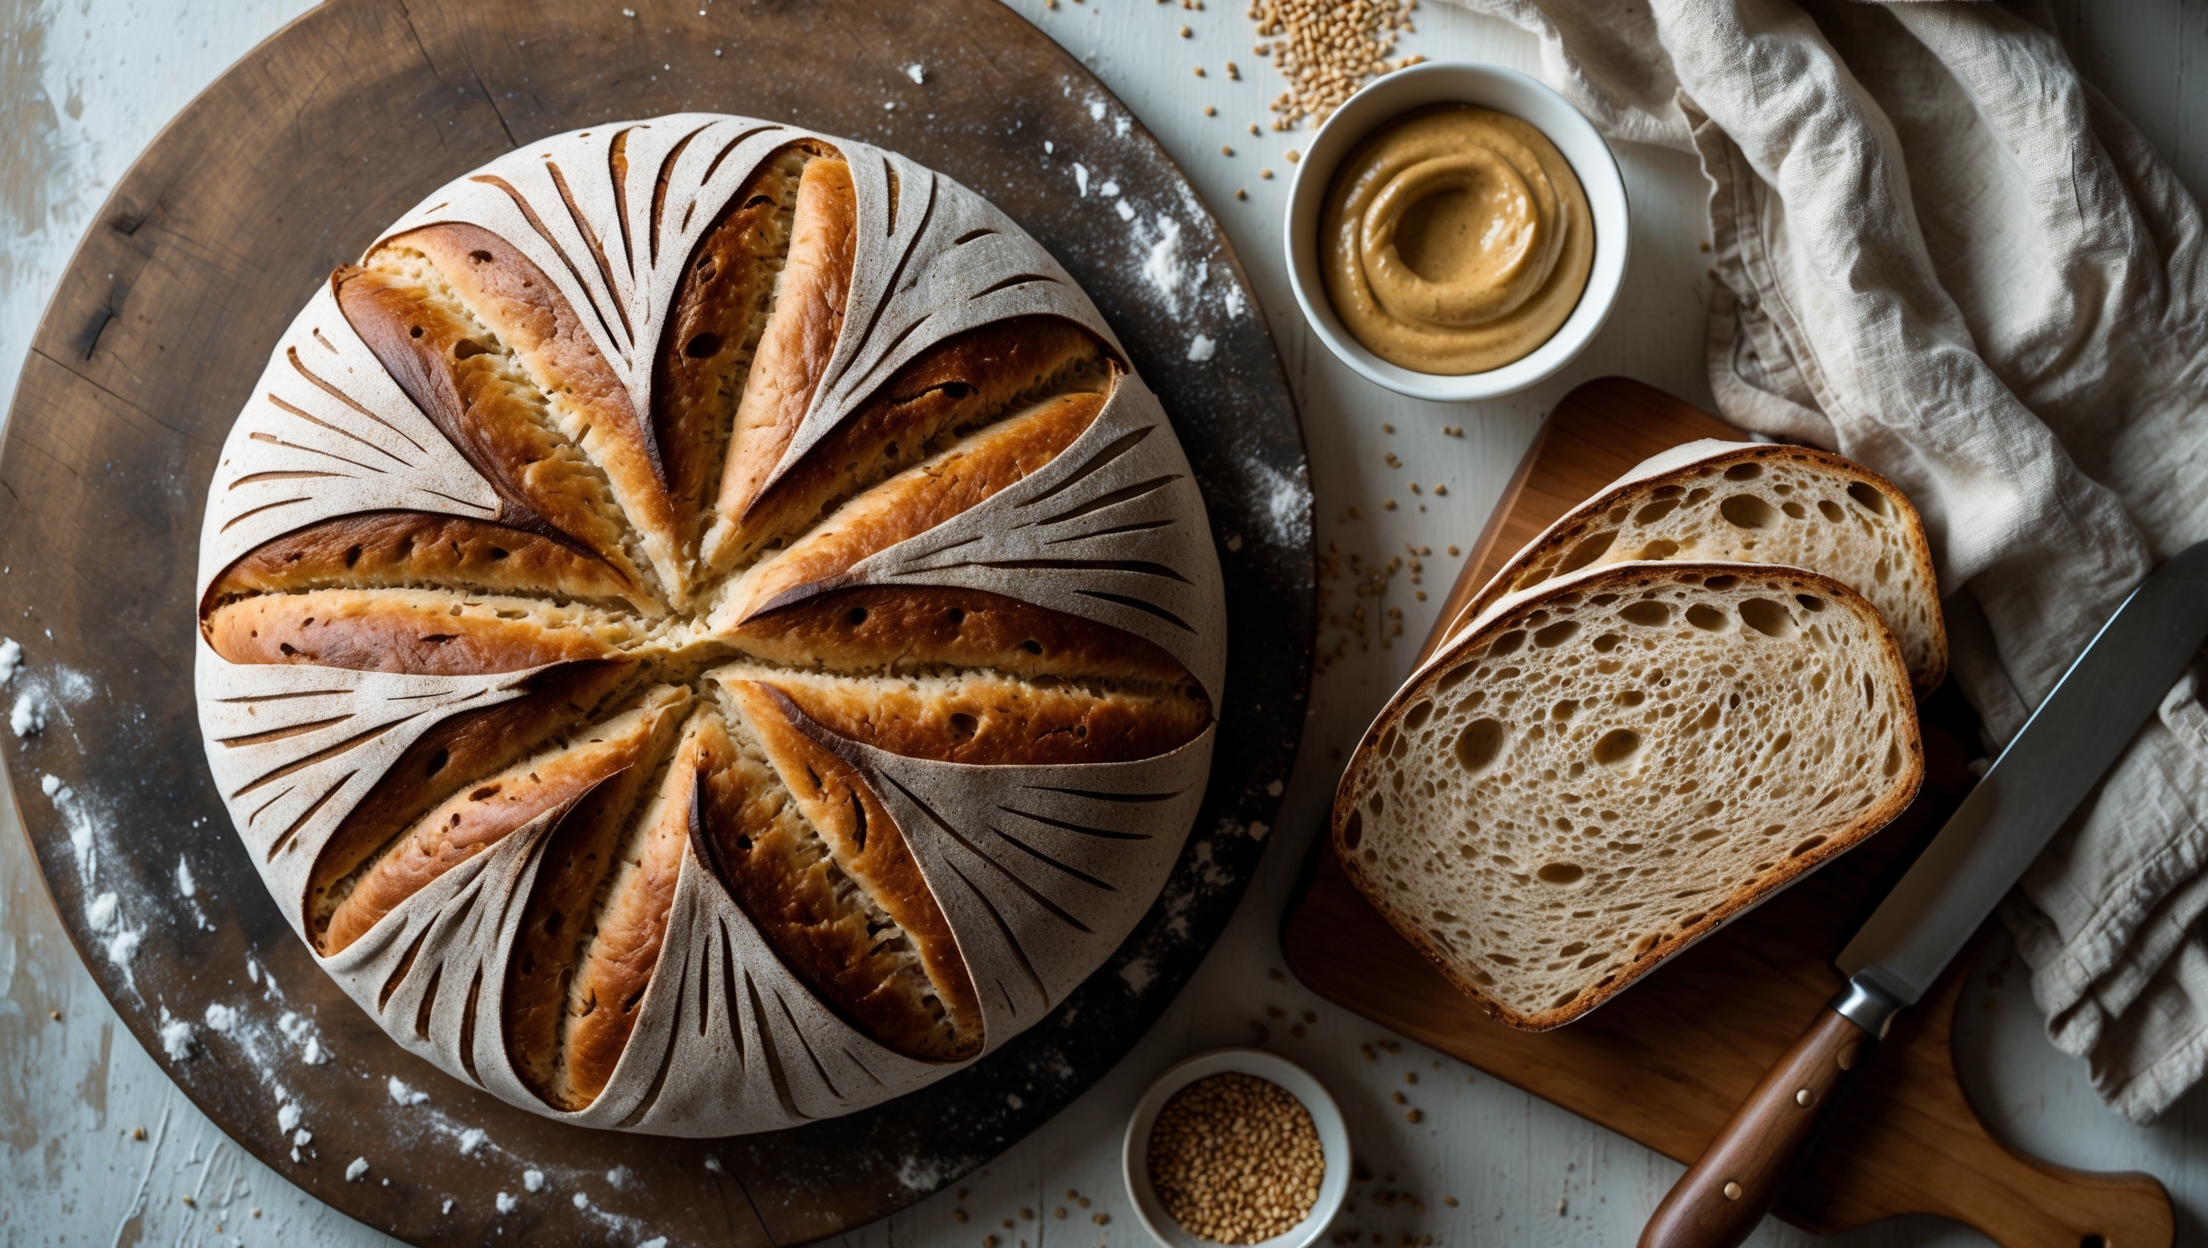
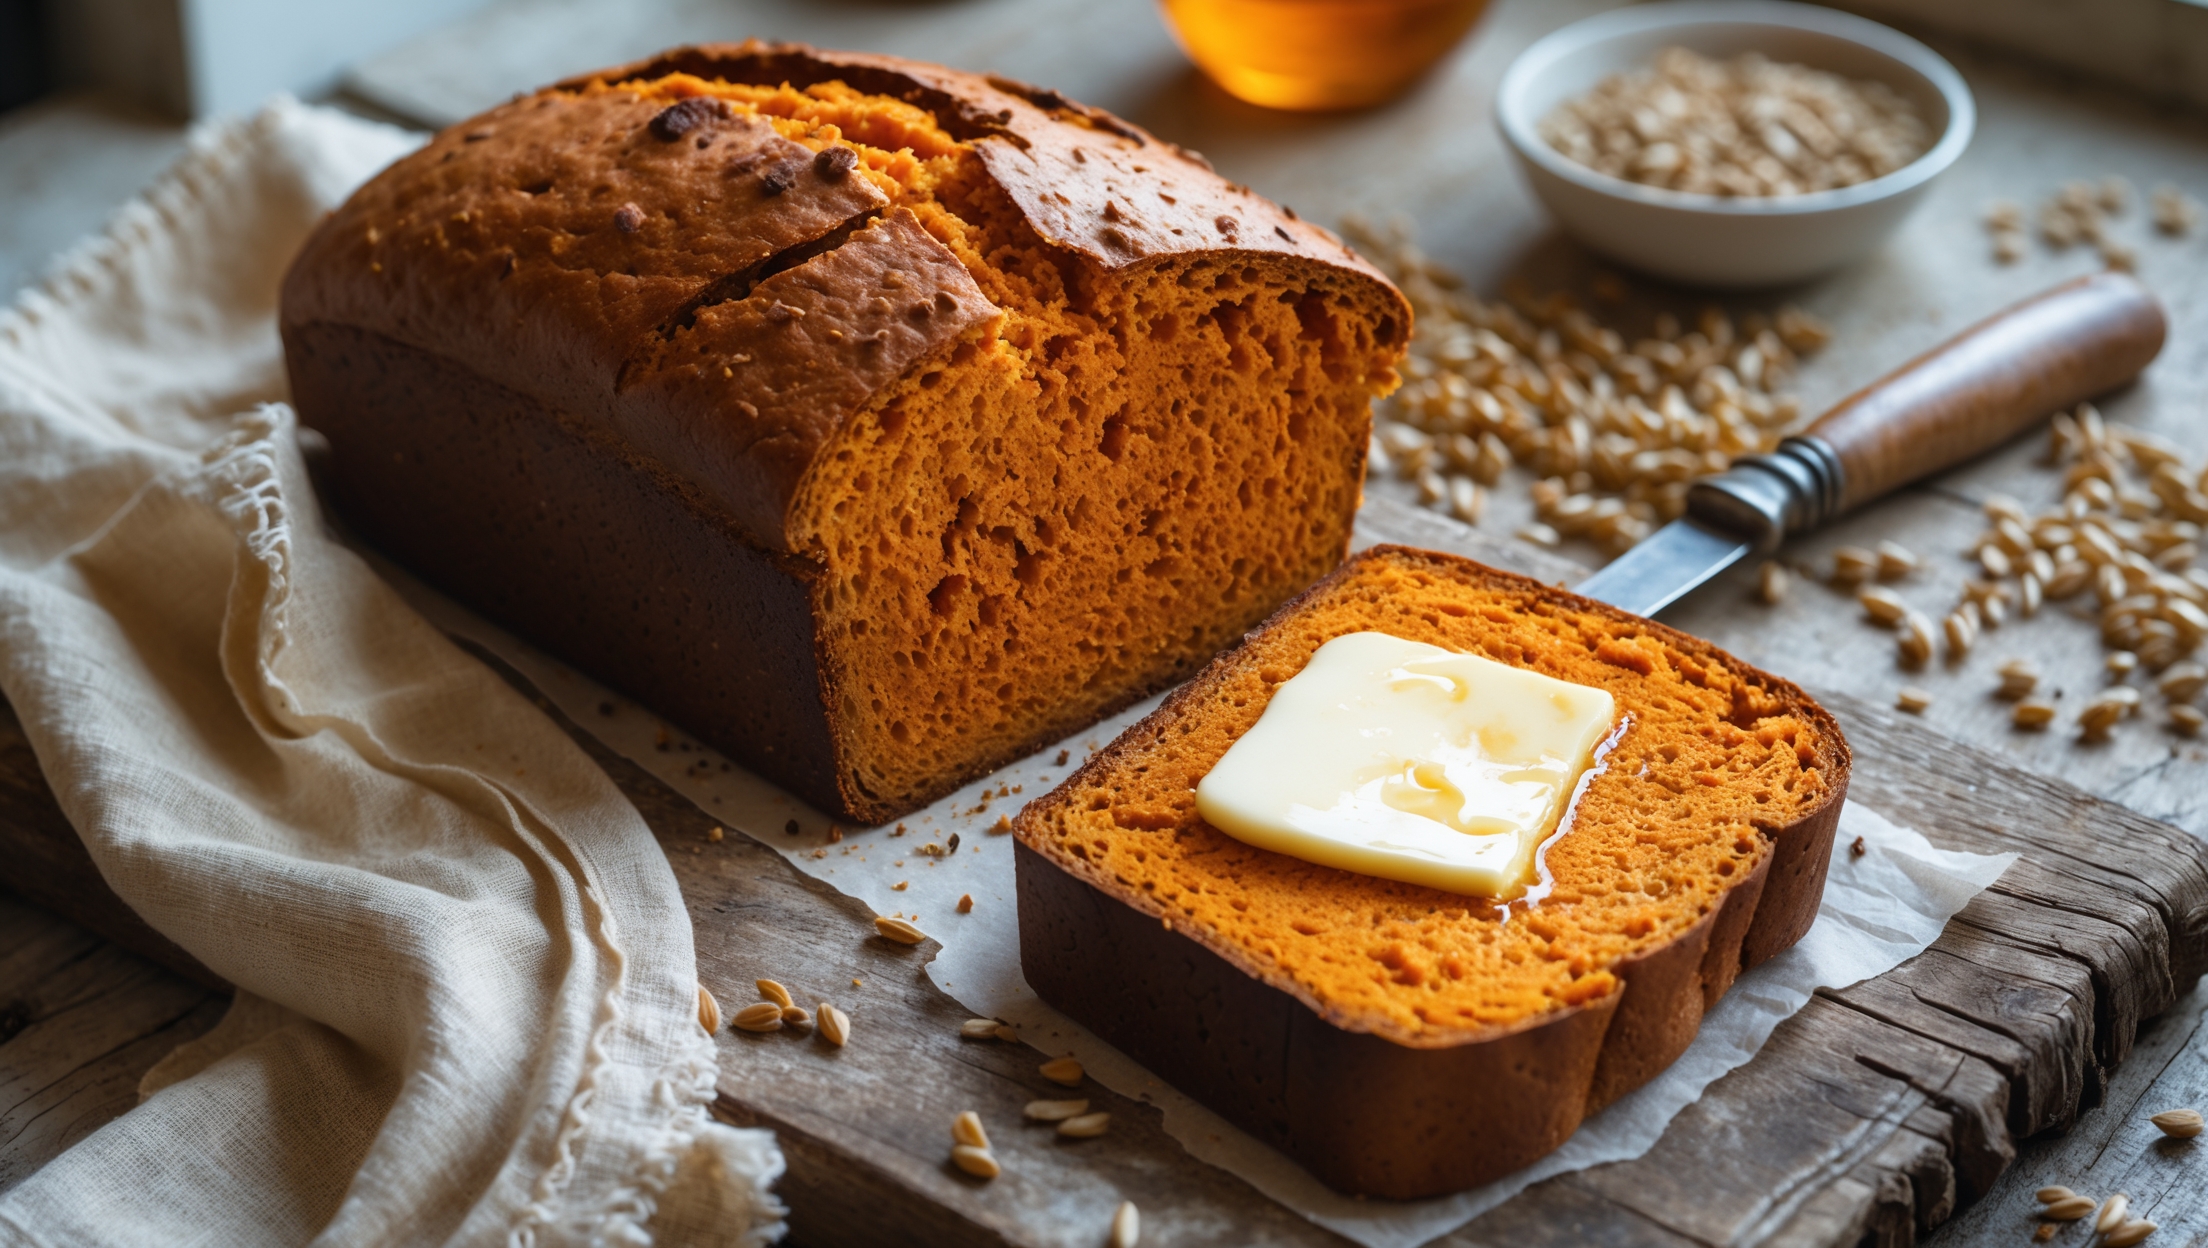
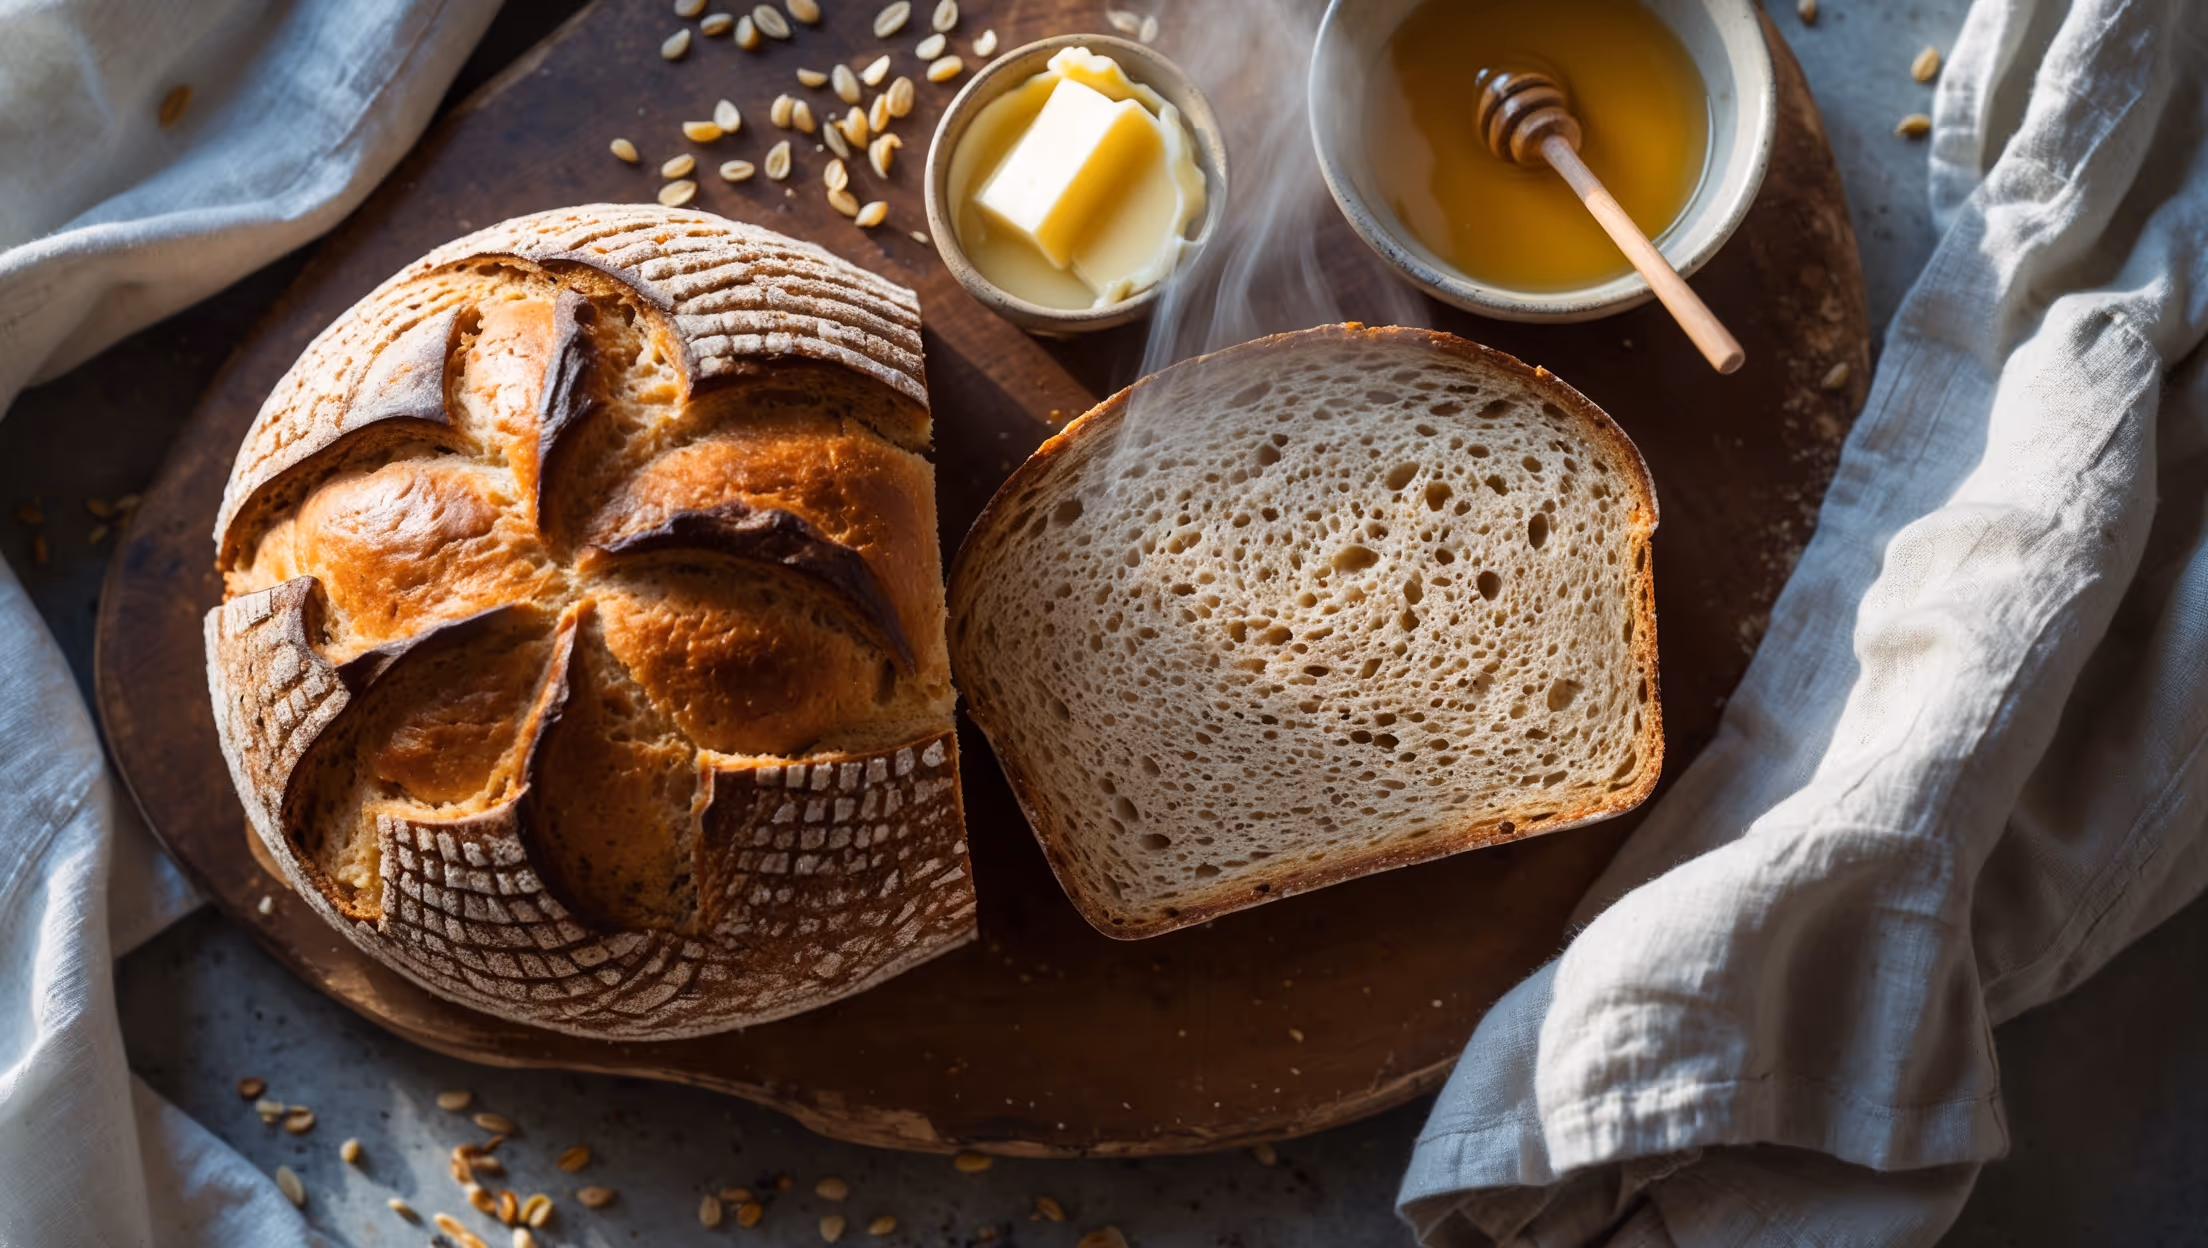
Sprouted Wheat Bread Recipe
Ingredients
Equipment
Directions
FAQs
Find answers to your most pressing questions about this delicious recipe right here.
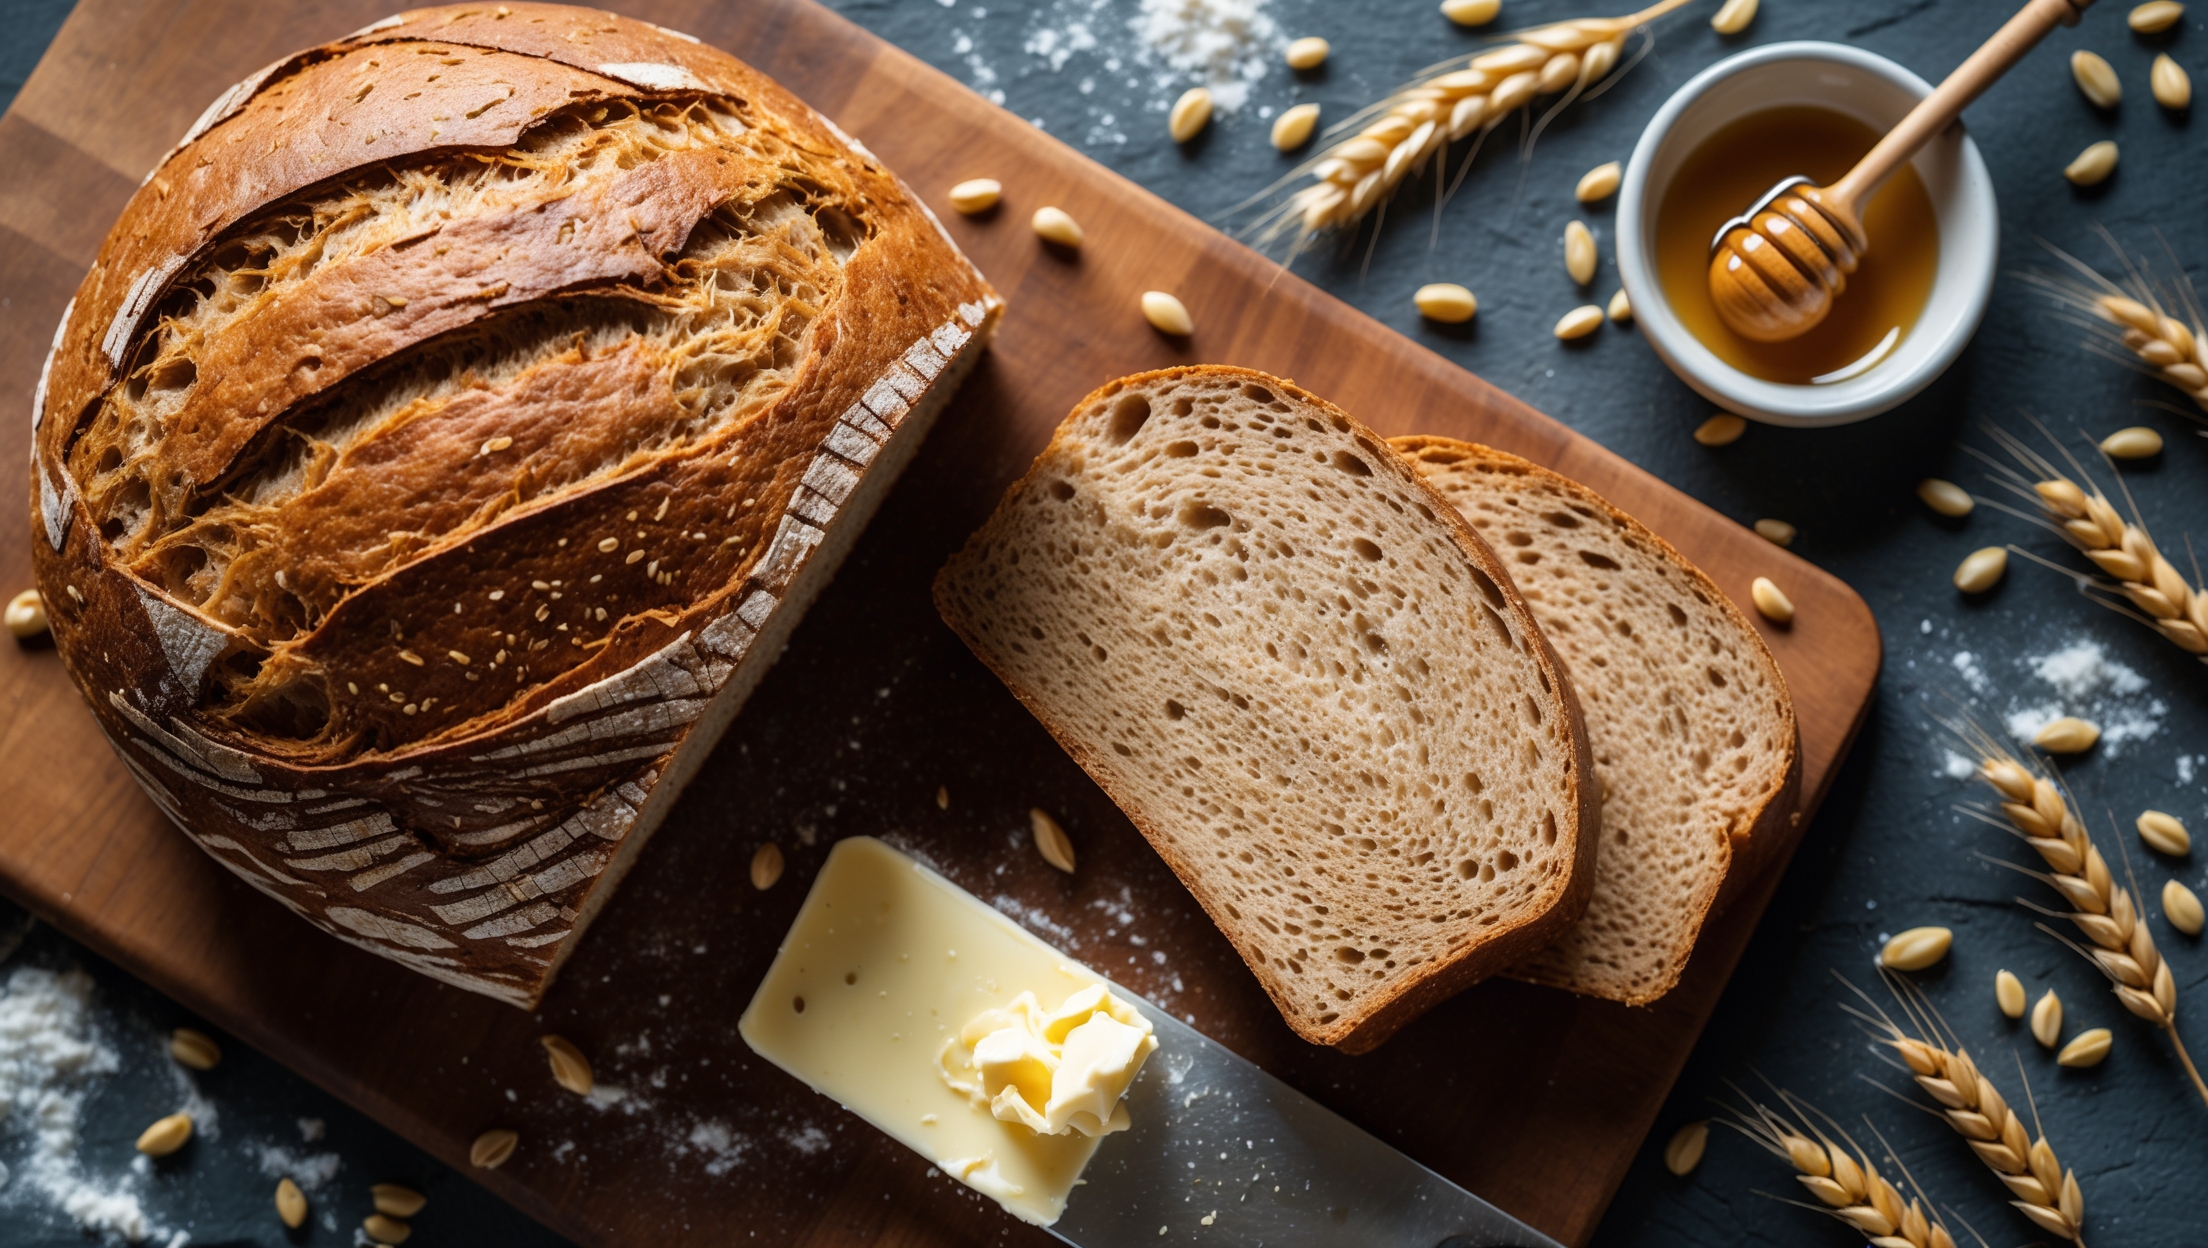
The main ingredients include wheat berries, sprouted wheat flour, bread flour, lukewarm water, honey (or maple syrup), olive oil, salt, active dry yeast, and optional vital wheat gluten. These combine to create a nutritious loaf with enhanced digestibility and natural sweetness.
Learn how to cook Sprouted Wheat Bread by first sprouting wheat berries for 1-3 days, then combining them with flour, water, honey, yeast, oil and salt. After kneading and two rises, bake in a 190°C oven for 40-45 minutes until golden brown. The sprouting process enhances digestibility and creates a naturally sweet, nutty flavour.
Sprouting wheat berries activates enzymes that break down complex carbohydrates and phytic acid, making the bread more digestible and nutritious. It also enhances the natural sweetness, creates a tender crumb texture, and can make gluten easier to digest for some people.
A food processor isn't ideal for grinding sprouted wheat berries into flour as it won't achieve the fine texture needed. Instead, use a dedicated grain mill or high-powered blender. Alternatively, purchase pre-ground sprouted wheat flour to save time without sacrificing quality.
Sprouted grain bread offers higher nutrient bioavailability and easier digestibility than regular wholemeal bread. It typically has a naturally sweeter flavour, moister texture, and contains more enzymes, antioxidants and less starch, as the sprouting process converts complex carbohydrates to simpler forms.
Whole Grain Bread
Try following recommended recipes