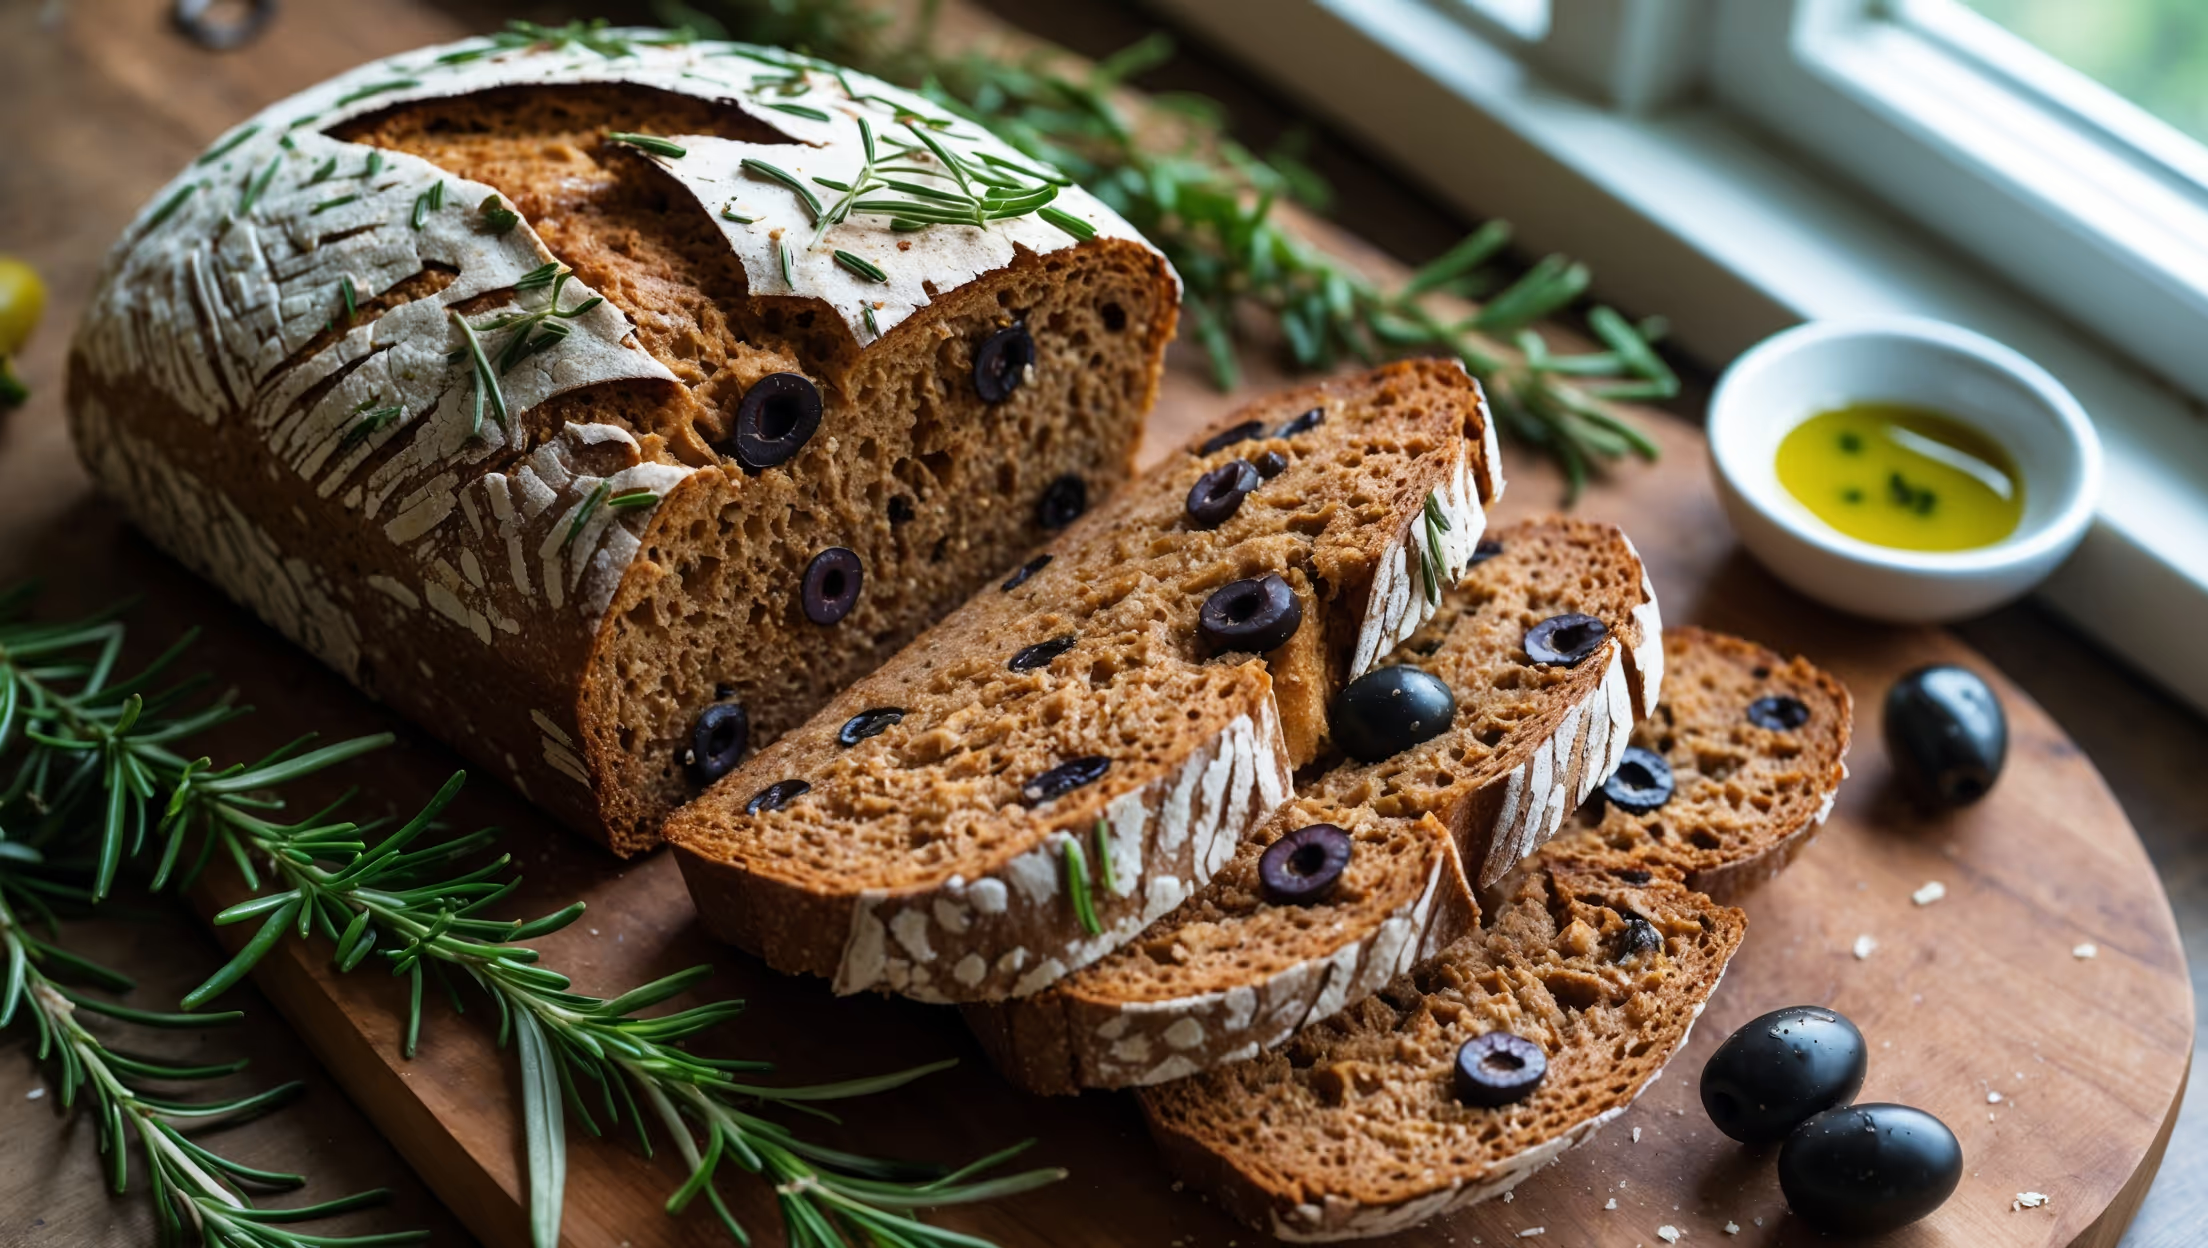
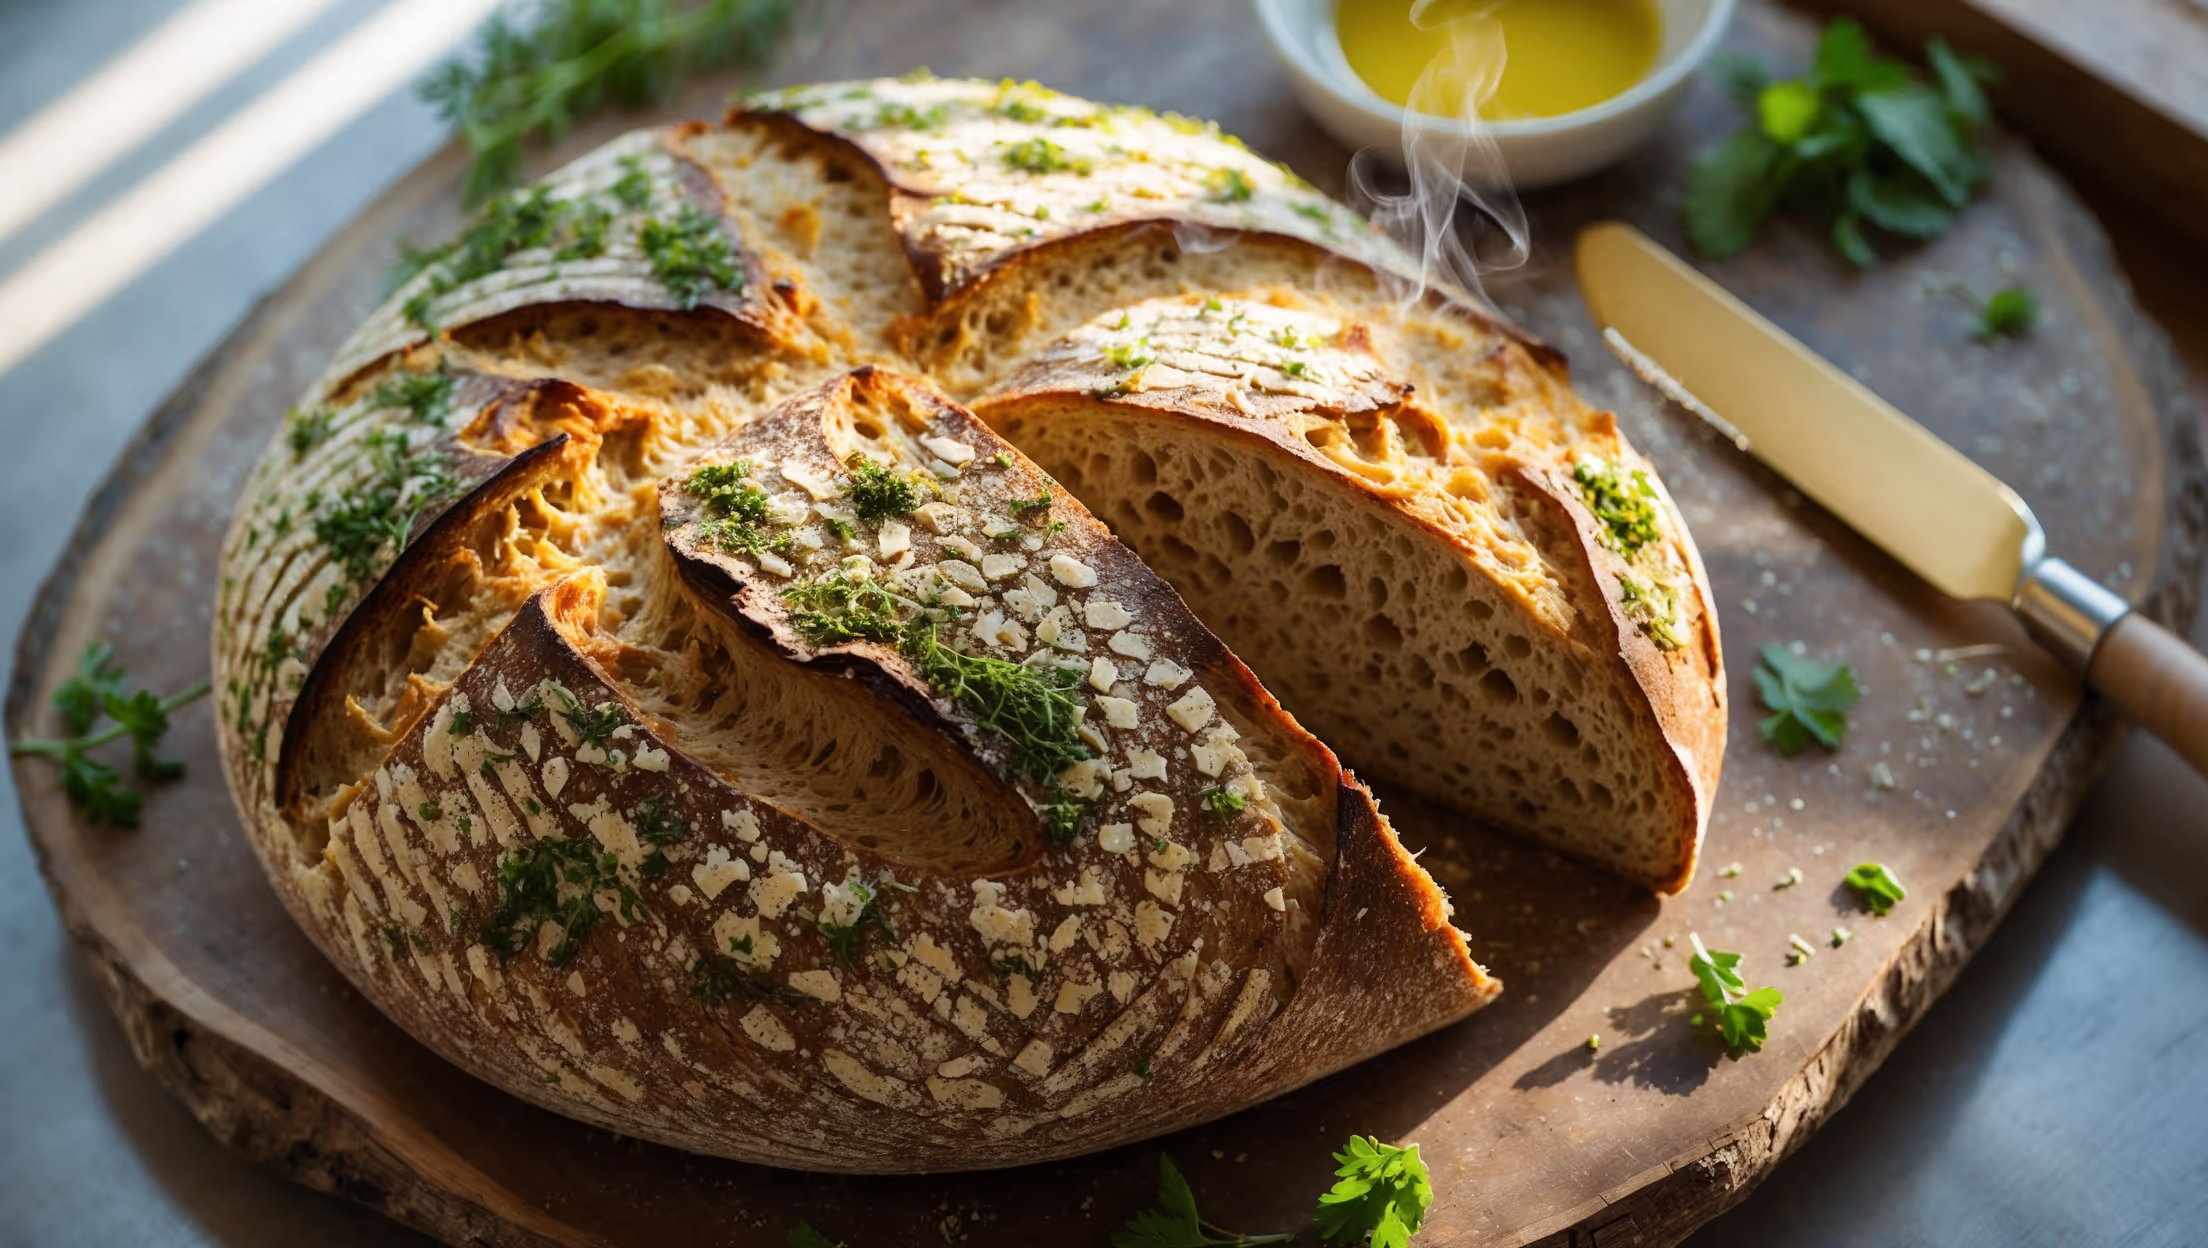
Directions
<ol class="no-list-style"><li class="MethodStepper"><h4 class="step-title">Step 1</h4>Begin by soaking the seven grain cereal mix in 300ml warm water for 20 minutes. This crucial step softens the grains and allows them to release their flavors while ensuring they don't pull moisture from your dough during baking.</li><li class="MethodStepper"><h4 class="step-title">Step 2</h4>In the bowl of your stand mixer, combine the soaked grain mixture (including all the water), bread flour, honey, olive oil, and yeast. Mix on low speed with the dough hook for 3 minutes until combined. Let the mixture rest for 15 minutes – this autolyse period allows the flour to fully hydrate and begins gluten development.</li><li class="MethodStepper"><h4 class="step-title">Step 3</h4>Add the salt and continue mixing on medium-low speed for 5-7 minutes until the dough becomes smooth and elastic. The dough will be slightly tacky but should clear the sides of the bowl while sticking slightly to the bottom. If it's too wet, add flour 1 tablespoon at a time; if too dry, add water 1 teaspoon at a time.</li><li class="MethodStepper"><h4 class="step-title">Step 4</h4>Transfer the dough to a lightly oiled bowl, cover with plastic wrap or a damp cloth, and let rise in a warm place (around 24°C/75°F) for 60-90 minutes, or until doubled in size. The slow rise develops flavor and improves the bread's texture.</li><li class="MethodStepper"><h4 class="step-title">Step 5</h4>Gently deflate the dough and turn it onto a lightly floured surface. Fold the dough into a tight round by pulling the edges into the center, creating tension on the surface. Flip the dough seam-side down and cup your hands around it, dragging it in small circles on the counter to create more surface tension – this helps create a beautiful rise during baking.</li><li class="MethodStepper"><h4 class="step-title">Step 6</h4>Transfer the shaped dough to a floured banneton or a bowl lined with a well-floured kitchen towel, seam side up. Sprinkle with additional flour, cover, and let rise for 45-60 minutes, until the dough has increased in size by about 50% and feels puffy when gently poked.</li><li class="MethodStepper"><h4 class="step-title">Step 7</h4>While the dough is rising, preheat your oven to 230°C (450°F) with a Dutch oven or baking stone inside. The preheated vessel creates steam and heat that helps the bread develop a crackling crust.</li><li class="MethodStepper"><h4 class="step-title">Step 8</h4>When ready to bake, carefully turn the dough out onto a piece of parchment paper. Brush the top lightly with water and sprinkle with mixed seeds, gently pressing them into the surface. Score the top with a lame or sharp knife, creating 2-3 slashes about 1cm deep – these allow the bread to expand properly during baking.</li><li class="MethodStepper"><h4 class="step-title">Step 9</h4>Carefully transfer the dough on the parchment paper into the preheated Dutch oven or onto the baking stone. If using a Dutch oven, place the lid on. Bake for 20 minutes with the lid on, then remove the lid and continue baking for 20-25 minutes more until the crust is deeply golden and the internal temperature reaches 95-98°C (205-210°F).</li><li class="MethodStepper"><h4 class="step-title">Step 10</h4>Transfer the baked bread to a wire rack and allow it to cool completely before slicing, at least 1 hour. This resting period allows the crumb to set and the flavors to develop. Your patience will be rewarded with perfect slices and maximum flavor!</li></ol>