Seeded Whole Grain Loaf Recipe
Ingredients
Equipment
Directions
FAQs
Find answers to your most pressing questions about this delicious recipe right here.
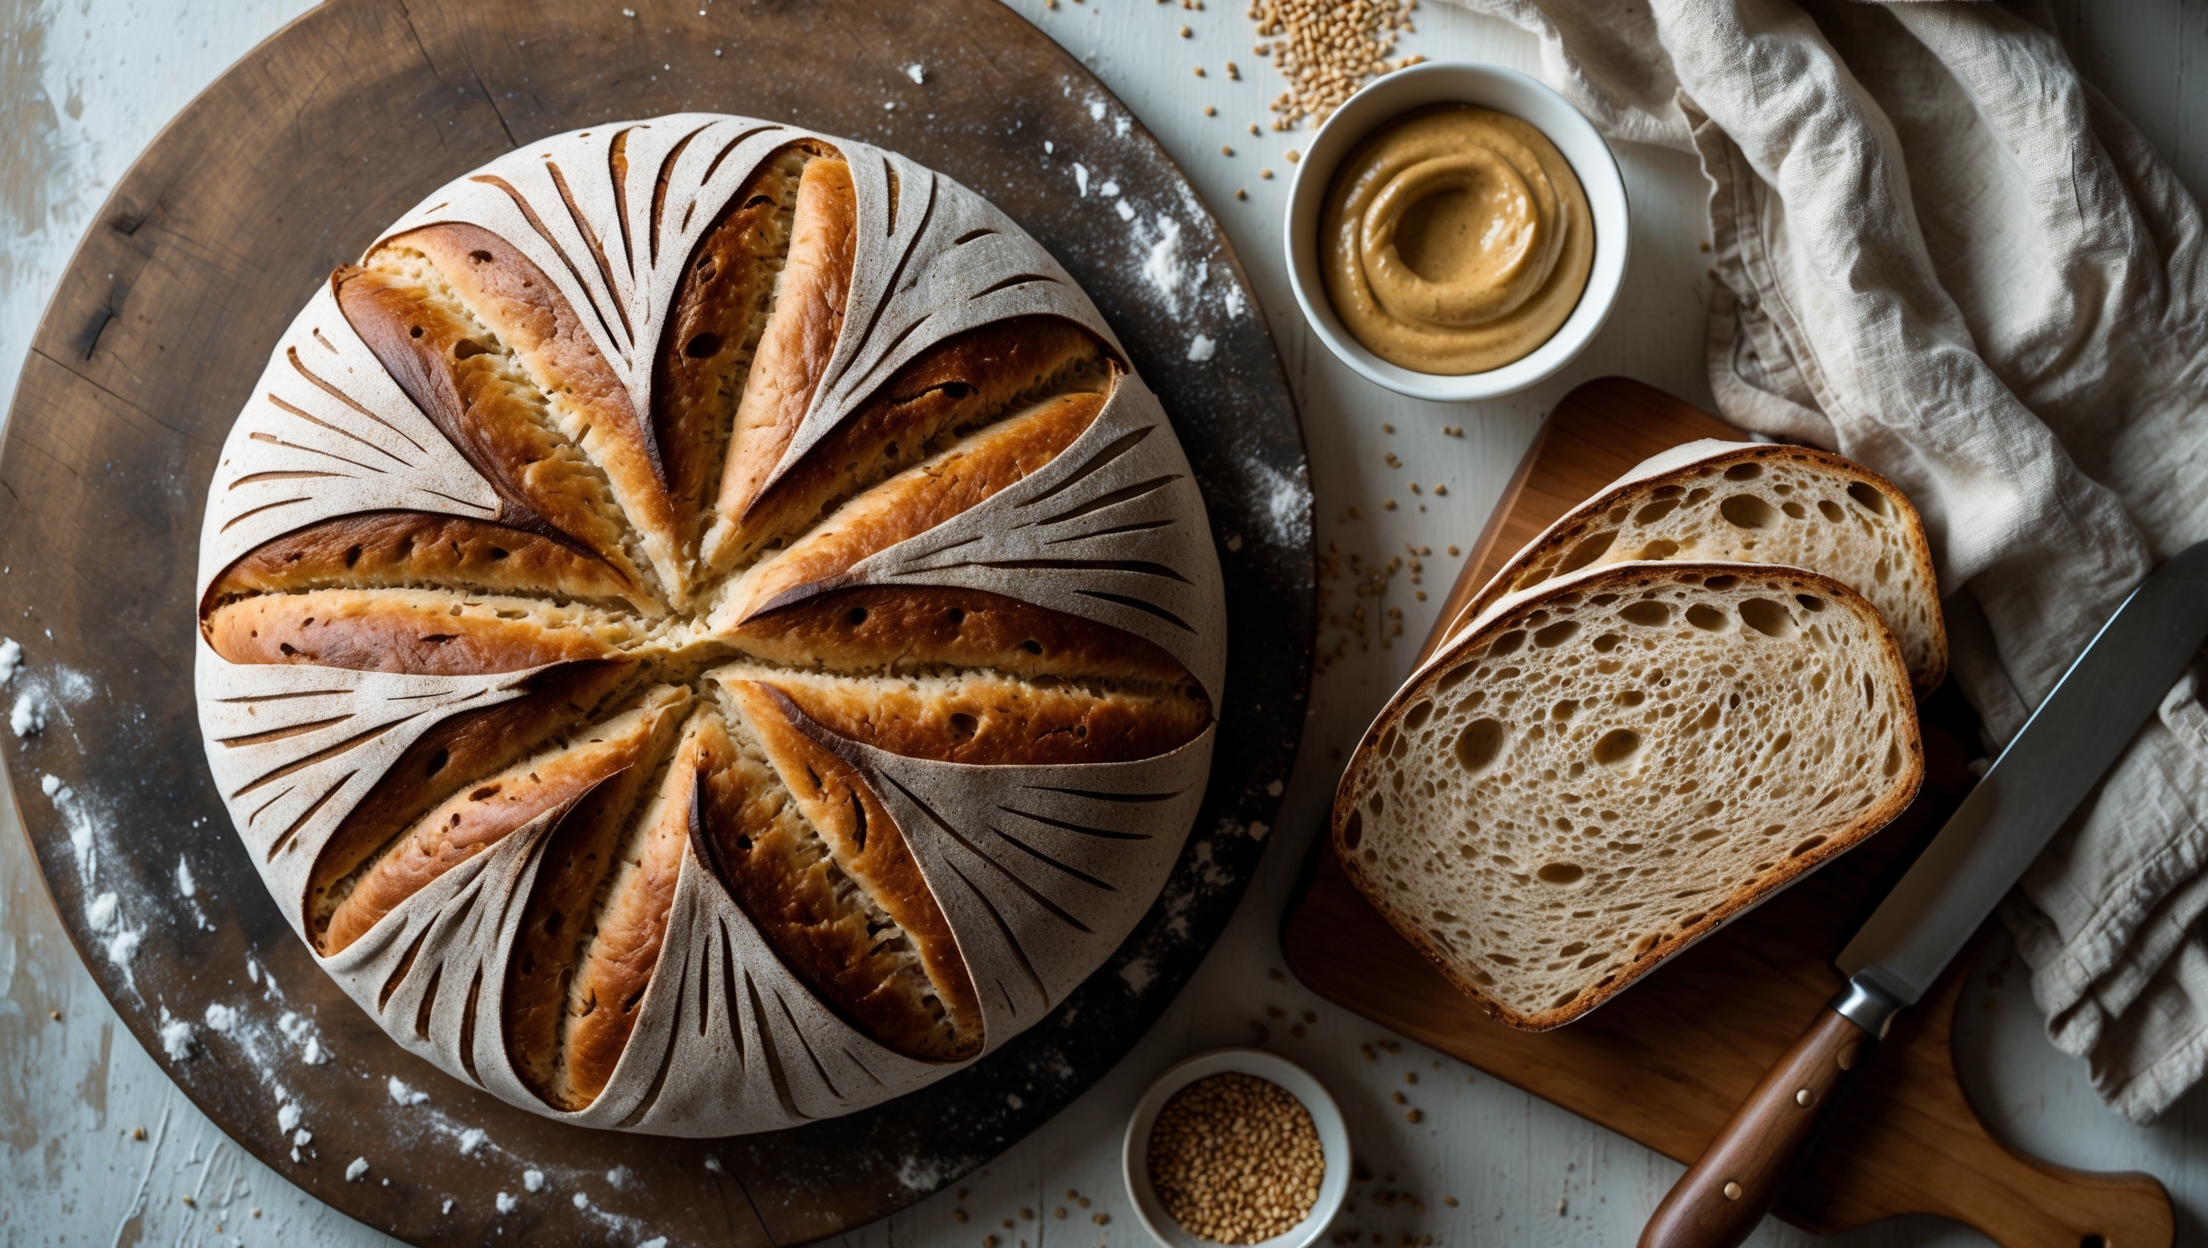
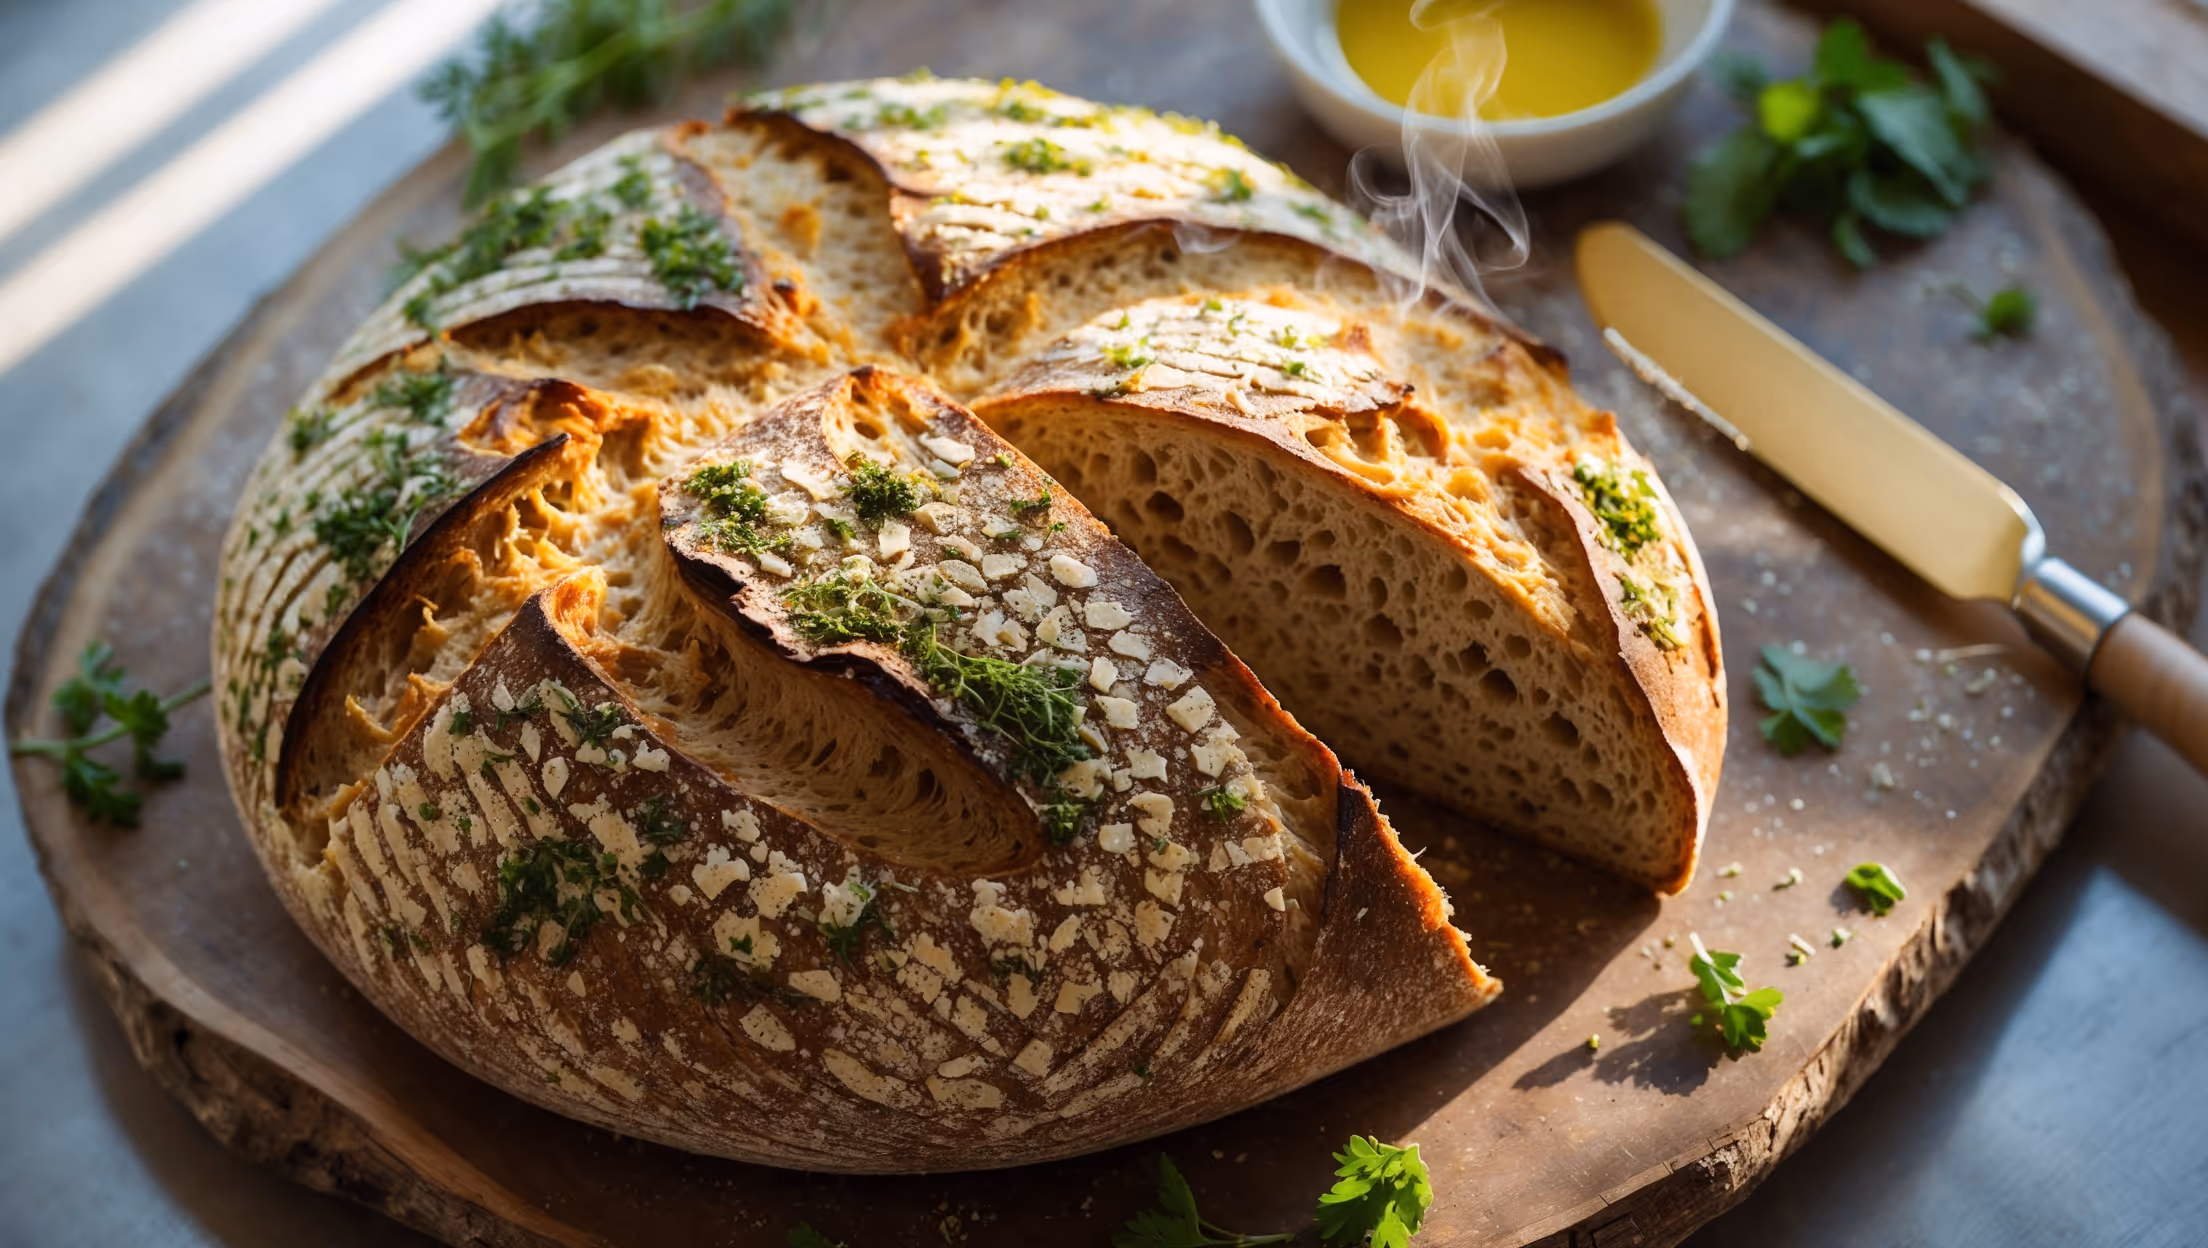
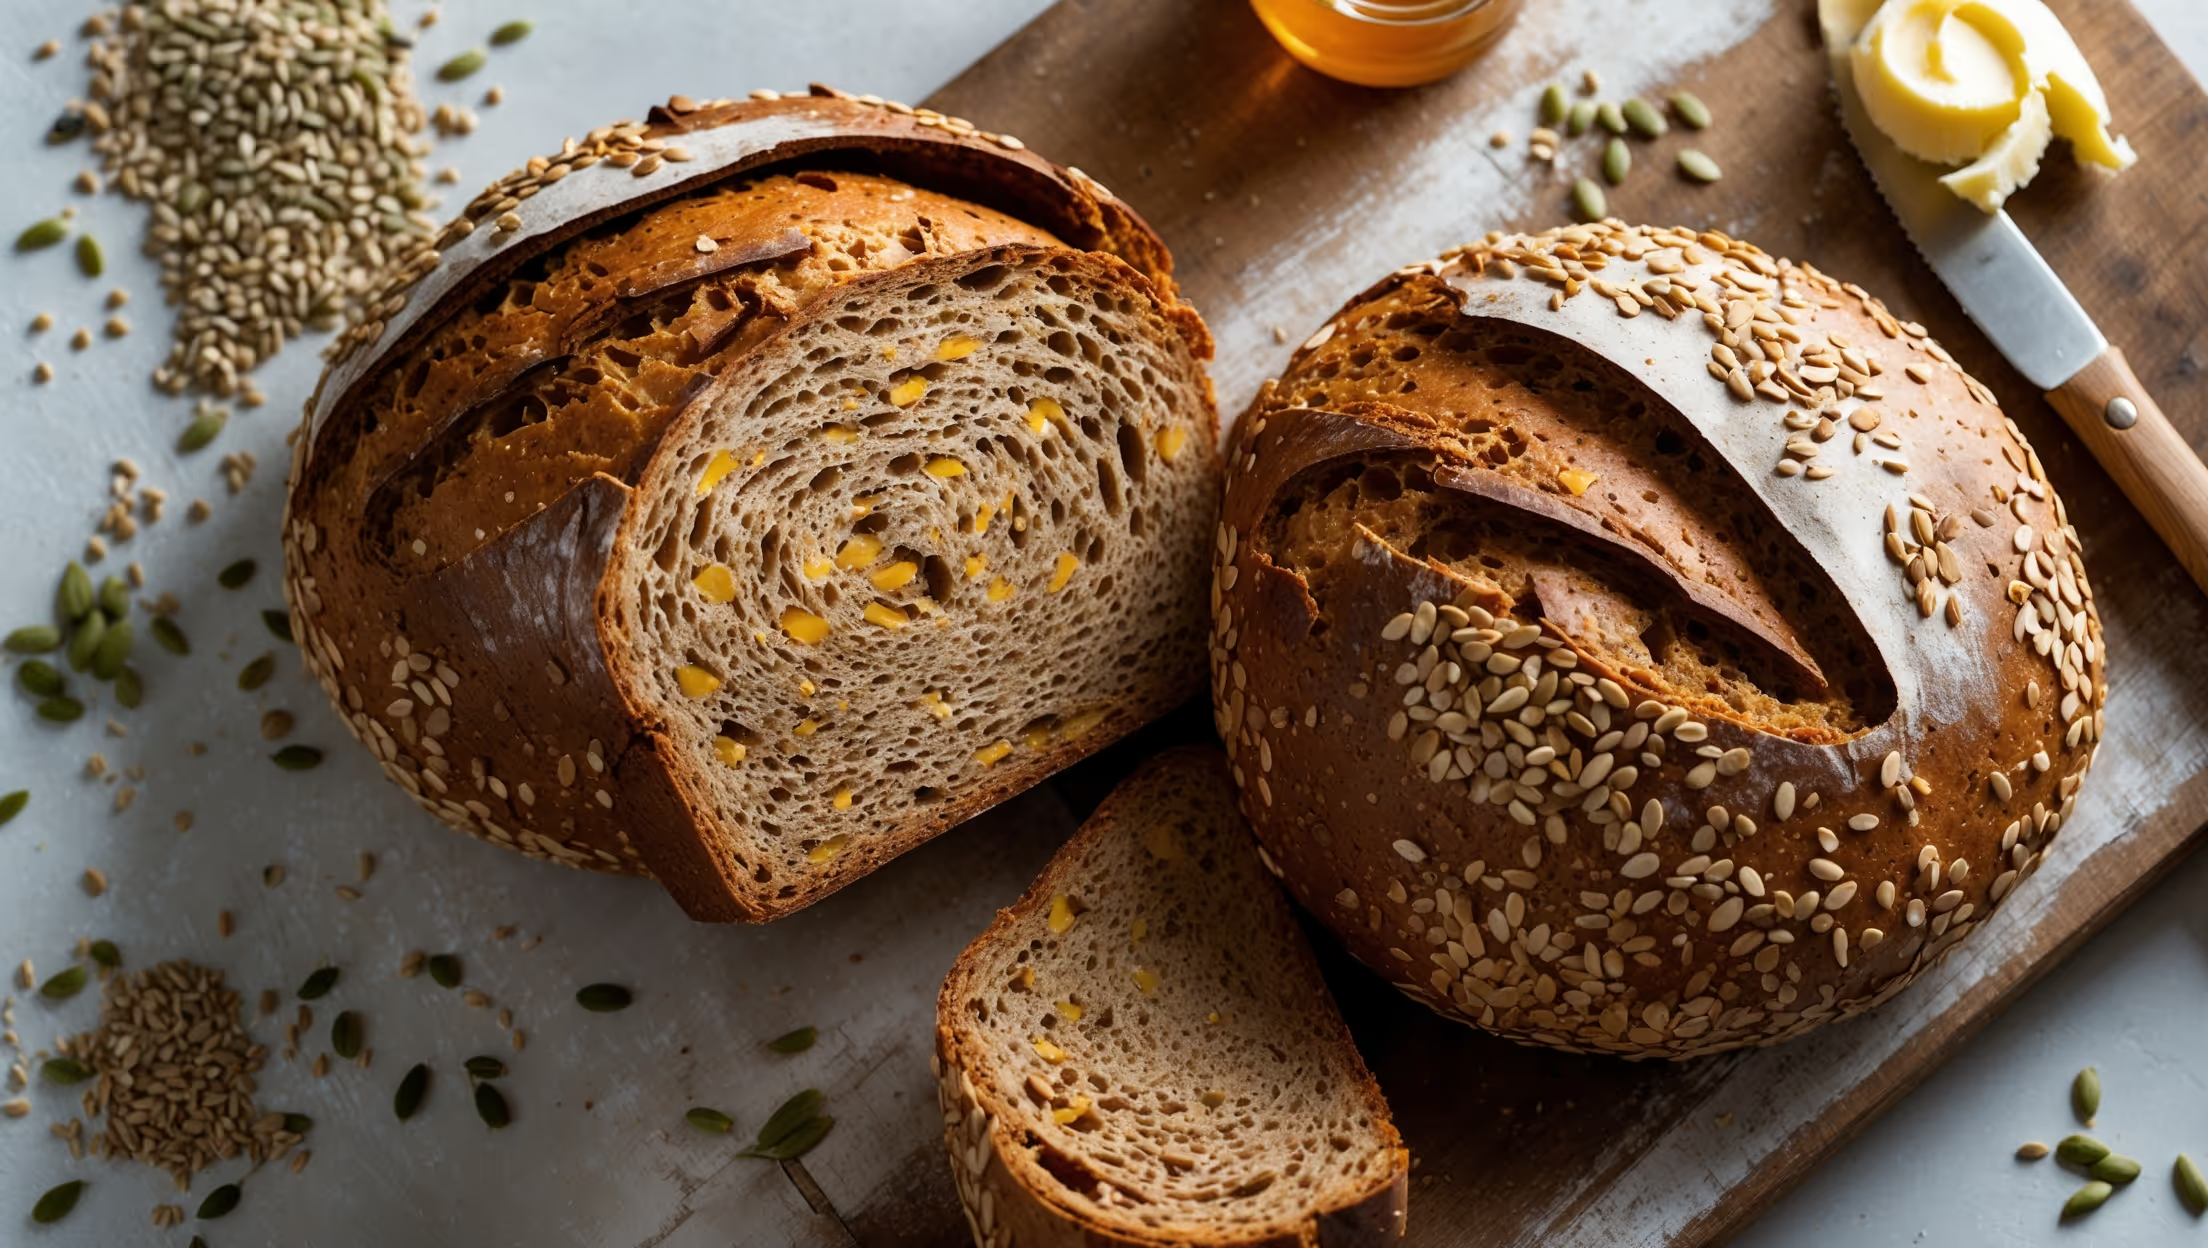
This nutritious bread uses whole wheat, bread, and rye flours, with honey, olive oil, and a variety of seeds (sunflower, pumpkin, flax, and sesame). It's leavened with instant dried yeast and seasoned with salt, creating a perfectly balanced wholesome loaf.
Learn how to cook Seeded Whole Grain Loaf by combining flours with seeds, employing a slow overnight fermentation, and baking at high temperature with steam. This technique develops complex flavours and creates the perfect crust. The extended fermentation process makes the nutrients more bioavailable while creating that distinctive artisanal texture.
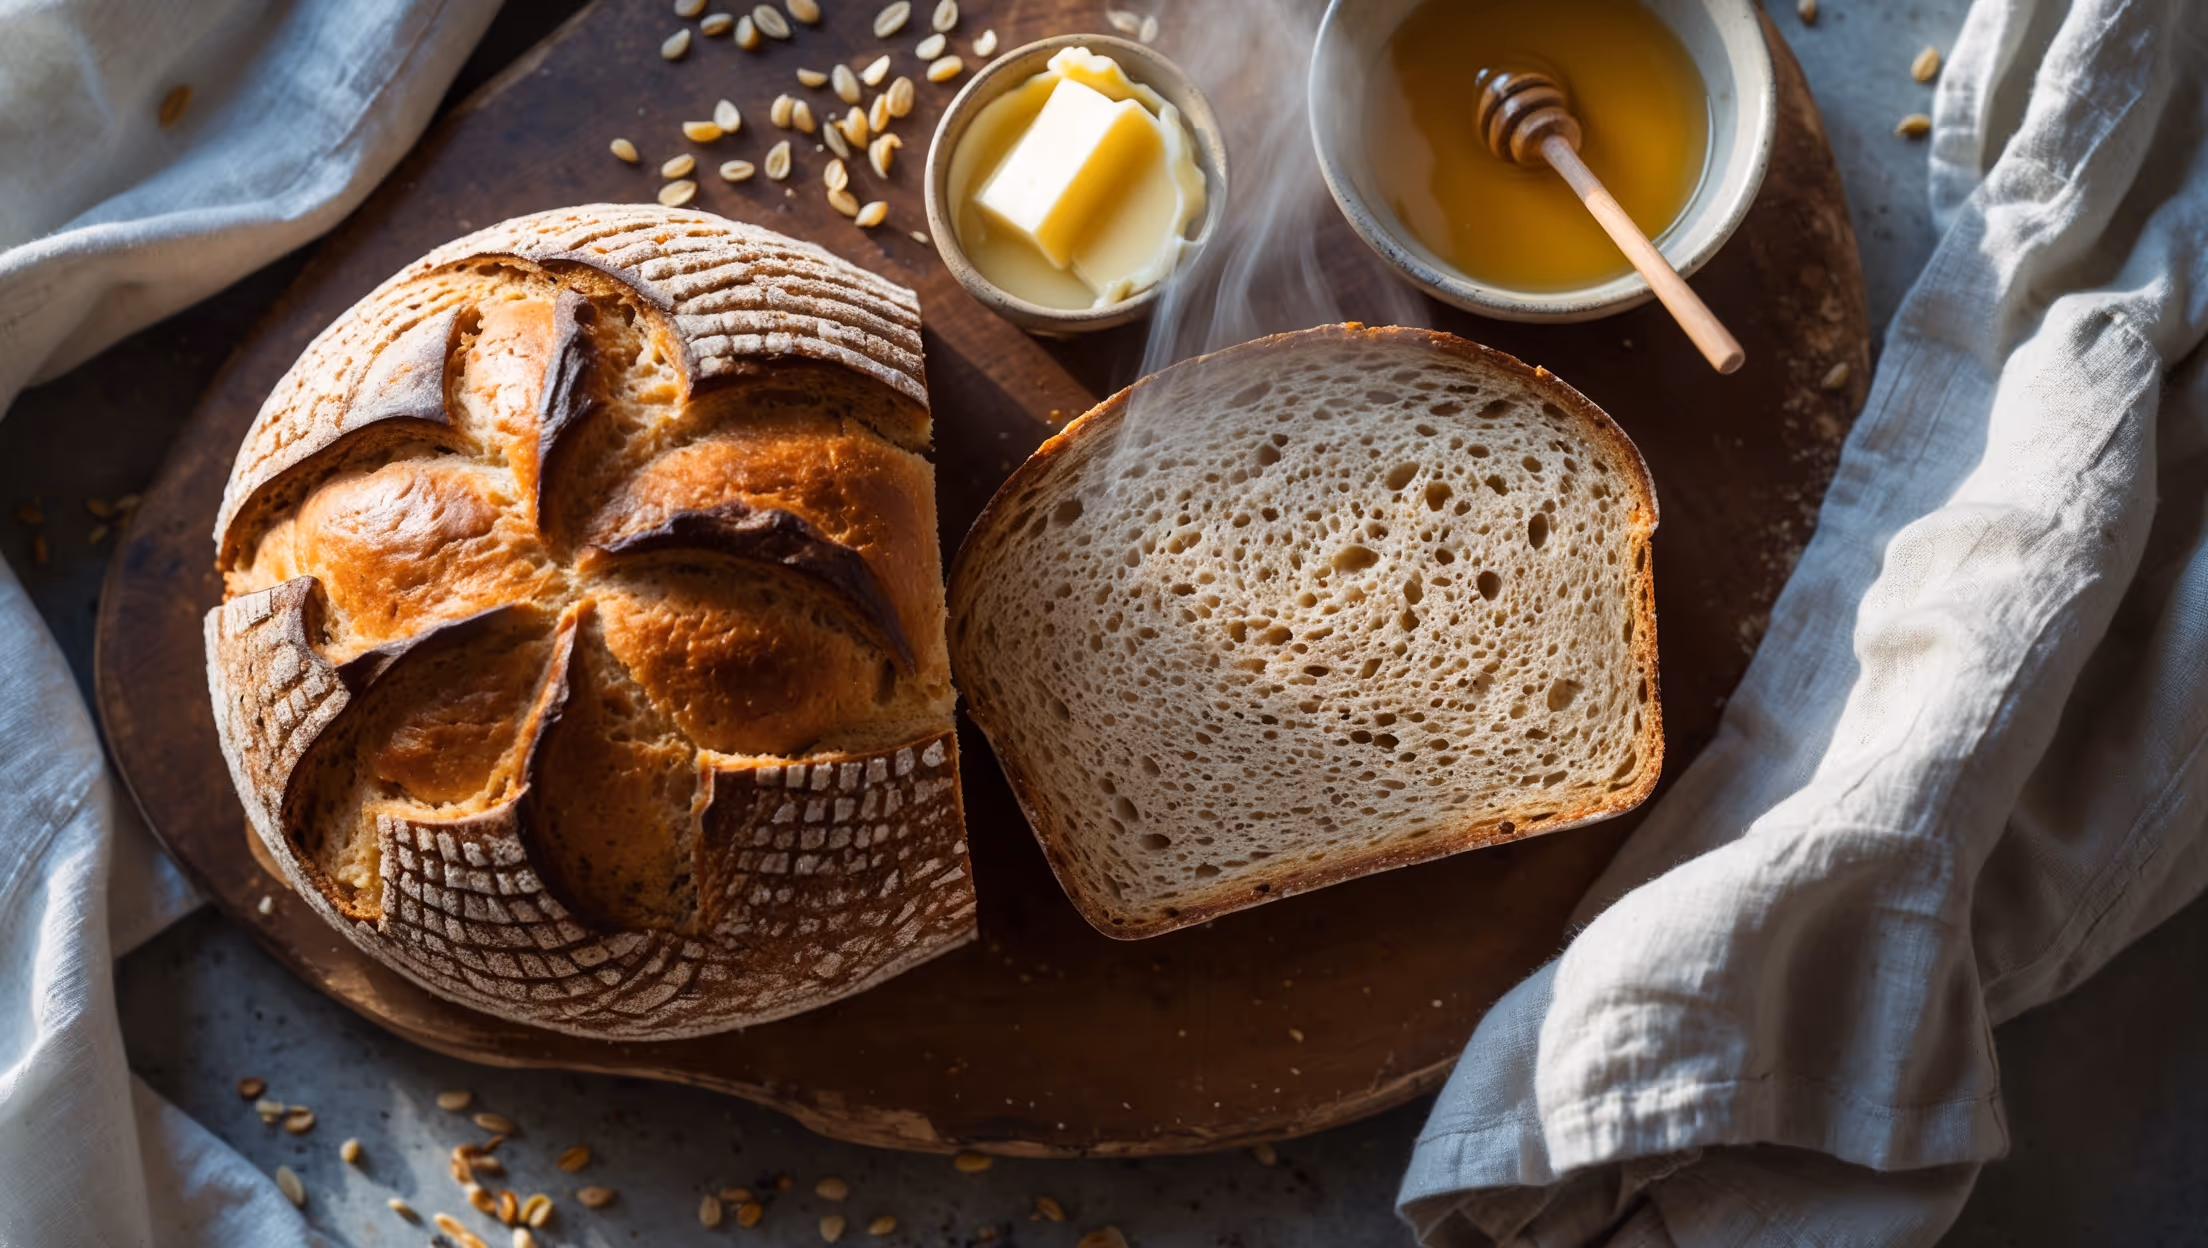
The extended overnight fermentation is crucial as it breaks down complex starches, enhances flavour development, improves texture, and makes nutrients more digestible. This slow process also allows the whole grains to fully hydrate, resulting in better structure and a more complex flavour profile.
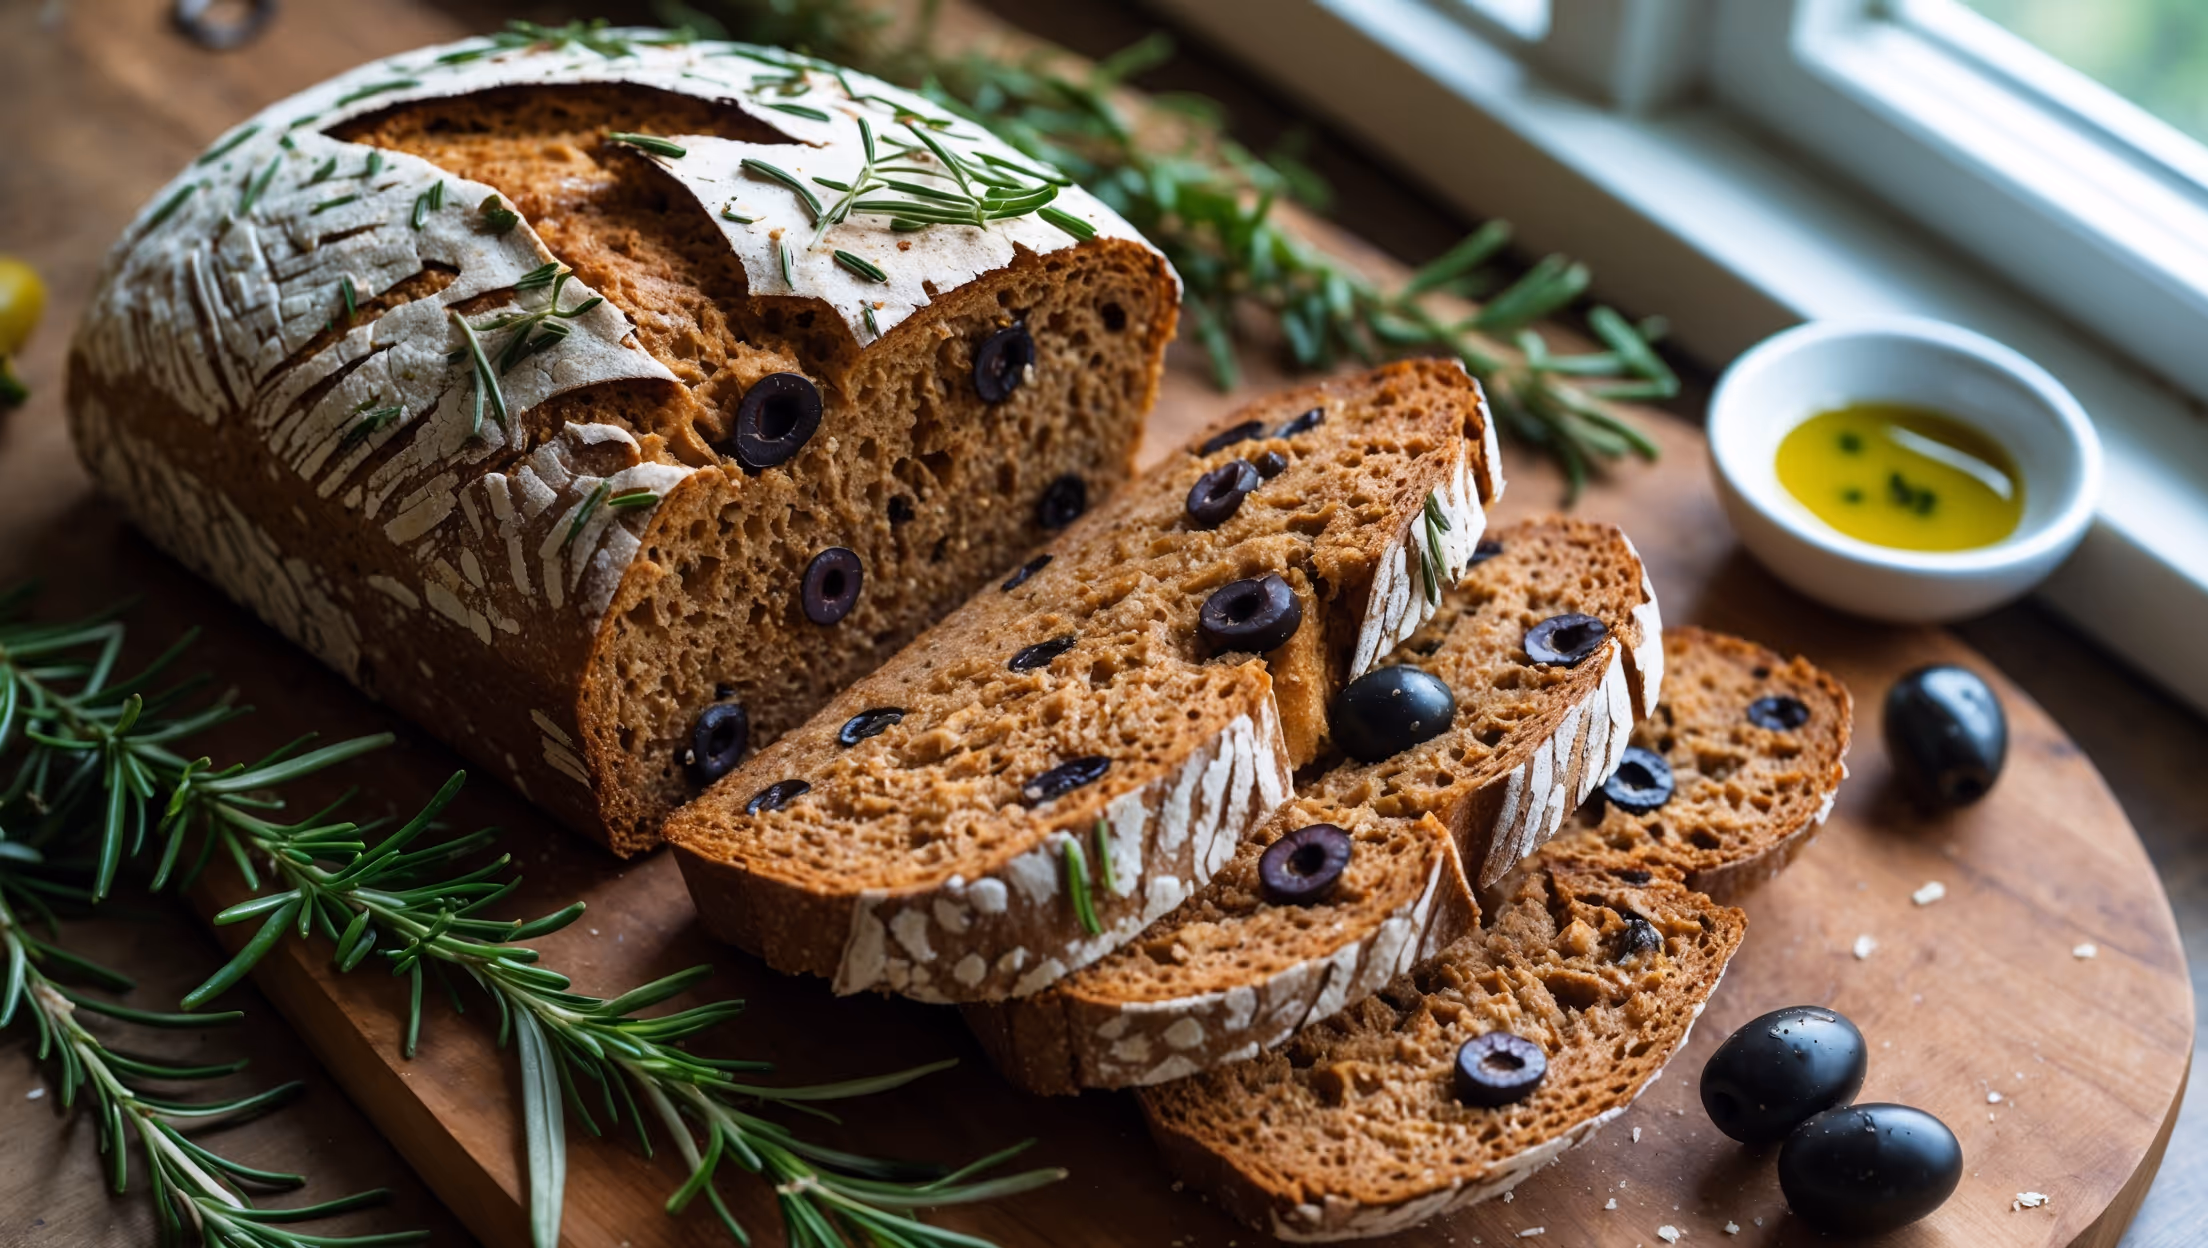
Absolutely! While the recipe specifies sunflower, pumpkin, flax and sesame seeds, you can experiment with alternatives like chia, poppy, hemp, or caraway seeds. Maintain the same total seed quantity (approximately 105g) to preserve the bread's structural integrity and moisture balance.
Once completely cooled, store your loaf in a breathable cotton bag or wrapped in a clean tea towel for 2-3 days at room temperature. For longer storage, slice the bread and freeze it in a sealed container with parchment between slices for up to 3 months, toasting from frozen as needed.
Whole Grain Bread
Try following recommended recipes