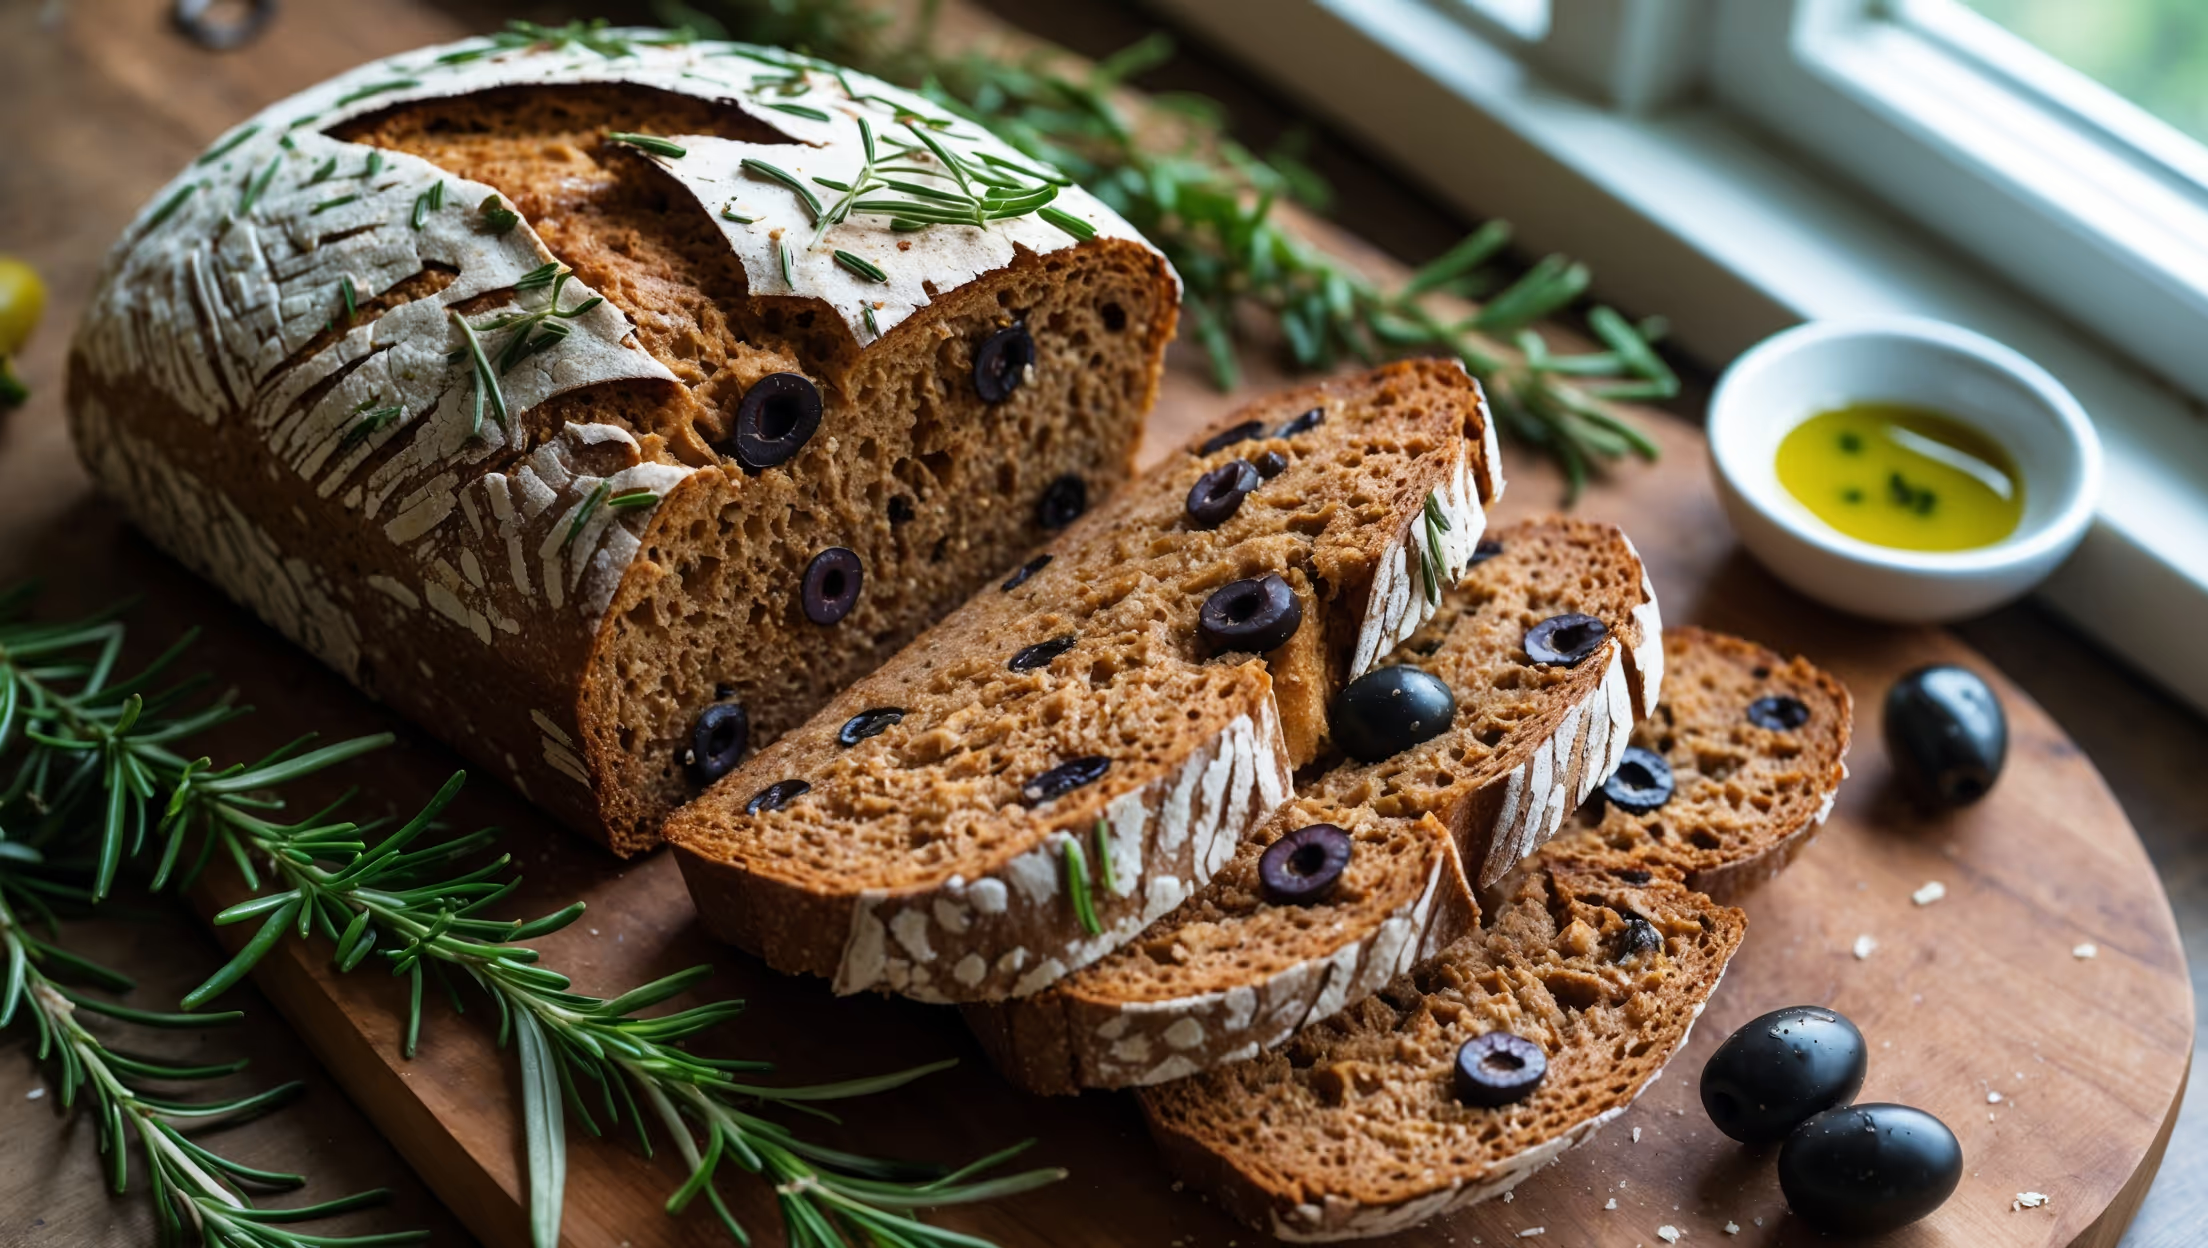
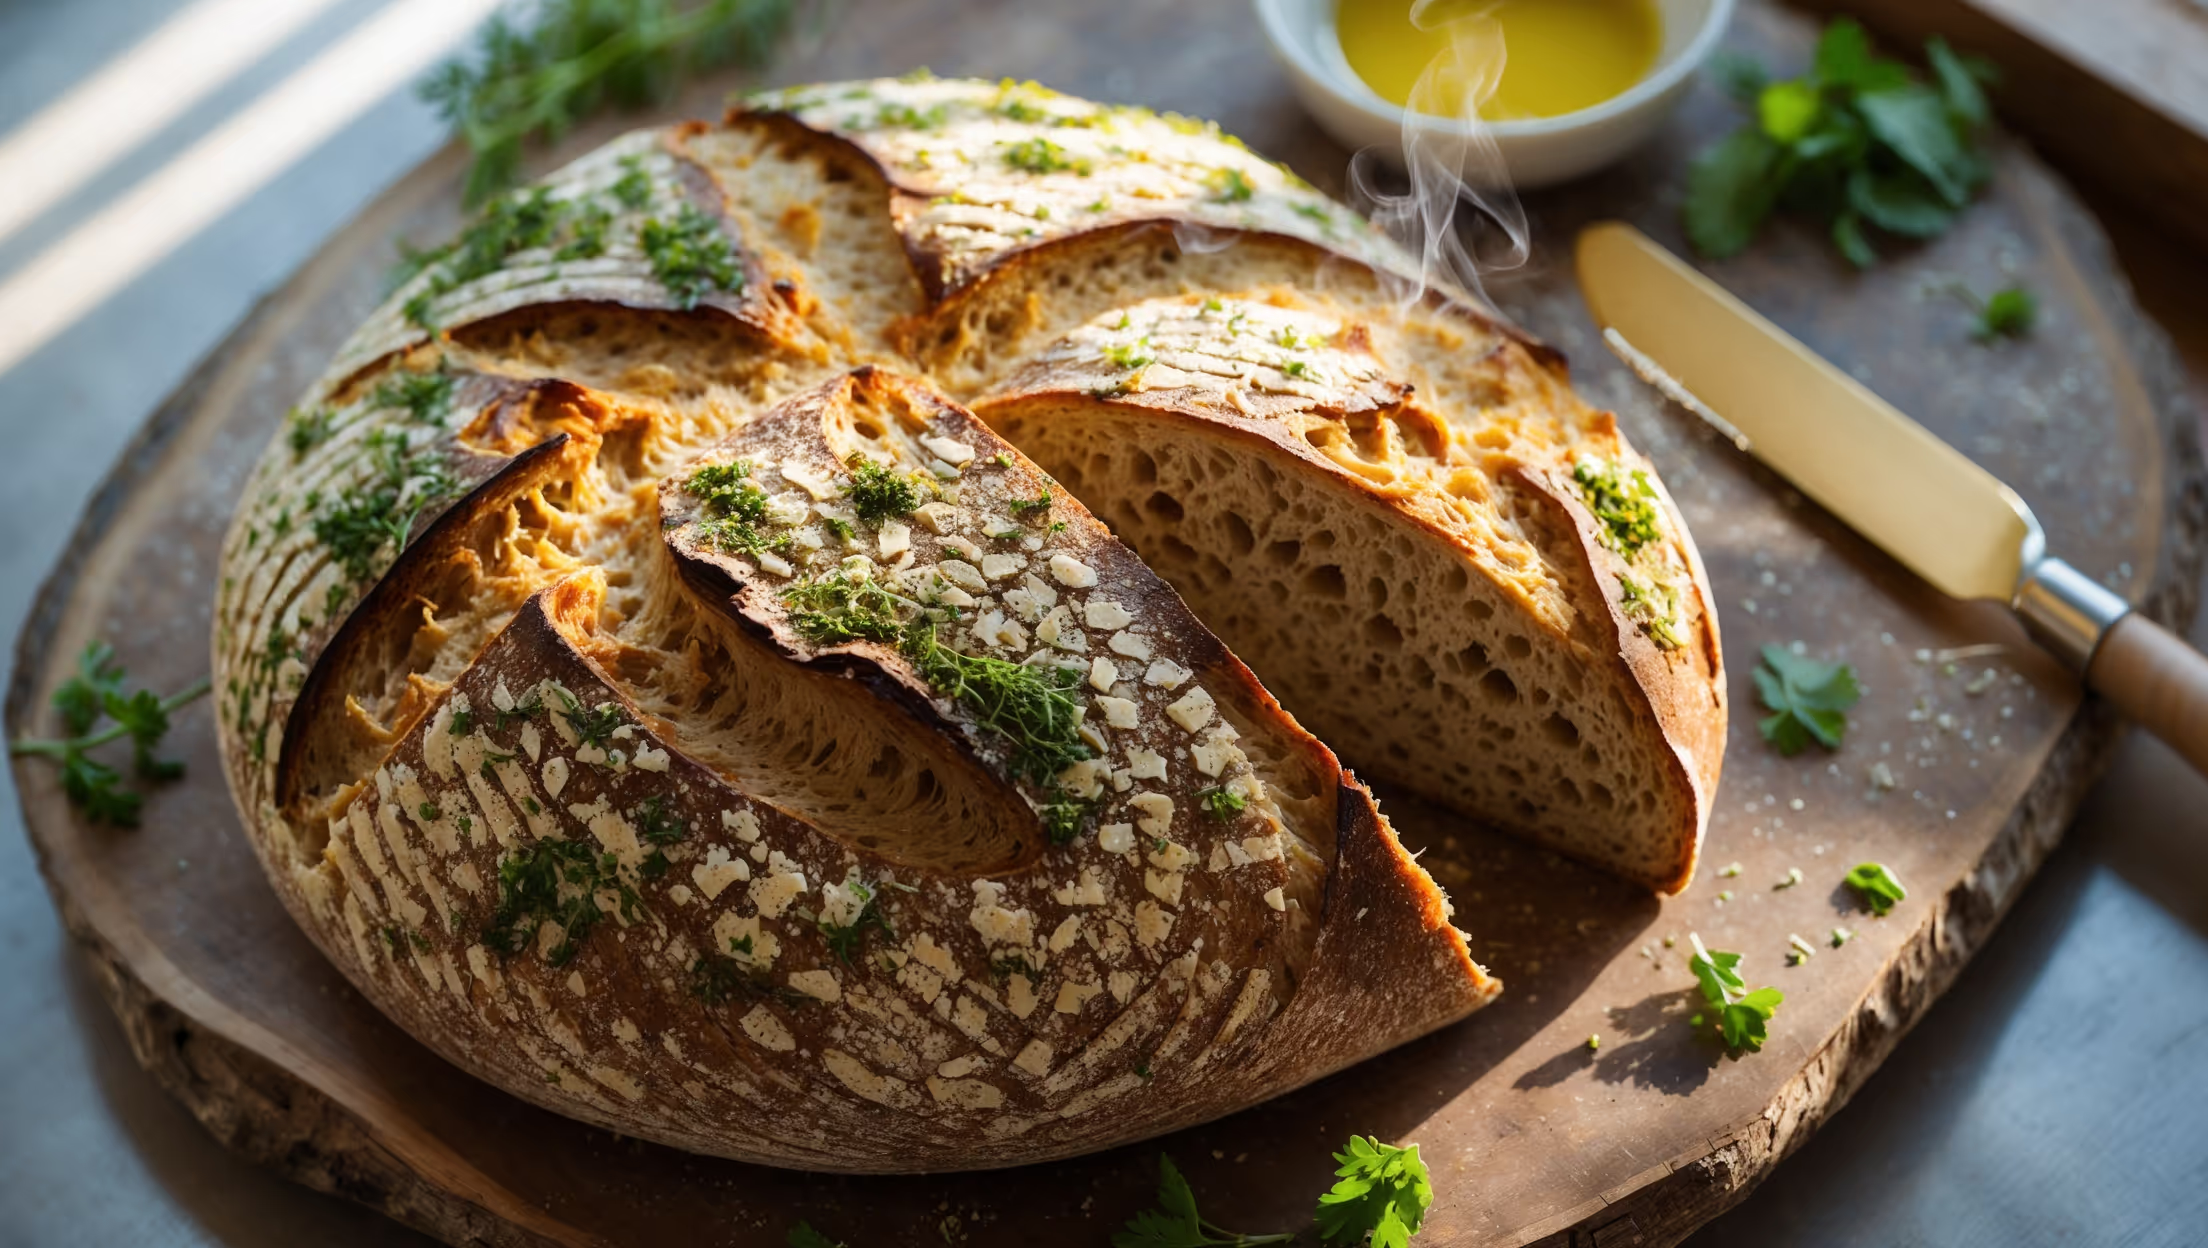
Directions
<ol class="no-list-style"><li class="MethodStepper"><h4 class="step-title">Step 1</h4>In a large mixing bowl, combine the rye flour, bread flour, salt, and caraway seeds. Mix thoroughly with a wooden spoon to ensure even distribution of ingredients. The caraway seeds will release their aromatic oils during baking, giving your bread that classic rye bread flavor.</li><li class="MethodStepper"><h4 class="step-title">Step 2</h4>In a separate small bowl, dissolve the molasses in the lukewarm water. Sprinkle the yeast over the top and let it sit for 5-10 minutes until frothy. This step proves your yeast is active and gives it a head start before mixing with the heavier rye flour.</li><li class="MethodStepper"><h4 class="step-title">Step 3</h4>Make a well in the center of your dry ingredients and pour in the yeast mixture and oil. Mix with a wooden spoon until no dry flour remains, then switch to using your hands. The dough will be stickier than regular bread dough due to the rye flour, which has less gluten-forming potential than wheat flour.</li><li class="MethodStepper"><h4 class="step-title">Step 4</h4>Turn the dough onto a lightly floured surface and knead for 8-10 minutes until smooth but still slightly tacky. Rye dough will never become as elastic as wheat dough, so don't worry if it feels different - this is normal! The dough should feel smooth and somewhat firm when ready.</li><li class="MethodStepper"><h4 class="step-title">Step 5</h4>Place the dough in a lightly oiled bowl, cover with plastic wrap or a damp cloth, and let it rise in a warm place for 1.5-2 hours, or until doubled in size. Rye bread rises more slowly than white bread, so be patient.</li><li class="MethodStepper"><h4 class="step-title">Step 6</h4>Once risen, gently deflate the dough by pressing down with your fingers. Turn onto a lightly floured surface and shape into a round loaf by folding the edges toward the center, then turning it over so the seam is on the bottom. Cup your hands around the dough and rotate it, creating tension on the surface.</li><li class="MethodStepper"><h4 class="step-title">Step 7</h4>Place the shaped loaf seam-side up in a well-floured proofing basket or a bowl lined with a floured kitchen towel. Cover and let rise again for about 1 hour, or until noticeably puffy. For deeper flavor development, you can refrigerate the dough at this point for 8-12 hours (overnight).</li><li class="MethodStepper"><h4 class="step-title">Step 8</h4>About 30 minutes before baking, place your Dutch oven or heavy casserole dish with lid in the oven and preheat to 230°C (450°F). The preheated vessel creates steam when the dough is added, mimicking a professional bread oven and giving you that gorgeous crisp crust.</li><li class="MethodStepper"><h4 class="step-title">Step 9</h4>When ready to bake, carefully remove the hot Dutch oven. Turn your dough out onto a piece of parchment paper (seam-side down) and quickly score the top with a lame or sharp knife - a simple "X" or a few slashes will help control the expansion during baking and add a professional touch.</li><li class="MethodStepper"><h4 class="step-title">Step 10</h4>Using the parchment paper as a sling, carefully lower the dough into the hot Dutch oven. Cover with the lid and bake for 25 minutes. This covered phase traps moisture from the dough to create steam, developing that professional crust.</li><li class="MethodStepper"><h4 class="step-title">Step 11</h4>Remove the lid and continue baking for another 15-20 minutes until the crust is deeply browned and the bread sounds hollow when tapped on the bottom. The internal temperature should reach 96-99°C (205-210°F) if you're using a thermometer.</li><li class="MethodStepper"><h4 class="step-title">Step 12</h4>Transfer to a wire rack and let cool completely before slicing - at least 2 hours. This resting period is crucial as it allows the crumb structure to set and the flavors to develop. Cutting too soon will result in a gummy texture.</li></ol>