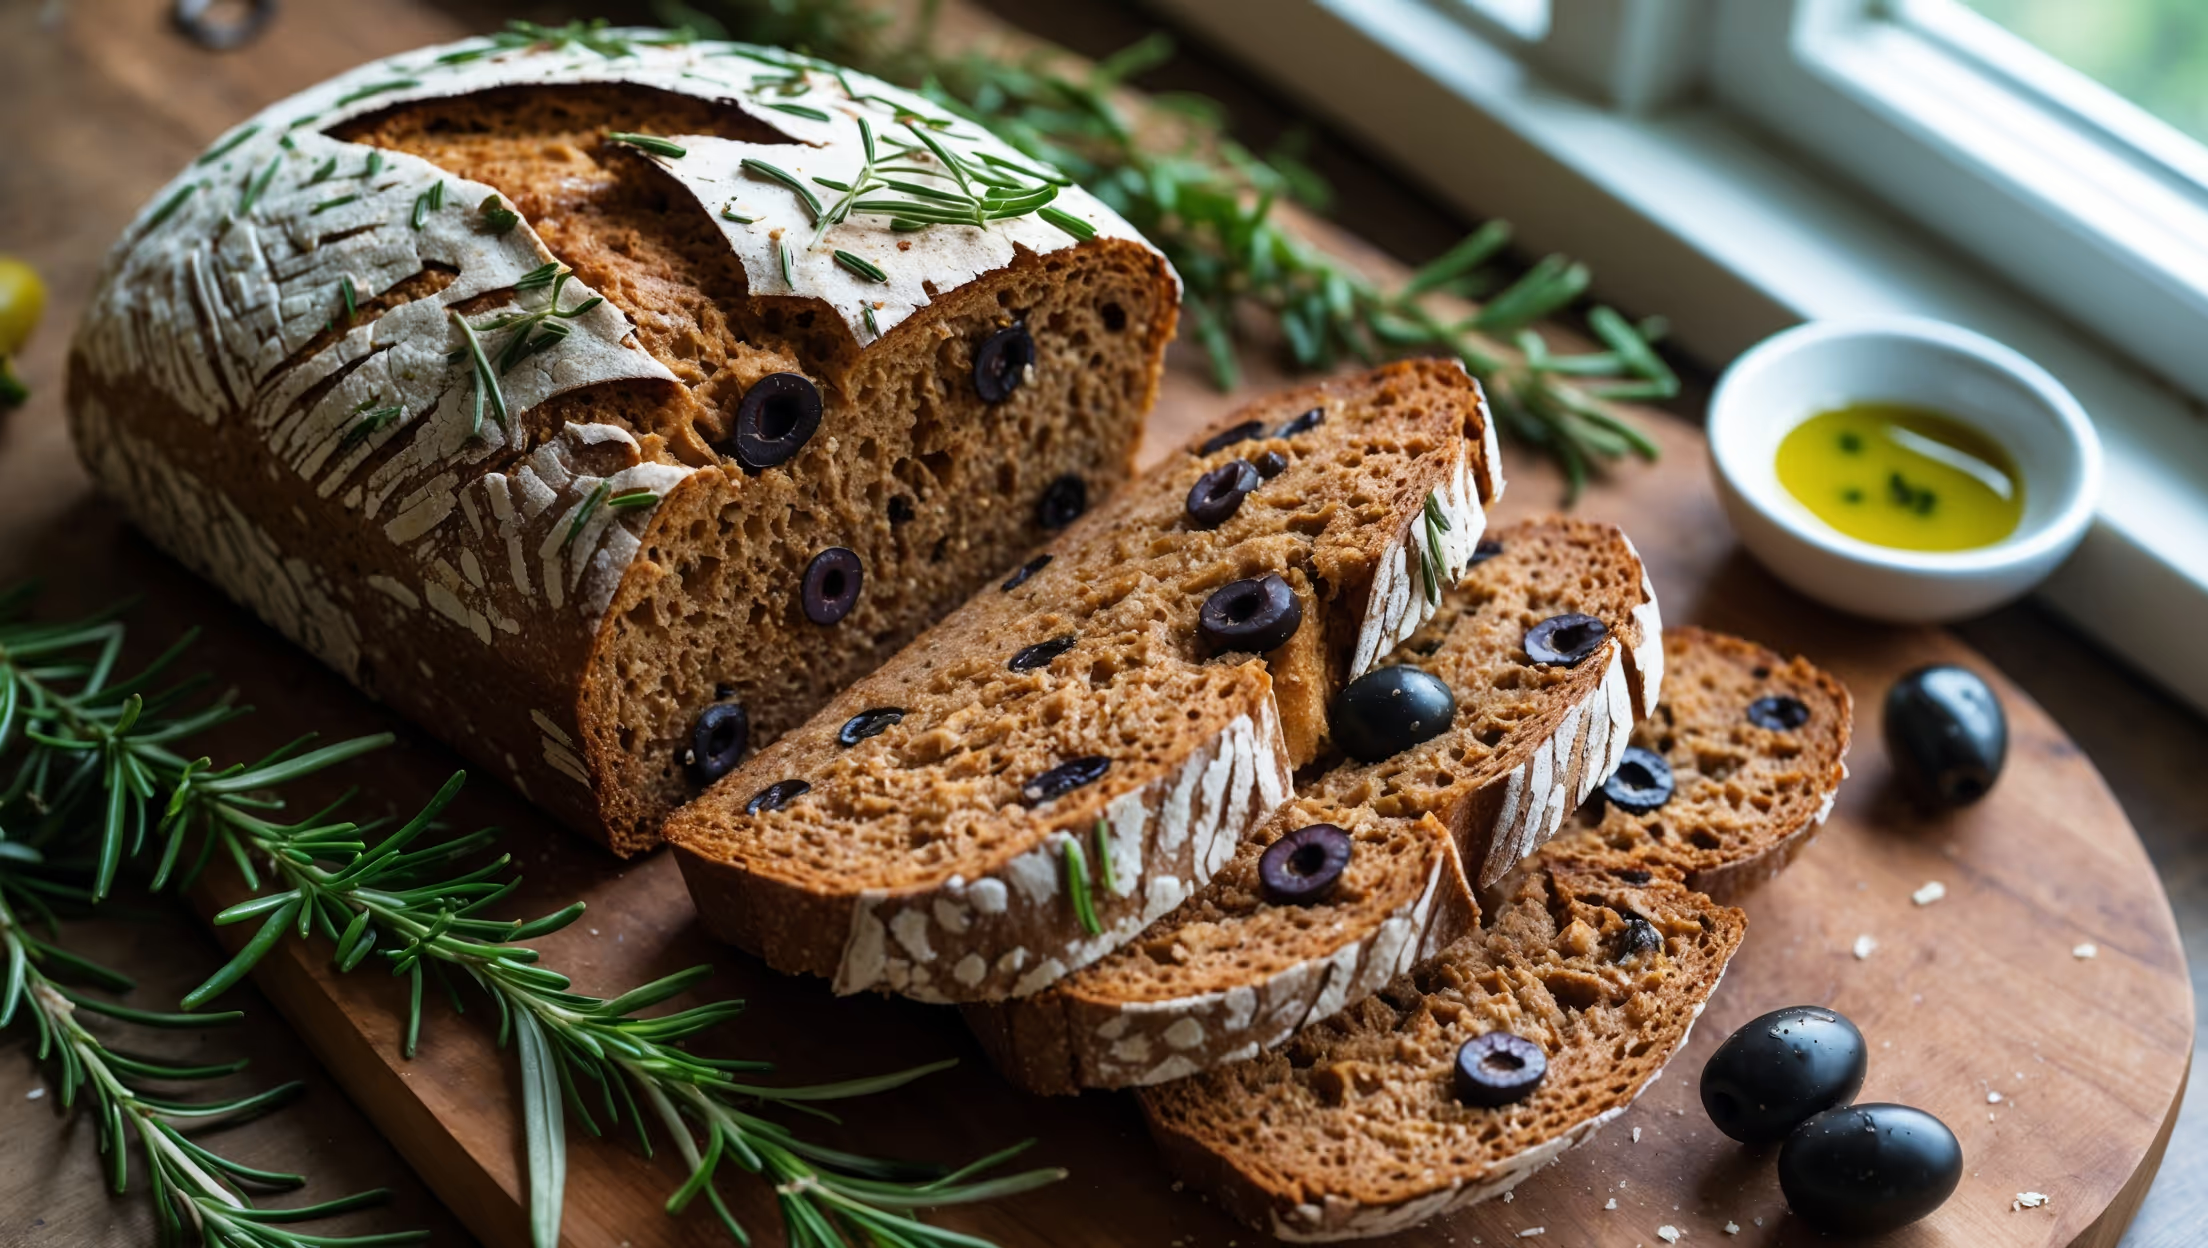
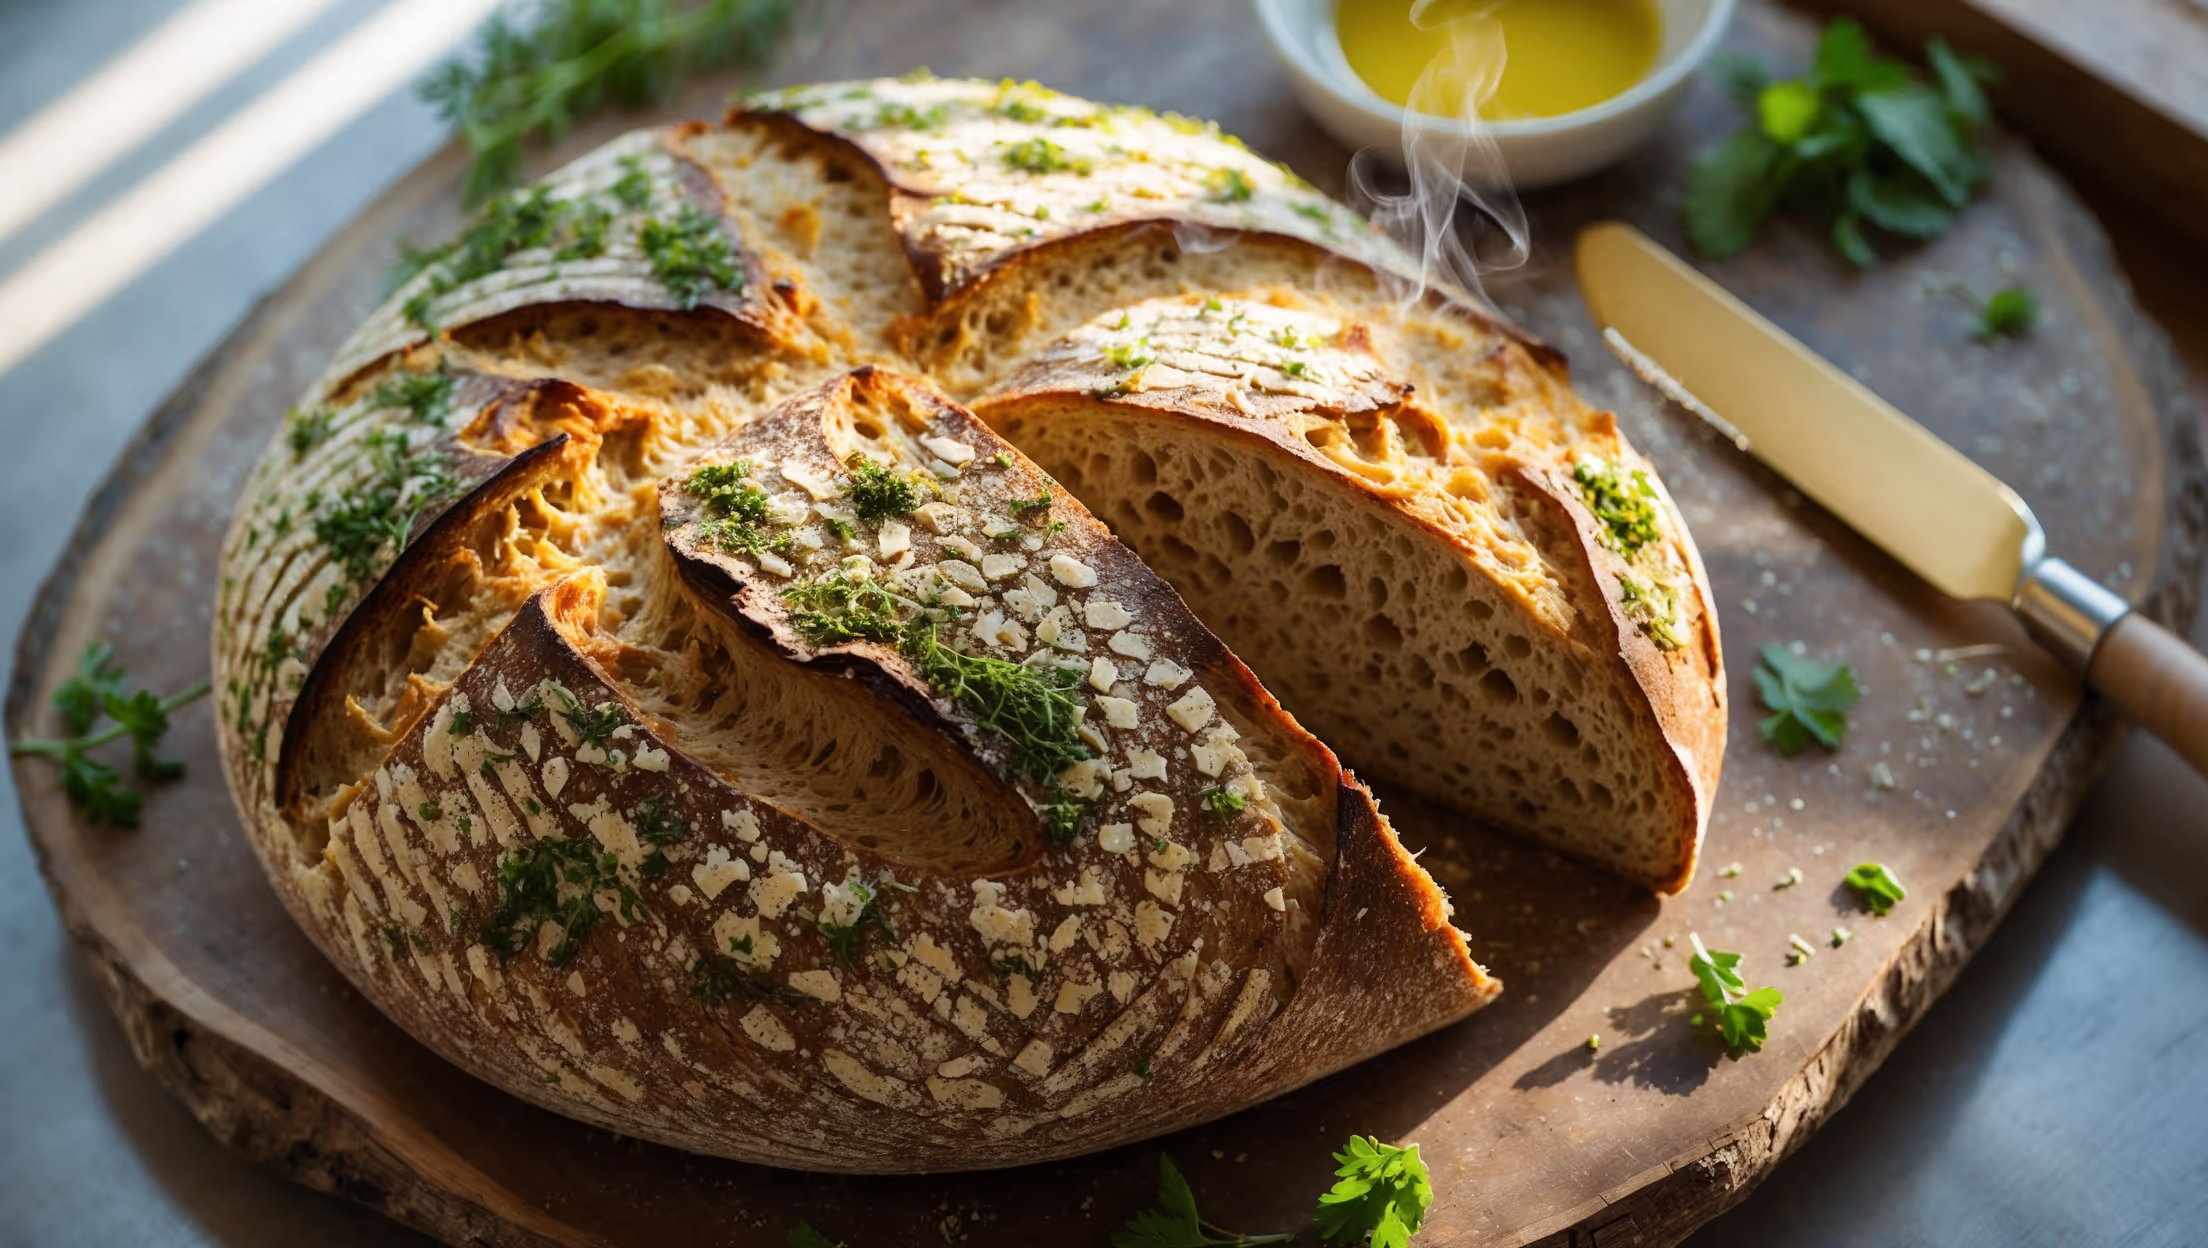
Directions
<ol class="no-list-style"><li class="MethodStepper"><h4 class="step-title">Step 1</h4>Begin by cooking the quinoa if you haven't already. Rinse 100g dry quinoa thoroughly, then combine with 200ml water in a small saucepan. Bring to a boil, reduce heat, cover and simmer for 15 minutes until the water is absorbed. Remove from heat and let cool completely. The quinoa should be fluffy and each grain visible - this provides wonderful texture in your finished bread.</li><li class="MethodStepper"><h4 class="step-title">Step 2</h4>In a large bowl or the bowl of your stand mixer, combine the warm water (it should feel warm but not hot to touch, around 40°C) with the honey and yeast. Let this mixture stand for 5-10 minutes until it becomes frothy and bubbly - this tells you your yeast is alive and active, which is essential for a good rise.</li><li class="MethodStepper"><h4 class="step-title">Step 3</h4>Add the cooked quinoa, olive oil, and salt to the yeast mixture, stirring to combine. Then gradually add both flours, mixing until a shaggy dough forms. If using a stand mixer, attach the dough hook and knead on medium speed for 6-8 minutes. If kneading by hand, turn onto a lightly floured surface and knead for 10-12 minutes until smooth and elastic. The dough will be slightly stickier than traditional bread dough because of the quinoa's moisture content.</li><li class="MethodStepper"><h4 class="step-title">Step 4</h4>Place the dough in a lightly oiled bowl, turning once to coat all sides. Cover with a clean kitchen towel or plastic wrap and let rise in a warm place for 1-1.5 hours, or until doubled in size. The slow rise develops flavor and improves the bread's texture.</li><li class="MethodStepper"><h4 class="step-title">Step 5</h4>Once doubled, gently punch down the dough to release air bubbles. Turn onto a lightly floured surface and shape into a loaf by flattening it into a rectangle about the length of your loaf pan, then rolling it up tightly, pinching the seam to seal. Place seam-side down in a greased 23x13cm loaf pan.</li><li class="MethodStepper"><h4 class="step-title">Step 6</h4>Cover again and allow to rise for 30-45 minutes, or until the dough has risen about 2.5cm above the rim of the pan. Meanwhile, preheat your oven to 190°C (375°F).</li><li class="MethodStepper"><h4 class="step-title">Step 7</h4>Just before baking, lightly brush the top of the loaf with water and sprinkle with mixed seeds if using. The water helps them adhere and creates a crispier crust. Make a shallow lengthwise cut along the top with a sharp knife or bread lame - this allows for controlled expansion during baking.</li><li class="MethodStepper"><h4 class="step-title">Step 8</h4>Bake in the preheated oven for 35-45 minutes until the bread is golden brown and sounds hollow when tapped on the bottom. If the top is browning too quickly, cover loosely with foil for the last 10-15 minutes of baking. For the most accurate results, the internal temperature should reach 93-96°C (200-205°F).</li><li class="MethodStepper"><h4 class="step-title">Step 9</h4>Remove from the oven and turn out onto a wire rack to cool completely before slicing - this is perhaps the hardest part, but slicing warm bread can make it gummy! Allow at least 1 hour of cooling time for the starches to set properly. Your patience will be rewarded with perfect slices that showcase the beautiful quinoa-studded crumb.</li></ol>