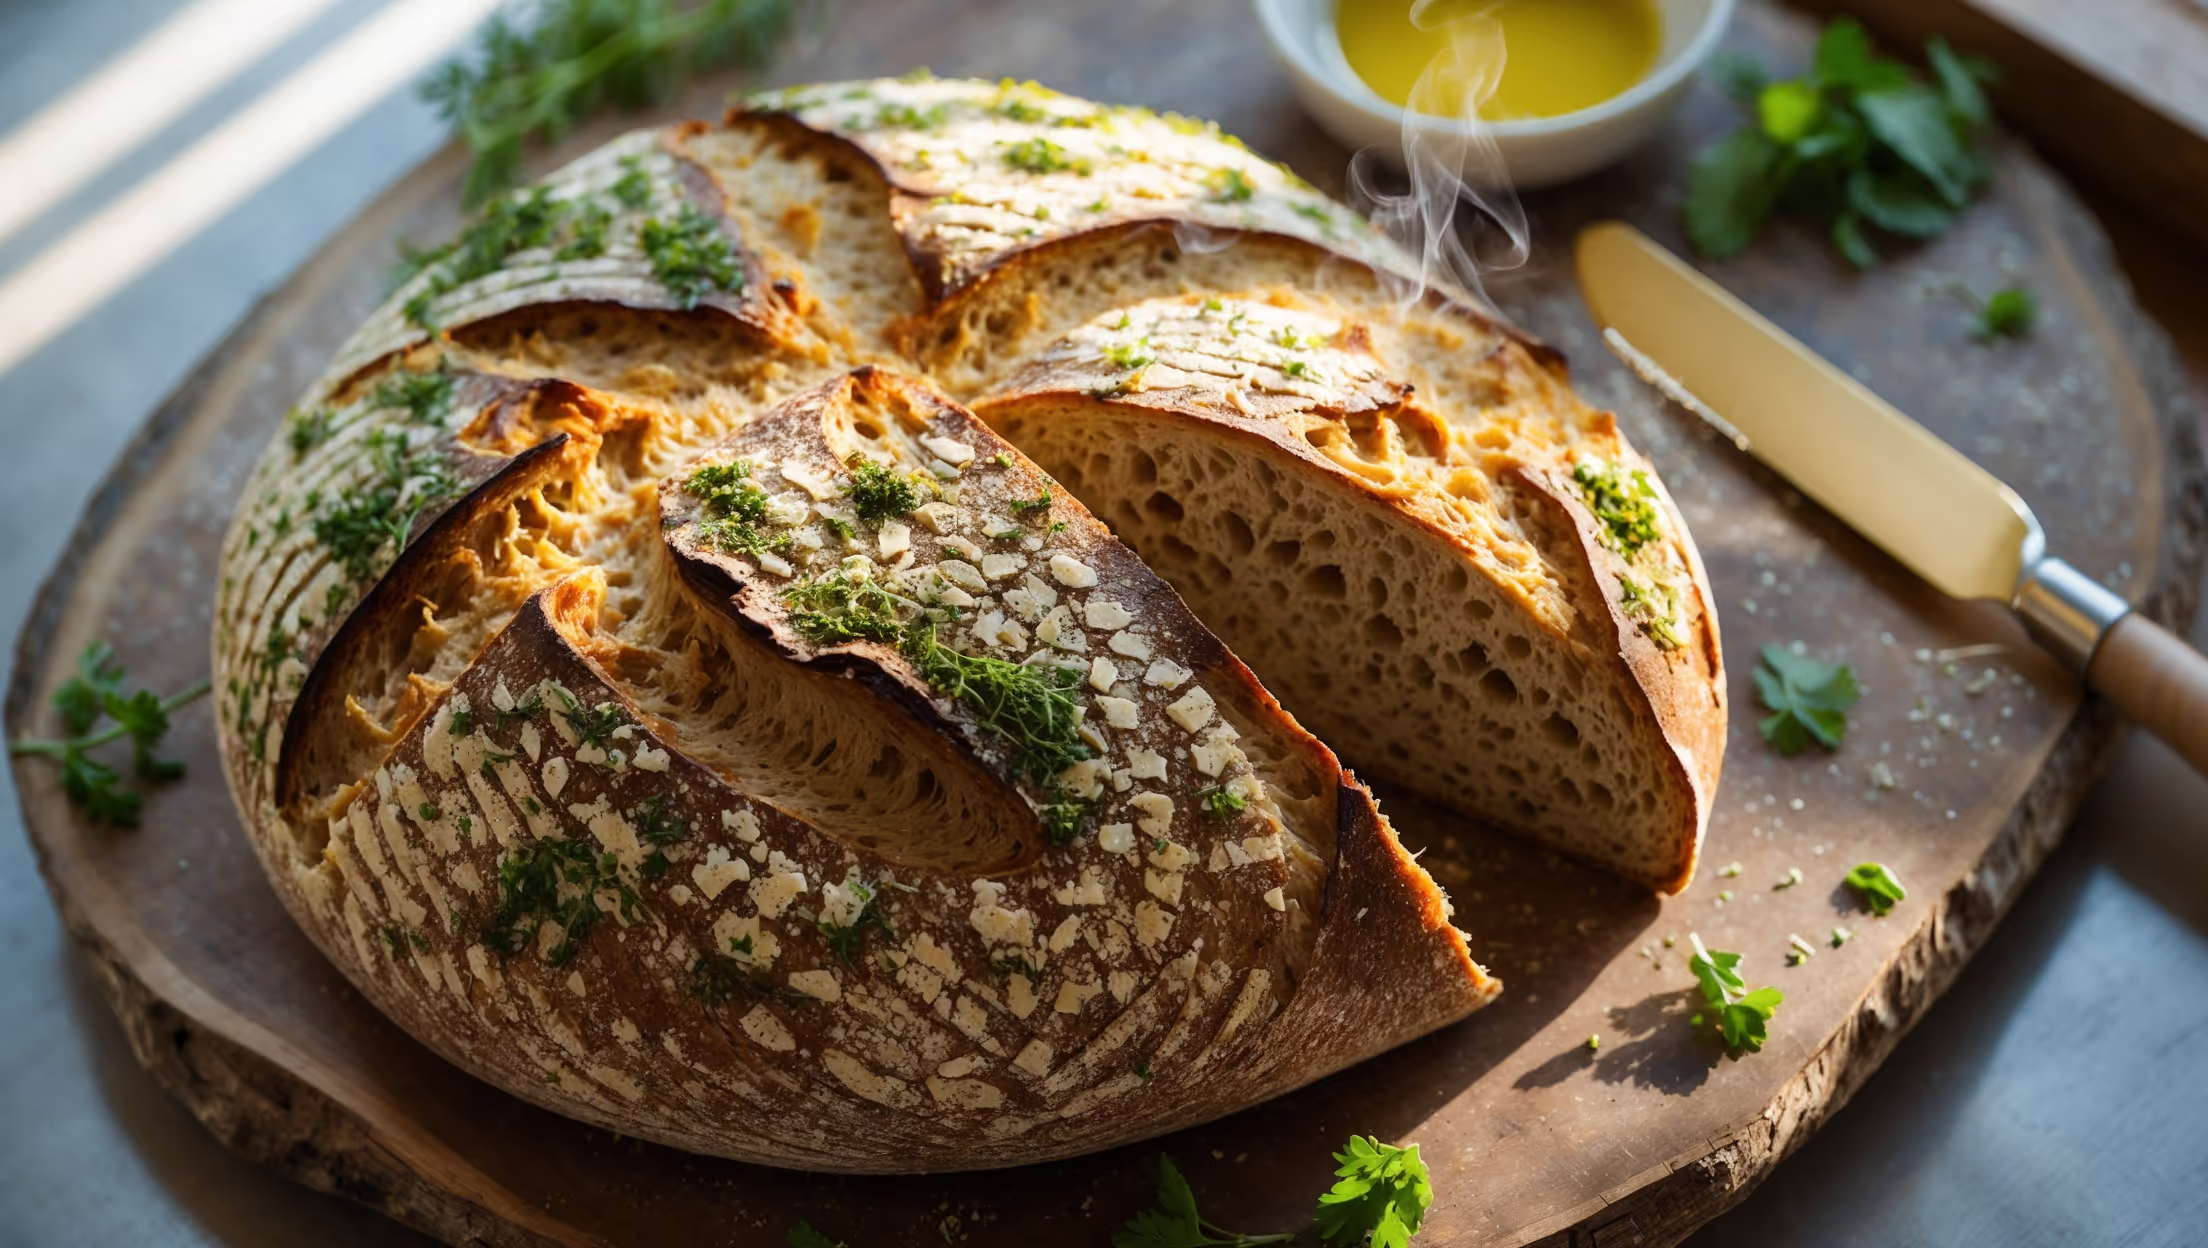
Directions
<ol class="no-list-style"><li class="MethodStepper"><h4 class="step-title">Step 1</h4>In a large mixing bowl, whisk together the whole wheat flour, bread flour, instant yeast, and salt until well combined. This mixing distributes the yeast and salt evenly throughout the flour, ensuring a consistent rise.</li><li class="MethodStepper"><h4 class="step-title">Step 2</h4>In a separate container, combine the water, olive oil, and honey, stirring until the honey dissolves. The honey provides food for the yeast and adds a subtle sweetness that balances the hearty flavor of whole wheat.</li><li class="MethodStepper"><h4 class="step-title">Step 3</h4>Pour the liquid ingredients into the dry ingredients and stir with a wooden spoon or rubber spatula until no dry flour remains and you have a shaggy, sticky dough. Don't worry about kneading – this method relies on time, not kneading, to develop gluten structure.</li><li class="MethodStepper"><h4 class="step-title">Step 4</h4>Cover the bowl with plastic wrap or a damp kitchen towel and let sit at room temperature (about 20-22°C) for 12-18 hours. During this long fermentation, enzymes break down the complex carbohydrates in the whole wheat flour, developing flavor while the gluten forms naturally.</li><li class="MethodStepper"><h4 class="step-title">Step 5</h4>After the long rise, the dough should have doubled in size with a bubbly surface. Lightly flour your work surface and hands, then gently scrape the dough onto the floured surface. The dough will be very sticky – this is normal and contributes to the bread's moist interior.</li><li class="MethodStepper"><h4 class="step-title">Step 6</h4>Using just enough flour to prevent sticking, fold the dough over itself 2-3 times to create tension on the surface. Shape it into a ball by tucking the edges underneath. Don't handle the dough too much or you'll deflate the air bubbles that have formed during fermentation.</li><li class="MethodStepper"><h4 class="step-title">Step 7</h4>Place a large piece of parchment paper in a clean bowl and gently transfer your dough ball onto it, seam side down. Cover again and let rest for 1-2 hours at room temperature until puffy. This second rise, called proofing, allows the yeast to create more gas, resulting in a lighter bread texture.</li><li class="MethodStepper"><h4 class="step-title">Step 8</h4>About 30 minutes before baking, place your Dutch oven with its lid on in the oven and preheat to 230°C. The preheated Dutch oven creates steam that's trapped by the lid, mimicking a professional baker's steam-injected oven to develop a crisp, crackling crust.</li><li class="MethodStepper"><h4 class="step-title">Step 9</h4>When ready to bake, carefully remove the hot Dutch oven. Lift the dough by the parchment paper and lower it into the pot. Using a bread lame or sharp knife, quickly score the top with an "X" or slash pattern about 1cm deep to control how the bread expands during baking.</li><li class="MethodStepper"><h4 class="step-title">Step 10</h4>Cover with the lid and bake for 30 minutes. This covered baking period creates steam that helps the bread rise fully and develop a crisp crust. Then remove the lid and bake for another 15-20 minutes until the crust is deep golden brown and the bread sounds hollow when tapped on the bottom (internal temperature should reach 95-98°C).</li><li class="MethodStepper"><h4 class="step-title">Step 11</h4>Carefully remove the bread from the Dutch oven and transfer to a wire rack to cool completely, at least 1 hour. This cooling period is crucial as the bread continues to cook internally and the crumb structure sets. Cutting too soon results in a gummy texture.</li><li class="MethodStepper"><h4 class="step-title">Step 12</h4>Once cooled, slice and enjoy your homemade whole wheat bread! For storage, keep the bread at room temperature in a paper bag or bread box for 2-3 days, or freeze sliced bread for up to 3 months in an airtight container.</li></ol>