Directions
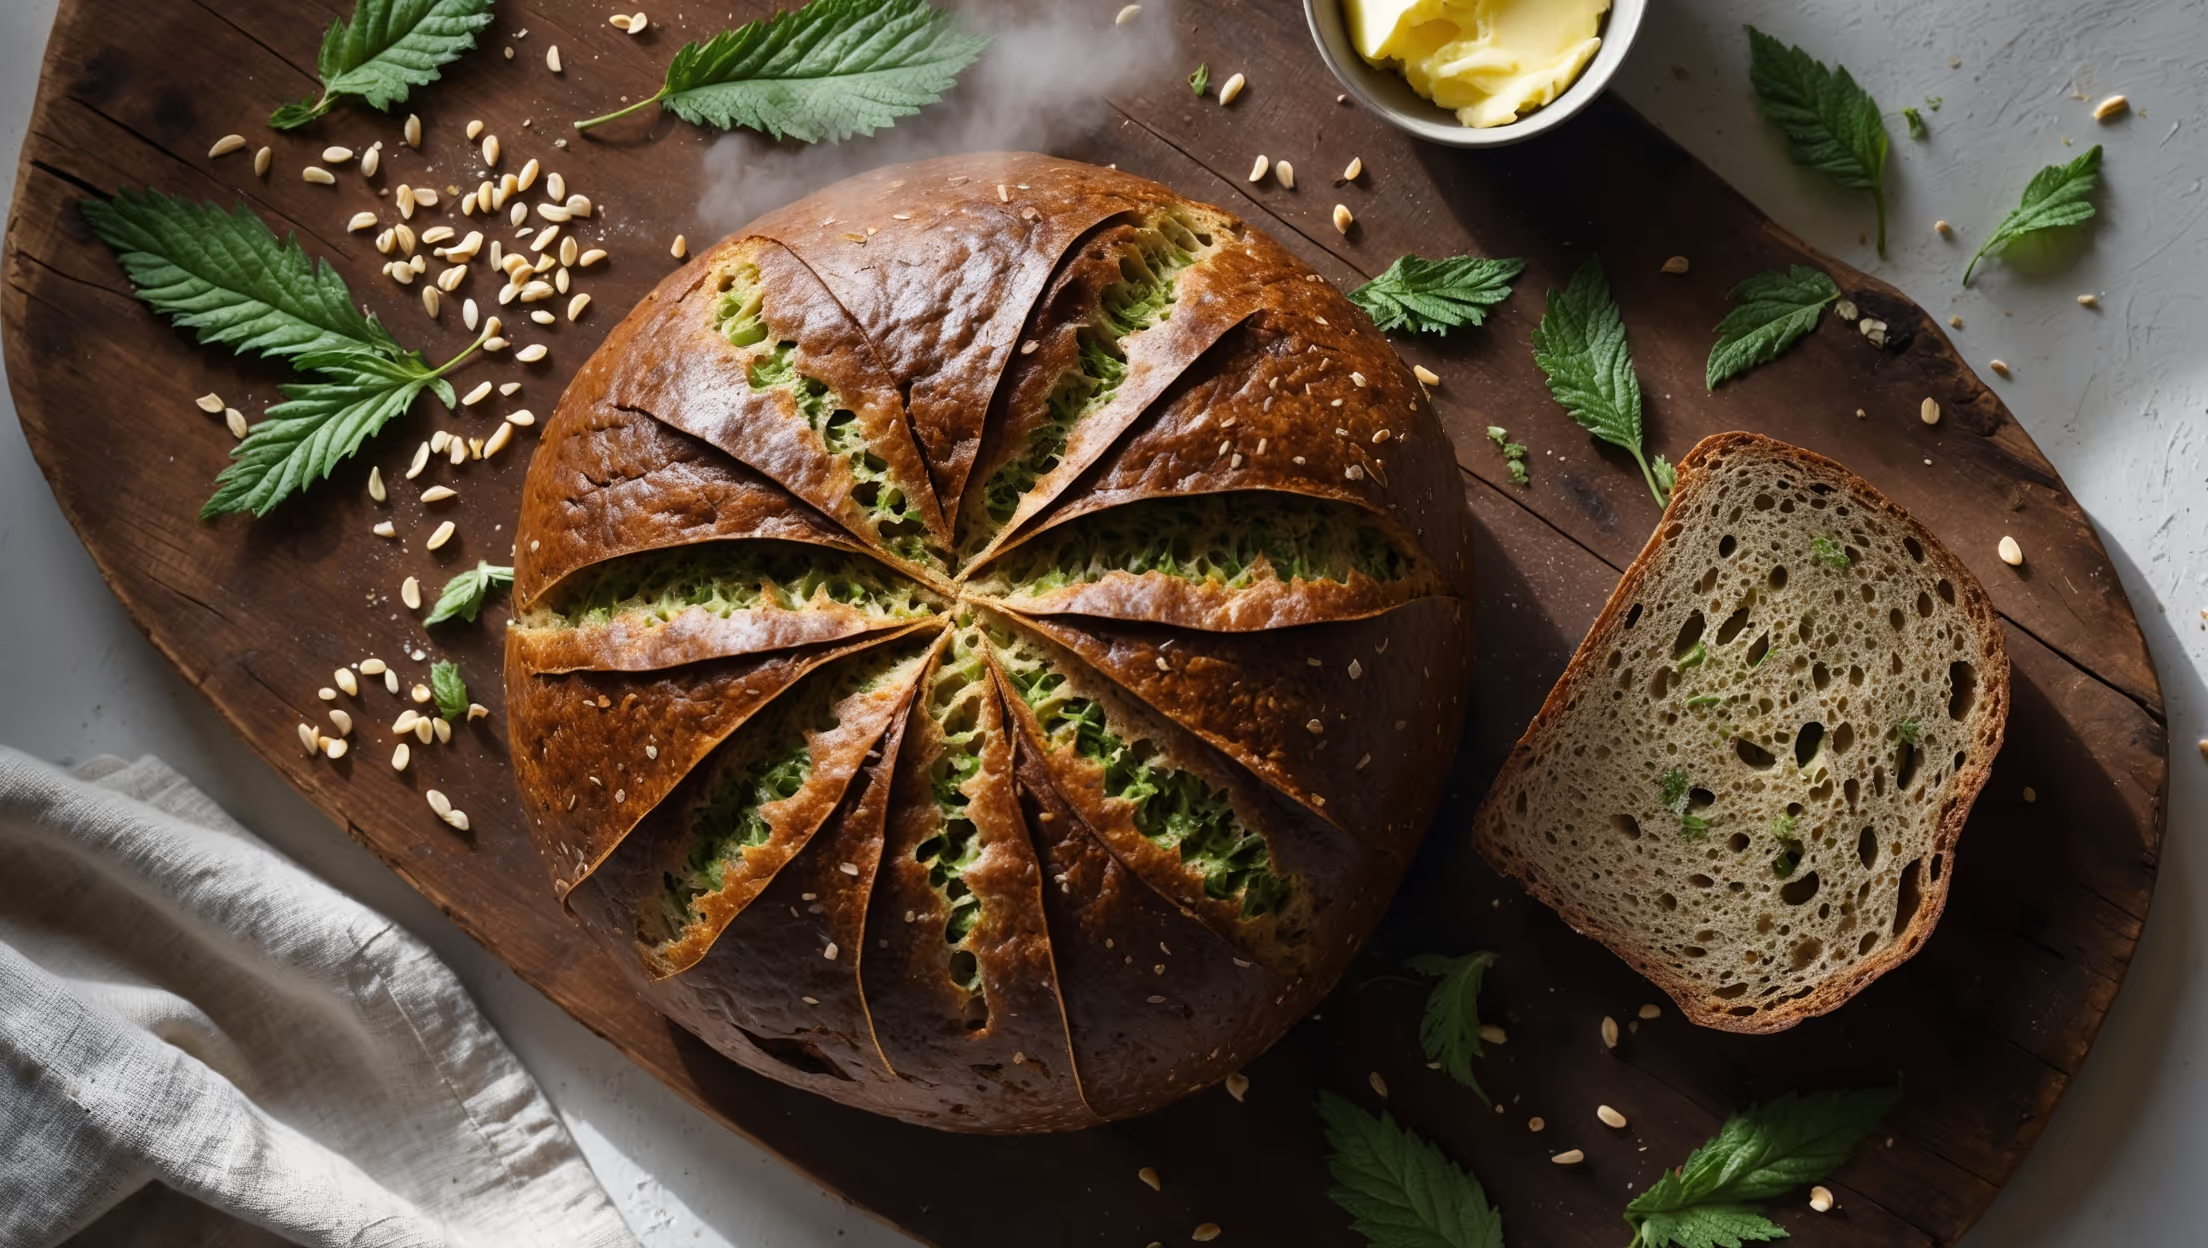
<ol class="no-list-style"><li class="MethodStepper"><h4 class="step-title">Step 1</h4>First, prepare the nettles while wearing gloves to avoid stings. Blanch them in boiling water for 2 minutes until wilted and bright green. This neutralizes the stinging compounds. Drain thoroughly, cool under cold water, then squeeze out excess moisture – this prevents your bread from becoming too wet.</li><li class="MethodStepper"><h4 class="step-title">Step 2</h4>Finely chop the blanched nettles or pulse in a food processor until you have a vibrant green paste. The finer you process them, the more evenly they'll distribute throughout your dough.</li><li class="MethodStepper"><h4 class="step-title">Step 3</h4>In a large mixing bowl, combine the whole wheat flour, white bread flour, and salt. Mixing the flours ensures you get the nutritional benefits of whole wheat while the white flour provides enough gluten structure for a good rise.</li><li class="MethodStepper"><h4 class="step-title">Step 4</h4>In a separate container, mix the warm water (about 38°C/100°F – should feel comfortable on your wrist) with honey and sprinkle the yeast on top. Let it sit for 5 minutes until foamy. This proves your yeast is active and begins the fermentation process.</li><li class="MethodStepper"><h4 class="step-title">Step 5</h4>Make a well in the center of your flour mixture and pour in the yeast mixture, olive oil, and nettle paste. Mix with a wooden spoon until a shaggy dough forms, then turn out onto a lightly floured surface.</li><li class="MethodStepper"><h4 class="step-title">Step 6</h4>Knead the dough for 8-10 minutes until smooth and elastic. The dough should pass the windowpane test – when stretched, it should be thin enough to let light through without tearing. This indicates proper gluten development, which is essential for good bread structure.</li><li class="MethodStepper"><h4 class="step-title">Step 7</h4>Incorporate most of the mixed seeds (save some for topping) during the final minute of kneading. Place the dough in a lightly oiled bowl, cover with a damp cloth or plastic wrap, and let rise in a warm place (about 24°C/75°F) for 1-1.5 hours until doubled in size.</li><li class="MethodStepper"><h4 class="step-title">Step 8</h4>Once risen, gently punch down the dough to release excess air bubbles. Shape into a round loaf by pulling the edges into the center and pinching them together, then turn over so the smooth side is up. The tension you create on the surface during shaping is crucial for a good rise.</li><li class="MethodStepper"><h4 class="step-title">Step 9</h4>Place the shaped dough seam-side up in a proofing basket or bowl lined with a well-floured kitchen towel. Cover and let rise for another 45-60 minutes until puffy. Meanwhile, preheat your oven to 230°C (450°F) with a Dutch oven or baking stone inside.</li><li class="MethodStepper"><h4 class="step-title">Step 10</h4>When ready to bake, carefully turn the dough onto a piece of parchment paper (seam-side down), brush lightly with water, and sprinkle with remaining seeds. Score the top with a sharp knife or razor blade in a cross pattern to control expansion during baking.</li><li class="MethodStepper"><h4 class="step-title">Step 11</h4>Lower the dough on the parchment paper into the preheated Dutch oven or onto the baking stone. Cover with the lid (if using a Dutch oven) and bake for 25 minutes. This creates steam that helps develop a crisp crust.</li><li class="MethodStepper"><h4 class="step-title">Step 12</h4>Remove the lid and continue baking for 15-20 minutes until the crust is deep golden-brown and the bread sounds hollow when tapped on the bottom (internal temperature should reach 95°C/205°F). Transfer to a wire rack and let cool completely before slicing – as tempting as it is to cut in immediately, cooling allows the crumb structure to set properly.</li></ol>