Directions
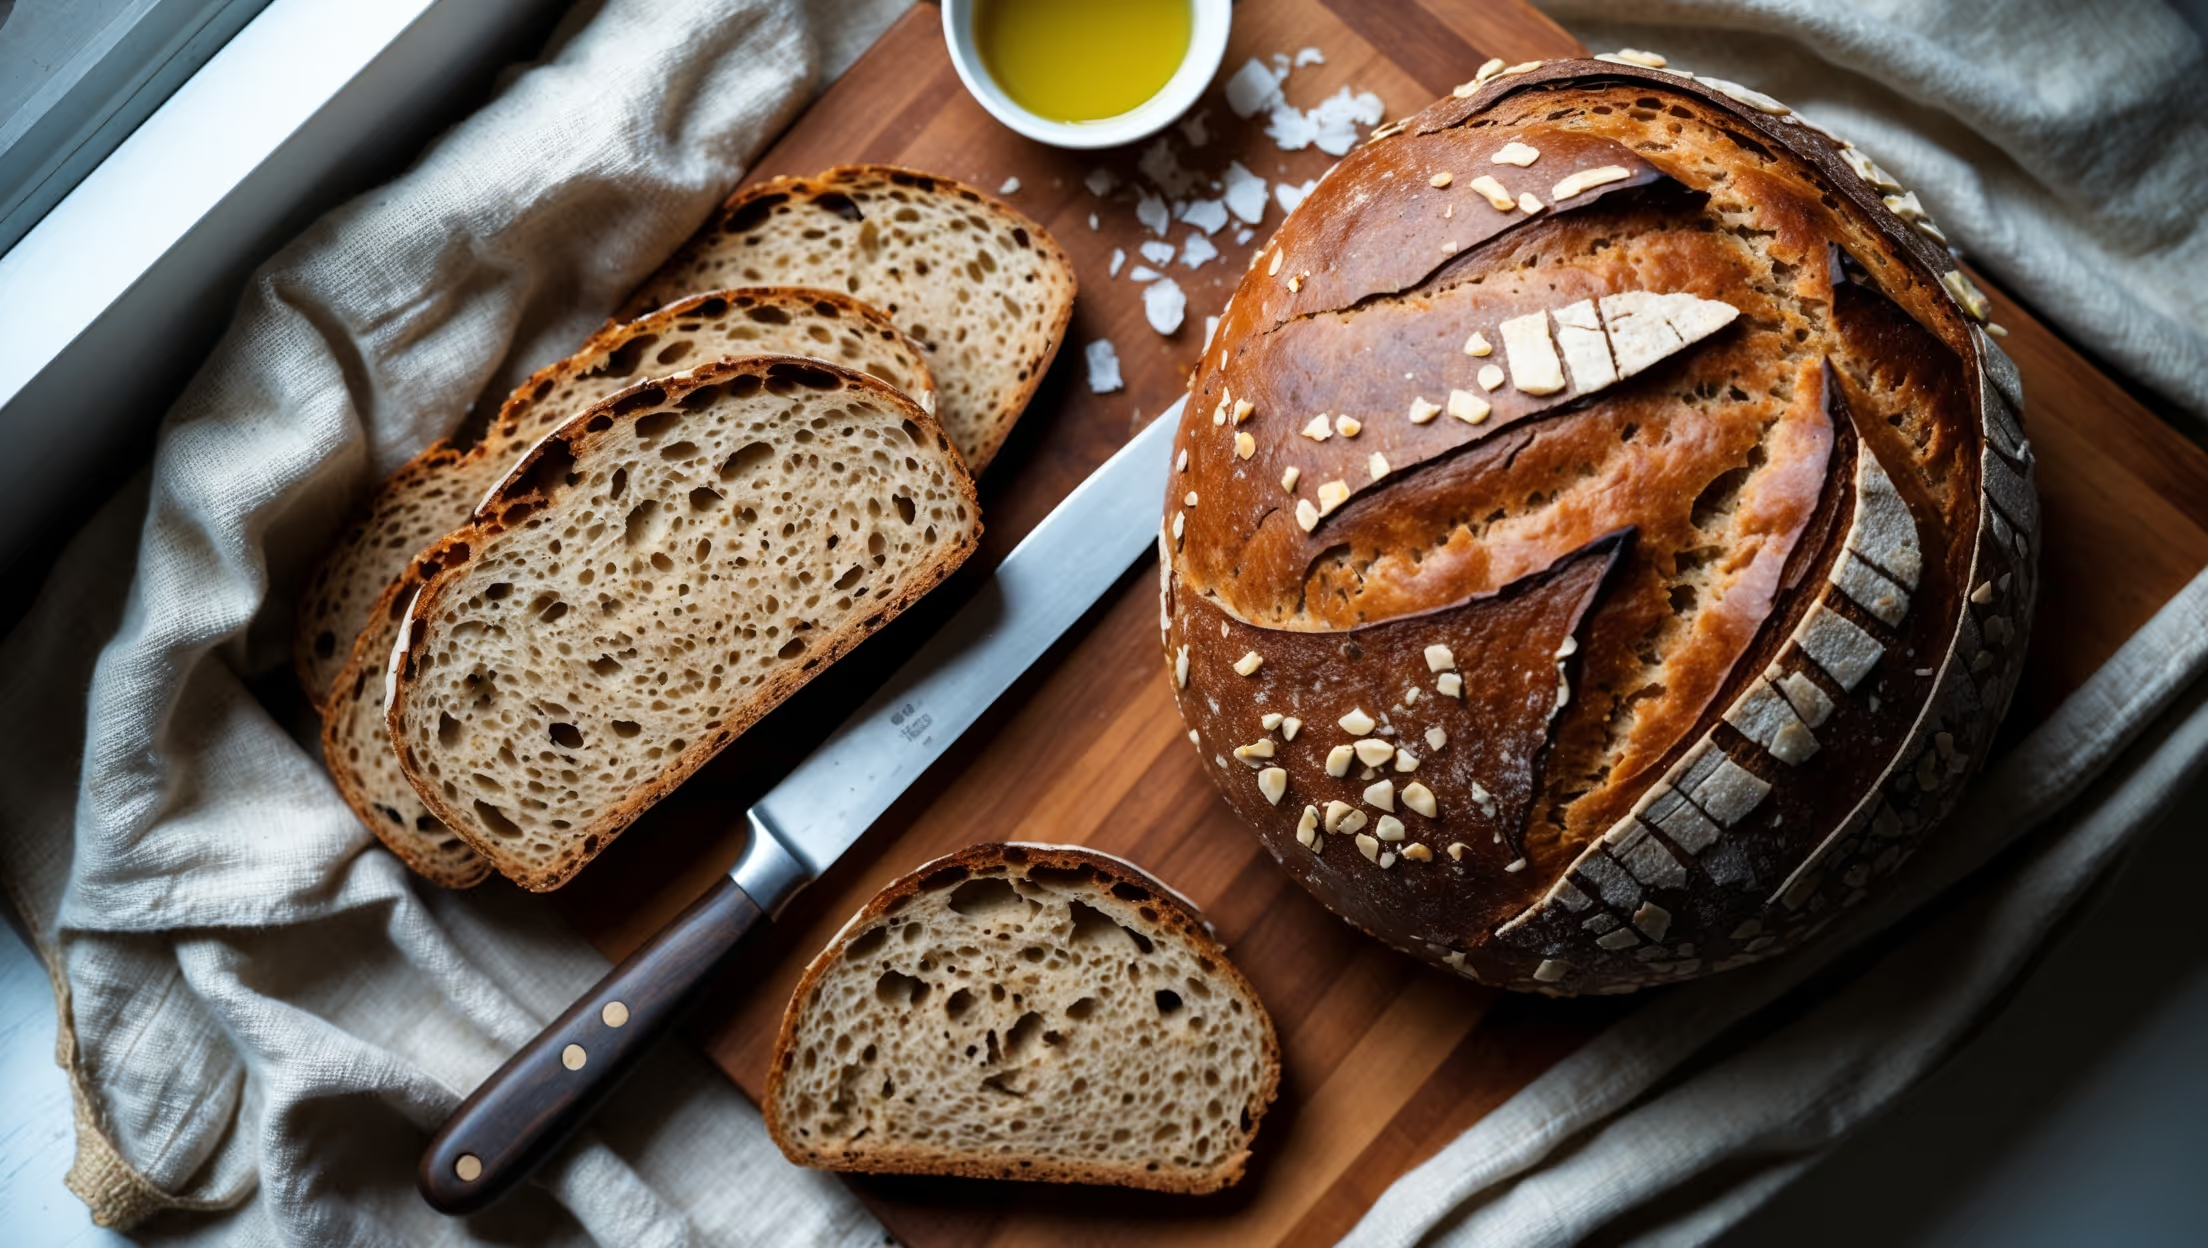
<ol class="no-list-style"><li class="MethodStepper"><h4 class="step-title">Step 1</h4>In a large bowl, combine your sourdough discard with lukewarm water, honey, and olive oil. Whisk until fully incorporated - this helps evenly distribute the discard's tangy flavor throughout your dough.</li><li class="MethodStepper"><h4 class="step-title">Step 2</h4>In a separate bowl, mix together the bread flour, whole wheat flour, mixed grains, seeds, salt, and instant yeast. Combining dry ingredients separately ensures even distribution of the leavening agents and prevents the salt from directly contacting the yeast, which could inhibit its action.</li><li class="MethodStepper"><h4 class="step-title">Step 3</h4>Gradually add the dry ingredients to the wet mixture, stirring with a wooden spoon until a shaggy dough forms. Don't worry if it looks rough at this stage - the resting periods will help develop the gluten structure.</li><li class="MethodStepper"><h4 class="step-title">Step 4</h4>Turn the dough onto a lightly floured surface and knead for 8-10 minutes until smooth and elastic. The dough will feel tacky but not sticky - this is perfect! The discard adds hydration, creating a moister crumb in the finished bread.</li><li class="MethodStepper"><h4 class="step-title">Step 5</h4>Place the dough in a lightly oiled bowl, turning once to coat. Cover with a damp cloth or plastic wrap and let rise in a warm place for 60-90 minutes, or until doubled in size. This first rise (bulk fermentation) allows the yeast to create carbon dioxide bubbles while the sourdough discard contributes complex flavors.</li><li class="MethodStepper"><h4 class="step-title">Step 6</h4>Gently punch down the dough to release excess air, then turn onto a clean surface. Shape into a loaf by folding the sides into the middle, then rolling into a tight cylinder. The tighter your shaping, the better structure your bread will have.</li><li class="MethodStepper"><h4 class="step-title">Step 7</h4>Place the shaped dough into a greased loaf pan, seam side down. Brush the top lightly with water and sprinkle with additional seeds, pressing them gently to adhere. Cover and let rise for another 45-60 minutes, or until the dough has crowned about 2.5cm above the rim of the pan.</li><li class="MethodStepper"><h4 class="step-title">Step 8</h4>While the dough is on its second rise, preheat your oven to 200°C. Position a rack in the center of the oven with an empty baking tray on the bottom rack - we'll use this to create steam.</li><li class="MethodStepper"><h4 class="step-title">Step 9</h4>Just before baking, score the top of the loaf with a sharp knife or bread lame, making a 1cm deep cut along the length. This controlled split allows the bread to expand properly during baking.</li><li class="MethodStepper"><h4 class="step-title">Step 10</h4>Place the bread in the oven and immediately pour 240ml of hot water into the empty baking tray to create steam. This steam helps develop a beautiful crust by keeping the outside of the dough moist during the initial baking phase.</li><li class="MethodStepper"><h4 class="step-title">Step 11</h4>Bake for 35-40 minutes, or until the bread is golden brown and sounds hollow when tapped on the bottom. If you have a thermometer, the internal temperature should read 93-96°C.</li><li class="MethodStepper"><h4 class="step-title">Step 12</h4>Remove from the pan immediately and cool on a wire rack for at least 1 hour before slicing. This cooling period is crucial as it allows the crumb structure to set and prevents a gummy texture. Your patience will be rewarded with perfectly sliceable bread!</li></ol>