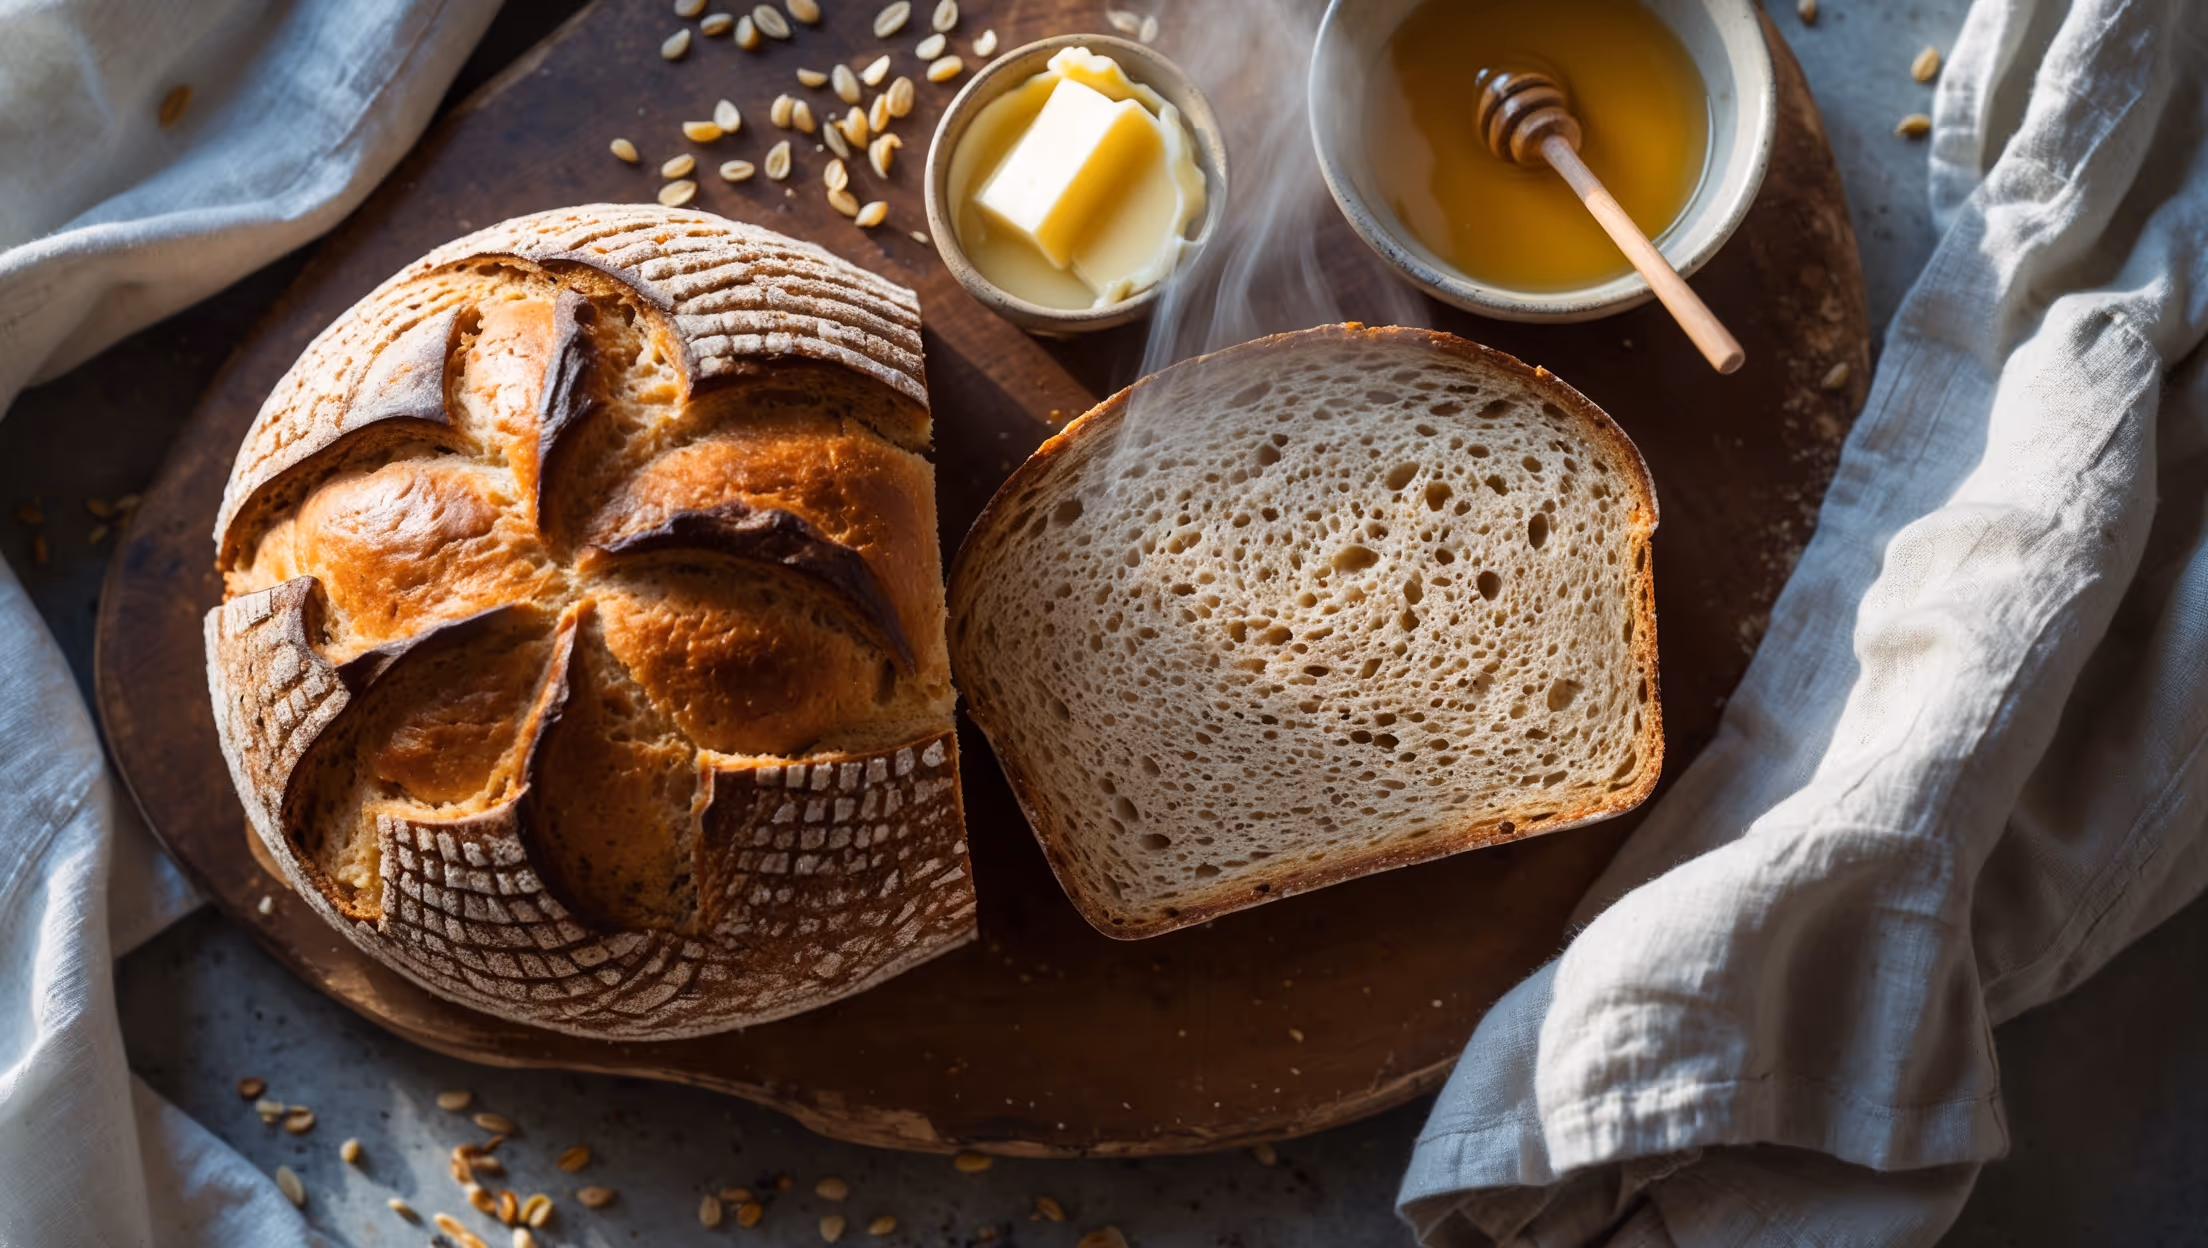
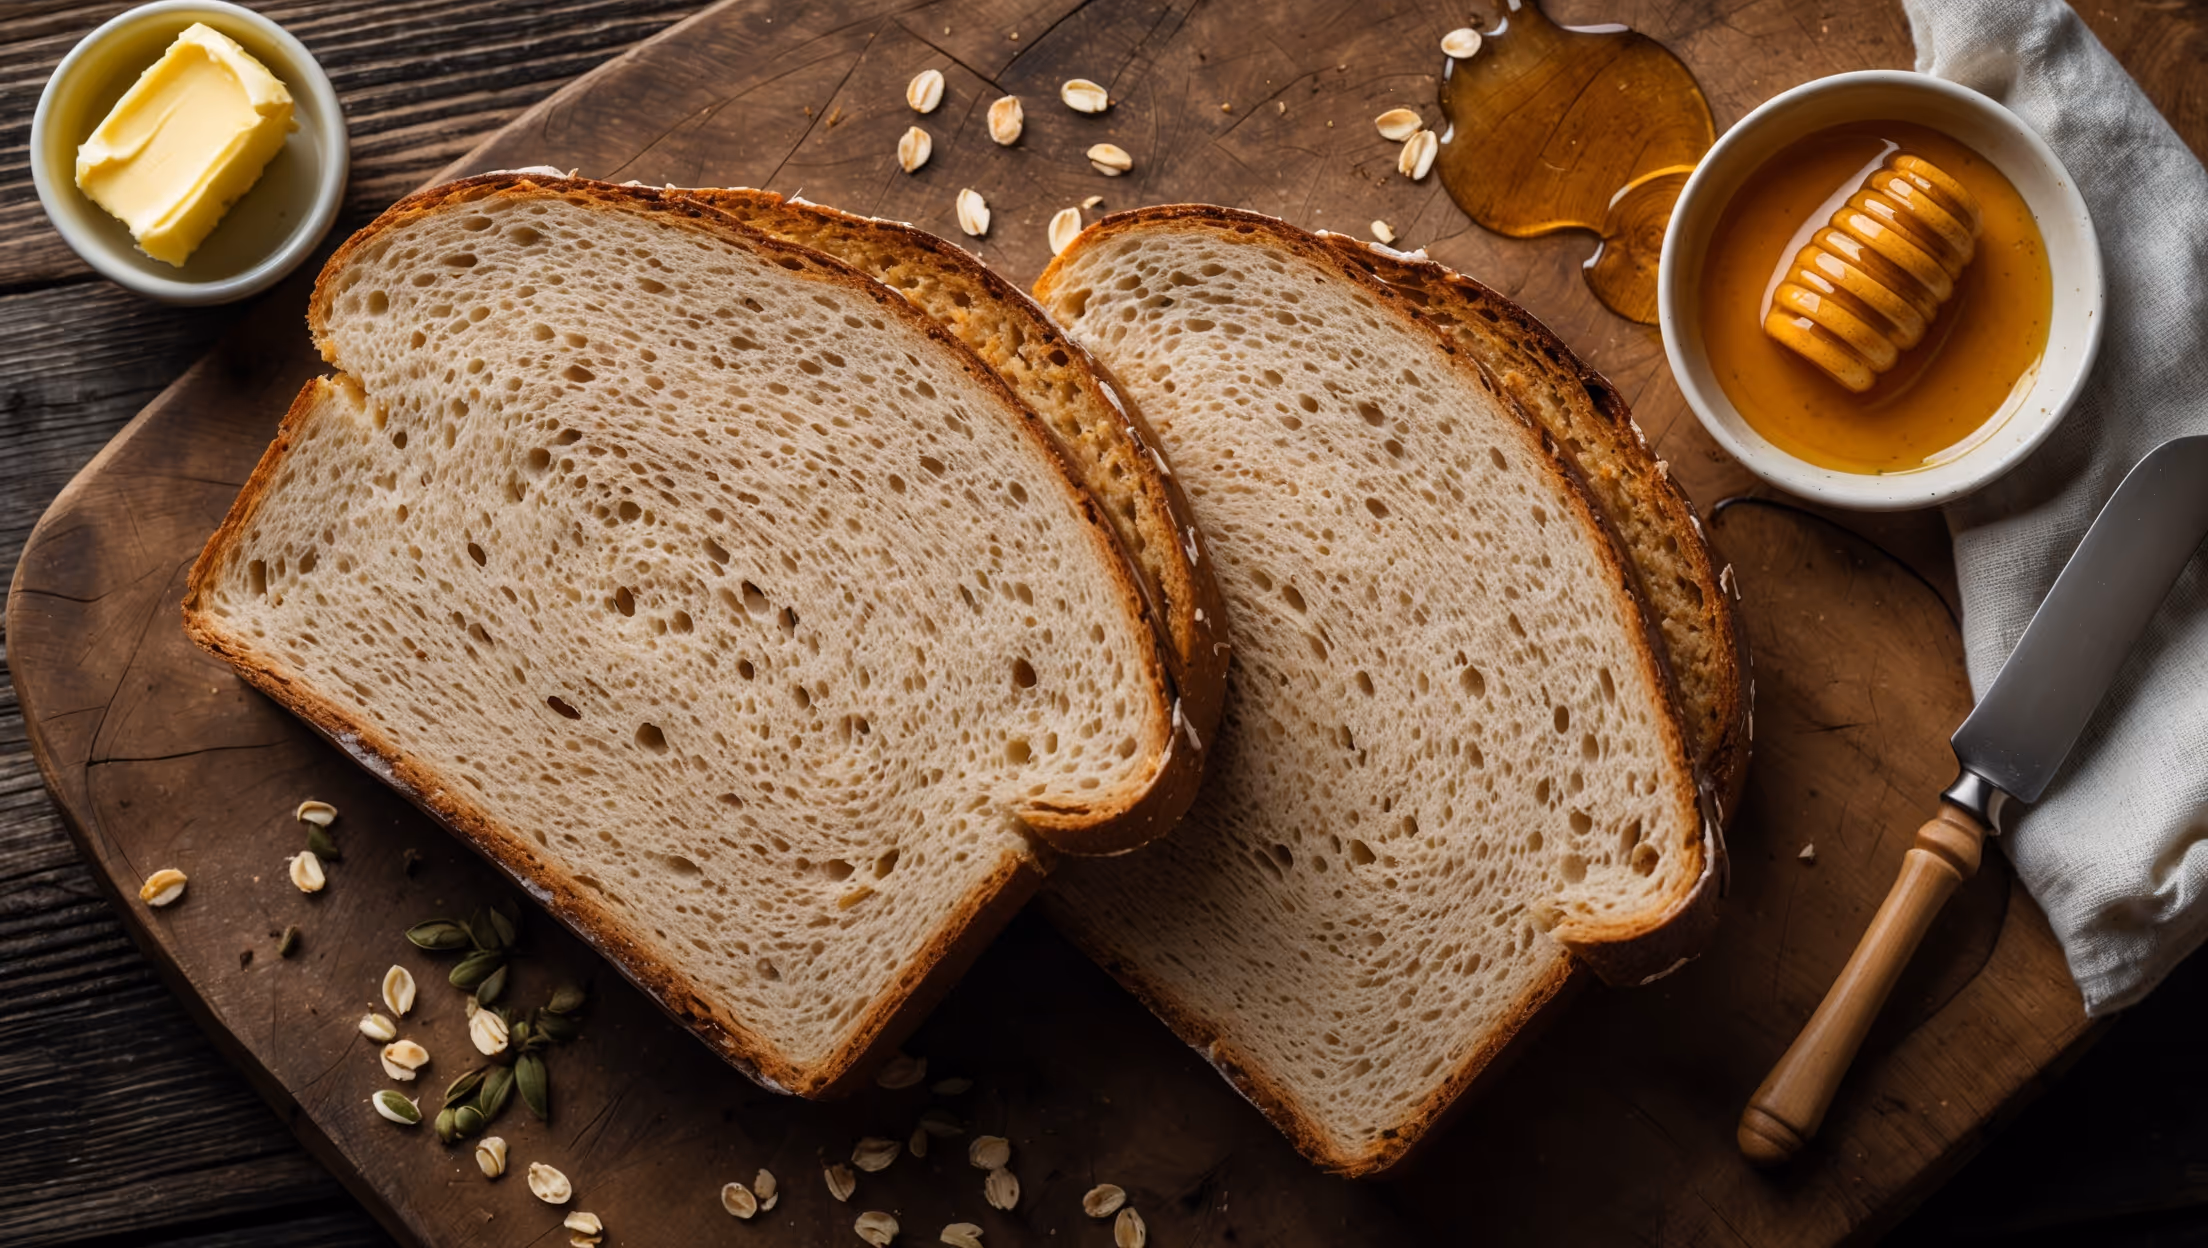
Multi-Grain Sandwich Bread Recipe
Ingredients
Equipment
Directions
FAQs
Find answers to your most pressing questions about this delicious recipe right here.
This bread uses bread flour, whole wheat flour, mixed grains (oats, flaxseeds, sunflower seeds, millet), vital wheat gluten (optional), salt, yeast, honey, unsalted butter, lukewarm water, vegetable oil, and extra mixed grains for topping.
Learn how to cook Multi-Grain Sandwich Bread by mixing yeast with warm water and honey, combining with flours, grains and butter, then kneading until elastic. After two rises (one in the bowl, one in the pan), bake at 190°C for 35-40 minutes until golden brown and hollow-sounding when tapped. Cool completely before slicing.
Vital wheat gluten helps strengthen the gluten network that can be weakened by whole grains and seeds. This improves the bread's rise and structure, resulting in a lighter, less dense loaf with better volume and a softer crumb texture, especially important in multi-grain recipes.
Properly baked bread will have a golden-brown crust and sound hollow when tapped on the bottom. For accuracy, use a digital thermometer - the internal temperature should reach 90-95°C (195-205°F). Always allow bread to cool completely before slicing for best texture.
Store homemade bread in an airtight container or bread bag at room temperature for up to 3 days. For longer storage, slice the bread once cooled and freeze in a freezer bag for up to 3 months. Toast slices directly from frozen for the best results.
Whole Grain Bread
Try following recommended recipes