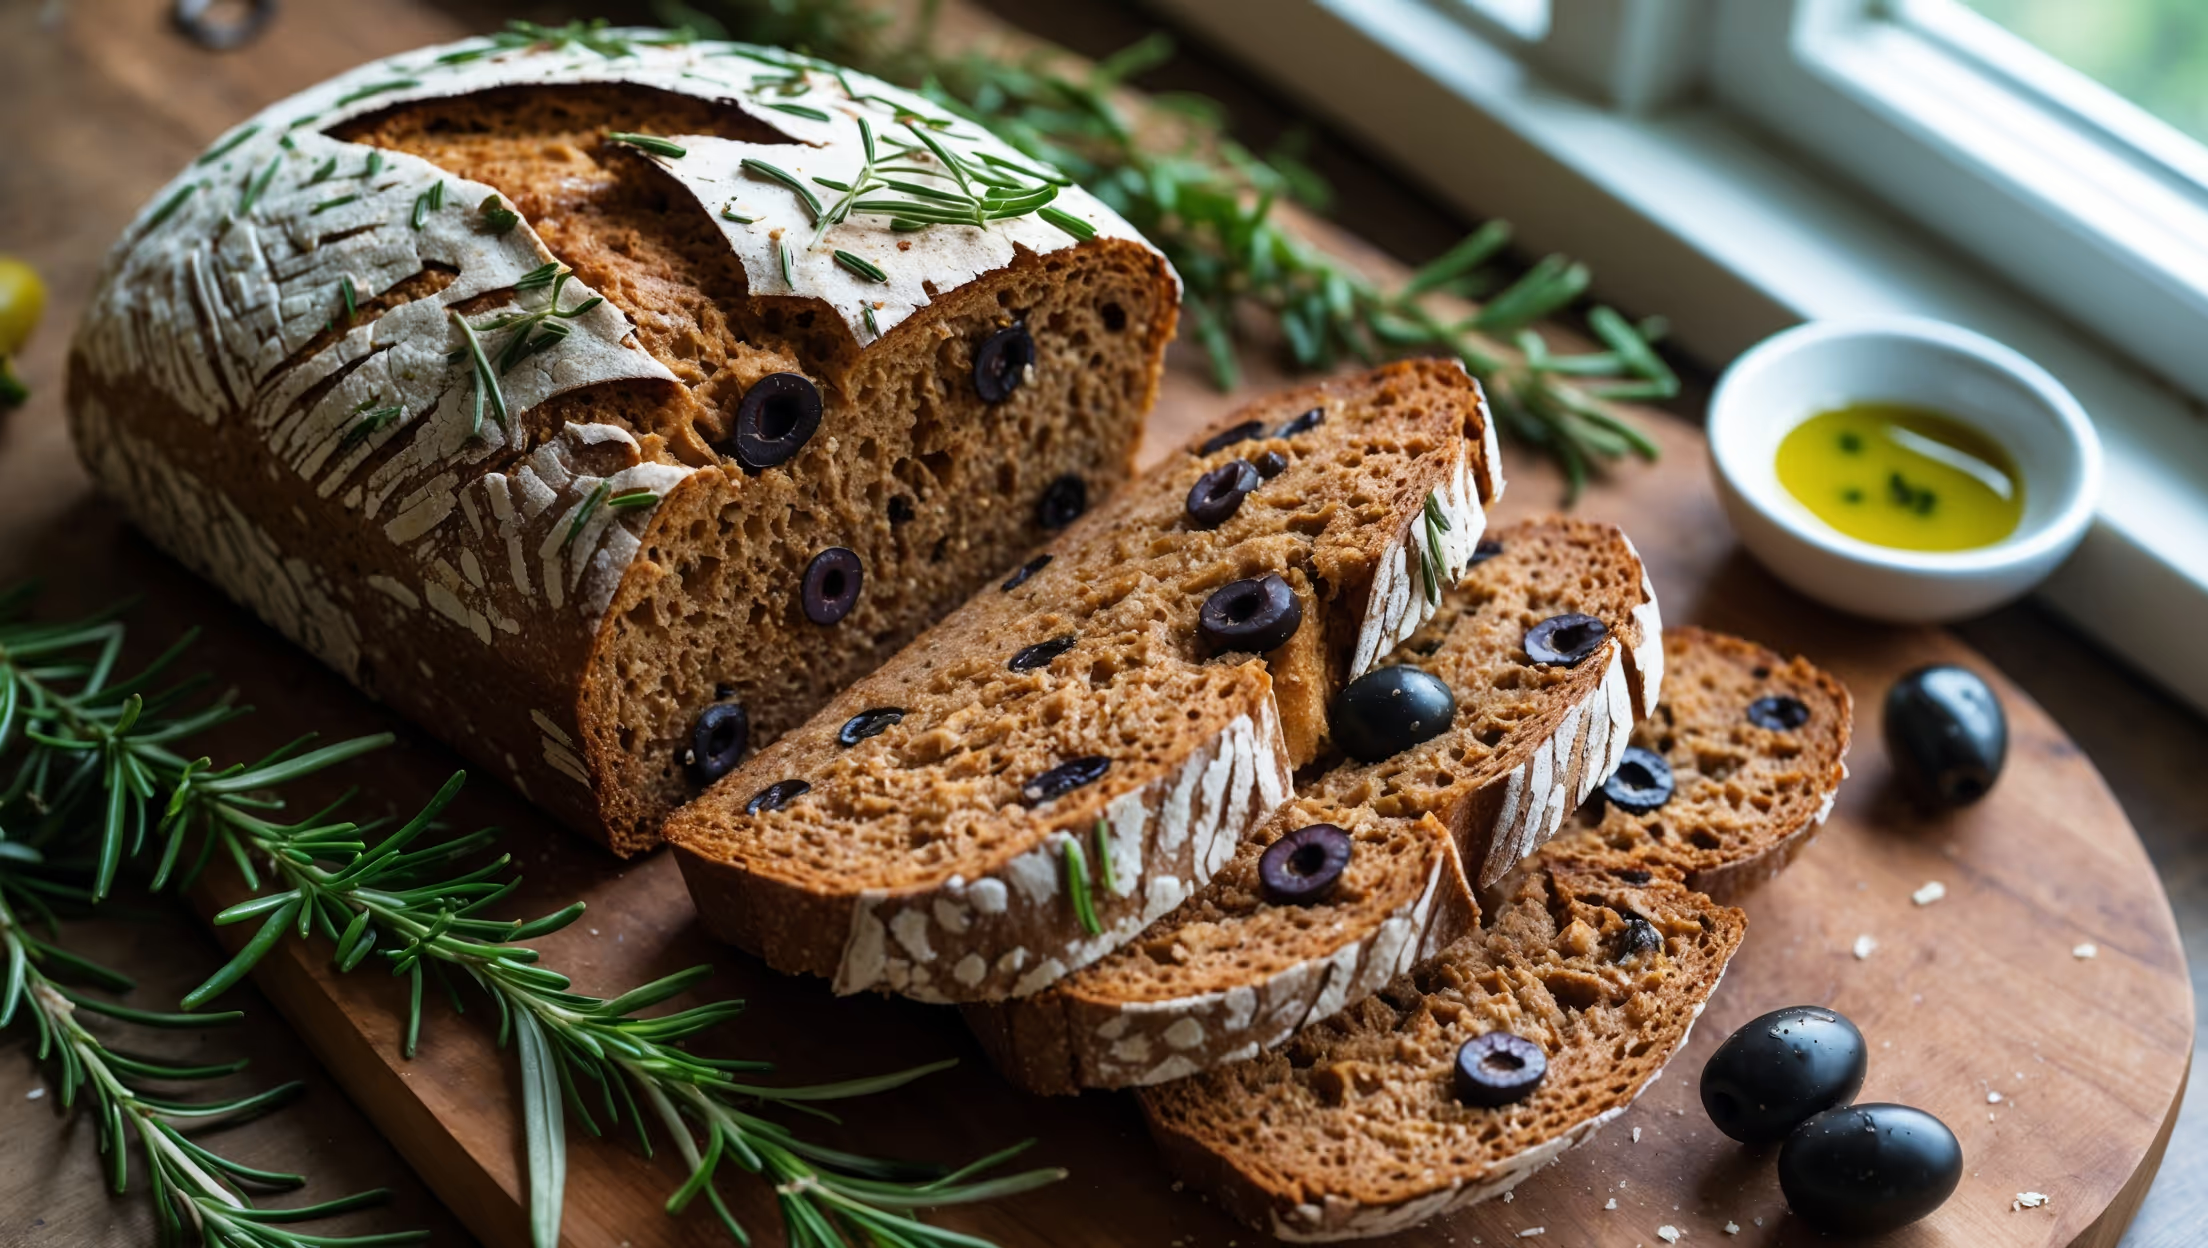
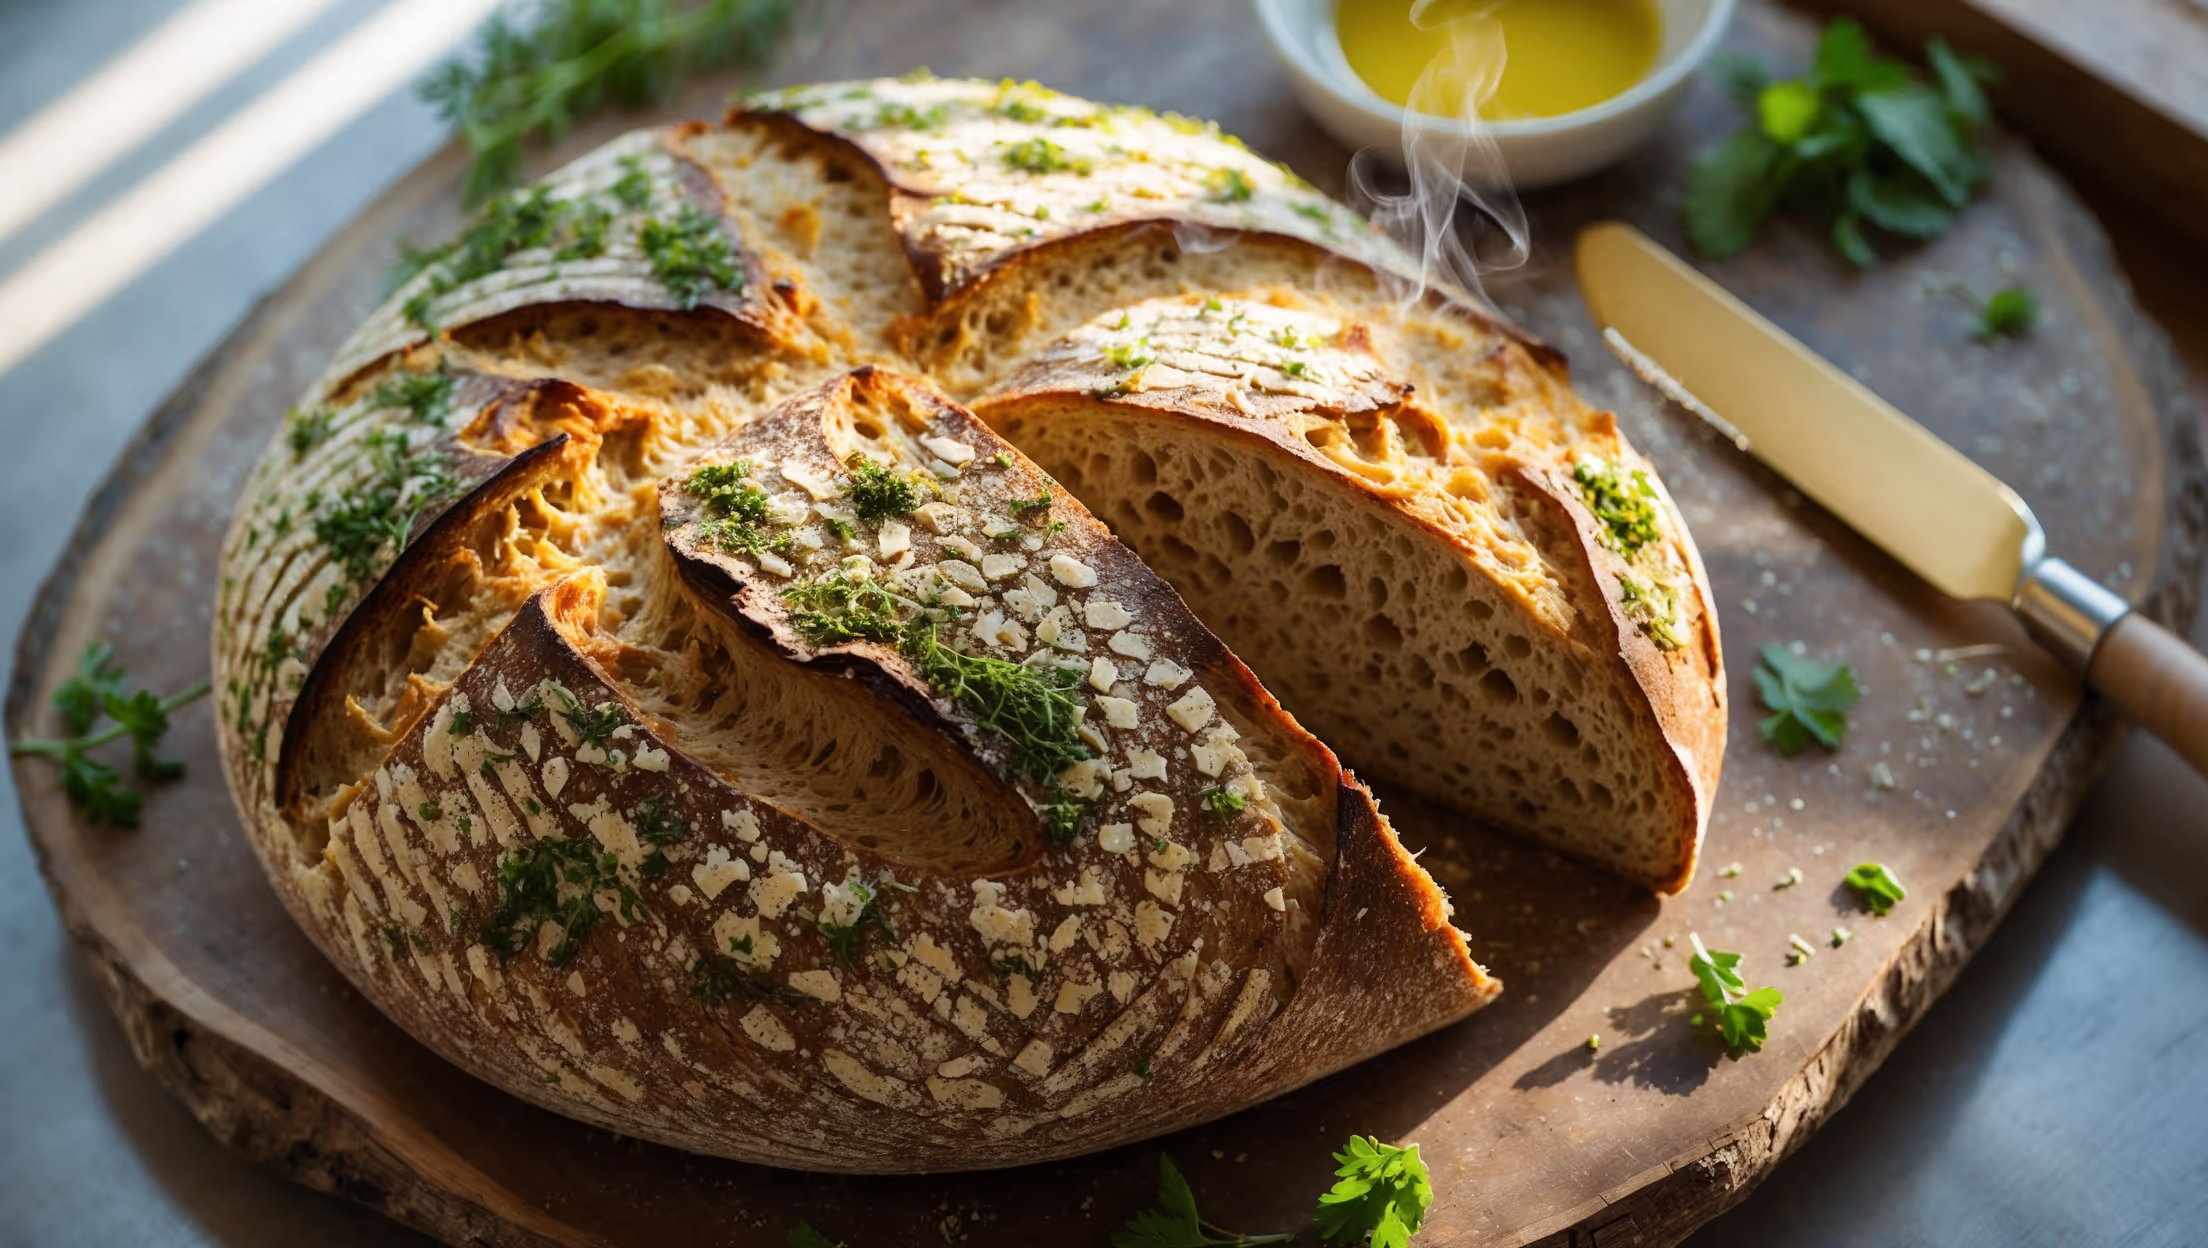
Directions
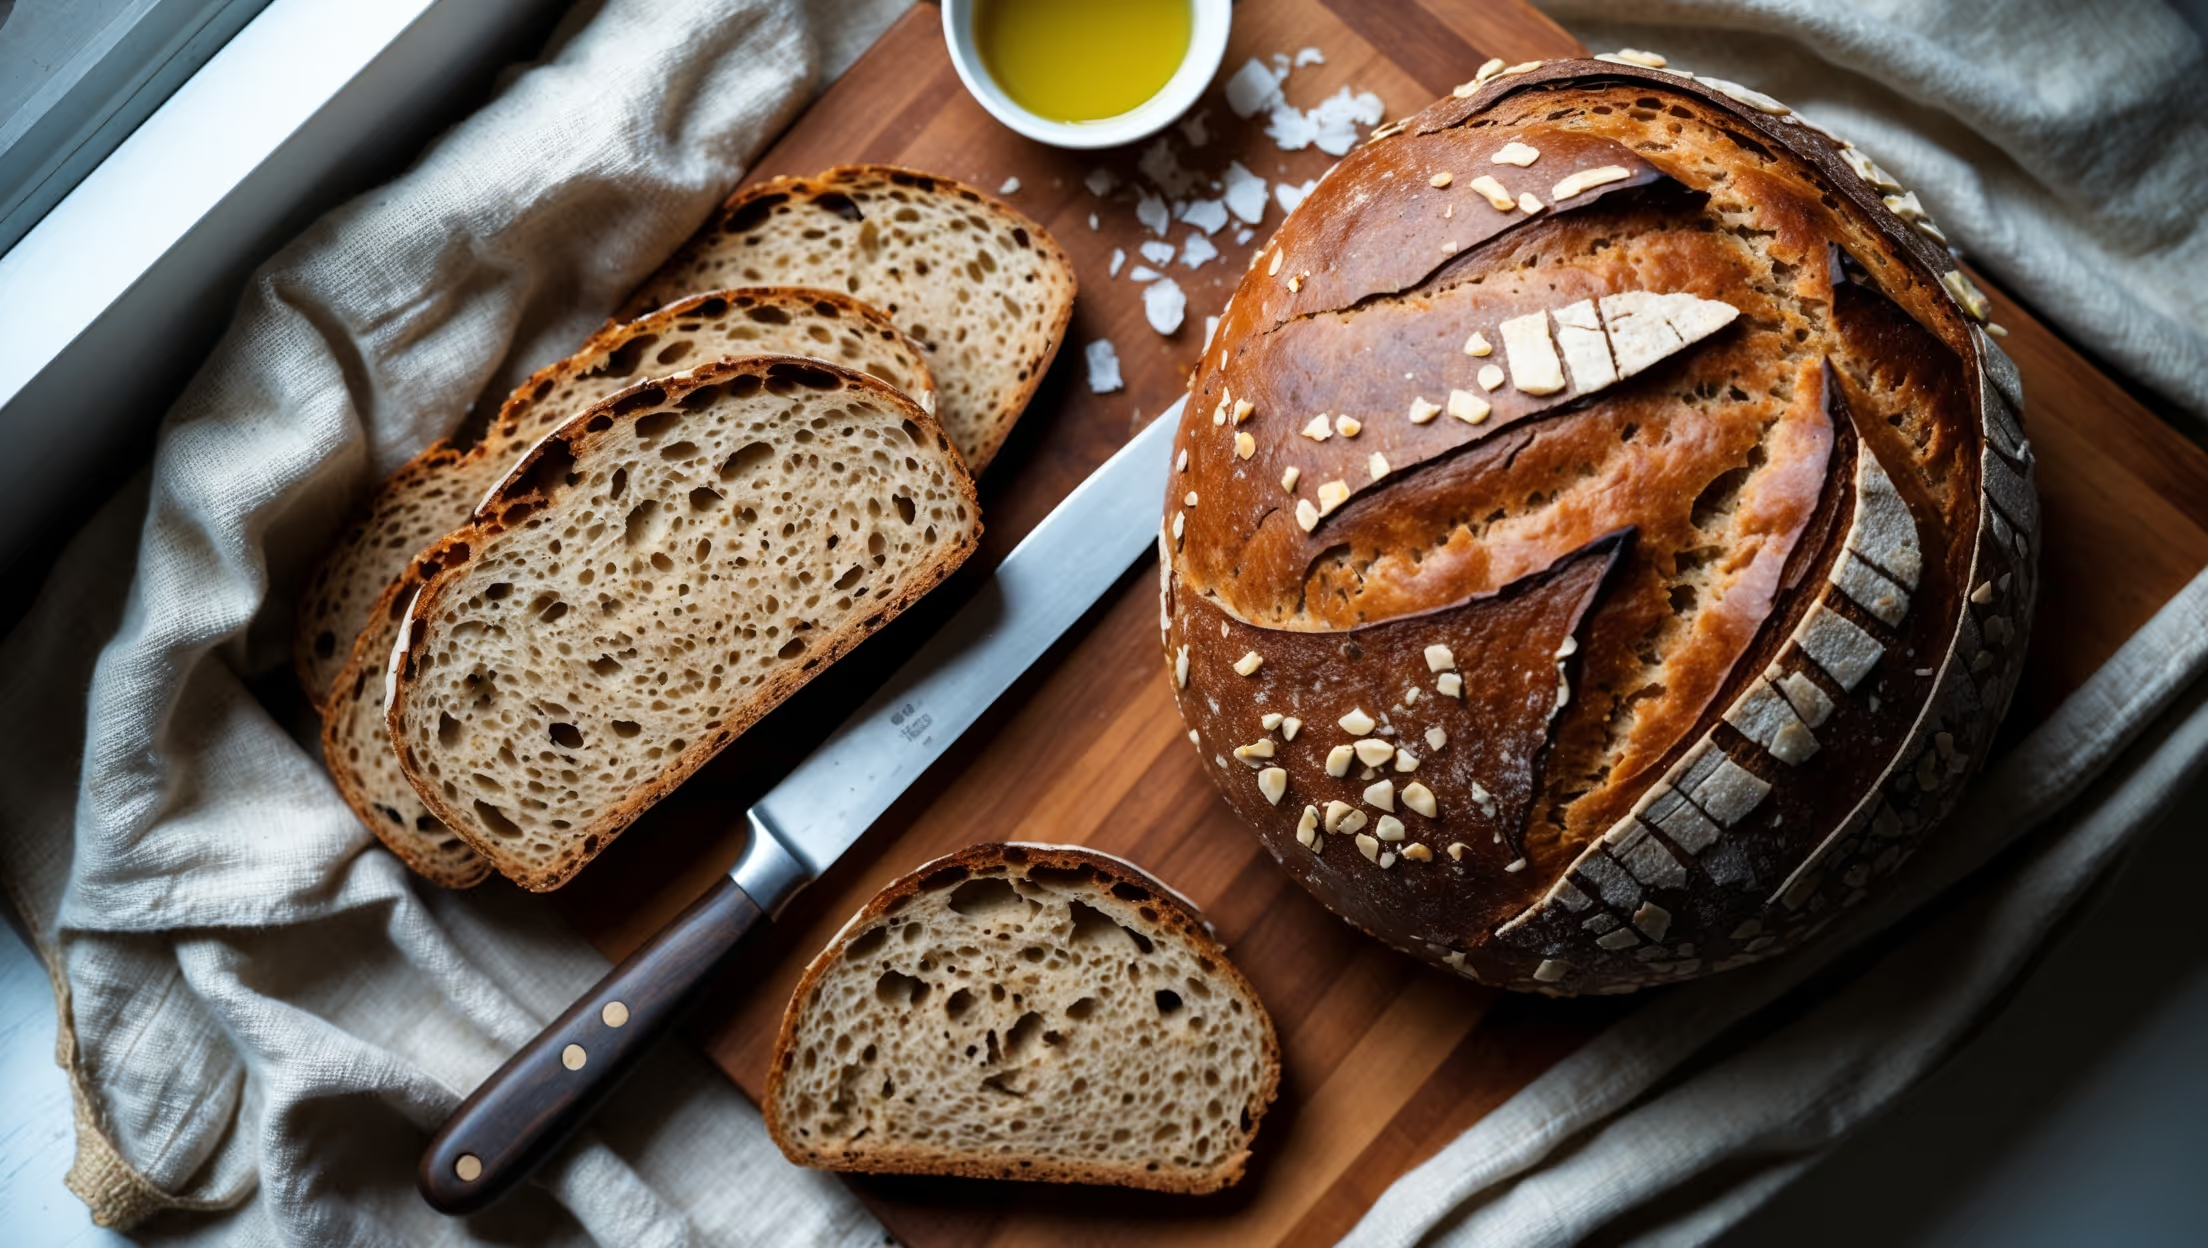
<ol class="no-list-style"><li class="MethodStepper"><h4 class="step-title">Step 1</h4>Begin by combining the warm water (43°C/110°F - use a thermometer to check as this temperature is perfect for activating yeast without killing it) with the molasses in a large bowl. The warmth helps dissolve the thick molasses while preparing the perfect environment for your yeast. Sprinkle the yeast over this mixture and let it stand for 5-10 minutes until foamy, which confirms your yeast is alive and active.</li><li class="MethodStepper"><h4 class="step-title">Step 2</h4>While waiting for the yeast to activate, whisk together the whole wheat flour, all-purpose flour, and salt in a separate bowl. This pre-mixing ensures even distribution of salt, which can inhibit yeast if they come into direct contact too early.</li><li class="MethodStepper"><h4 class="step-title">Step 3</h4>Once the yeast mixture is foamy, add the vegetable oil and stir well. The oil will help create a tender crumb in your finished bread. Gradually add the flour mixture to the wet ingredients, stirring with a wooden spoon until a shaggy dough forms. Don't worry if it seems sticky at this stage - that's exactly what we want!</li><li class="MethodStepper"><h4 class="step-title">Step 4</h4>Turn the dough onto a lightly floured surface and knead for about 8-10 minutes until smooth and elastic. The dough should spring back slowly when pressed with your finger. If using a stand mixer, use the dough hook on medium-low speed for 5-7 minutes. The gluten development during this step gives your bread structure while still allowing for a tender crumb.</li><li class="MethodStepper"><h4 class="step-title">Step 5</h4>Form the dough into a ball and place it in a lightly oiled bowl, turning once to coat all sides. Cover with a clean kitchen towel or plastic wrap and let rise in a warm, draft-free spot for 1-1.5 hours, or until doubled in size. The molasses provides extra food for the yeast, which contributes to a good rise.</li><li class="MethodStepper"><h4 class="step-title">Step 6</h4>Once doubled, gently punch down the dough to release excess air bubbles. Shape the dough into a round loaf and place it in a well-buttered 23cm (9-inch) round baking pan. Cover again and let rise for another 30-45 minutes until it's puffy and nearly reaches the top of the pan.</li><li class="MethodStepper"><h4 class="step-title">Step 7</h4>While the bread is on its second rise, preheat your oven to 190°C (375°F). Position a rack in the middle of the oven for even baking.</li><li class="MethodStepper"><h4 class="step-title">Step 8</h4>Just before baking, use a sharp knife to score the top of the loaf with a shallow "X" or a few parallel lines. This allows the bread to expand properly during baking and creates that beautiful artisanal look.</li><li class="MethodStepper"><h4 class="step-title">Step 9</h4>Bake the bread for 40-45 minutes until deep brown and hollow-sounding when tapped on the bottom. If the top browns too quickly, loosely cover with aluminum foil for the remaining baking time. The internal temperature should reach 88-93°C (190-200°F) when fully baked.</li><li class="MethodStepper"><h4 class="step-title">Step 10</h4>Remove from the oven and turn the bread out onto a wire rack to cool completely before slicing. This cooling period is crucial as it allows the crumb structure to set properly - cutting too soon will result in a gummy texture. Be patient for at least 1 hour, though I know it's tempting to dive right in when your kitchen is filled with that incredible molasses bread aroma!</li></ol>