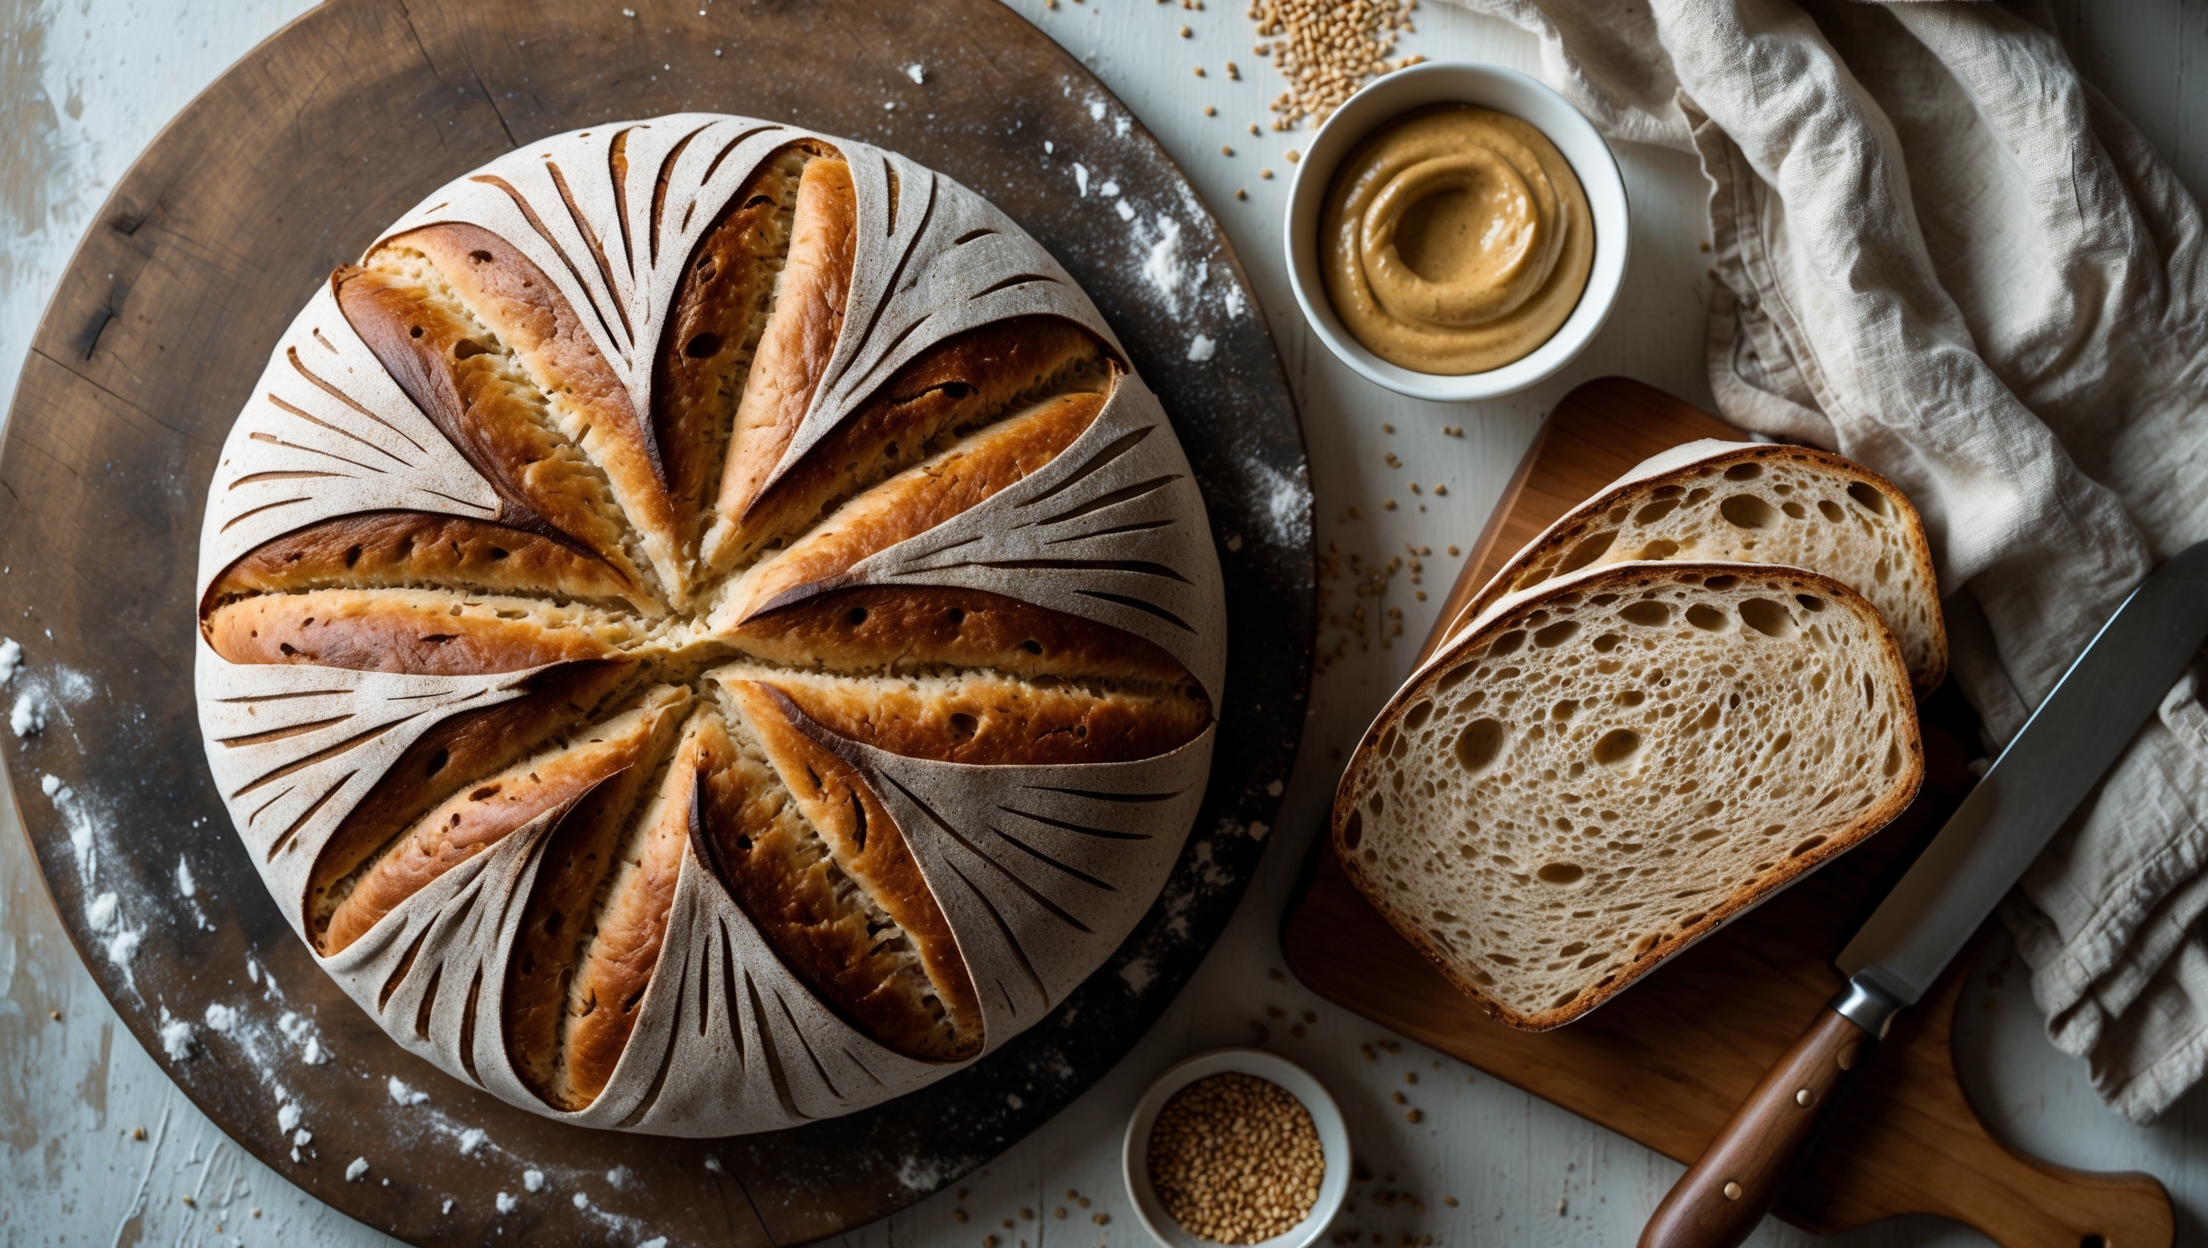
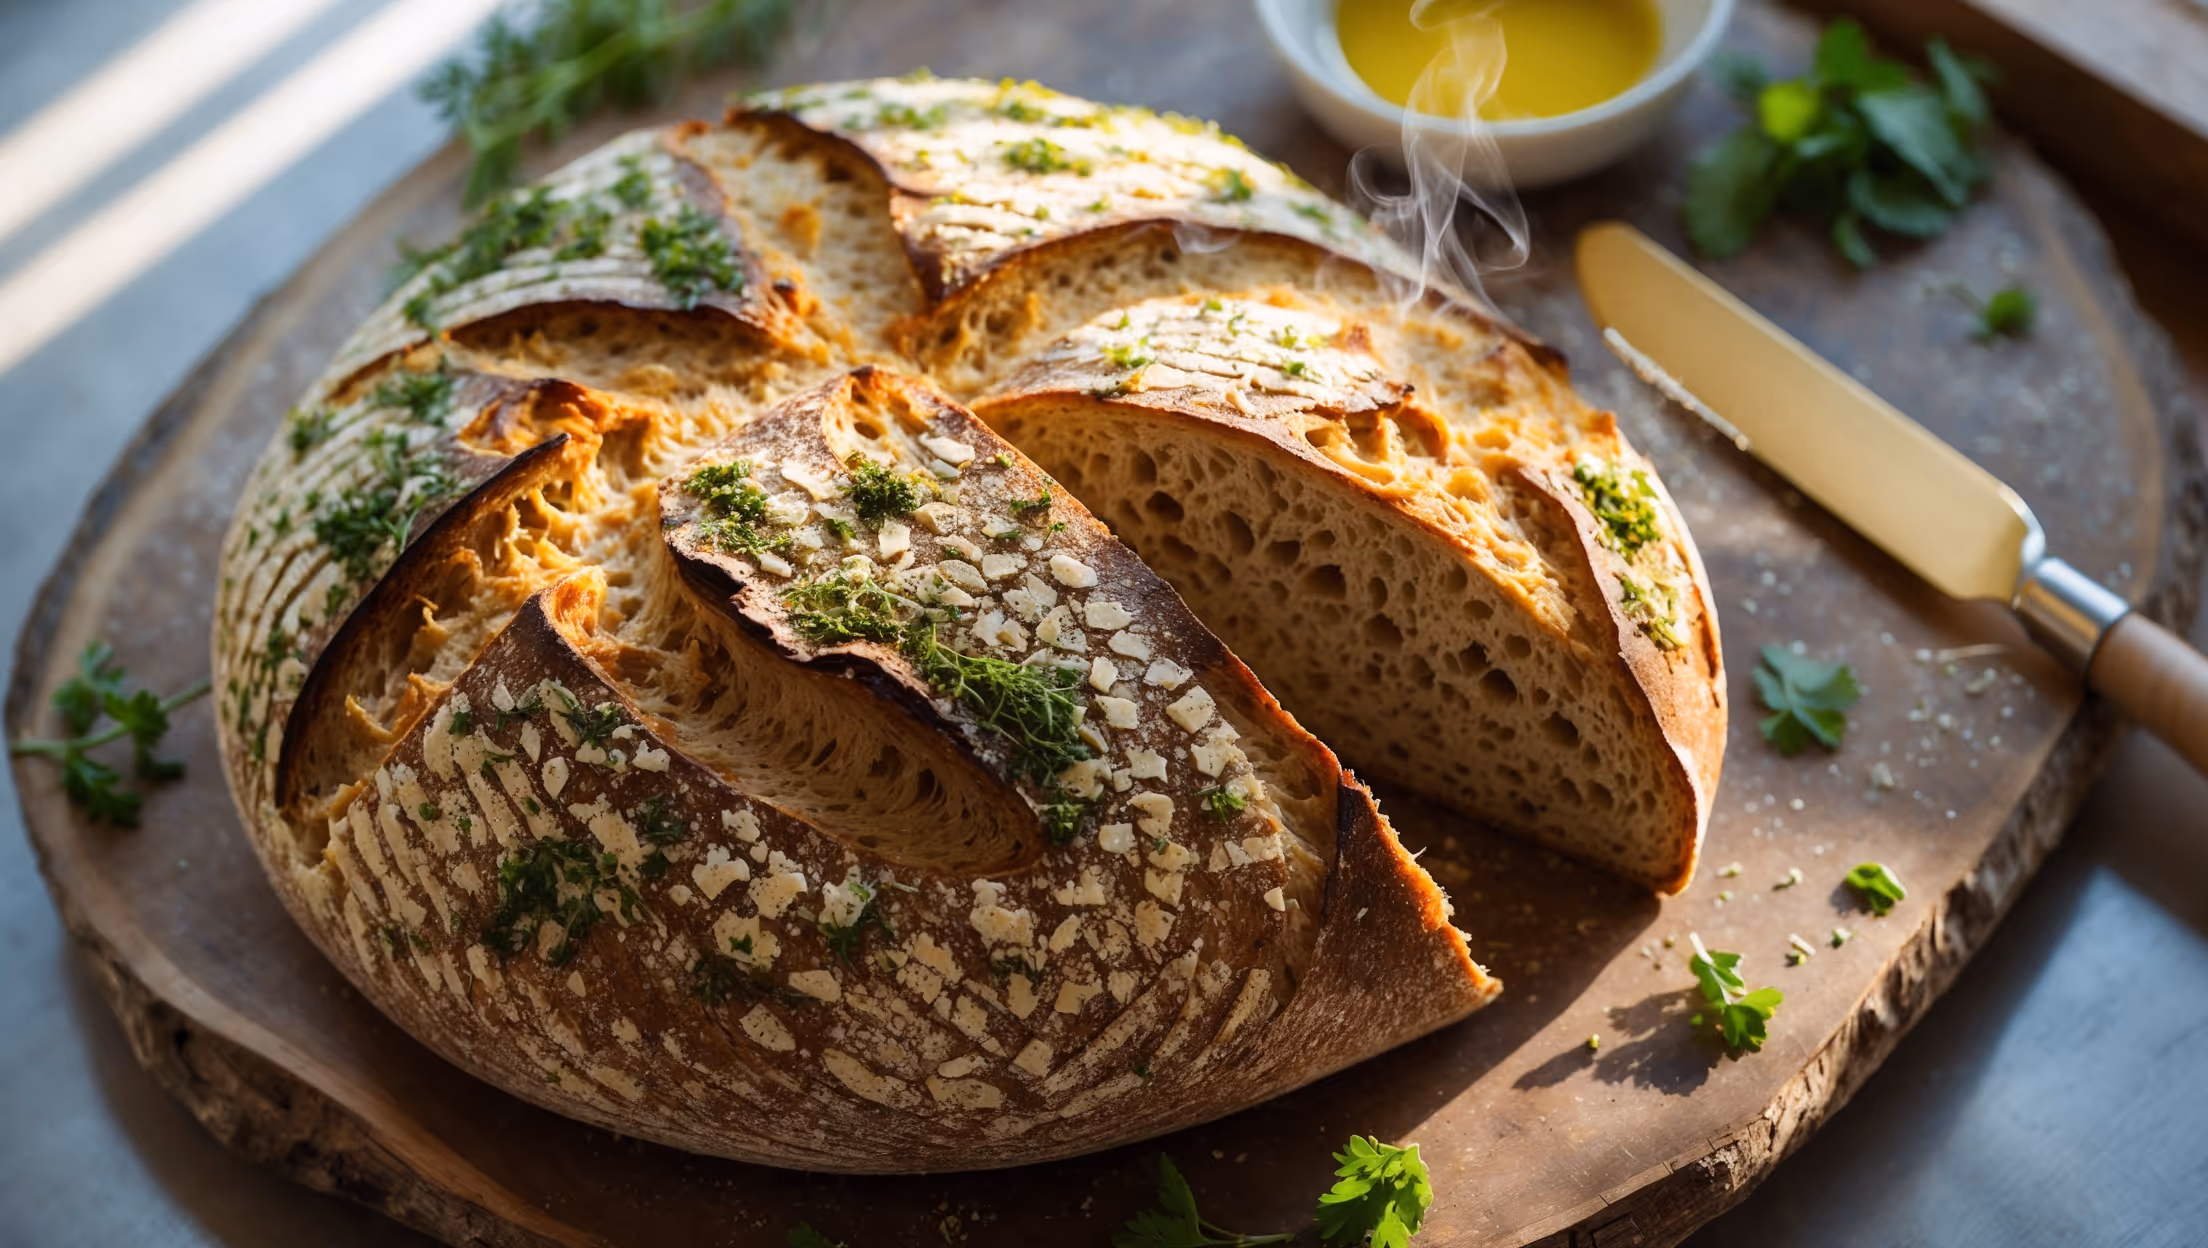
Kamut Bread Recipe
Ingredients
Equipment
Directions
FAQs
Find answers to your most pressing questions about this delicious recipe right here.
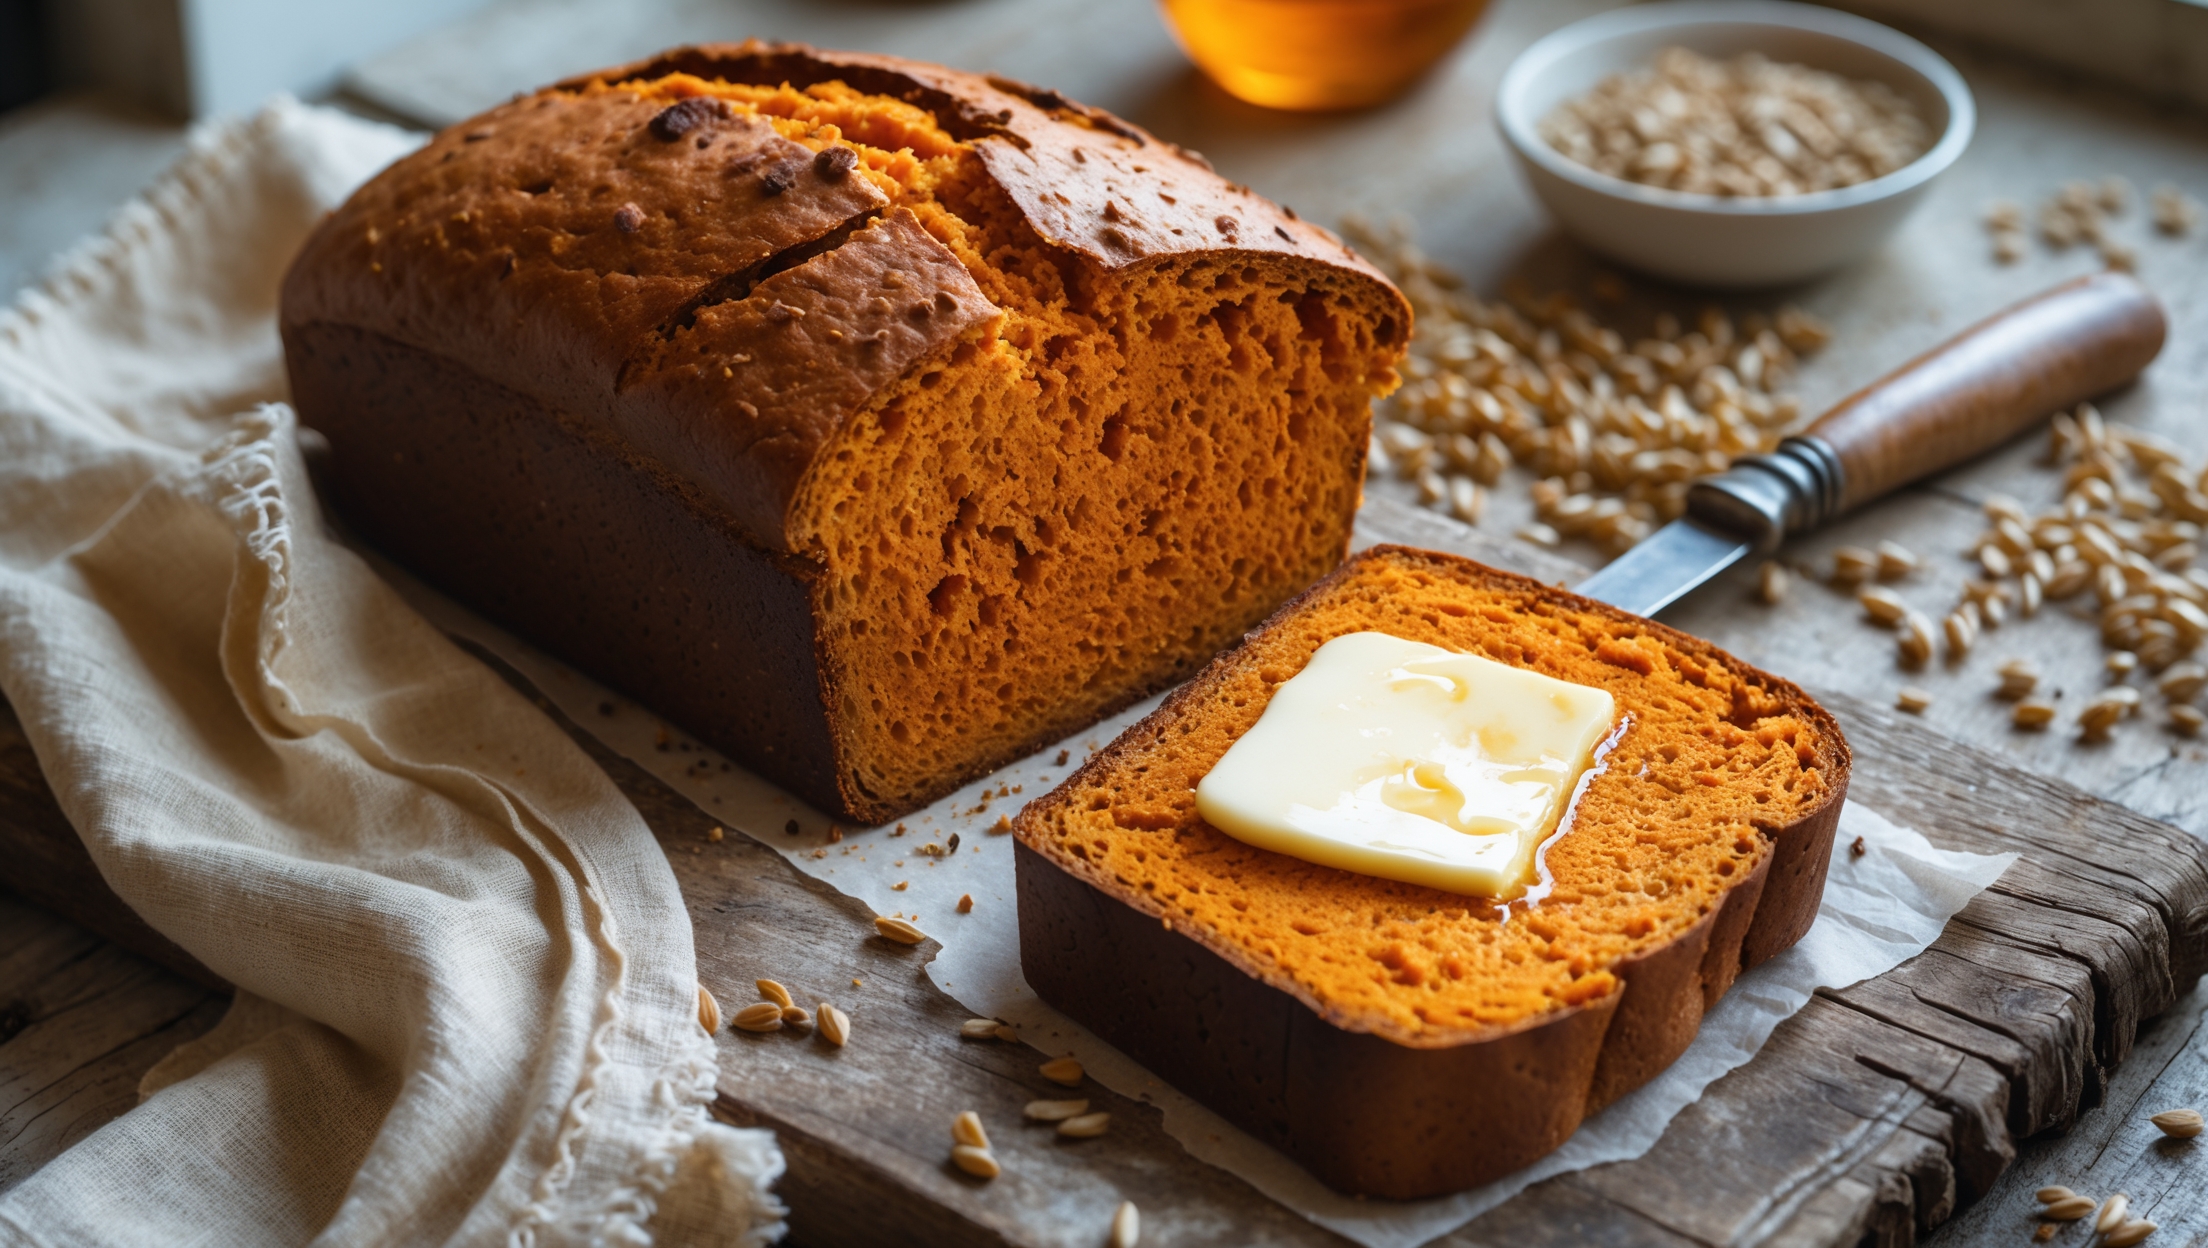
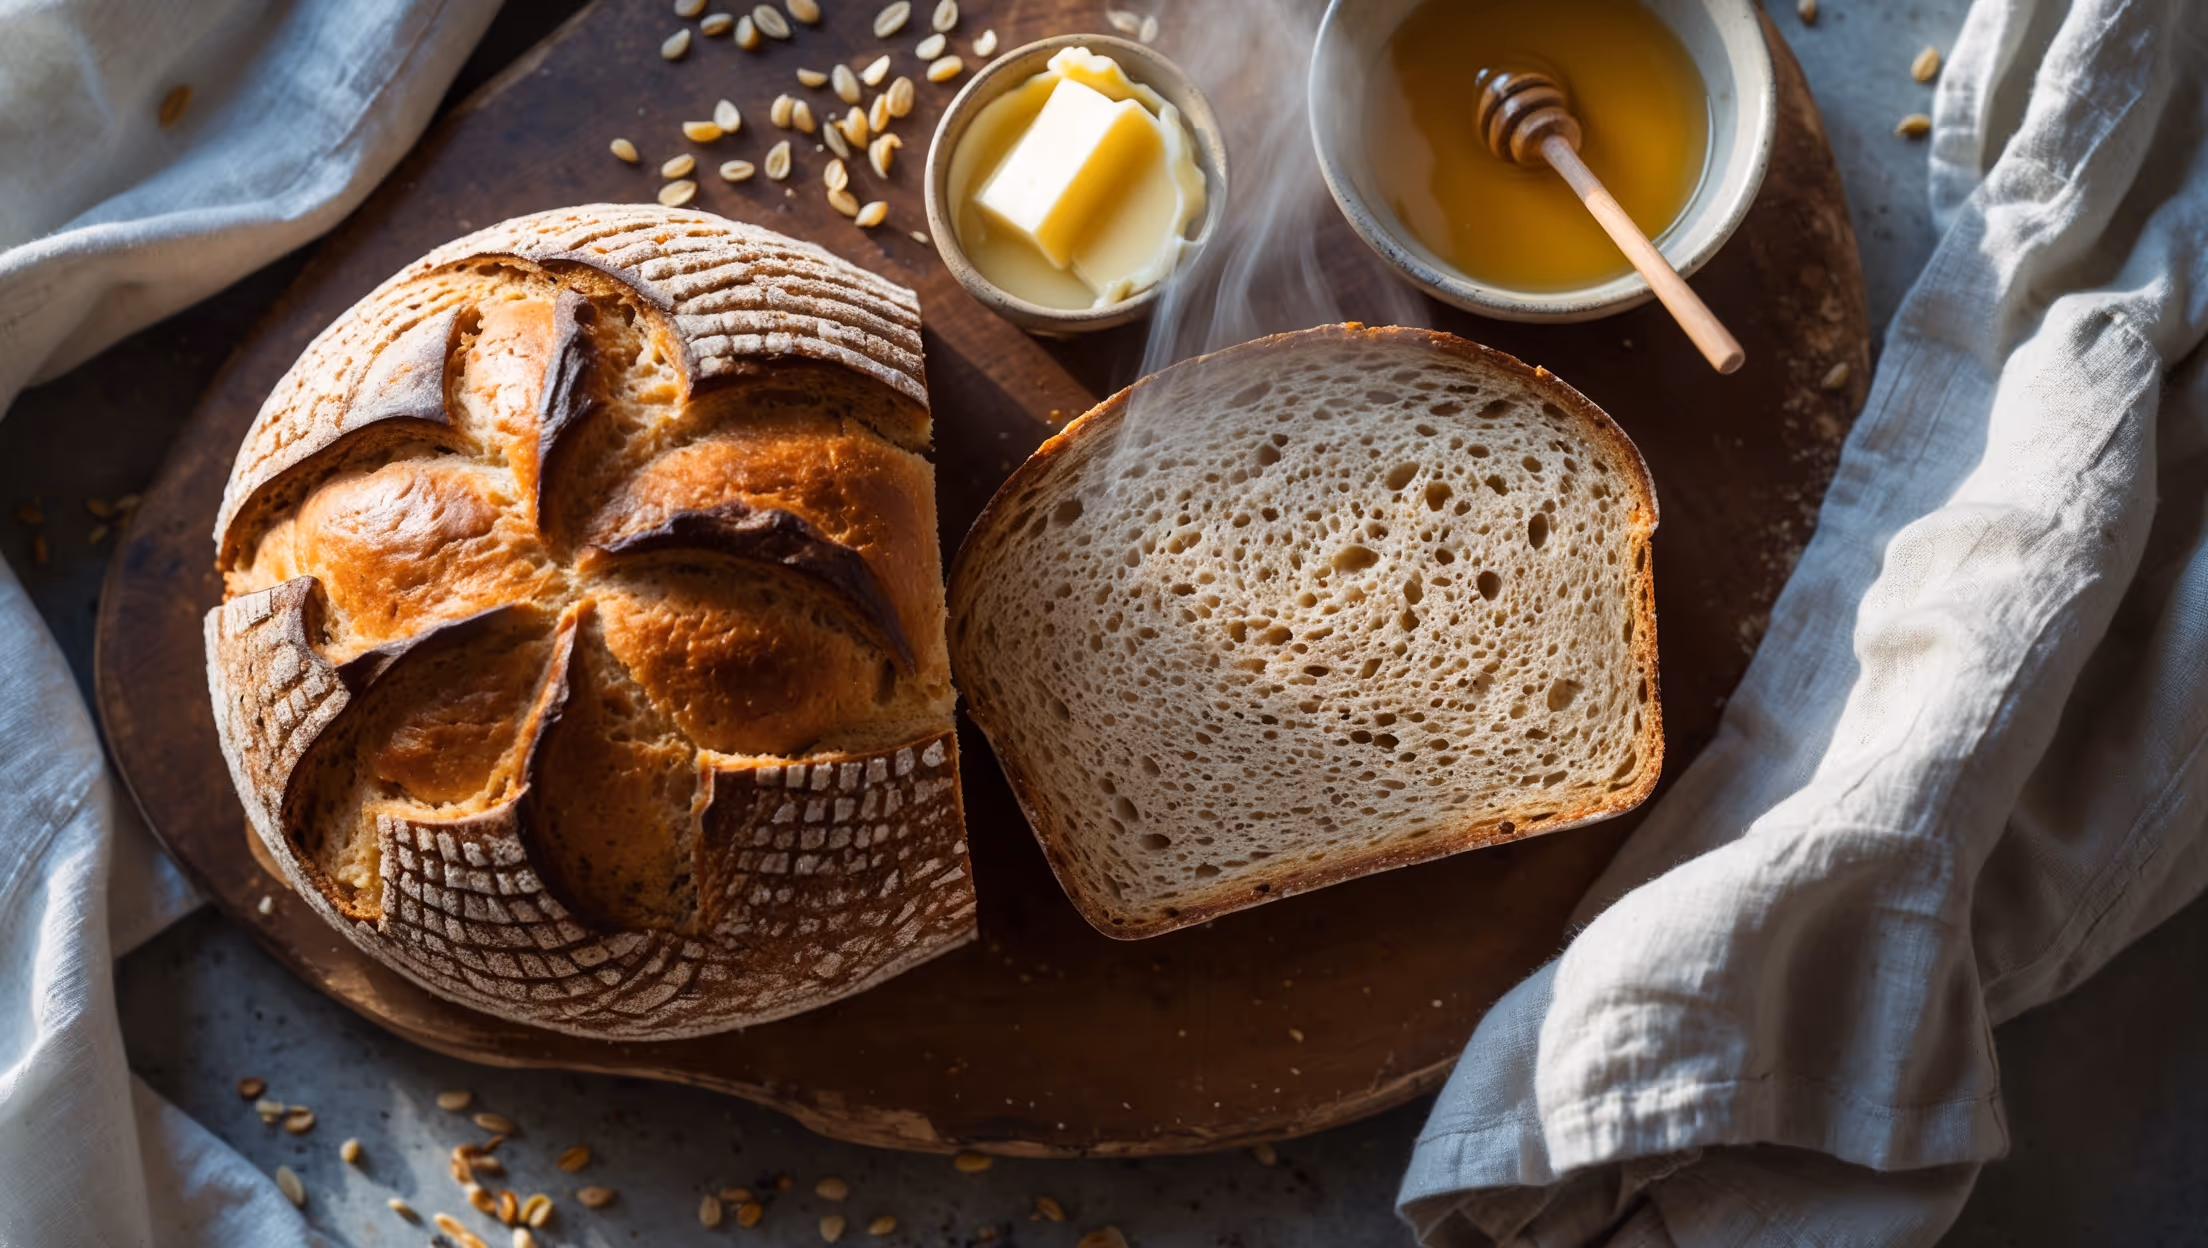
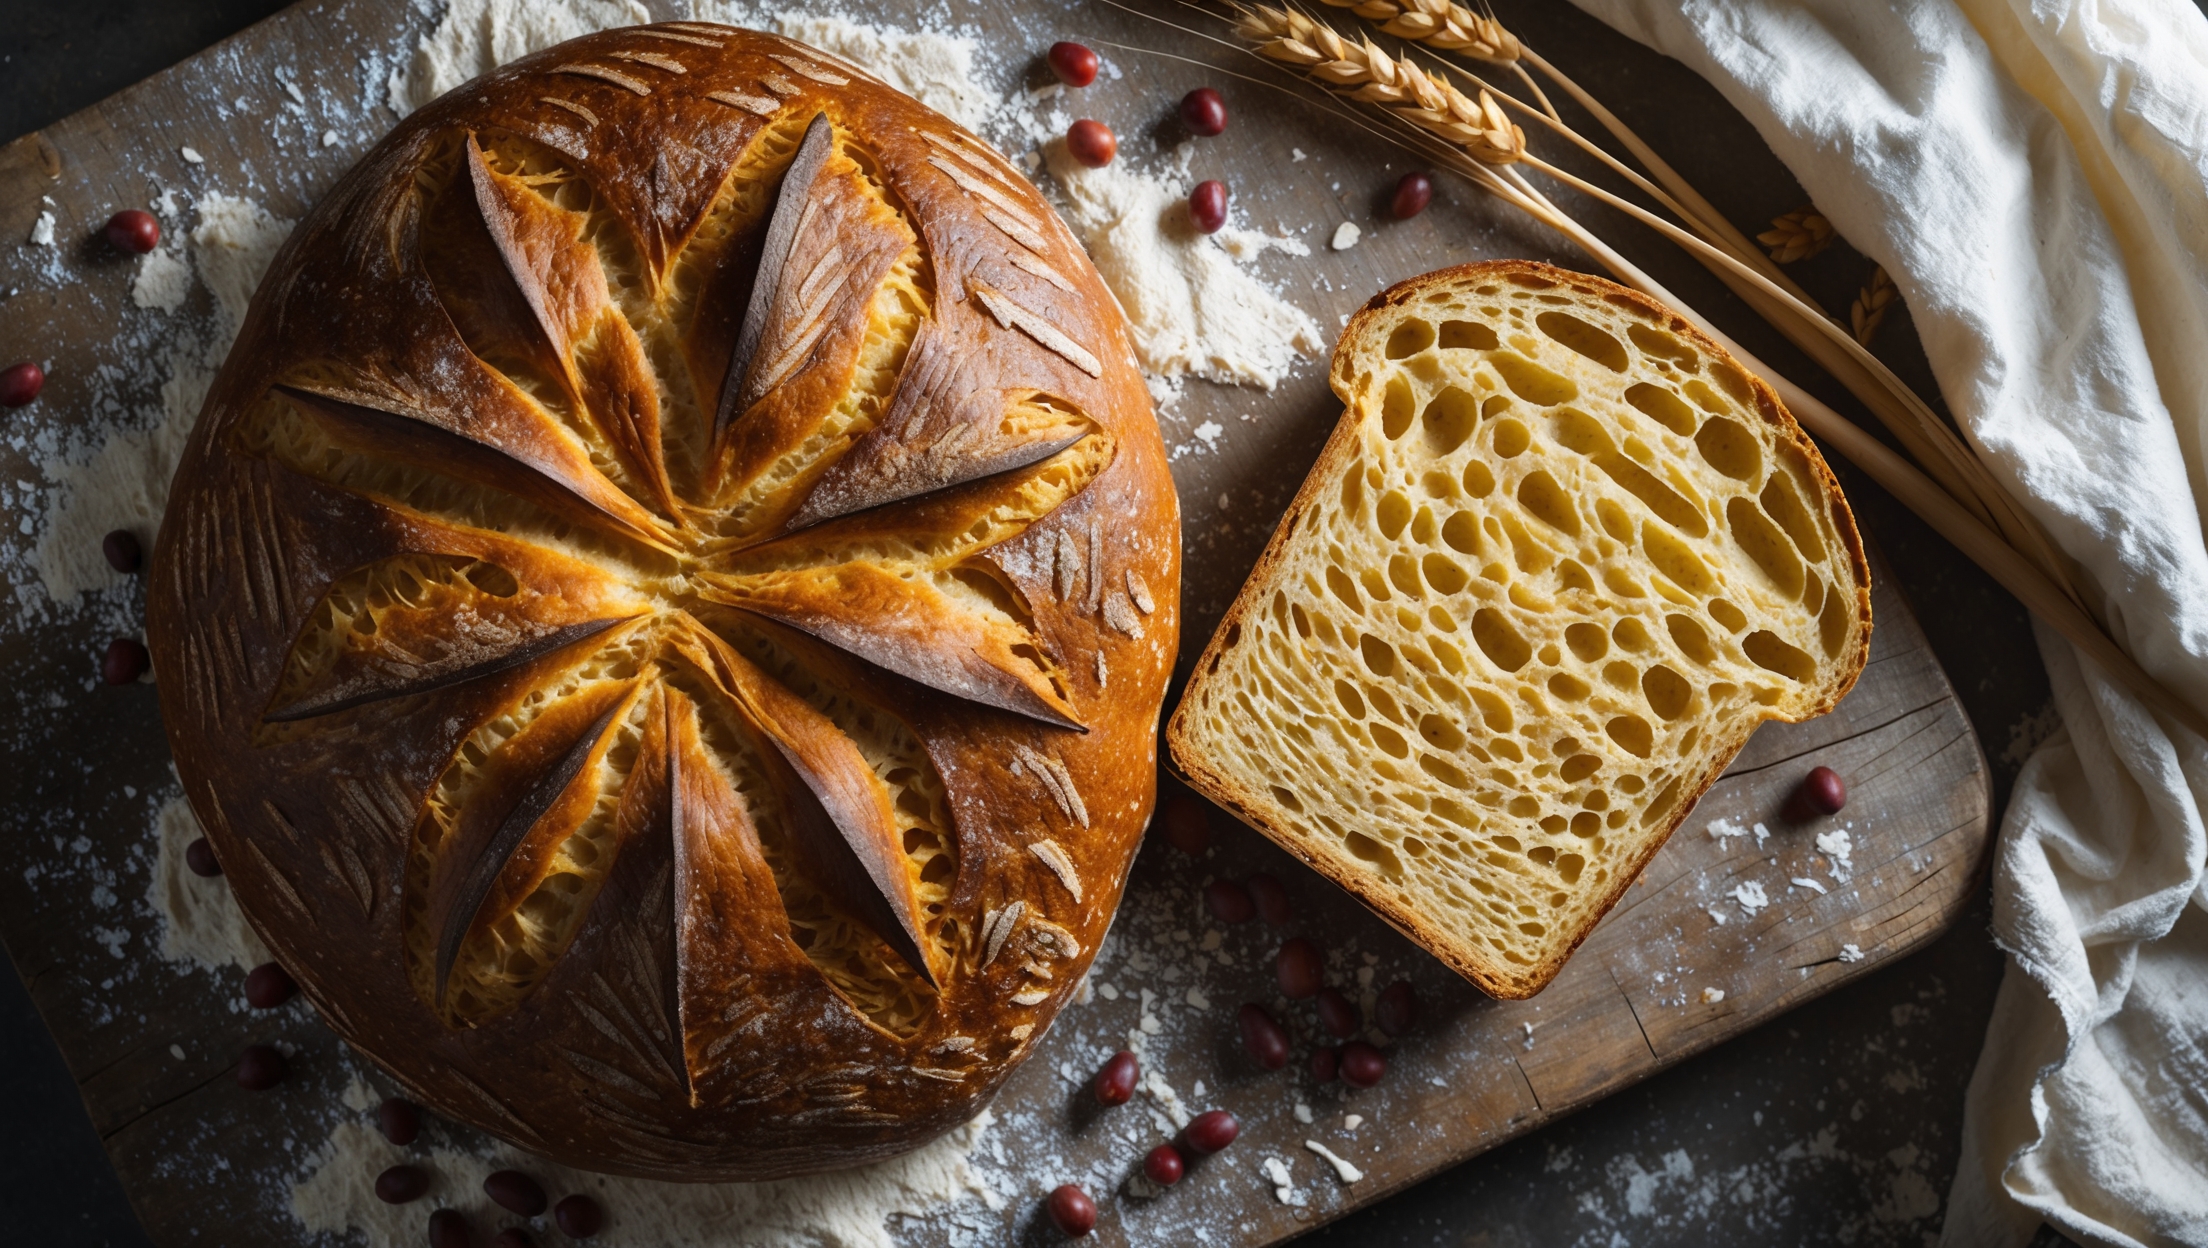
The main ingredients include 400g Kamut flour (khorasan wheat), 100g whole wheat flour, 375ml warm water, 10g salt, 7g active dry yeast, 15g honey (or maple syrup), and 20g olive oil. These ingredients create a nutritious loaf with a distinctive nutty flavour and golden crumb.
Learn how to cook Kamut Bread Recipe by activating yeast in warm water with honey, combining it with Kamut and whole wheat flours, kneading until elastic, and allowing for proper fermentation. After shaping, the dough is baked in a preheated Dutch oven at 230°C—first covered to create steam for a crackling crust, then uncovered to achieve that beautiful golden-brown finish.
Kamut (khorasan wheat) is considered ancient because it's remained largely unchanged for thousands of years. Its high protein content (up to 40% more than modern wheat) creates excellent bread structure with a slightly chewy texture, while its natural sweetness and rich mineral content deliver complex flavours and the characteristic golden colour.
Yes, you can use a bread machine on the dough setting for mixing and initial fermentation. However, for the best artisanal results, shape by hand and perform the final bake in a Dutch oven. Kamut dough may require slightly more liquid than regular bread and benefits from longer fermentation regardless of mixing method.
The perfect crust develops through steam during the initial baking phase (created by the covered Dutch oven), proper dough hydration, and high heat (230°C). The scoring allows controlled expansion, while the final uncovered baking caramelizes sugars in the dough. Proper cooling is also essential—never slice hot bread!
Whole Grain Bread
Try following recommended recipes