Directions
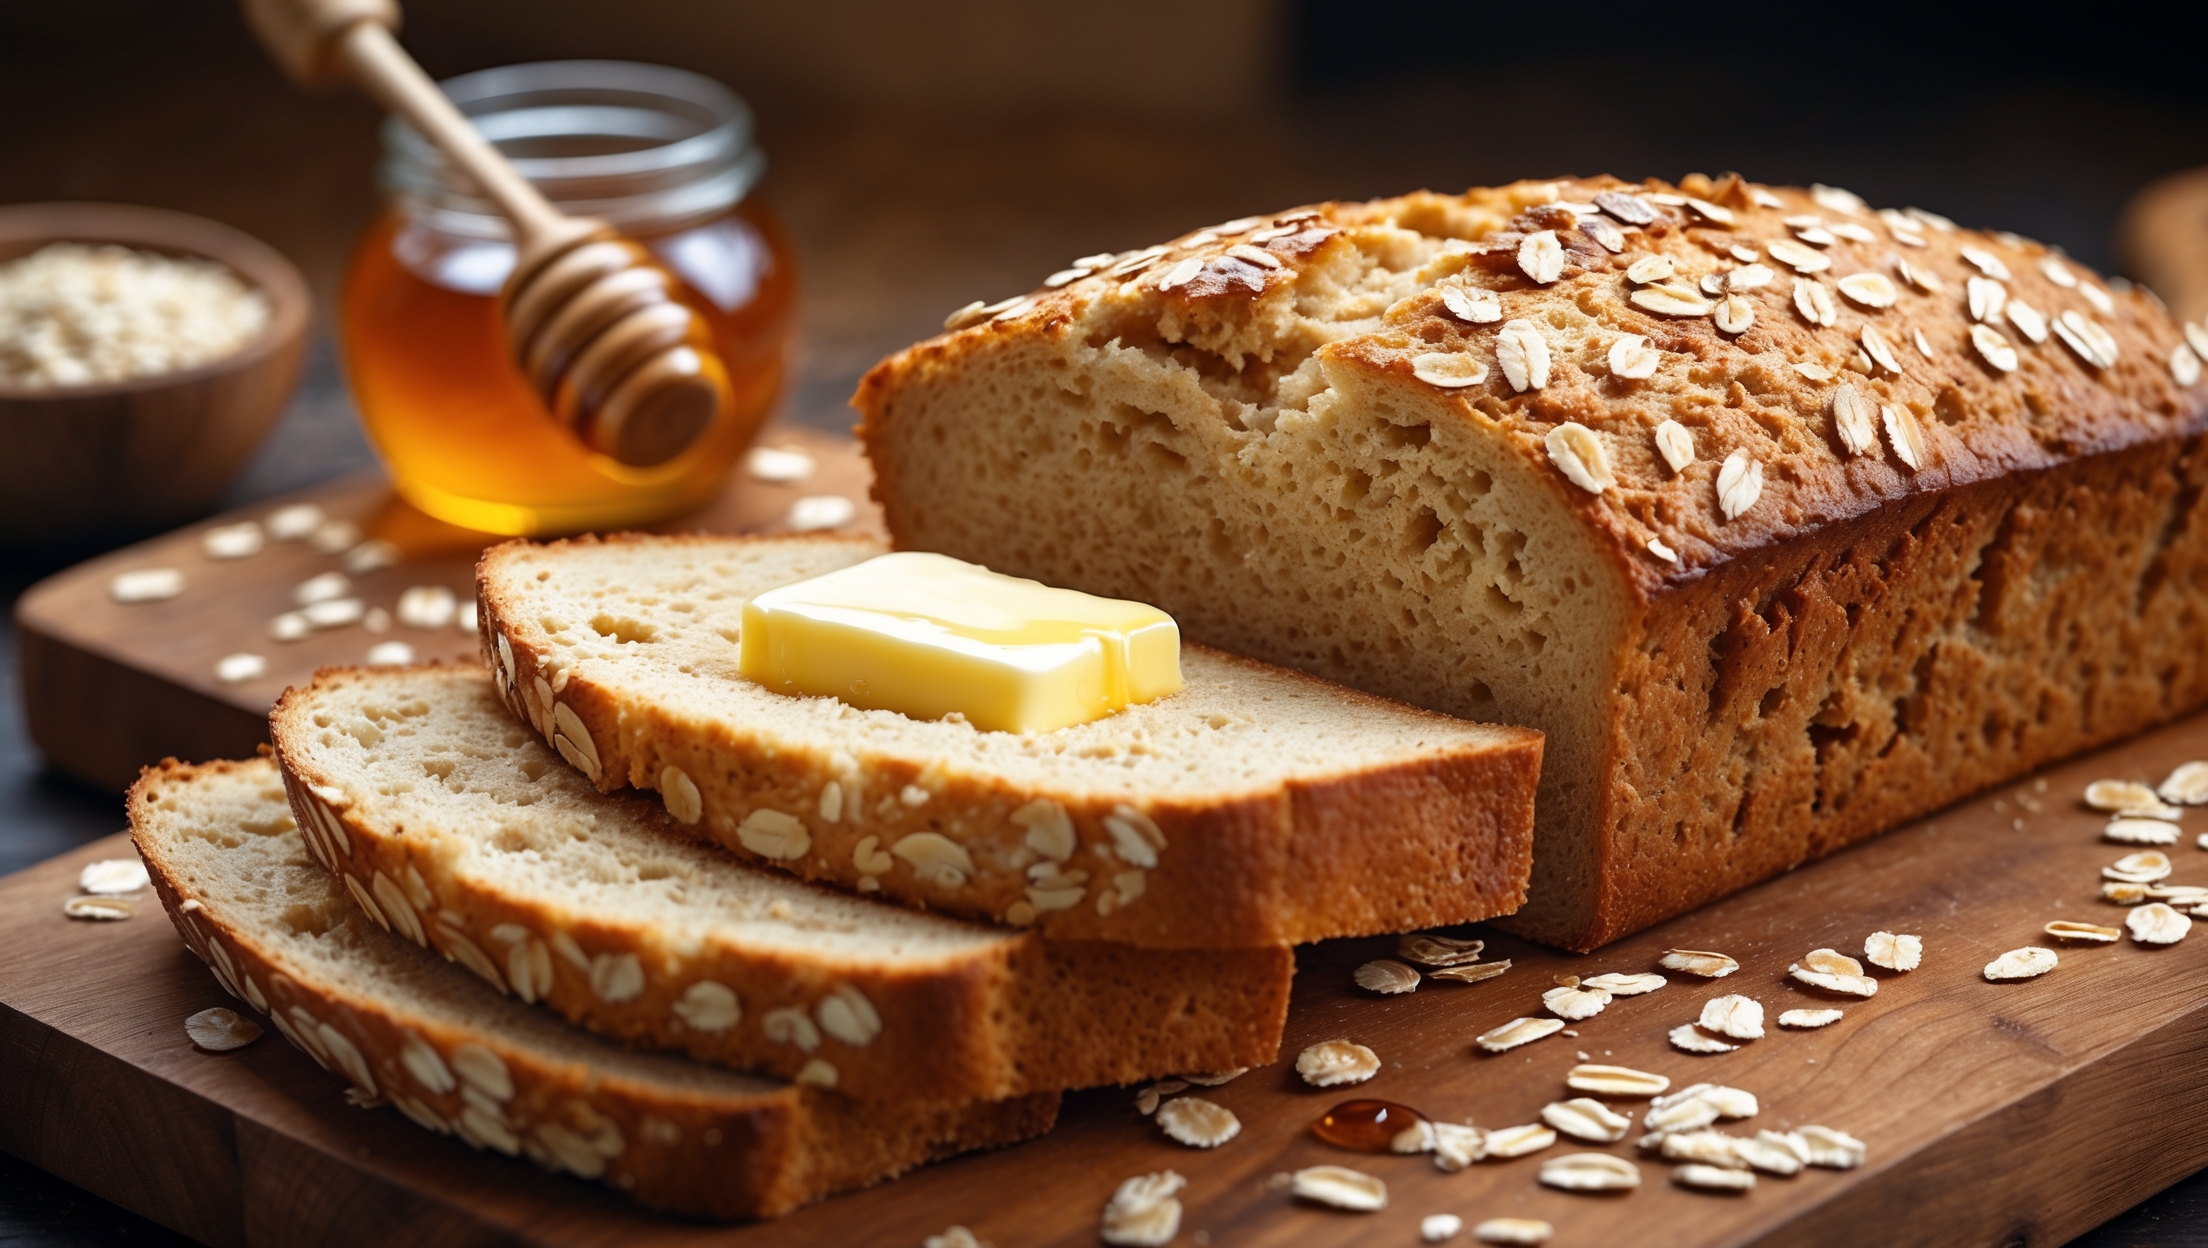
<ol class="no-list-style"><li class="MethodStepper"><h4 class="step-title">Step 1</h4>Begin by combining the rolled oats and warm milk in a medium bowl. Stir well and let stand for 15 minutes until the oats soften and absorb some of the liquid. This soaking step is crucial as it softens the oats, preventing them from creating hard bits in your finished bread.</li><li class="MethodStepper"><h4 class="step-title">Step 2</h4>While the oats soak, dissolve the yeast in the warm water (40-43°C - use a thermometer to check if possible). The water should feel warm but not hot to the touch. Add a teaspoon of the honey to feed the yeast and stir gently. Let stand for 5-10 minutes until foamy and active. If your mixture doesn't foam, your yeast may be dead, and you'll need to start again with fresh yeast.</li><li class="MethodStepper"><h4 class="step-title">Step 3</h4>To the soaked oats, add the remaining honey, softened butter, and beaten egg. Stir until well combined. Then add the activated yeast mixture and mix thoroughly. The butter provides tenderness while the honey adds sweetness and helps with browning during baking.</li><li class="MethodStepper"><h4 class="step-title">Step 4</h4>In the bowl of your stand mixer fitted with the dough hook, combine the bread flour and salt. Slowly add the wet oat mixture while mixing on low speed. The high protein content in bread flour develops stronger gluten, giving your bread better structure.</li><li class="MethodStepper"><h4 class="step-title">Step 5</h4>Increase the mixer speed to medium-low and knead for 6-8 minutes until the dough is smooth, elastic, and pulls away from the sides of the bowl. The dough will still be slightly tacky but should pass the windowpane test - you should be able to stretch a small piece until it's thin enough to see light through without tearing.</li><li class="MethodStepper"><h4 class="step-title">Step 6</h4>Transfer the dough to a lightly oiled bowl, turning once to coat. Cover with a clean kitchen towel or plastic wrap and let rise in a warm, draft-free place for 1-1.5 hours, or until doubled in size. An ideal temperature is around 24-27°C. You'll know it's ready when you gently press two fingers into the dough and the indentation remains.</li><li class="MethodStepper"><h4 class="step-title">Step 7</h4>Once risen, gently punch down the dough to release excess air bubbles. Turn out onto a lightly floured surface and shape into a rectangle roughly the length of your loaf pan. Roll the rectangle tightly into a log, pinching the seam and ends to seal. Place the shaped dough seam-side down in a greased 23 x 13 cm loaf pan.</li><li class="MethodStepper"><h4 class="step-title">Step 8</h4>Cover the pan loosely with a towel and let the dough rise again until it's about 2.5 cm above the rim of the pan, approximately 45-60 minutes. Meanwhile, preheat your oven to 180°C.</li><li class="MethodStepper"><h4 class="step-title">Step 9</h4>When the dough has risen, gently brush the top with milk and sprinkle with the remaining tablespoon of oats. The milk wash helps achieve a golden, slightly shiny crust while helping the oats adhere to the surface.</li><li class="MethodStepper"><h4 class="step-title">Step 10</h4>Bake in the preheated oven for 35-40 minutes until deeply golden brown. The bread should sound hollow when tapped on the bottom, and if you have a thermometer, the internal temperature should reach 93-96°C. If the top is browning too quickly, tent with aluminum foil for the remainder of the baking time.</li><li class="MethodStepper"><h4 class="step-title">Step 11</h4>Remove from the oven and allow to cool in the pan for 10 minutes. Then turn out onto a wire rack to cool completely (at least 1 hour) before slicing. This cooling period is essential as it allows the crumb structure to set and prevents the bread from becoming gummy when cut.</li><li class="MethodStepper"><h4 class="step-title">Step 12</h4>Store your honey oatmeal bread in an airtight container or bread bag at room temperature for up to 3 days, or freeze sliced for up to 3 months. For the best texture when eating from frozen, toast the slices directly from the freezer.</li></ol>