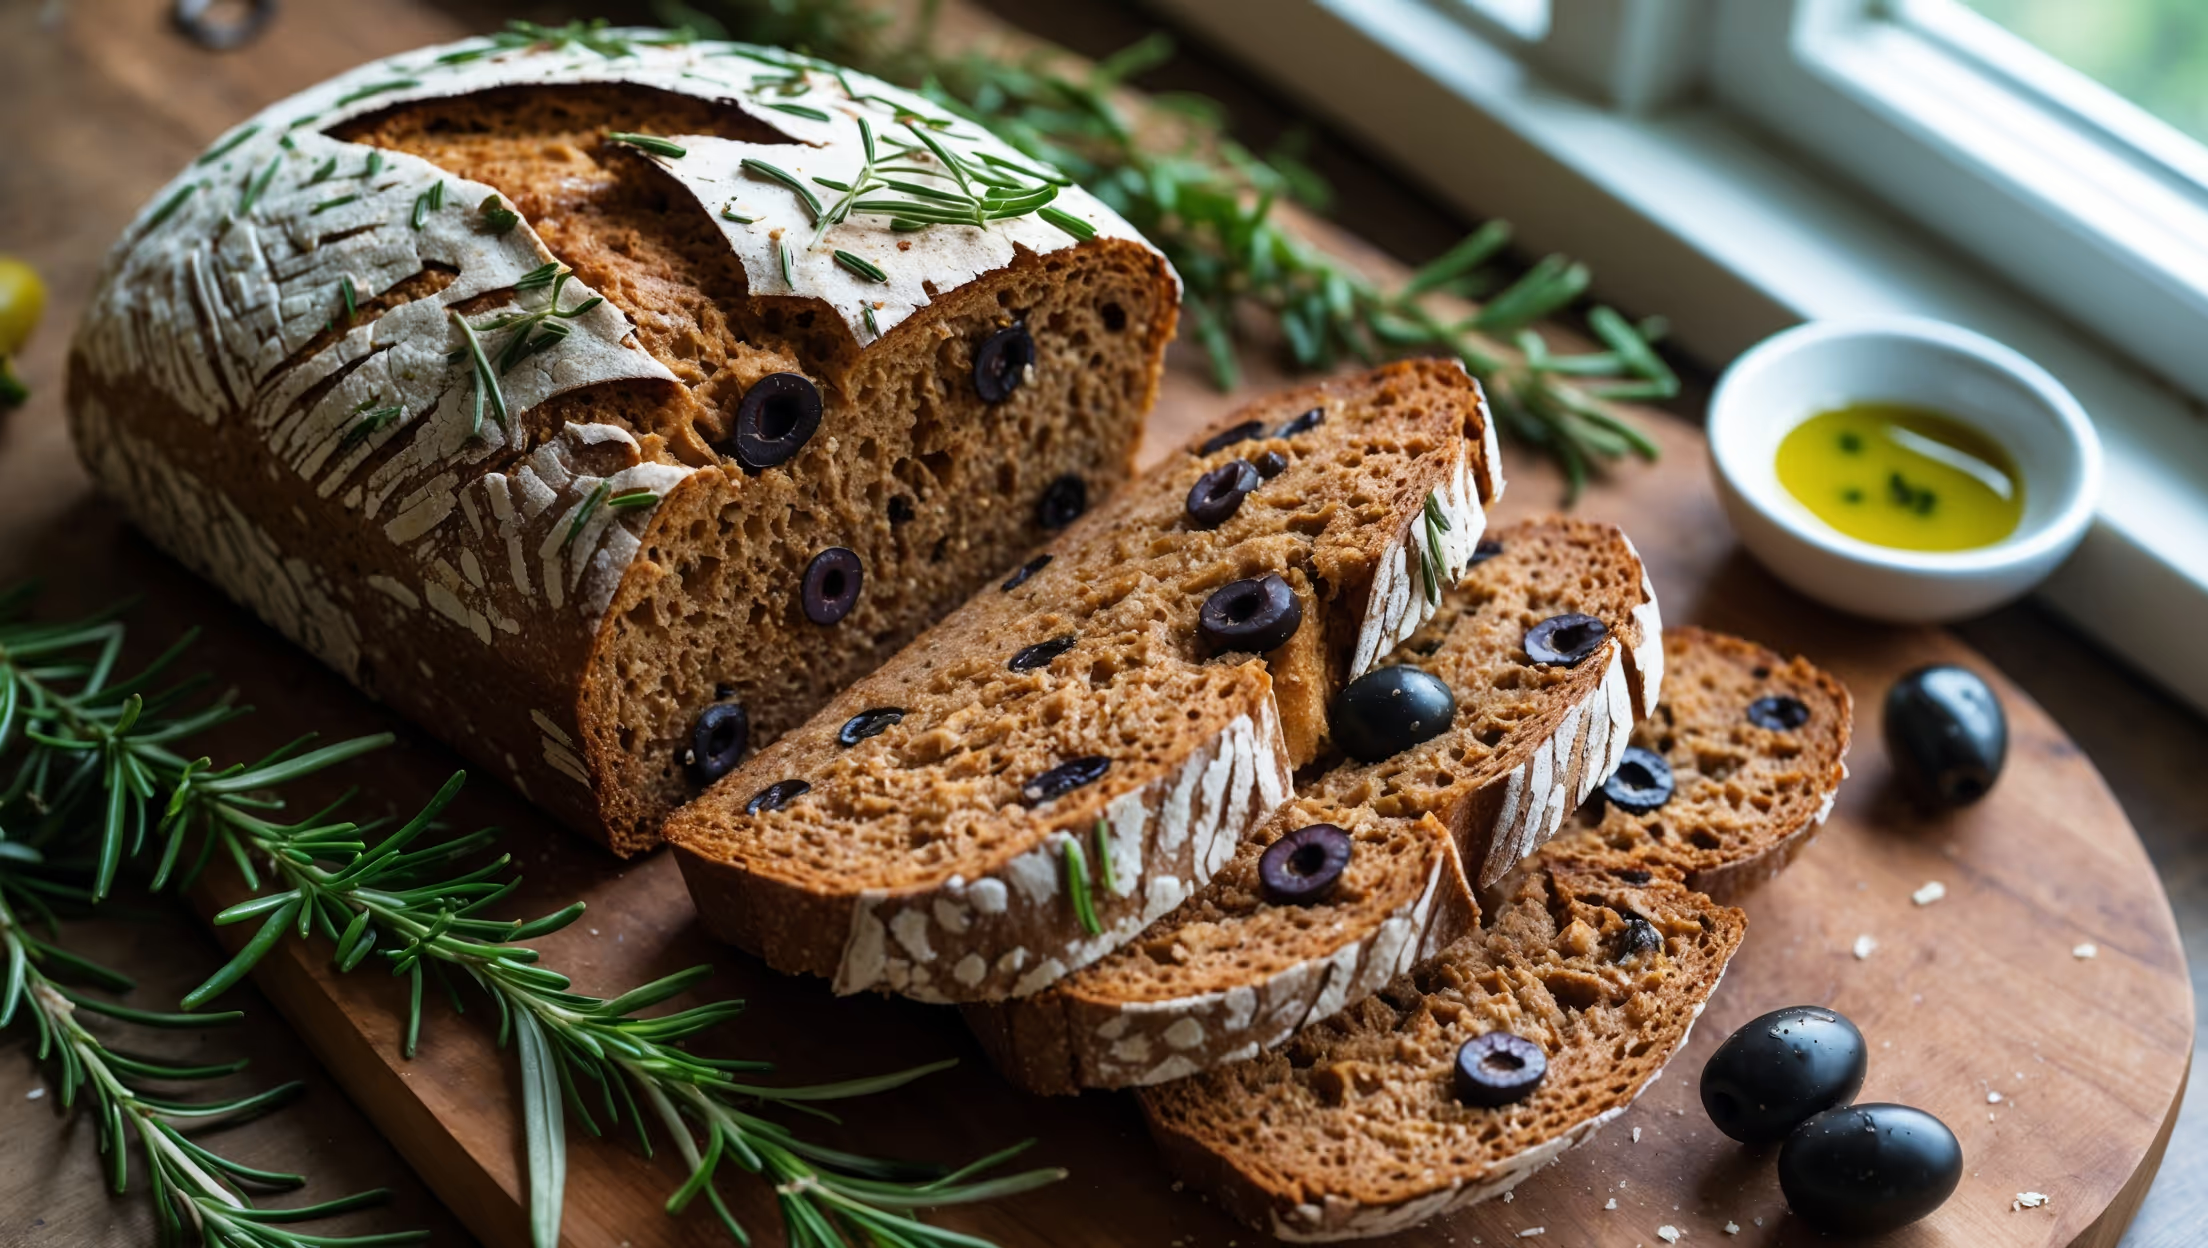
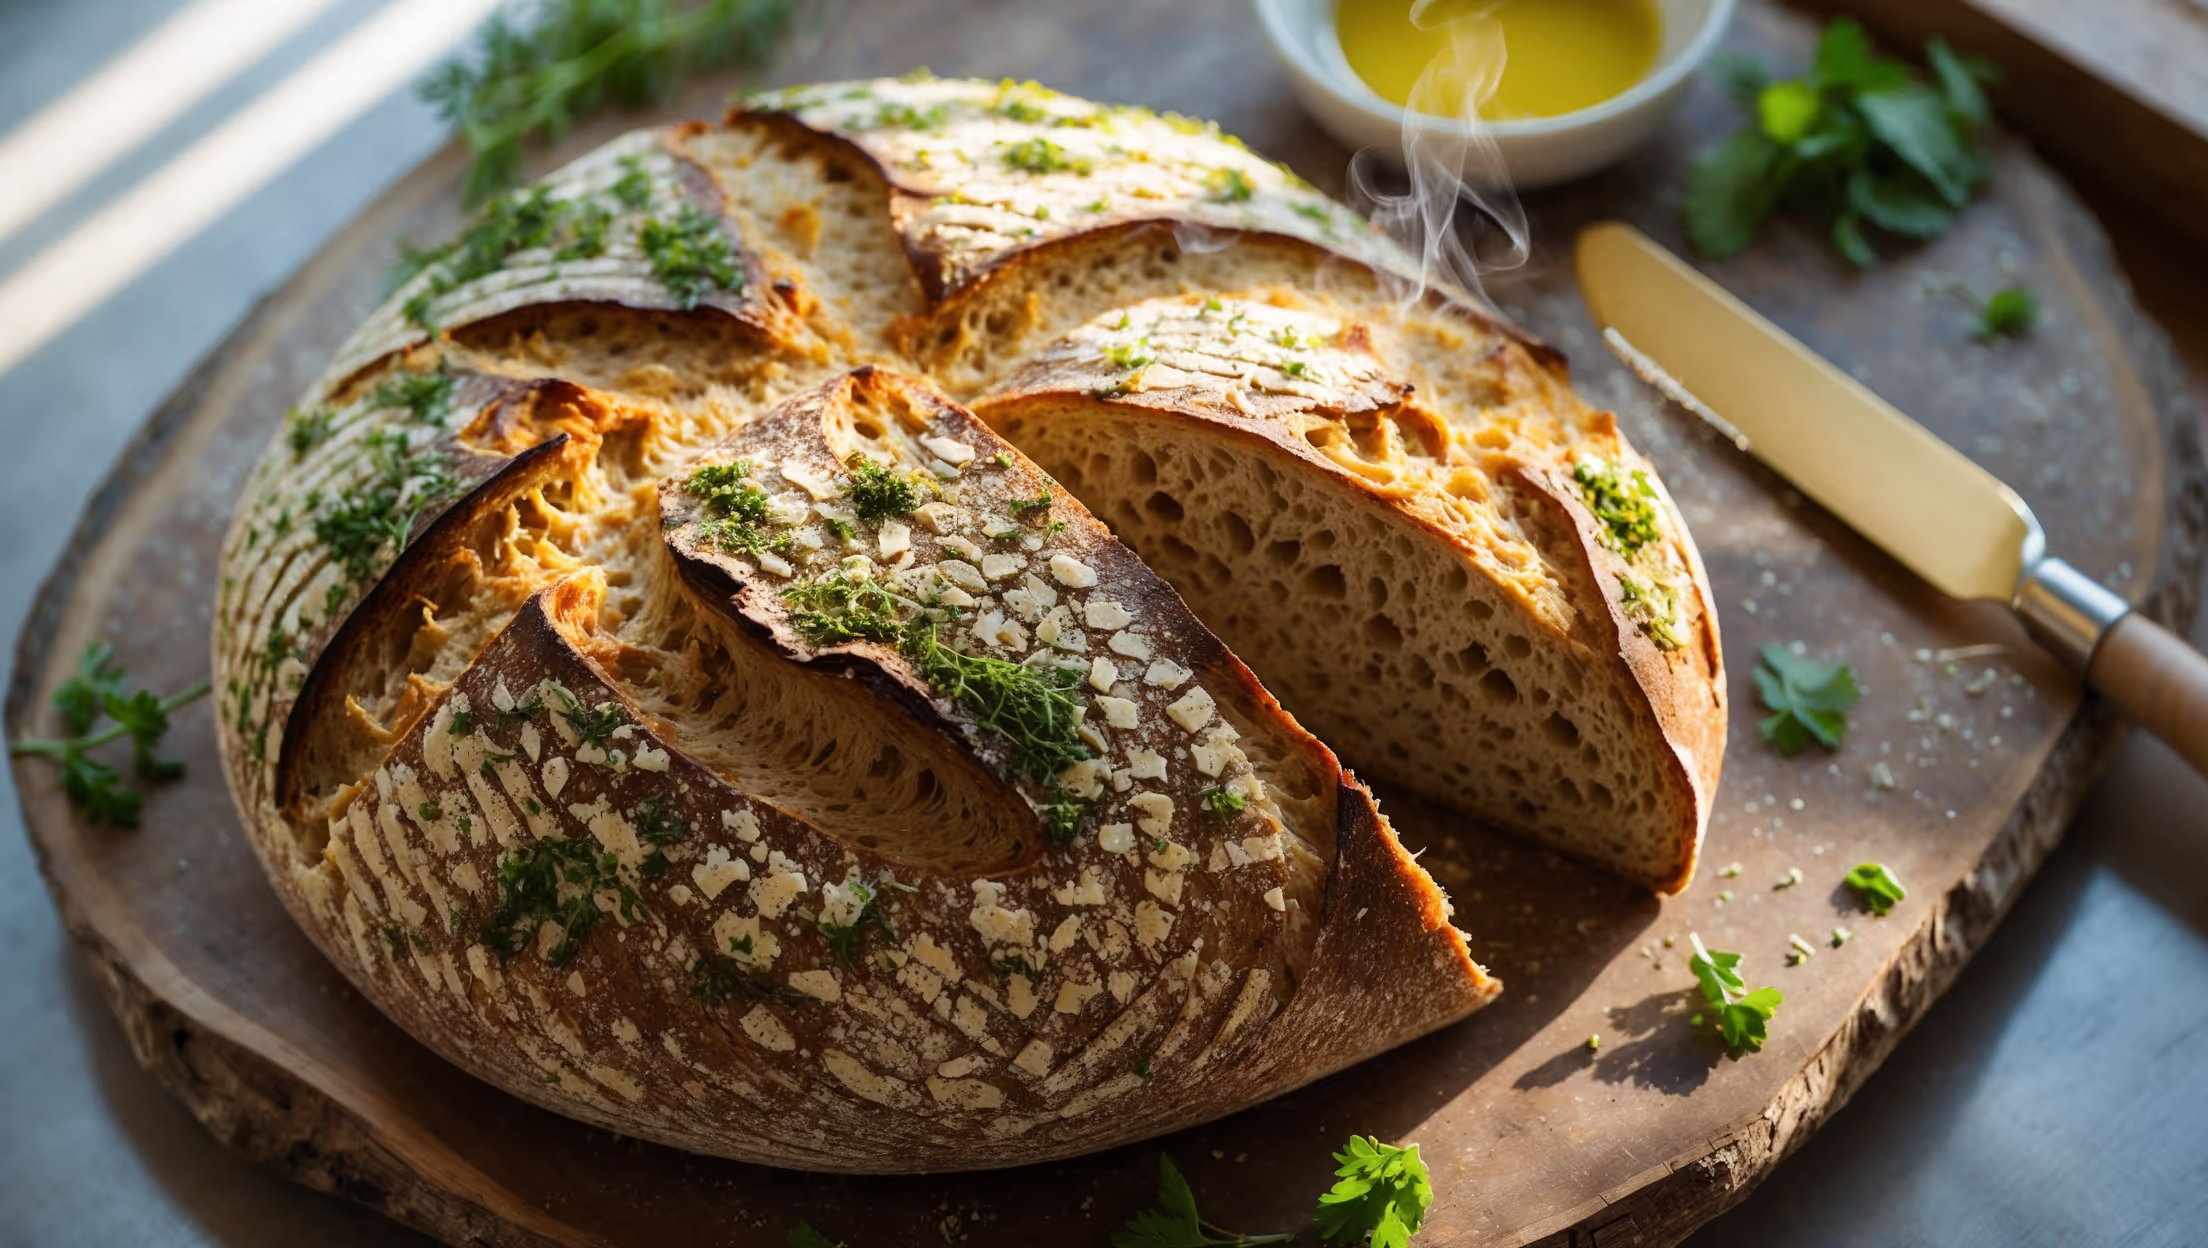
Directions
<ol class="no-list-style"><li class="MethodStepper"><h4 class="step-title">Step 1</h4>In a large mixing bowl, combine 300g whole wheat flour, 100g bread flour, 60g rolled oats, and 15g vital wheat gluten (if using). Whisk thoroughly to ensure even distribution. The vital wheat gluten is especially helpful with whole grain breads as it strengthens the gluten network, compensating for the bran in whole wheat flour which can cut through gluten strands.</li><li class="MethodStepper"><h4 class="step-title">Step 2</h4>In a separate small bowl, mix 300ml warm water (38°C - warm but not hot to touch) with 30g honey and stir until dissolved. Sprinkle 7g active dry yeast over the surface and let sit for 5-10 minutes until foamy. This proofing step ensures your yeast is active and viable.</li><li class="MethodStepper"><h4 class="step-title">Step 3</h4>Make a well in the center of your dry ingredients and pour in the yeast mixture along with 30g olive oil. Mix with a wooden spoon until a shaggy dough forms, then add 10g salt (adding salt directly to yeast can inhibit fermentation, which is why we add it after mixing begins).</li><li class="MethodStepper"><h4 class="step-title">Step 4</h4>Turn the dough onto a lightly floured surface and knead for 10 minutes by hand (or 5-6 minutes in a stand mixer with dough hook on medium-low speed) until the dough becomes smooth and elastic. The dough will feel slightly tacky but should pass the windowpane test - a small piece should stretch thin enough to see light through without tearing.</li><li class="MethodStepper"><h4 class="step-title">Step 5</h4>Gently fold in 100g dried cranberries and 85g chopped walnuts until evenly distributed throughout the dough. Avoid aggressive kneading at this stage which could tear the dough or crush the walnuts.</li><li class="MethodStepper"><h4 class="step-title">Step 6</h4>Form the dough into a ball and place in a lightly oiled bowl, turning once to coat. Cover with plastic wrap or a damp tea towel and let rise in a warm place (about 24°C) for 1.5-2 hours, or until doubled in size. For enhanced flavor development, you can instead refrigerate the dough for 8-12 hours (overnight).</li><li class="MethodStepper"><h4 class="step-title">Step 7</h4>After the first rise, gently punch down the dough to release air bubbles. Turn onto a lightly floured surface and shape into a loaf by flattening into a rectangle roughly the length of your loaf pan, then folding the sides inward like a letter before rolling up tightly from the short end. The tighter you roll, the better structure your finished loaf will have.</li><li class="MethodStepper"><h4 class="step-title">Step 8</h4>Place the shaped loaf seam-side down in a greased and parchment-lined loaf pan. Cover loosely and let rise again for 45-60 minutes, or until the dough has risen about 2.5cm above the rim of the pan. Meanwhile, preheat your oven to 190°C (375°F).</li><li class="MethodStepper"><h4 class="step-title">Step 9</h4>Just before baking, score the top of the loaf with a sharp knife or bread lame, making a cut about 1cm deep down the center. This controlled split allows the bread to expand properly during baking instead of bursting unpredictably.</li><li class="MethodStepper"><h4 class="step-title">Step 10</h4>Bake for 35-40 minutes, then rotate the pan and continue baking for another 5-10 minutes. The bread is done when it's deep golden brown and sounds hollow when tapped on the bottom (internal temperature should reach 93°C/200°F).</li><li class="MethodStepper"><h4 class="step-title">Step 11</h4>Remove from the oven and immediately turn out onto a wire rack to cool completely, at least 1 hour before slicing. Cutting too soon will result in a gummy texture as the steam hasn't had time to escape and the starches haven't fully set.</li></ol>