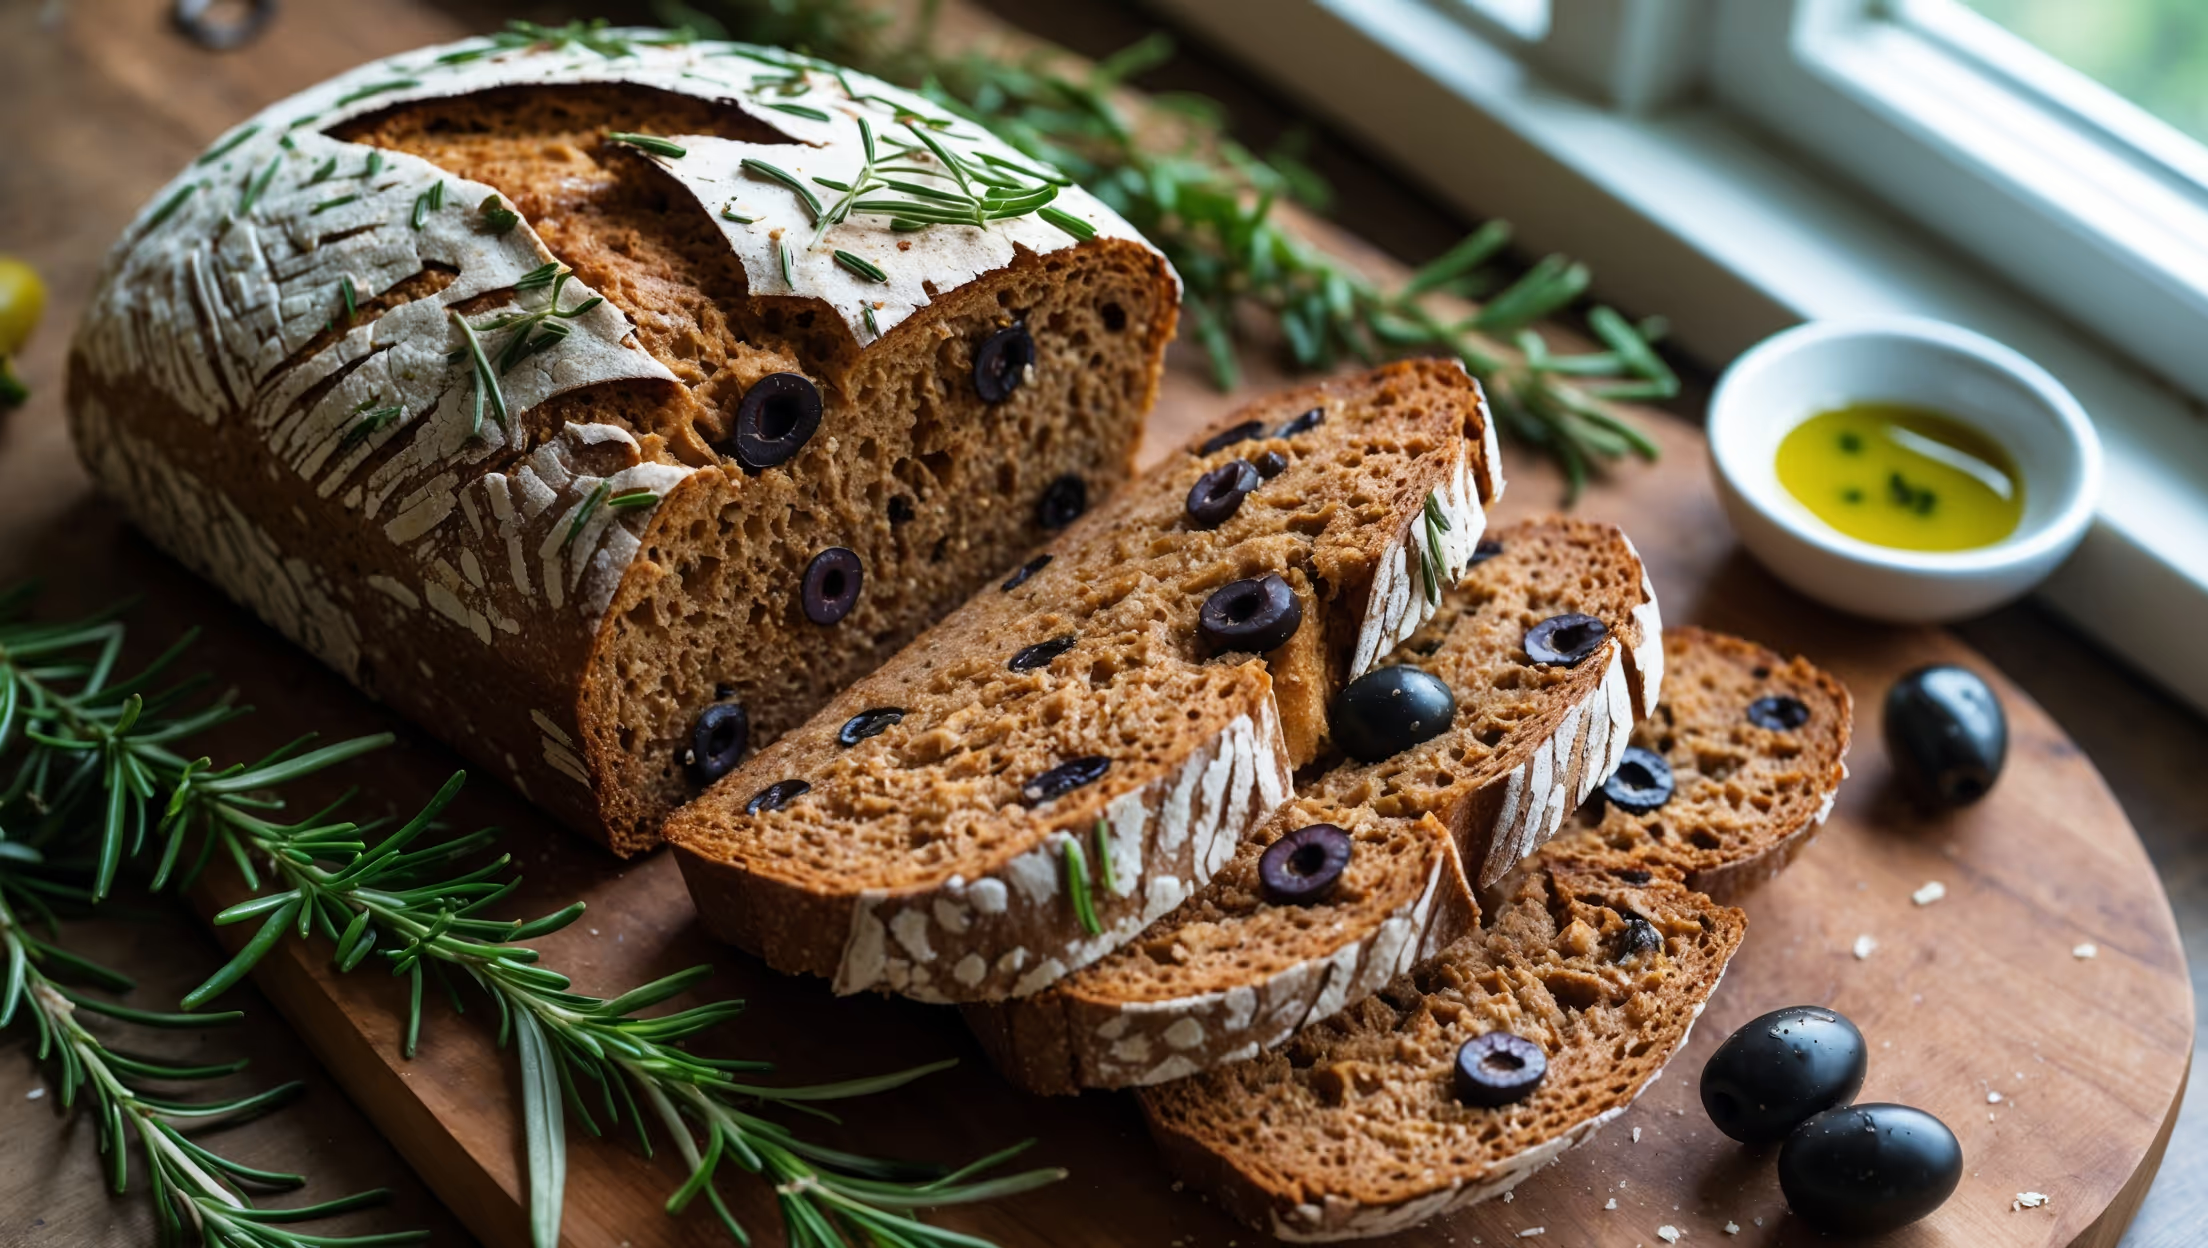
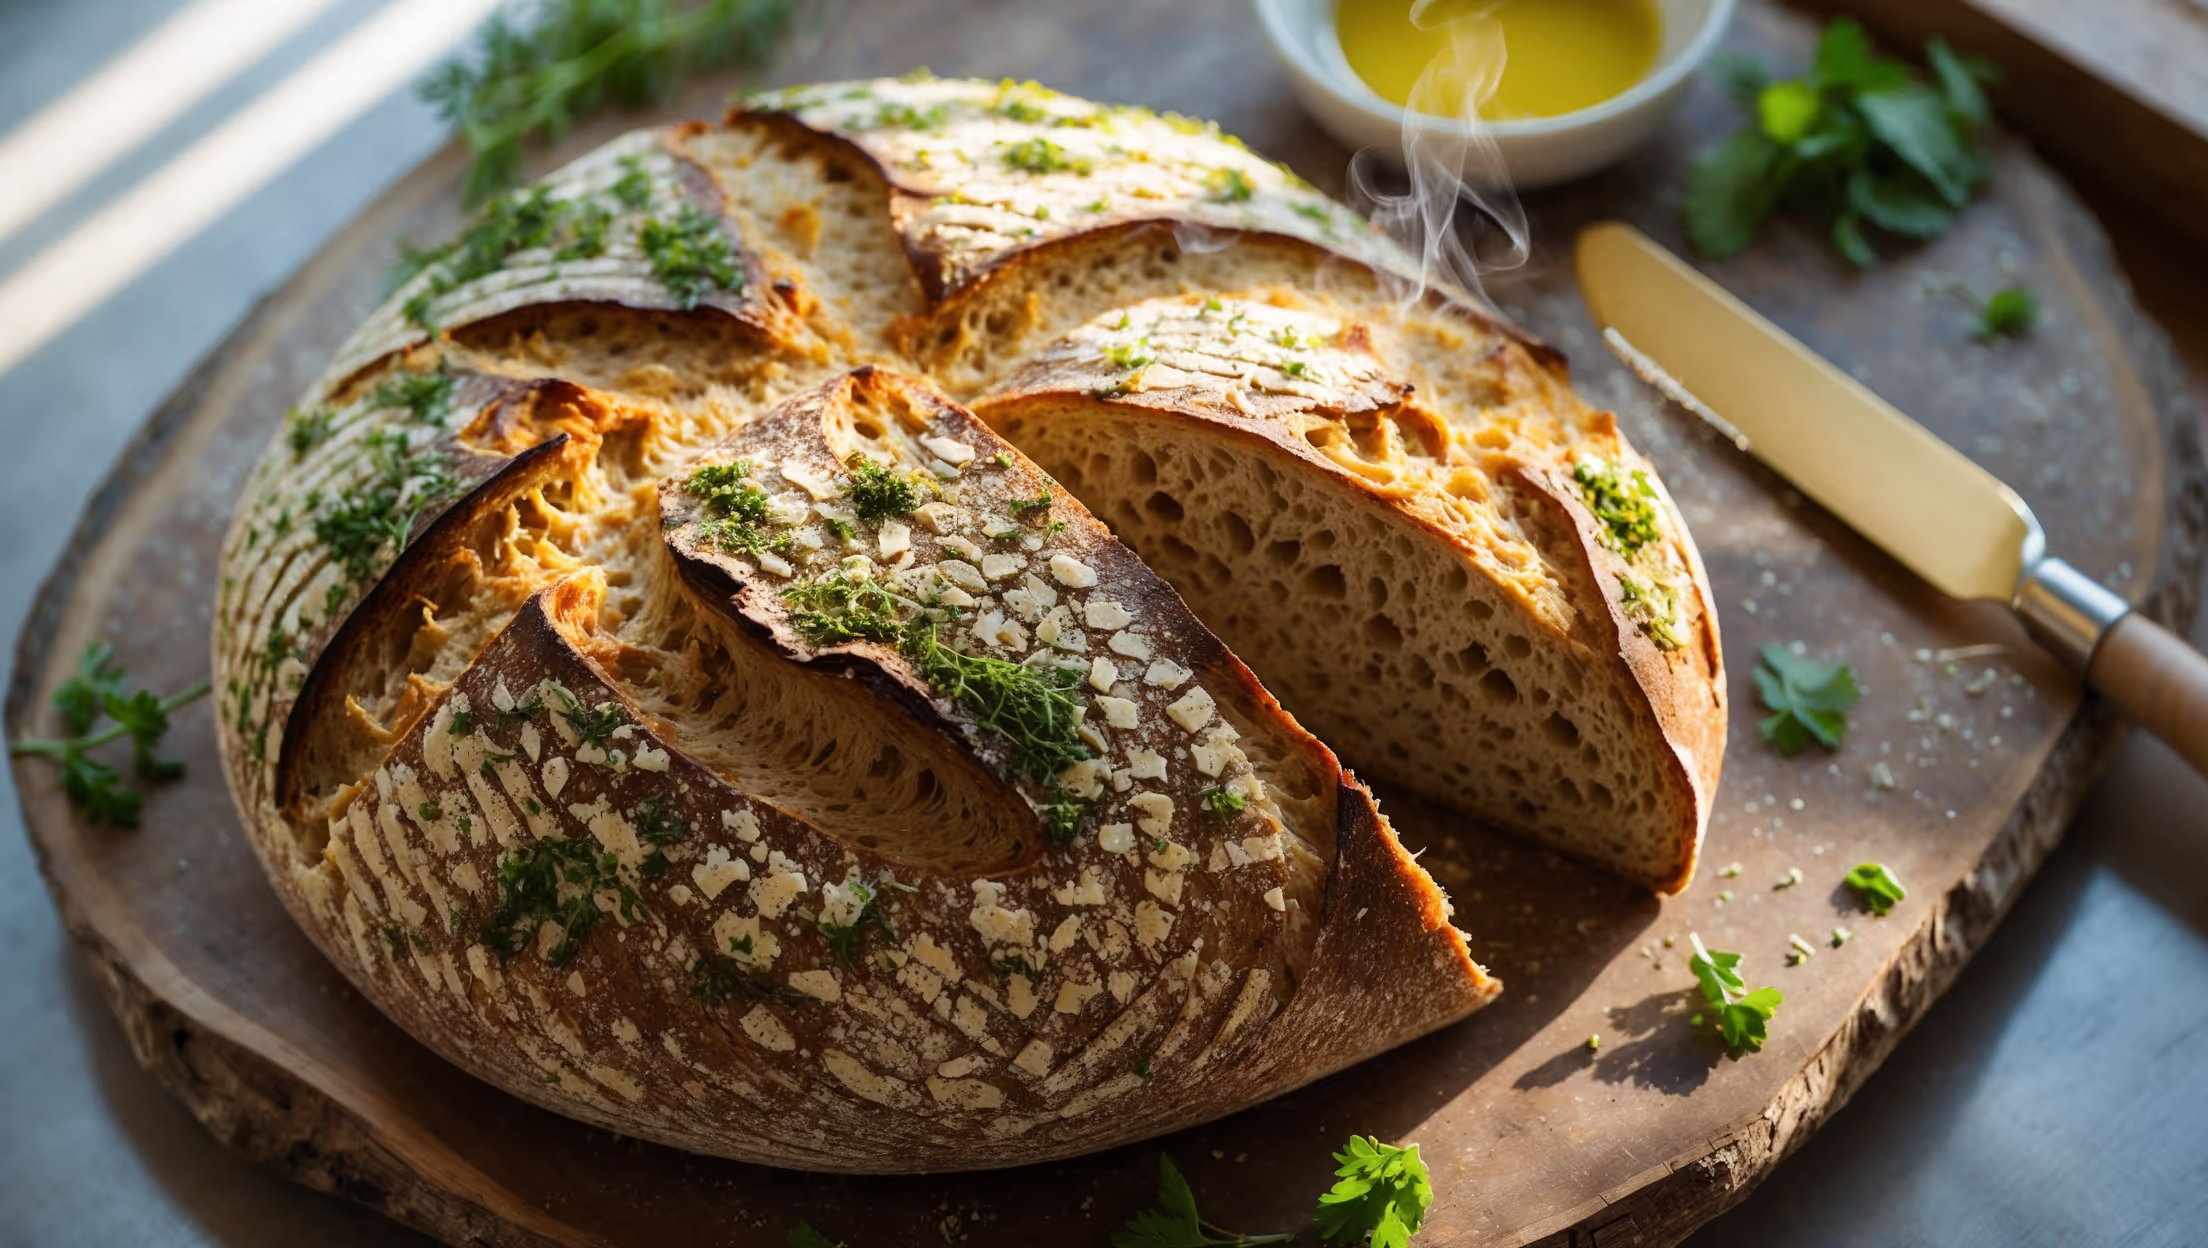
Directions
<ol class="no-list-style"><li class="MethodStepper"><h4 class="step-title">Step 1</h4>Begin by warming your coconut milk to about 43°C (110°F) – it should feel warm to the touch but not hot. Add the honey and stir until dissolved. Sprinkle the yeast over the mixture and let it sit for 5-10 minutes until foamy. This proofing step ensures your yeast is active and will properly leaven your bread.</li><li class="MethodStepper"><h4 class="step-title">Step 2</h4>In a large bowl or the bowl of your stand mixer, combine the whole wheat flour, all-purpose flour, shredded coconut, and salt. Mix thoroughly to ensure even distribution of ingredients – this prevents pockets of salt that could inhibit yeast activity.</li><li class="MethodStepper"><h4 class="step-title">Step 3</h4>Add the eggs, melted coconut oil, and vanilla extract to the yeast mixture and whisk until well combined. The fat from the eggs and coconut oil will help create a tender crumb in your finished bread.</li><li class="MethodStepper"><h4 class="step-title">Step 4</h4>Pour the wet ingredients into the dry ingredients. If using a stand mixer, attach the dough hook and mix on low speed for 2 minutes, then increase to medium-low and knead for 5-6 minutes until the dough becomes smooth and elastic. By hand, stir with a wooden spoon until a shaggy dough forms, then turn onto a lightly floured surface and knead for 8-10 minutes. The dough should be slightly tacky but not sticky – whole wheat flour absorbs moisture more slowly than white flour, so resist the urge to add too much extra flour.</li><li class="MethodStepper"><h4 class="step-title">Step 5</h4>Form the dough into a ball and place in a lightly oiled bowl, turning once to coat the surface. Cover with a damp cloth or plastic wrap and let rise in a warm, draft-free spot for about 1-1.5 hours, or until doubled in size. The slower rise develops better flavor and allows the whole wheat flour to fully hydrate.</li><li class="MethodStepper"><h4 class="step-title">Step 6</h4>Once doubled, gently punch down the dough to release excess air bubbles. Turn it onto a lightly floured surface and shape into a loaf by patting into a rectangle about 20cm wide (the width of your loaf tin) and rolling it up tightly. Pinch the seam and ends to seal.</li><li class="MethodStepper"><h4 class="step-title">Step 7</h4>Place the shaped dough seam-side down in a greased 23cm x 13cm (9×5-inch) loaf tin. Cover loosely and let rise again for 45-60 minutes, or until the dough has crowned about 2.5cm (1 inch) above the rim of the pan. Meanwhile, preheat your oven to 180°C (350°F).</li><li class="MethodStepper"><h4 class="step-title">Step 8</h4>If desired, brush the top of the loaf gently with a little water or milk and sprinkle with coconut flakes. Bake in the preheated oven for 40-45 minutes until deeply golden brown and the bread sounds hollow when tapped on the bottom (internal temperature should reach about 90°C/195°F).</li><li class="MethodStepper"><h4 class="step-title">Step 9</h4>Remove from the oven and let cool in the tin for 10 minutes, then transfer to a wire rack to cool completely before slicing. This cooling period is crucial – cutting too soon will result in a gummy texture as the starches haven't had time to set.</li><li class="MethodStepper"><h4 class="step-title">Step 10</h4>Once cooled, slice with a serrated knife. Store in an airtight container at room temperature for up to 3 days, or freeze slices wrapped individually for up to 3 months. This bread makes wonderful toast and is perfect with both sweet and savory toppings!</li></ol>