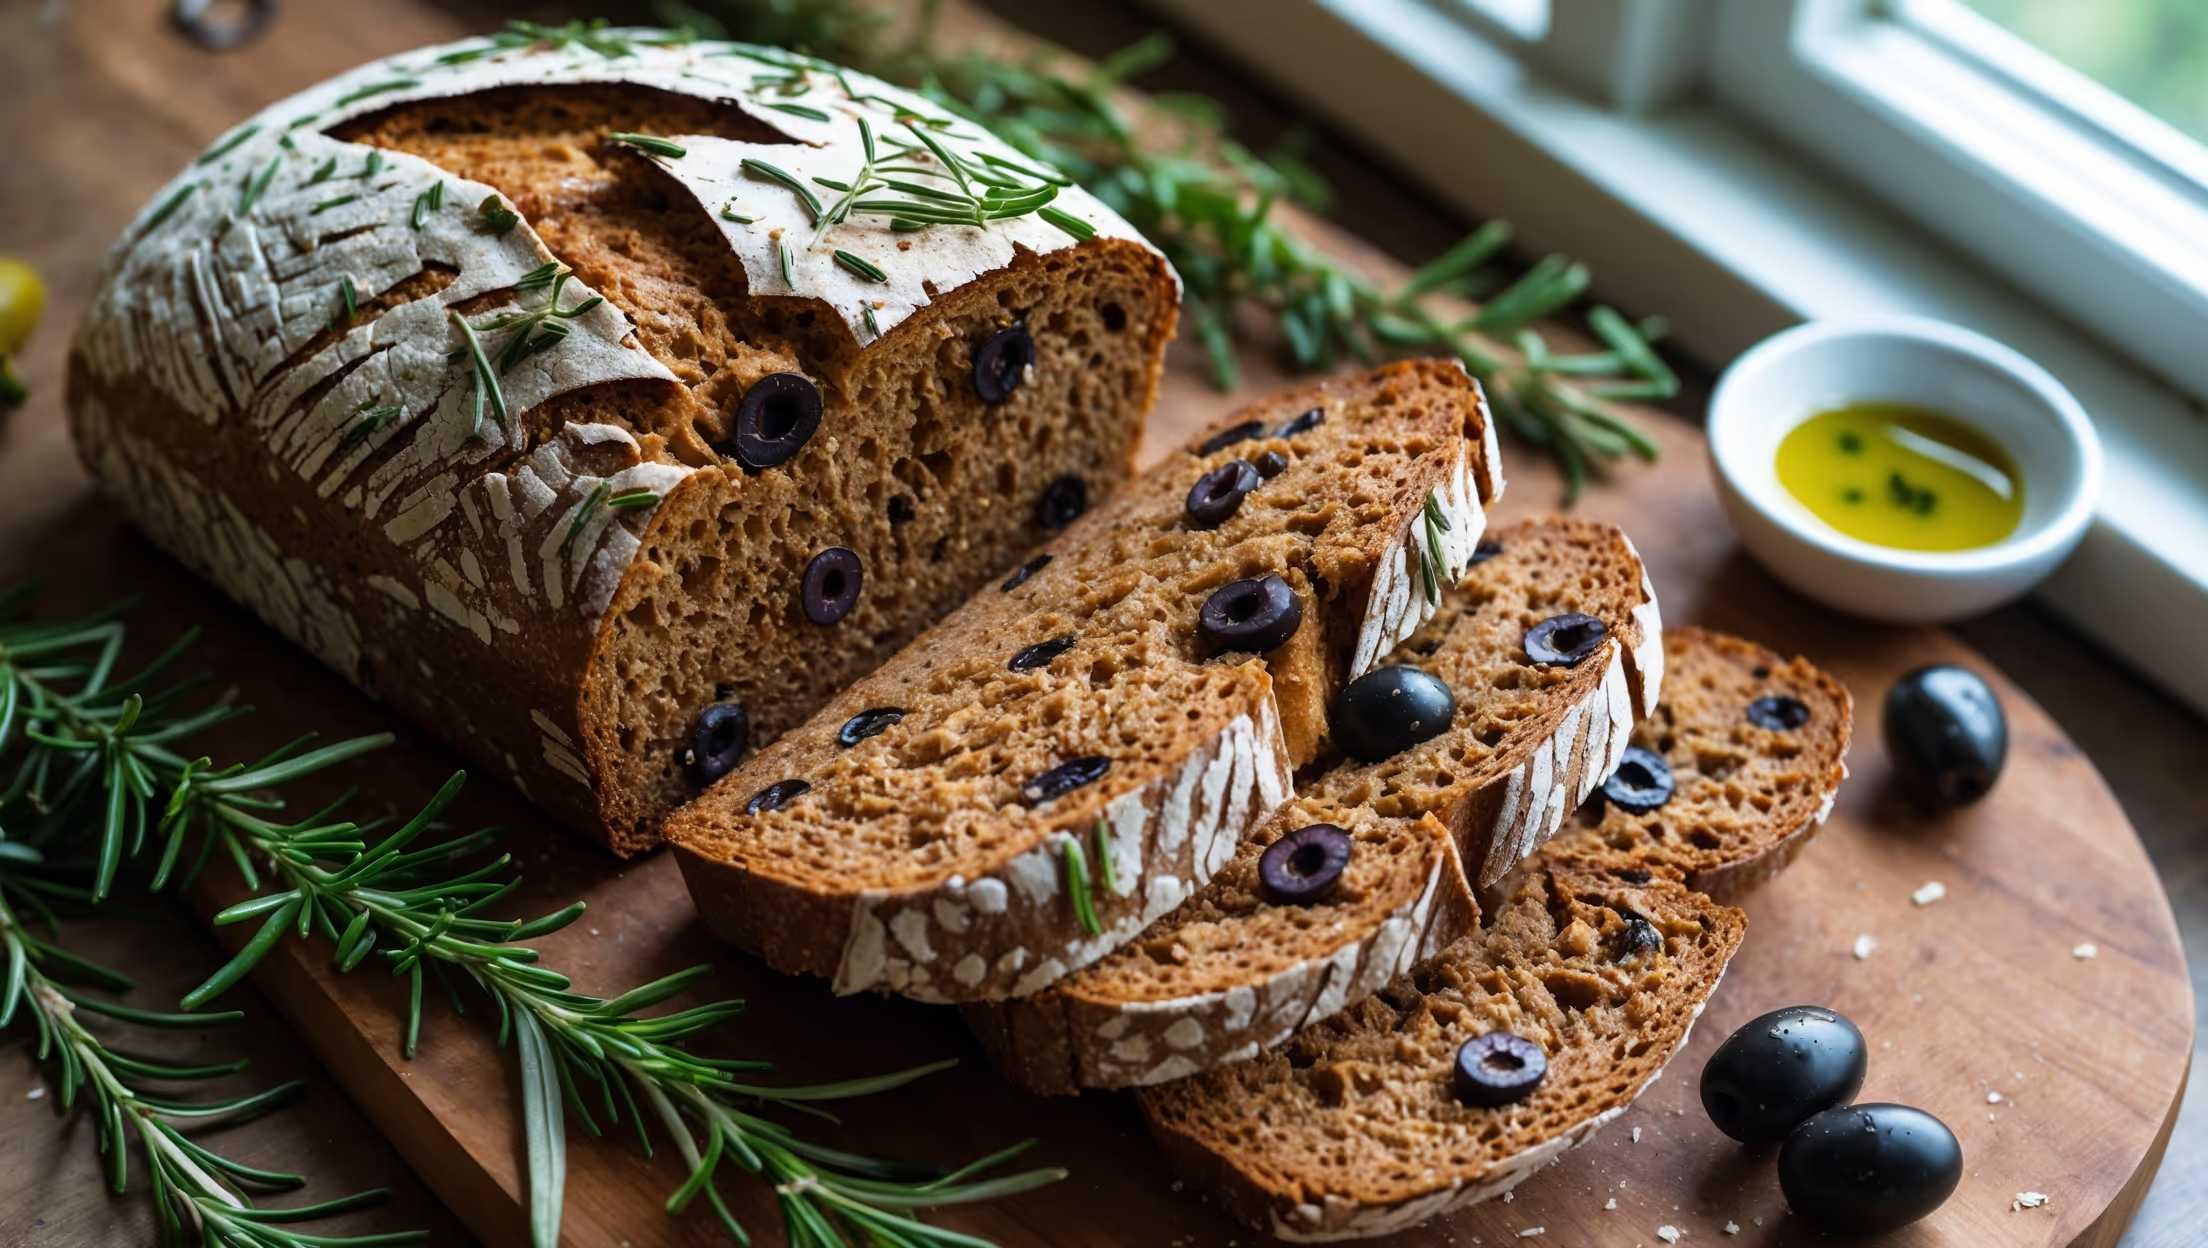
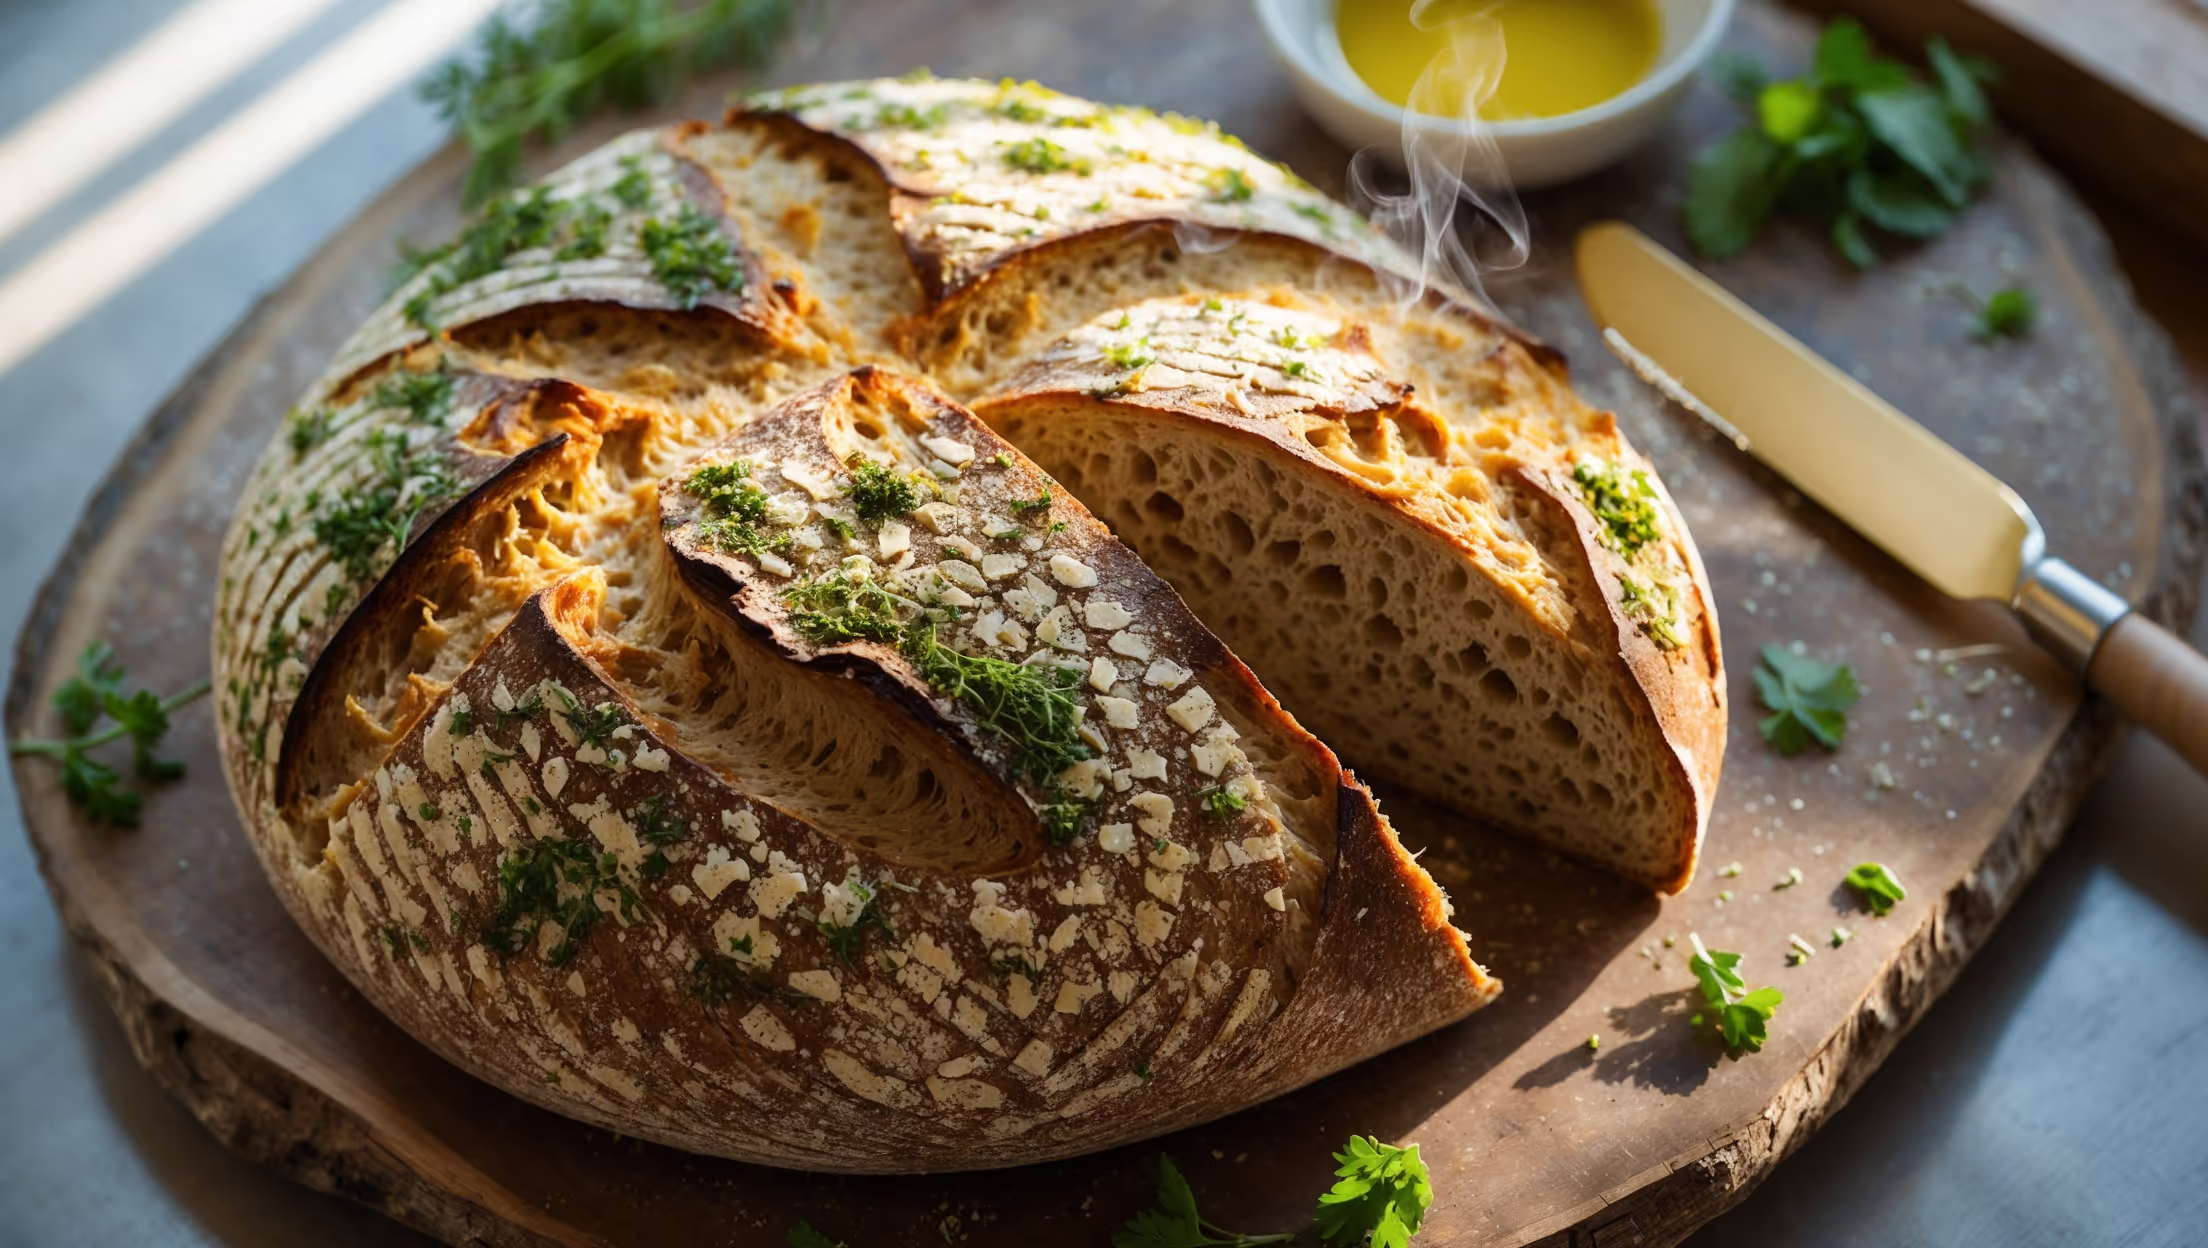
Directions
<ol class="no-list-style"><li class="MethodStepper"><h4 class="step-title">Step 1</h4>In a large bowl, combine the warm water (43°C/110°F) with honey and sprinkle the yeast over the surface. Let it sit for 5-10 minutes until foamy and activated. This proofing step ensures your yeast is alive and will help your bread rise properly.</li><li class="MethodStepper"><h4 class="step-title">Step 2</h4>While the yeast activates, whisk together the whole wheat flour, salt, and vital wheat gluten (if using) in a separate bowl. The vital wheat gluten is optional but helps create a better structure in whole wheat bread, as whole wheat flour has less gluten-forming potential than white flour.</li><li class="MethodStepper"><h4 class="step-title">Step 3</h4>Once the yeast mixture is foamy, add the olive oil and stir. Gradually add the flour mixture, stirring until a shaggy dough forms. If using a stand mixer, switch to the dough hook attachment; otherwise, transfer to a floured surface for hand kneading.</li><li class="MethodStepper"><h4 class="step-title">Step 4</h4>Knead the dough for 8-10 minutes by machine or 10-12 minutes by hand, until it becomes smooth, elastic, and slightly tacky but not sticky. Whole wheat dough will feel different from white dough - it may never become as smooth, but it should still be pliable and elastic. To test if kneading is complete, perform the window pane test by stretching a small piece thin enough to see light through without tearing.</li><li class="MethodStepper"><h4 class="step-title">Step 5</h4>Form the dough into a ball and place in a lightly oiled bowl, turning once to coat. Cover with a damp cloth or plastic wrap and let rise in a warm place (about 24-27°C/75-80°F) for 60-90 minutes, until doubled in size. For better flavor development, you can opt for a slow rise in the refrigerator overnight.</li><li class="MethodStepper"><h4 class="step-title">Step 6</h4>Once risen, gently punch down the dough to release air bubbles. Turn onto a lightly floured surface and shape into a rectangle roughly the length of your loaf pan. Fold the long sides toward the center like a business letter, then roll tightly from one short end to form a loaf. Pinch the seam and ends to seal.</li><li class="MethodStepper"><h4 class="step-title">Step 7</h4>Place the shaped loaf seam-side down in a greased 9x5 inch loaf pan. Cover loosely and let rise again for 45-60 minutes, until the dough has crowned about 2.5cm (1 inch) above the rim of the pan. Meanwhile, preheat your oven to 190°C (375°F).</li><li class="MethodStepper"><h4 class="step-title">Step 8</h4>Just before baking, you can brush the top with a little water and sprinkle with oats or seeds if desired. Make a shallow slash down the center with a sharp knife or razor to control expansion during baking.</li><li class="MethodStepper"><h4 class="step-title">Step 9</h4>Bake for 35-40 minutes until deeply golden brown. The bread is done when it sounds hollow when tapped on the bottom, or when an instant-read thermometer inserted into the center registers 93-96°C (200-205°F). If the top browns too quickly, tent loosely with aluminum foil.</li><li class="MethodStepper"><h4 class="step-title">Step 10</h4>Remove from the oven and immediately turn out onto a wire rack to cool completely, at least 1 hour before slicing. Cutting hot bread releases steam and can result in a gummy texture, so patience here is key to perfect texture.</li><li class="MethodStepper"><h4 class="step-title">Step 11</h4>Store your bread at room temperature in a bread bag or wrapped in cloth for up to 3 days. For longer storage, slice and freeze in an airtight container for up to 3 months, toasting slices as needed directly from frozen.</li></ol>