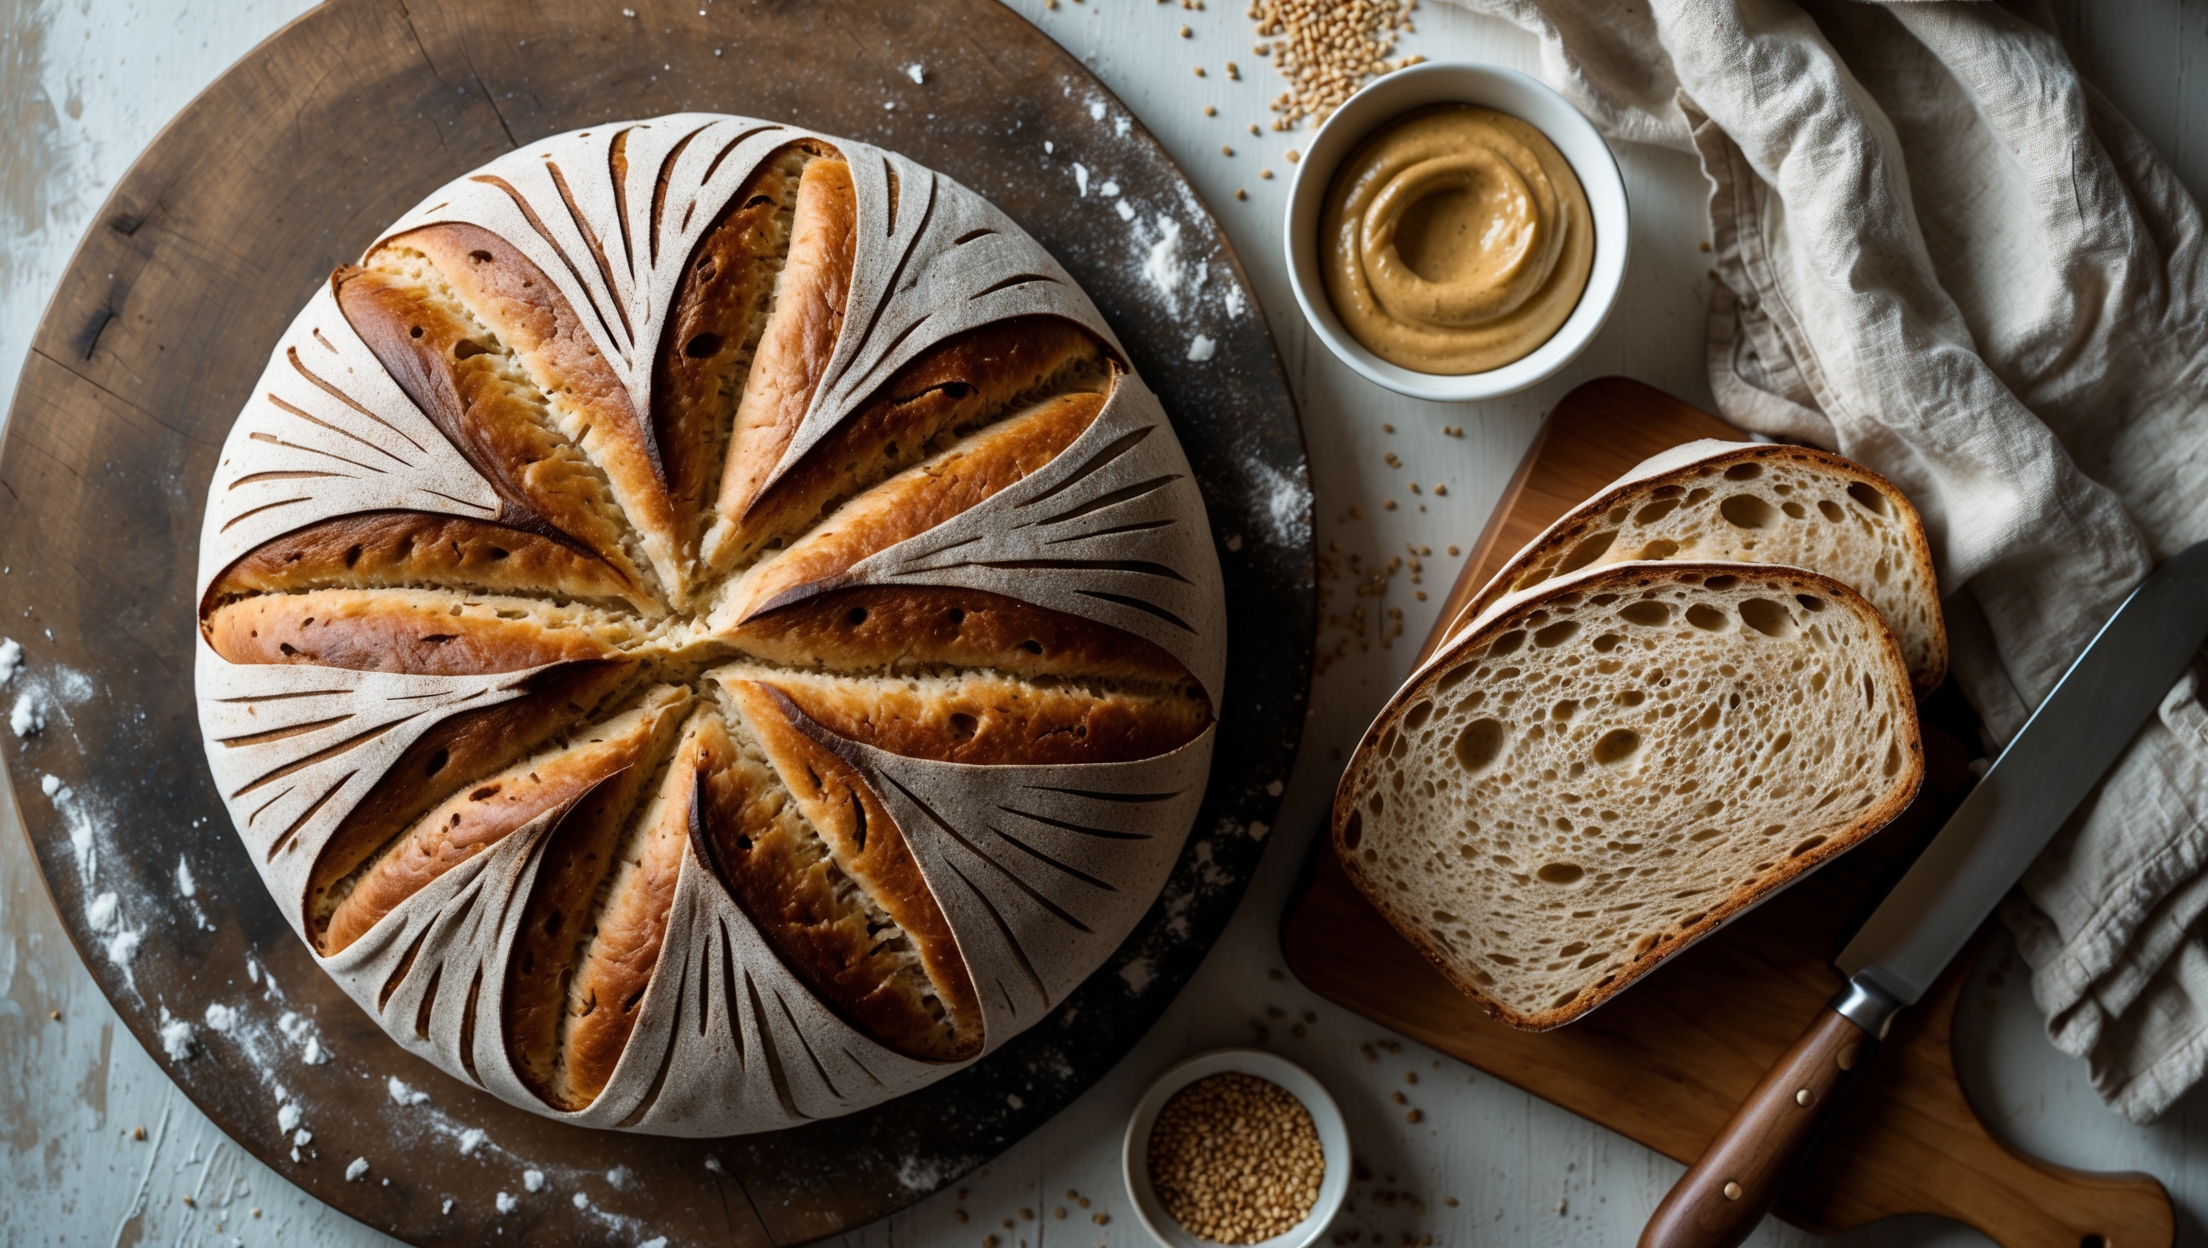
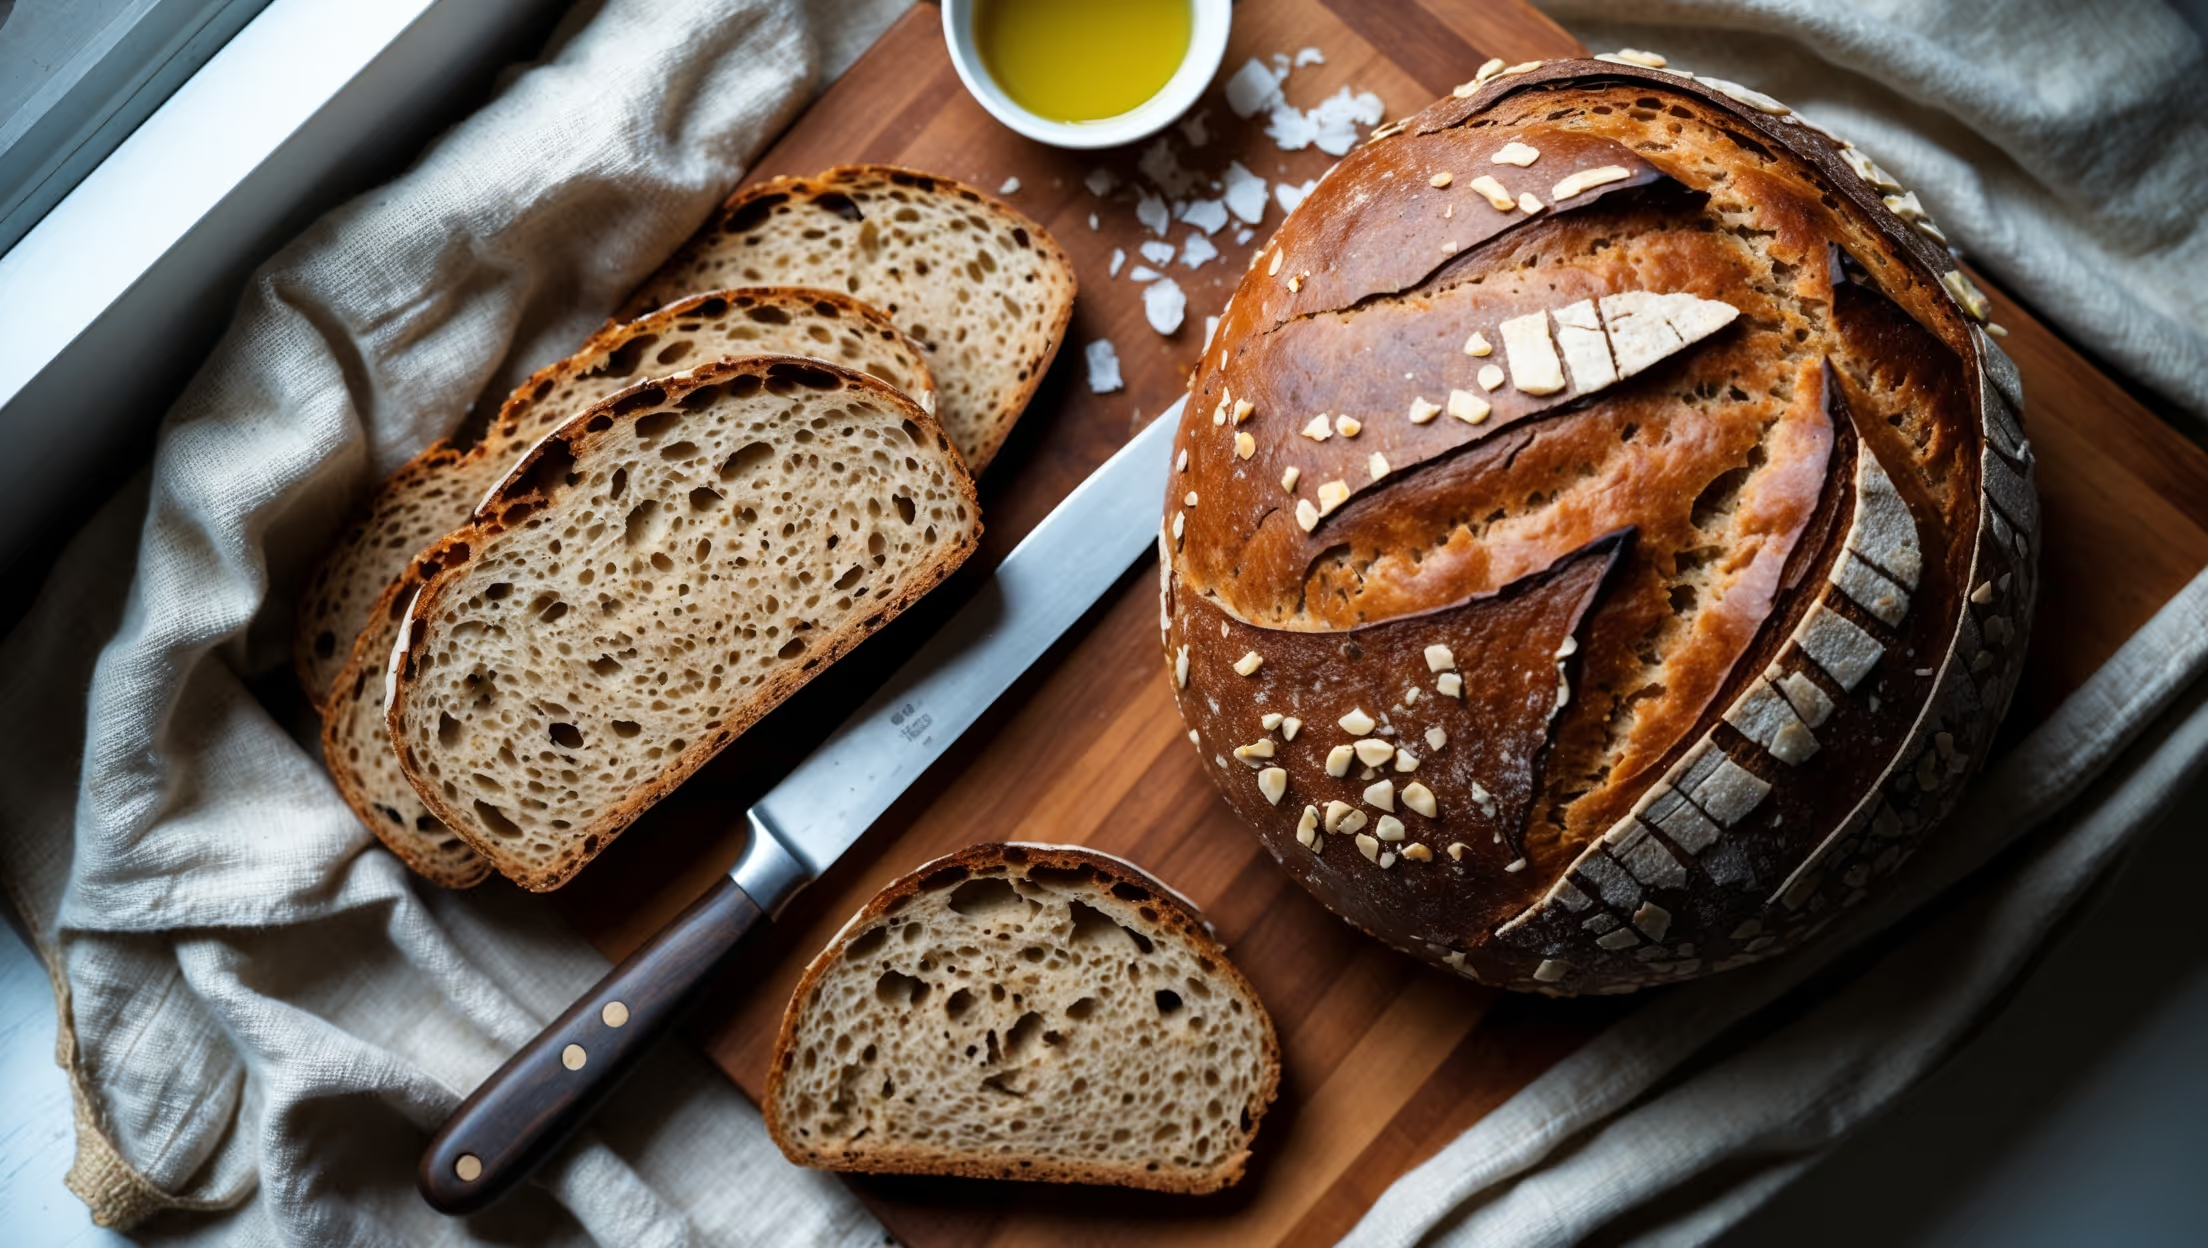
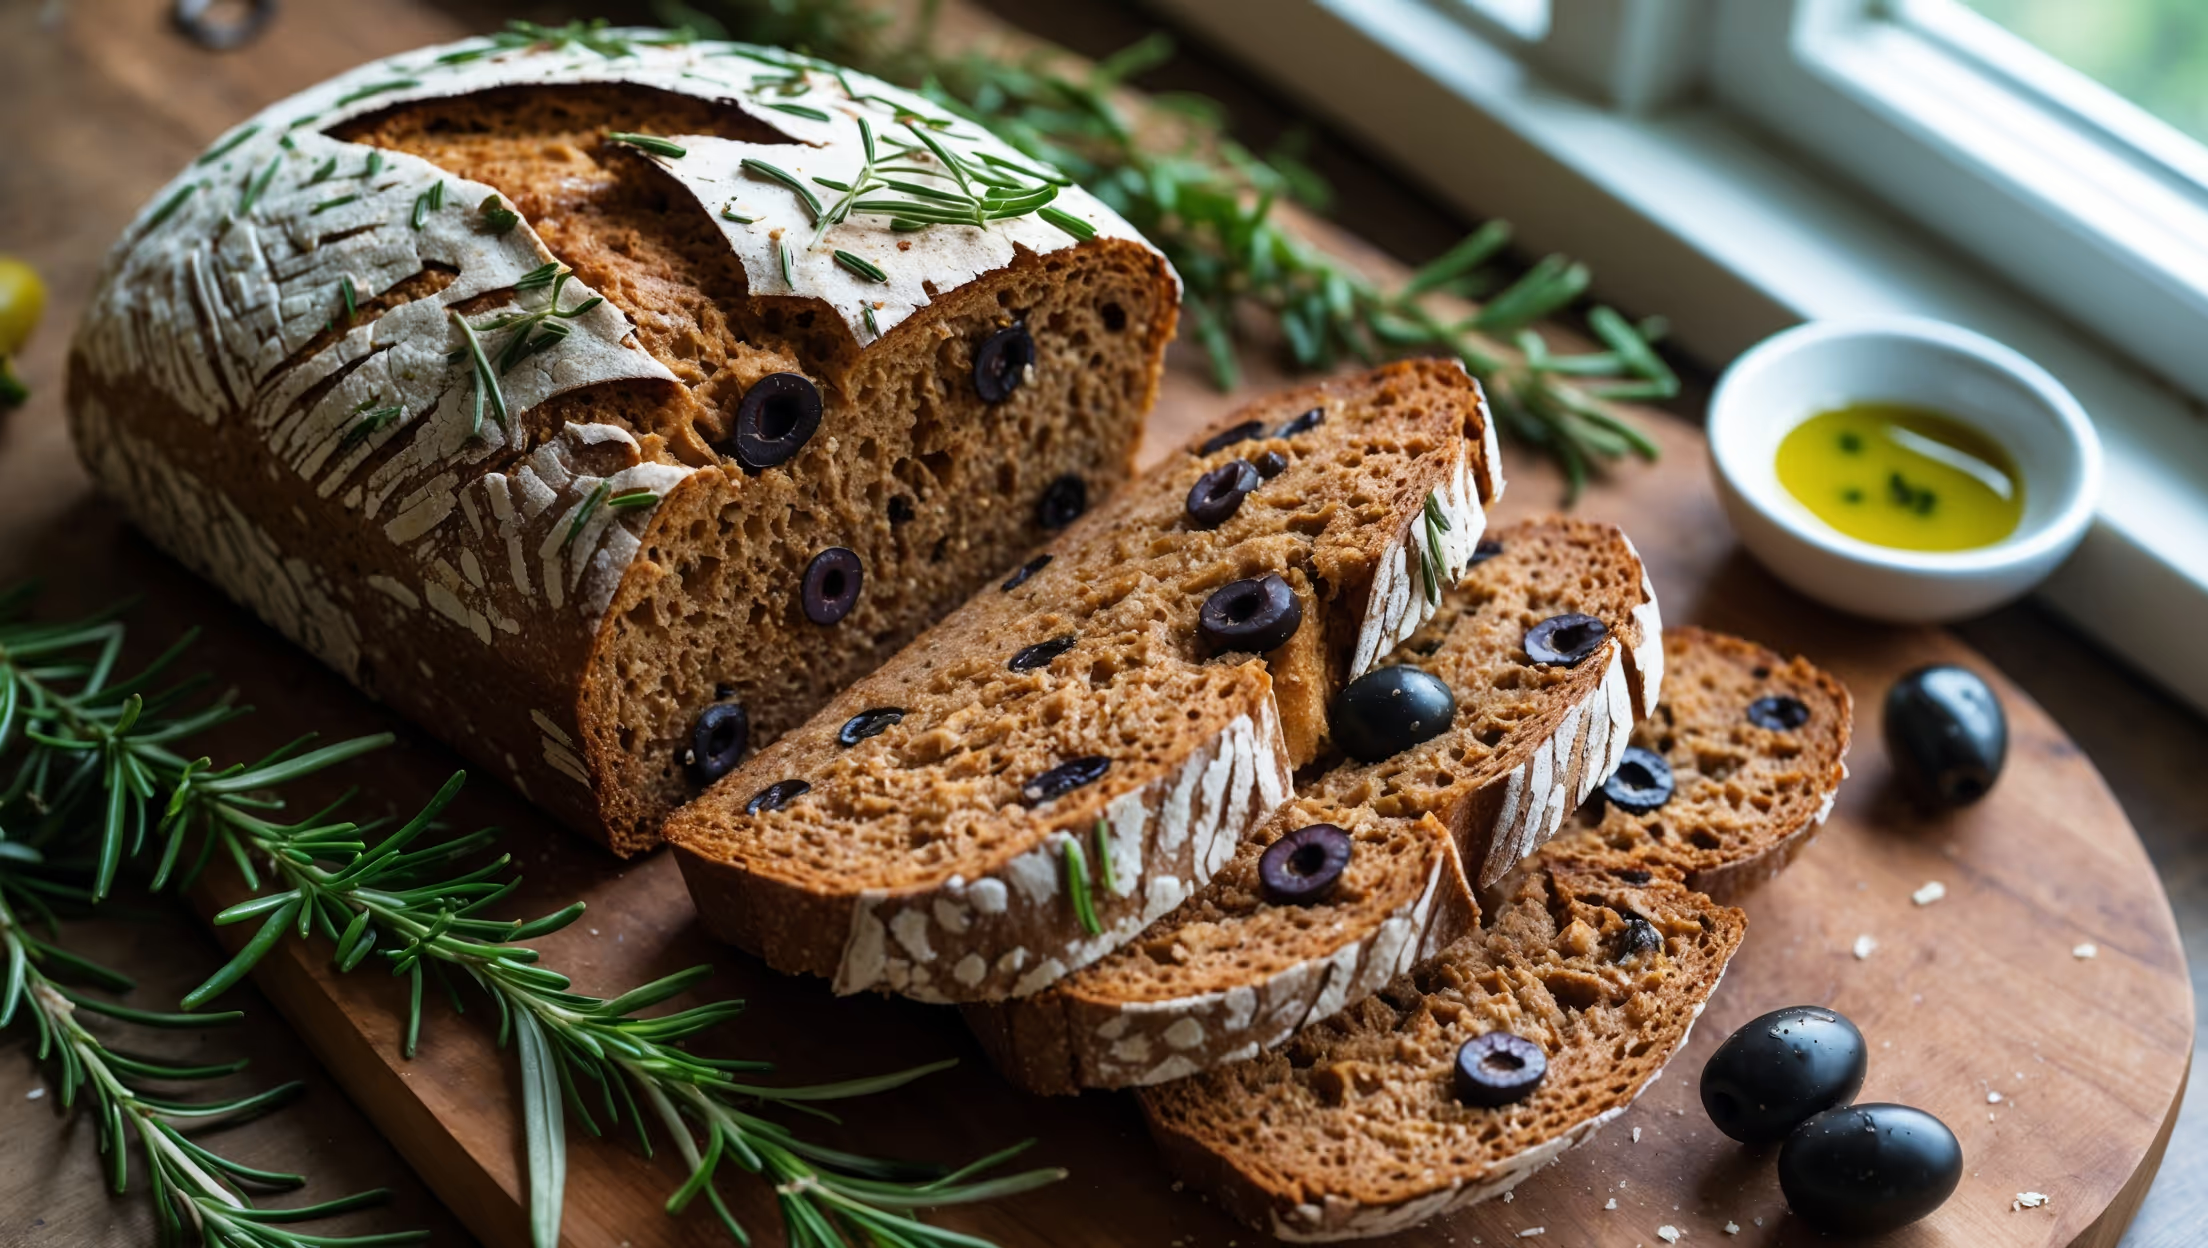
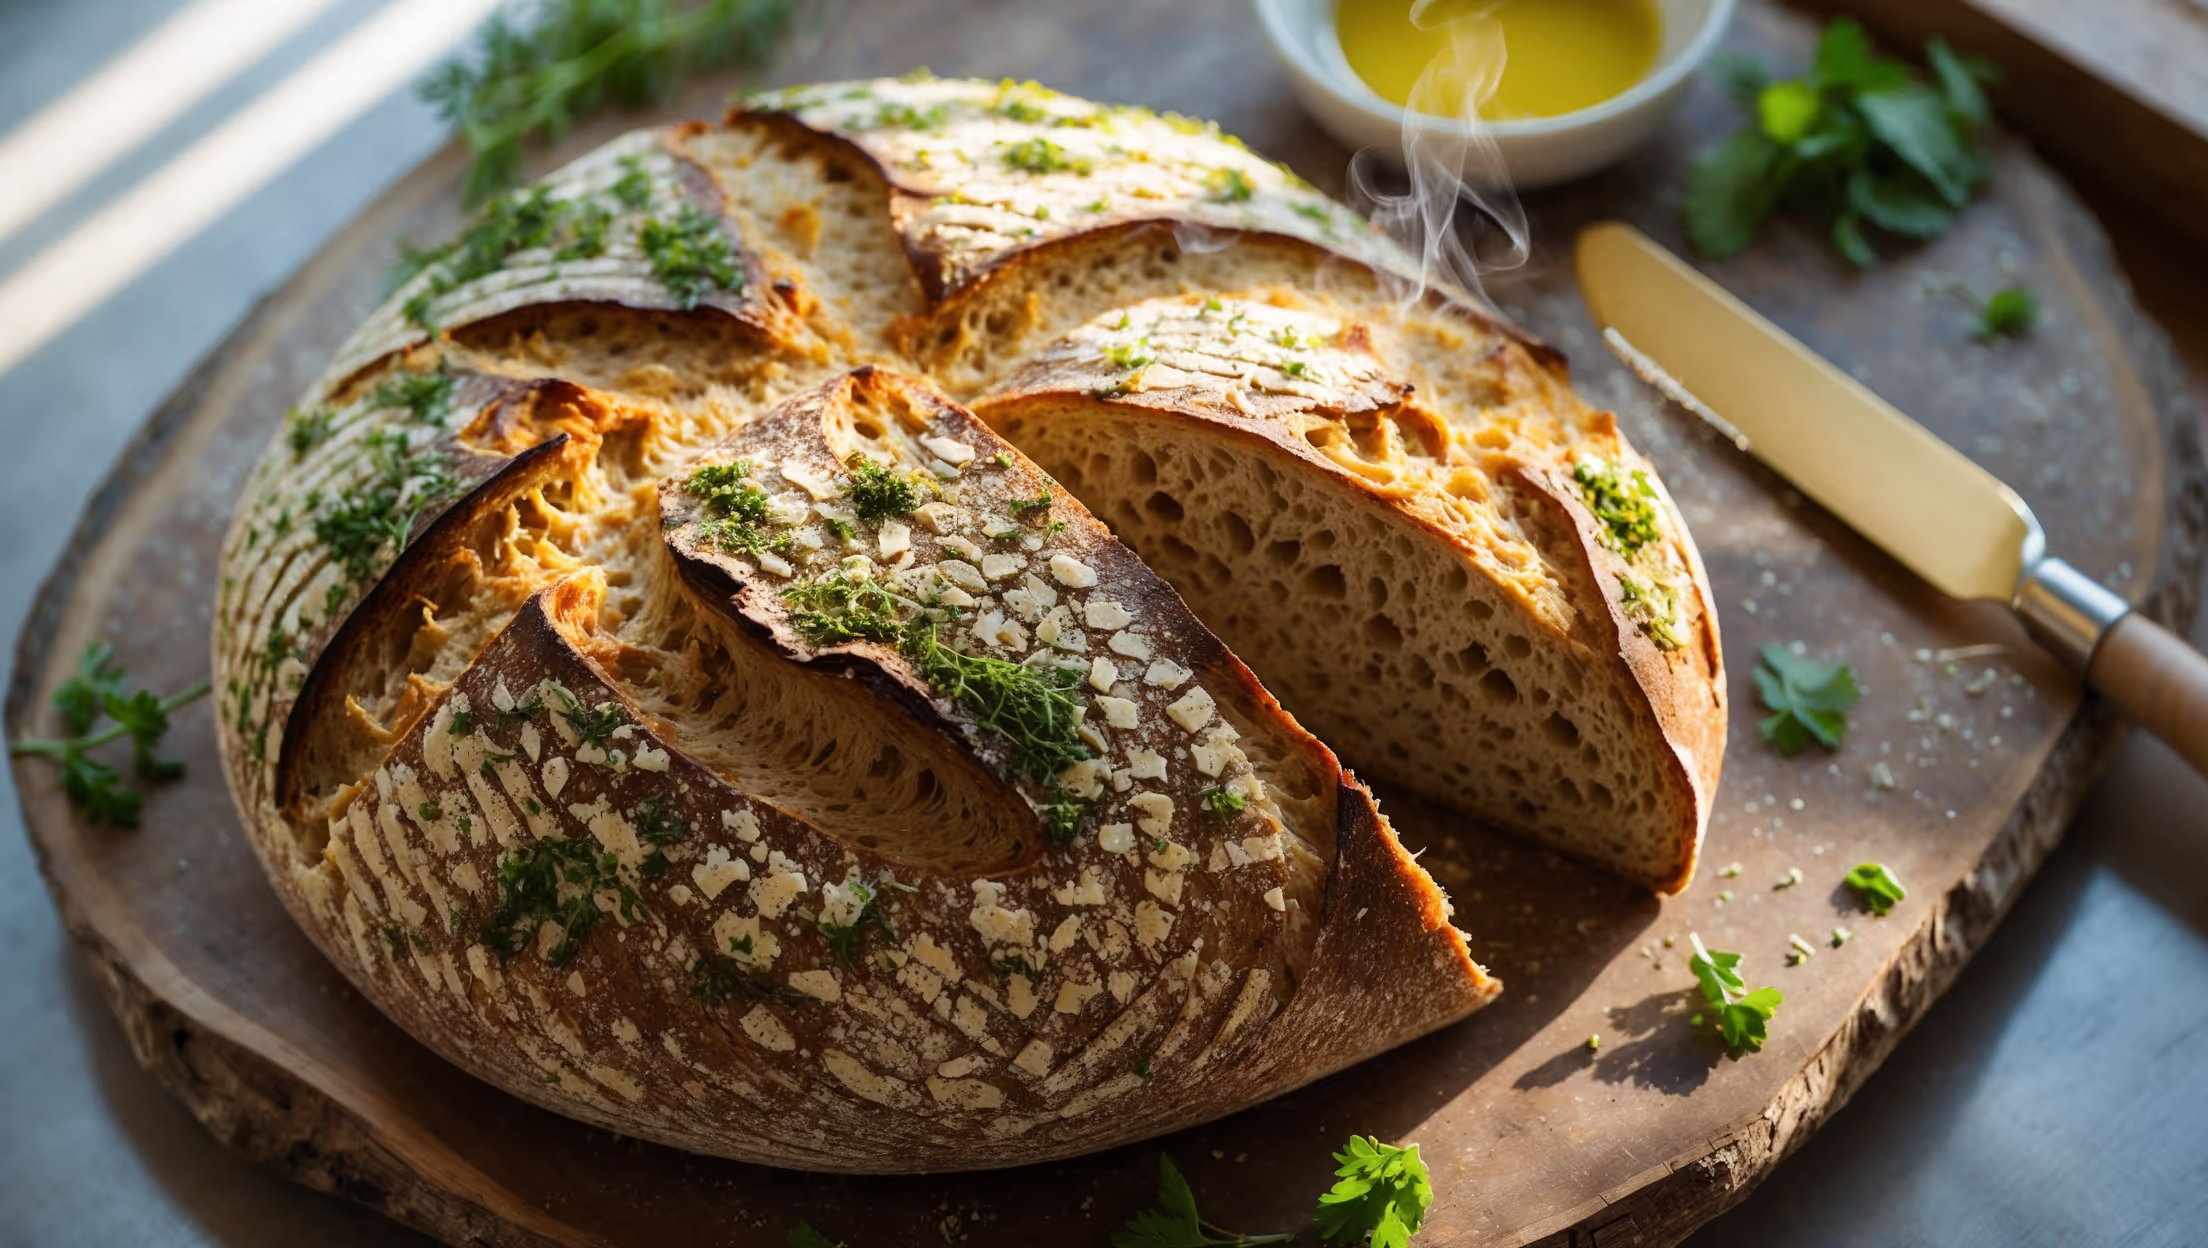
Directions
<ol class="no-list-style"><li class="MethodStepper"><h4 class="step-title">Step 1</h4>In a large mixing bowl, combine the whole wheat flour, bread flour, and salt. Whisk together thoroughly to ensure even distribution of the salt, which is crucial for proper fermentation and flavor development.</li><li class="MethodStepper"><h4 class="step-title">Step 2</h4>In a separate small bowl, dissolve the yeast and honey in the warm water. Let it sit for about 5-10 minutes until foamy. This indicates your yeast is active and ready to work its magic. The temperature of the water is critical – too hot will kill the yeast, too cold will make it sluggish.</li><li class="MethodStepper"><h4 class="step-title">Step 3</h4>Make a well in the center of your flour mixture and pour in the yeast mixture and olive oil. Using a wooden spoon or your hands, mix until a shaggy dough forms. The whole wheat flour absorbs moisture differently than refined flour, so be patient with this process.</li><li class="MethodStepper"><h4 class="step-title">Step 4</h4>Add the ground cardamom to the dough and knead for 8-10 minutes by hand on a lightly floured surface (or 5-6 minutes with a stand mixer fitted with a dough hook). The dough should become smooth and elastic, though it will remain somewhat tacky due to the whole grains. The cardamom needs this kneading time to release its aromatic oils throughout the dough.</li><li class="MethodStepper"><h4 class="step-title">Step 5</h4>Gently fold in the chopped dried figs until evenly distributed throughout the dough. Be careful not to tear the dough as you incorporate them. If the figs are very dry, you can soak them in warm water for 10 minutes and pat dry before adding to make them more tender in the finished bread.</li><li class="MethodStepper"><h4 class="step-title">Step 6</h4>Place the dough in a lightly oiled bowl, cover with a damp cloth or plastic wrap, and let it rise in a warm, draft-free area for 1.5-2 hours, or until doubled in size. Whole grain doughs typically take longer to rise than white flour doughs due to the bran cutting through the gluten strands.</li><li class="MethodStepper"><h4 class="step-title">Step 7</h4>Once doubled, gently punch down the dough to release excess air bubbles. Turn onto a lightly floured surface and shape into a round loaf. The key here is to create tension on the surface of the dough by pulling the edges toward the bottom and pinching them together.</li><li class="MethodStepper"><h4 class="step-title">Step 8</h4>Place the shaped dough, seam side up, in a floured proofing basket or a bowl lined with a well-floured kitchen towel. Cover and let rise again for about 45-60 minutes, or until the dough springs back slowly when gently poked with a finger.</li><li class="MethodStepper"><h4 class="step-title">Step 9</h4>While the dough is on its second rise, preheat your oven to 230°C (450°F). If using a Dutch oven, place it in the oven during preheating. This high initial temperature creates steam that contributes to a beautiful crust.</li><li class="MethodStepper"><h4 class="step-title">Step 10</h4>When ready to bake, gently turn the dough out onto a piece of parchment paper. Brush the top lightly with water and sprinkle with rolled oats, gently pressing them into the surface so they adhere.</li><li class="MethodStepper"><h4 class="step-title">Step 11</h4>Using a sharp knife or bread lame, score the top of the loaf with a pattern of your choice. This isn't just decorative – scoring allows the bread to expand properly during baking and controls where the steam escapes.</li><li class="MethodStepper"><h4 class="step-title">Step 12</h4>Carefully transfer the dough on the parchment paper to the preheated Dutch oven (or onto a baking stone). Cover with the lid if using a Dutch oven. Bake for 20 minutes covered, then remove the lid and reduce the temperature to 200°C (400°F). Continue baking for another 20-25 minutes until the crust is deep golden brown and the bread sounds hollow when tapped on the bottom.</li><li class="MethodStepper"><h4 class="step-title">Step 13</h4>Transfer the baked bread to a wire rack and let it cool completely before slicing, at least 1-2 hours. This resting period is crucial as the bread continues to cook internally and the crumb structure sets. Cutting too soon will result in a gummy texture.</li><li class="MethodStepper"><h4 class="step-title">Step 14</h4>Once cooled, slice and enjoy with a spread of butter, honey, or alongside your favorite cheese. The cardamom flavor will have mellowed beautifully while still imparting its distinctive warmth, and the figs will add bursts of natural sweetness throughout the hearty loaf.</li></ol>