Brown Rice Flour Bread Recipe
Ingredients
Equipment
Directions
FAQs
Find answers to your most pressing questions about this delicious recipe right here.
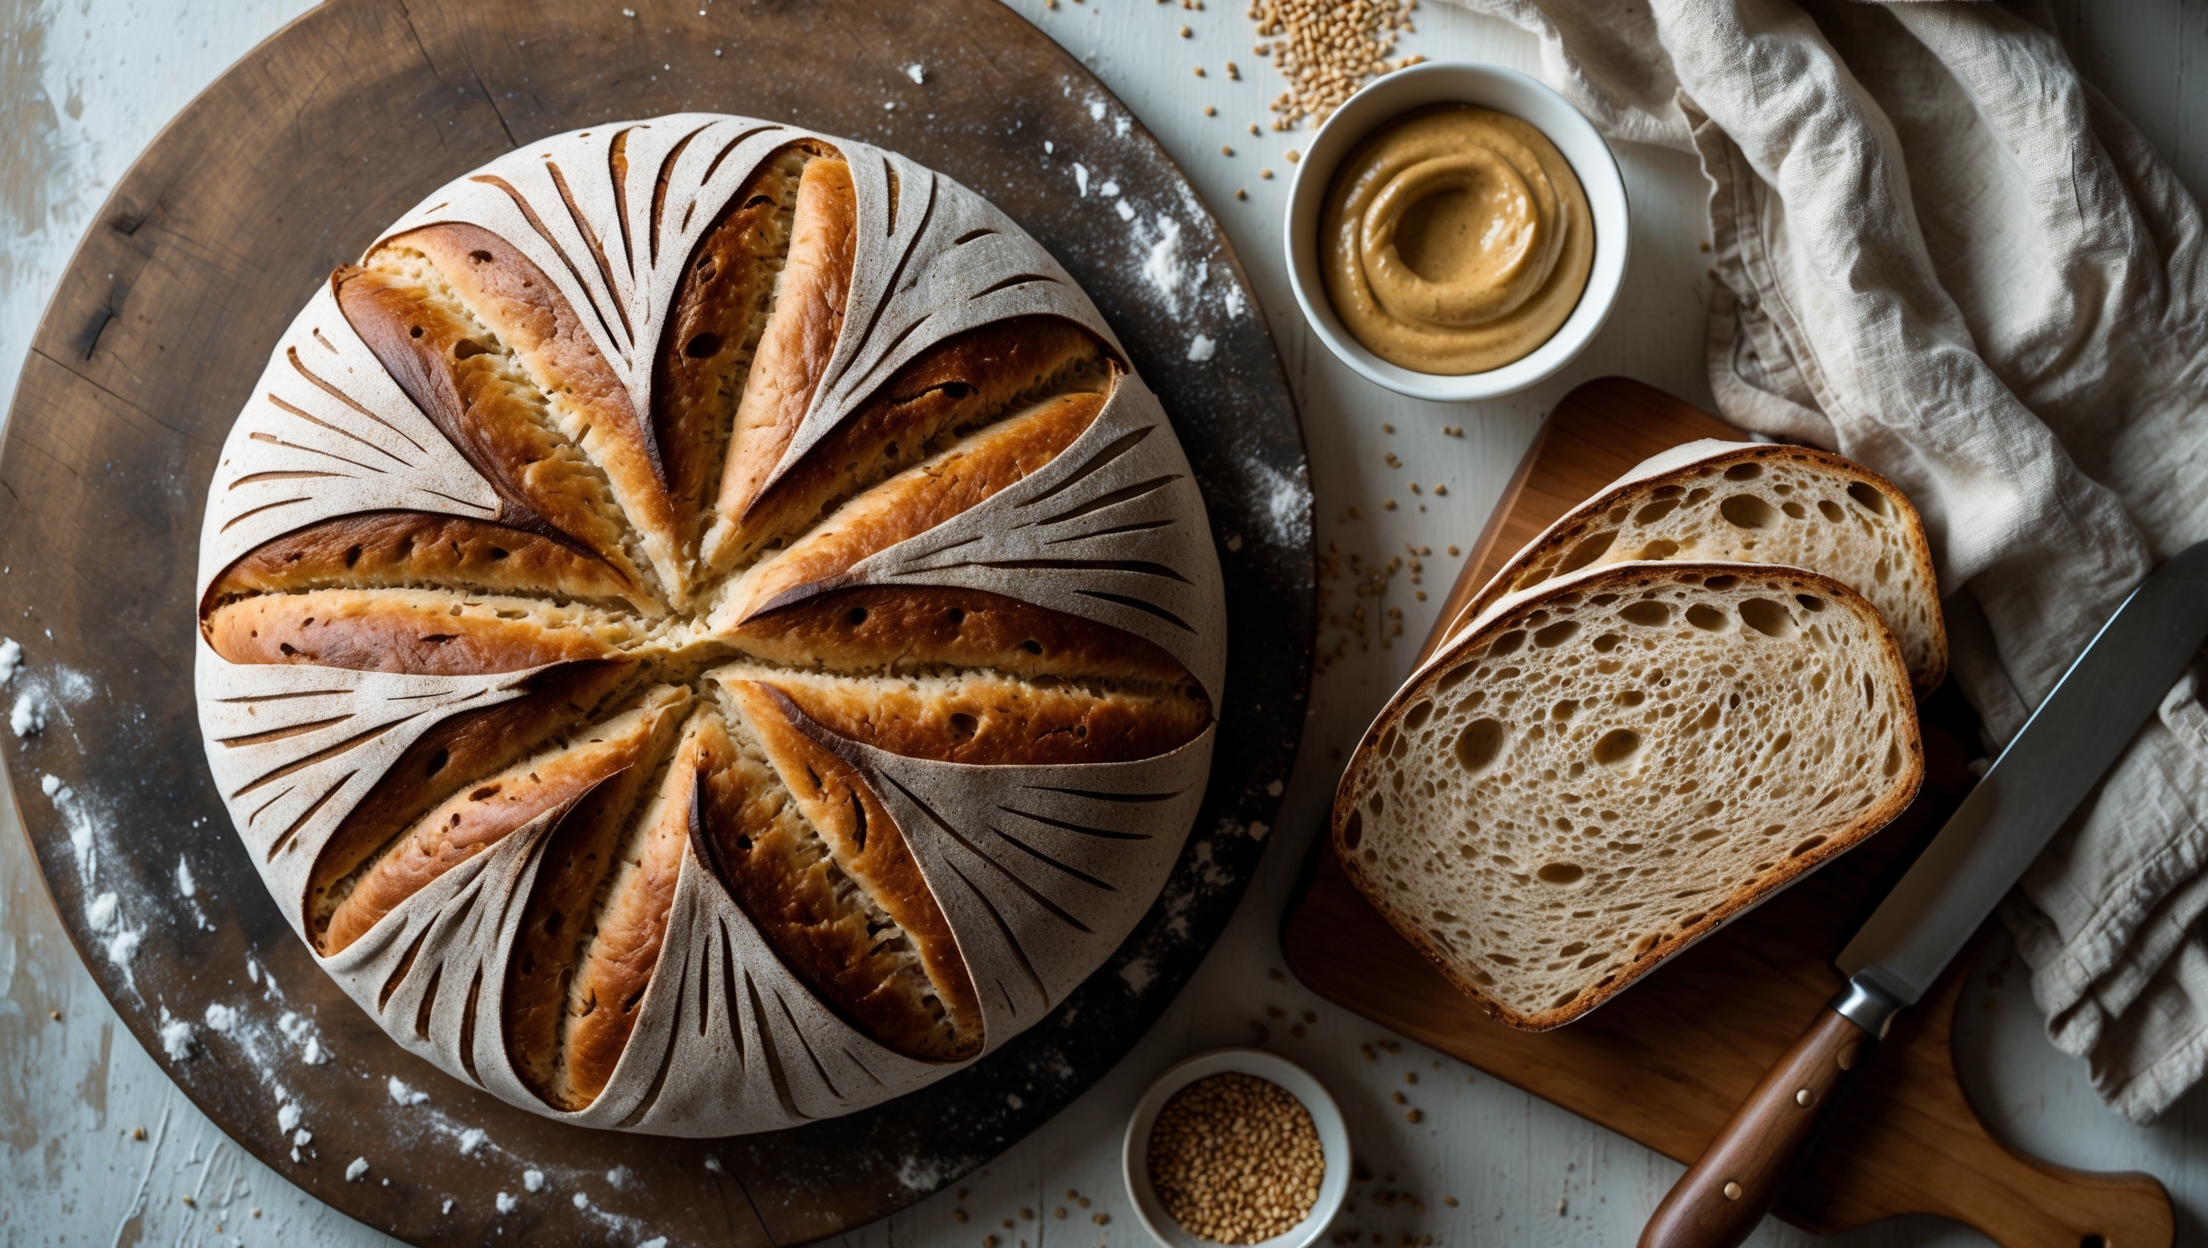
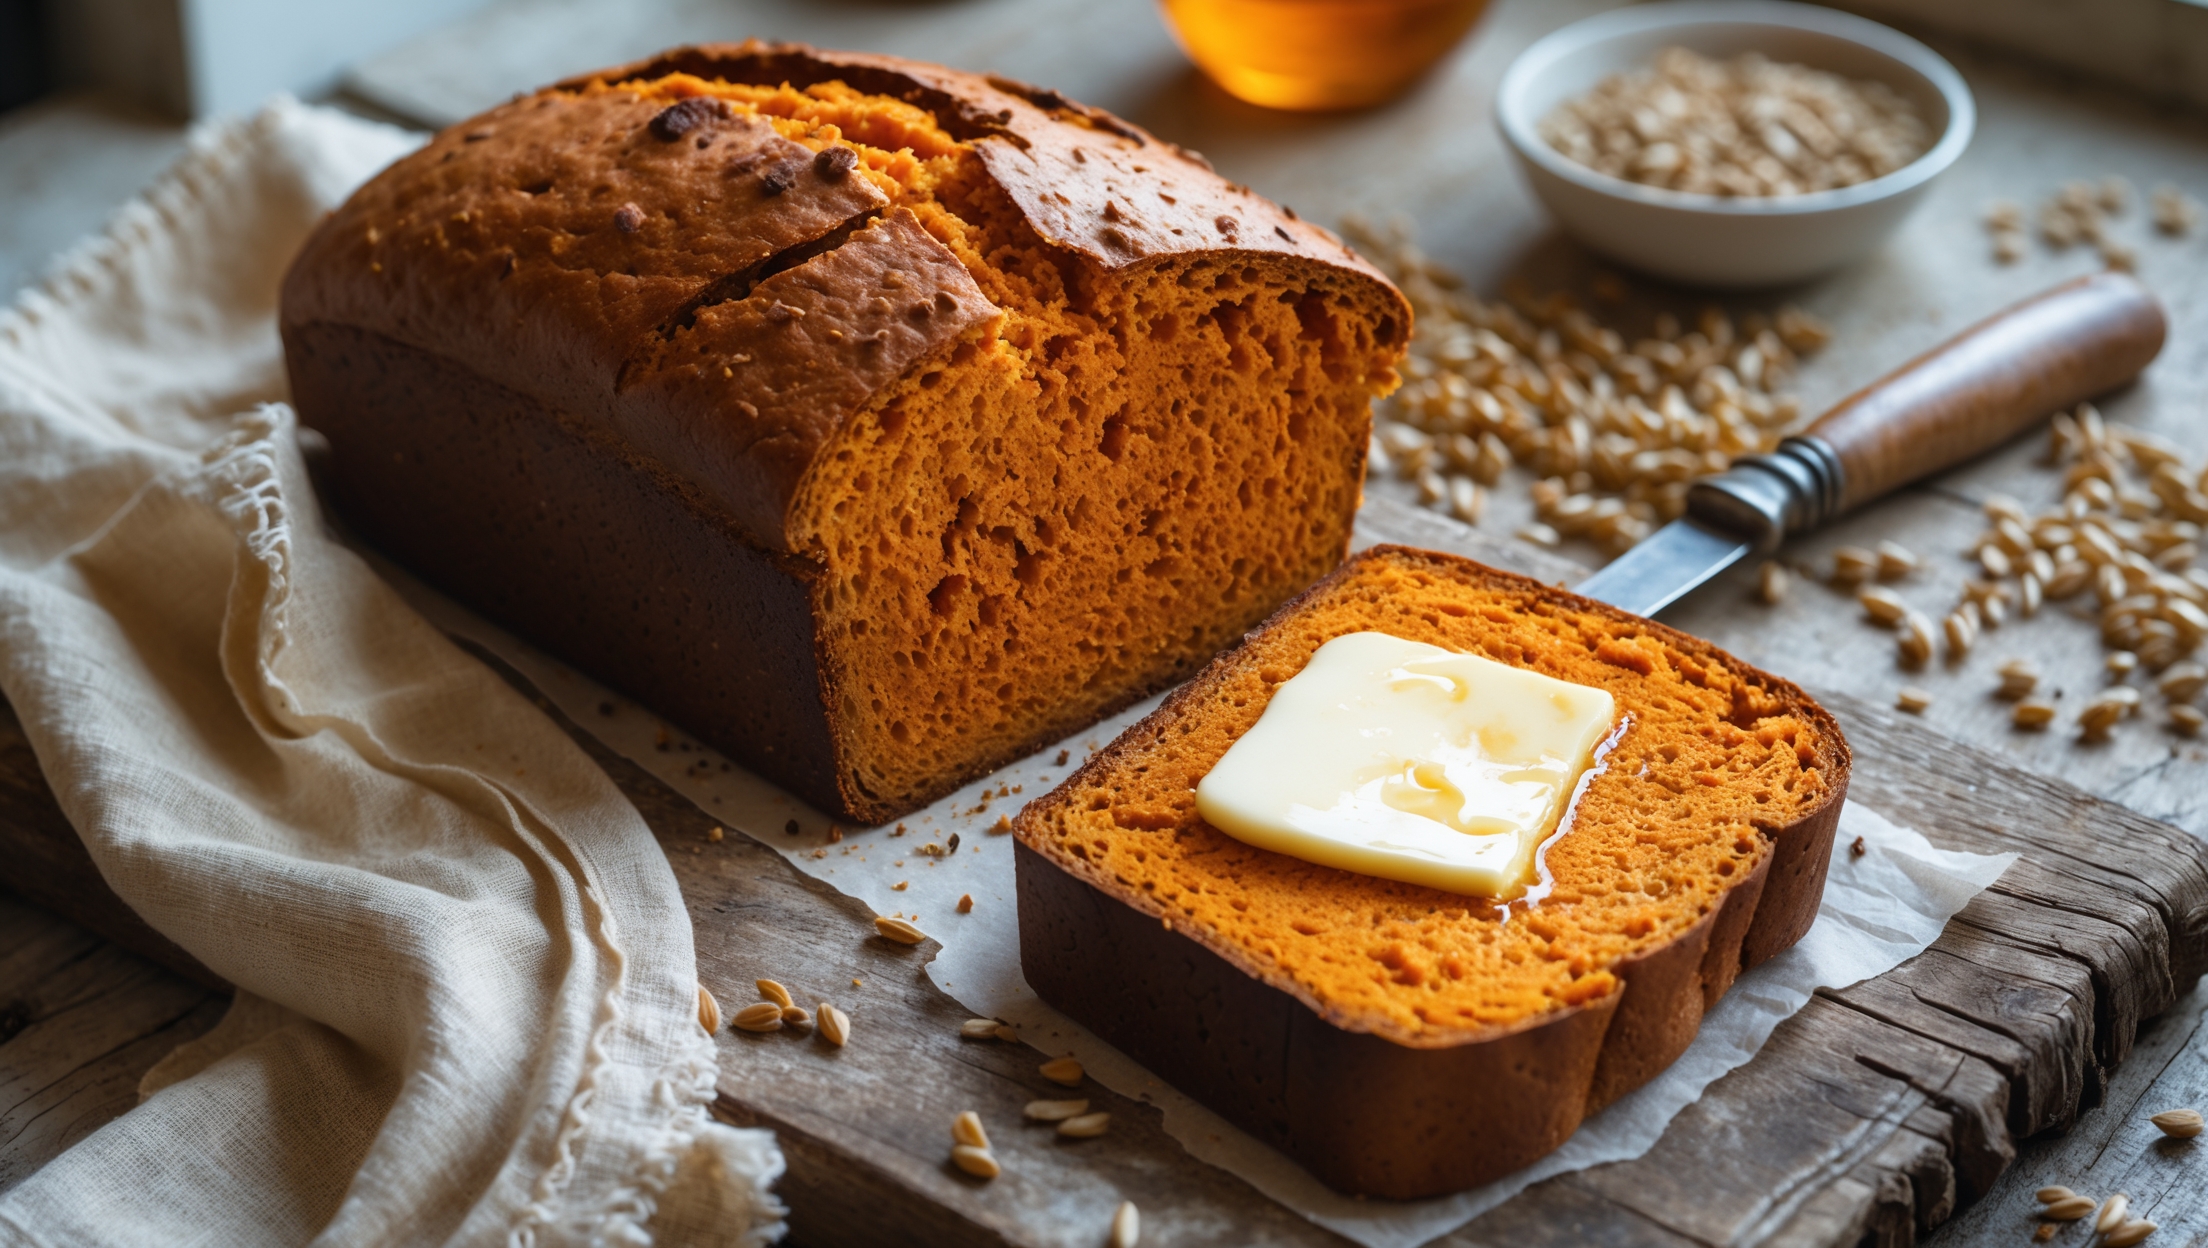
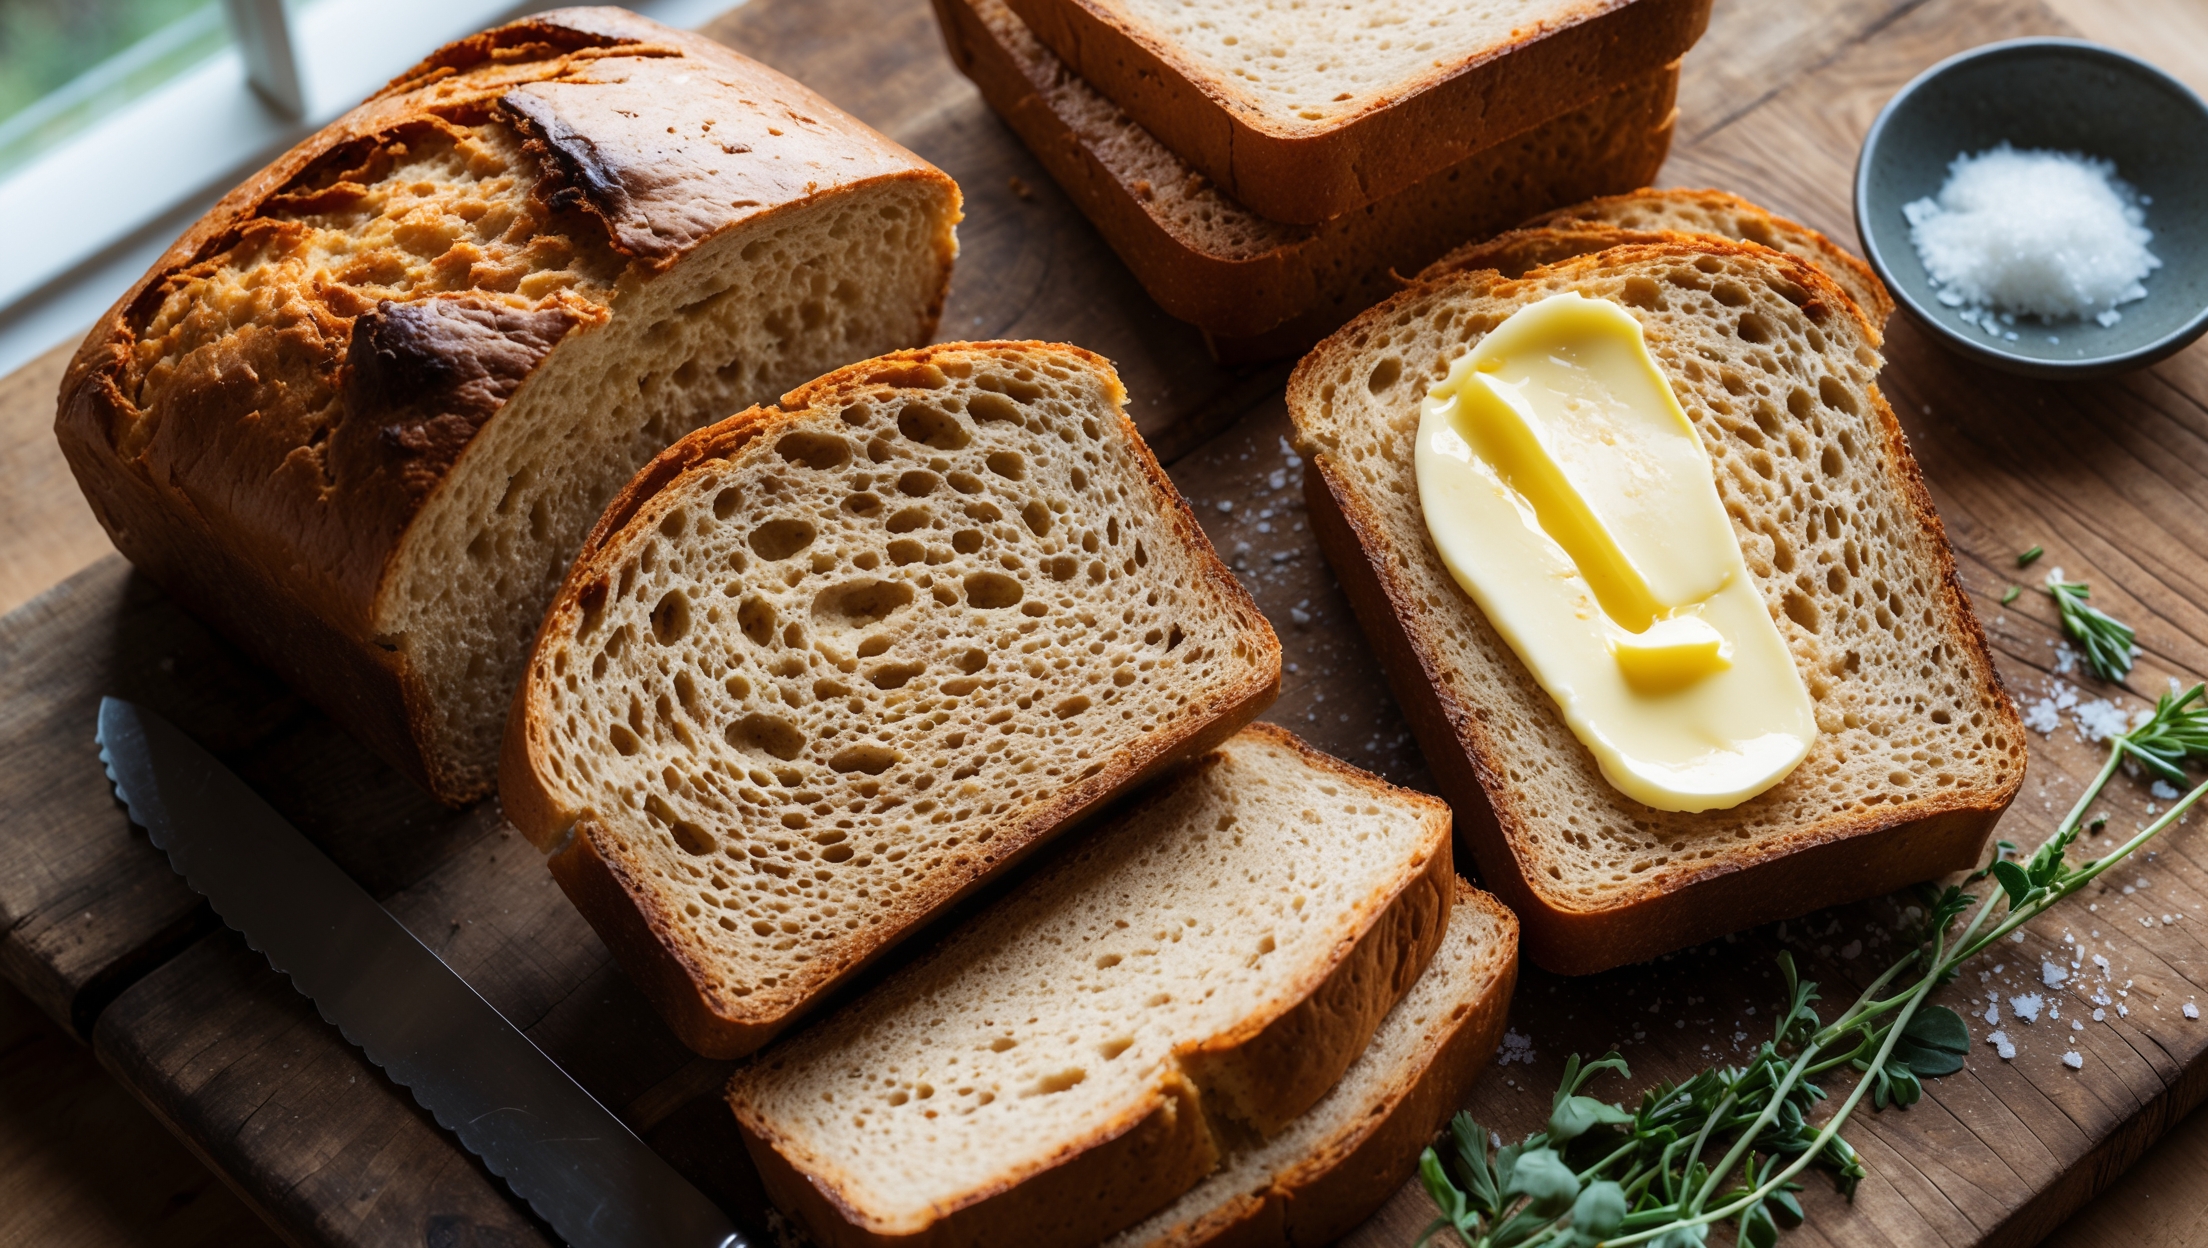
This gluten-free bread combines brown rice flour, tapioca starch, psyllium husk powder, instant yeast, xanthan gum, salt, eggs, olive oil, honey, warm water, and apple cider vinegar to create a tender loaf with good structure and a pleasant, nutty flavour.
Learn how to cook Brown Rice Flour Bread Recipe by combining dry and wet ingredients separately, mixing thoroughly for 3-4 minutes, allowing proper rise time, and baking at 180°C for 45-50 minutes until the internal temperature reaches 99°C. The extended cooling period is crucial for proper texture development.
Xanthan gum mimics the elasticity that gluten provides in traditional bread. It creates structure by binding ingredients, trapping air bubbles during rising, and preventing the bread from becoming crumbly. Without it, gluten-free breads typically lack cohesion and proper texture.
Yes, you can substitute part of the brown rice flour with sorghum, millet, or white rice flour for different flavour profiles. However, maintain the same total flour weight and don't replace the tapioca starch, as it provides essential binding properties for proper texture.
For maximum freshness, store completely cooled gluten-free bread in an airtight container at room temperature for up to 3 days. For longer storage, slice the entire loaf, place parchment paper between slices, and freeze for up to 3 months, toasting slices as needed.
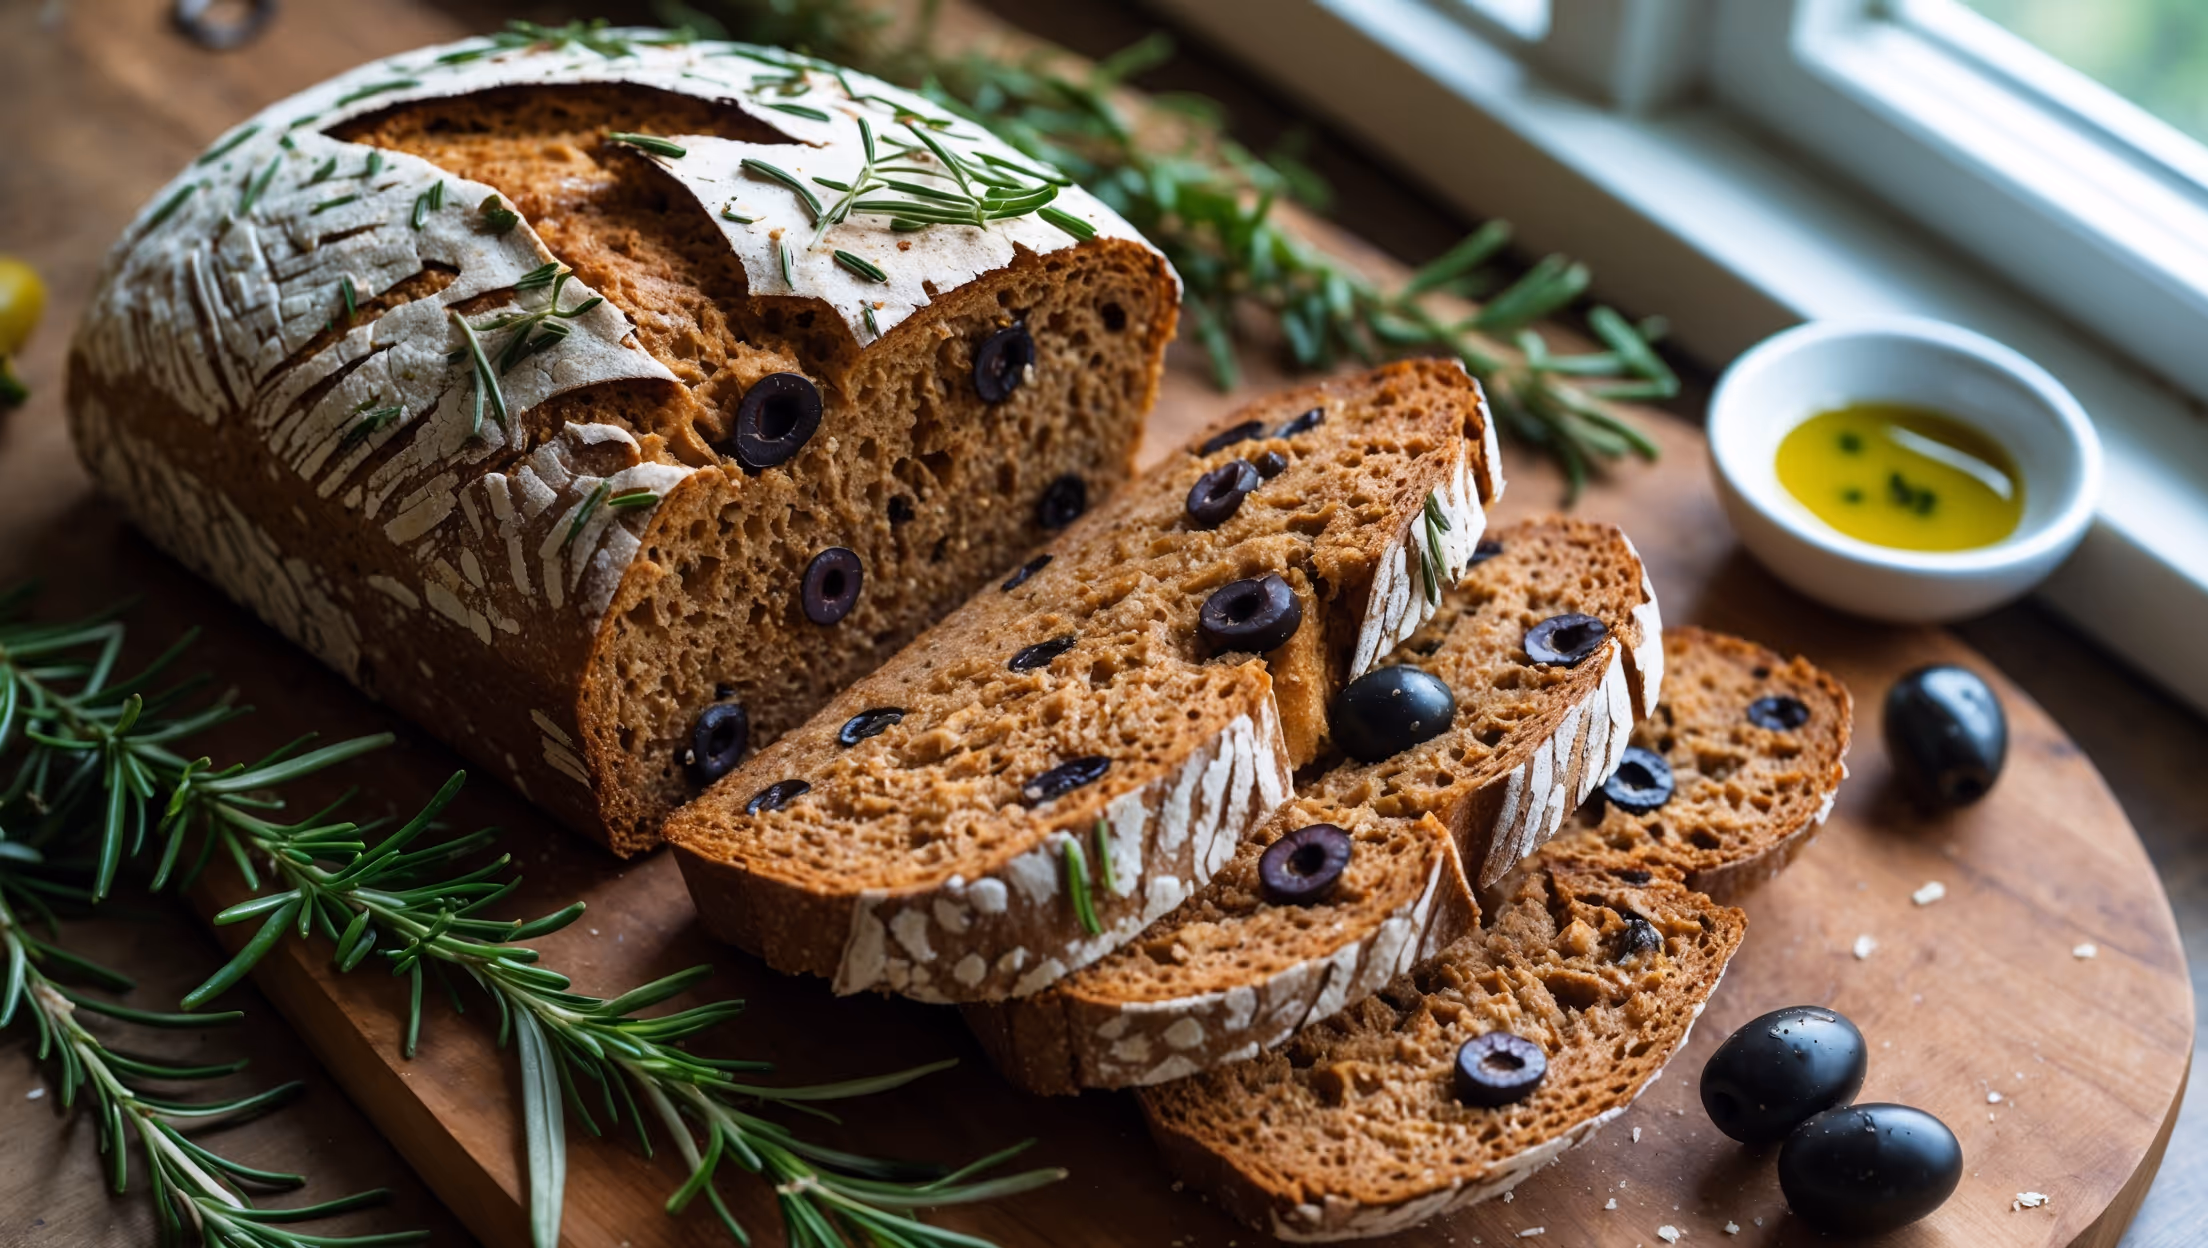
Whole Grain Bread
Try following recommended recipes