Directions
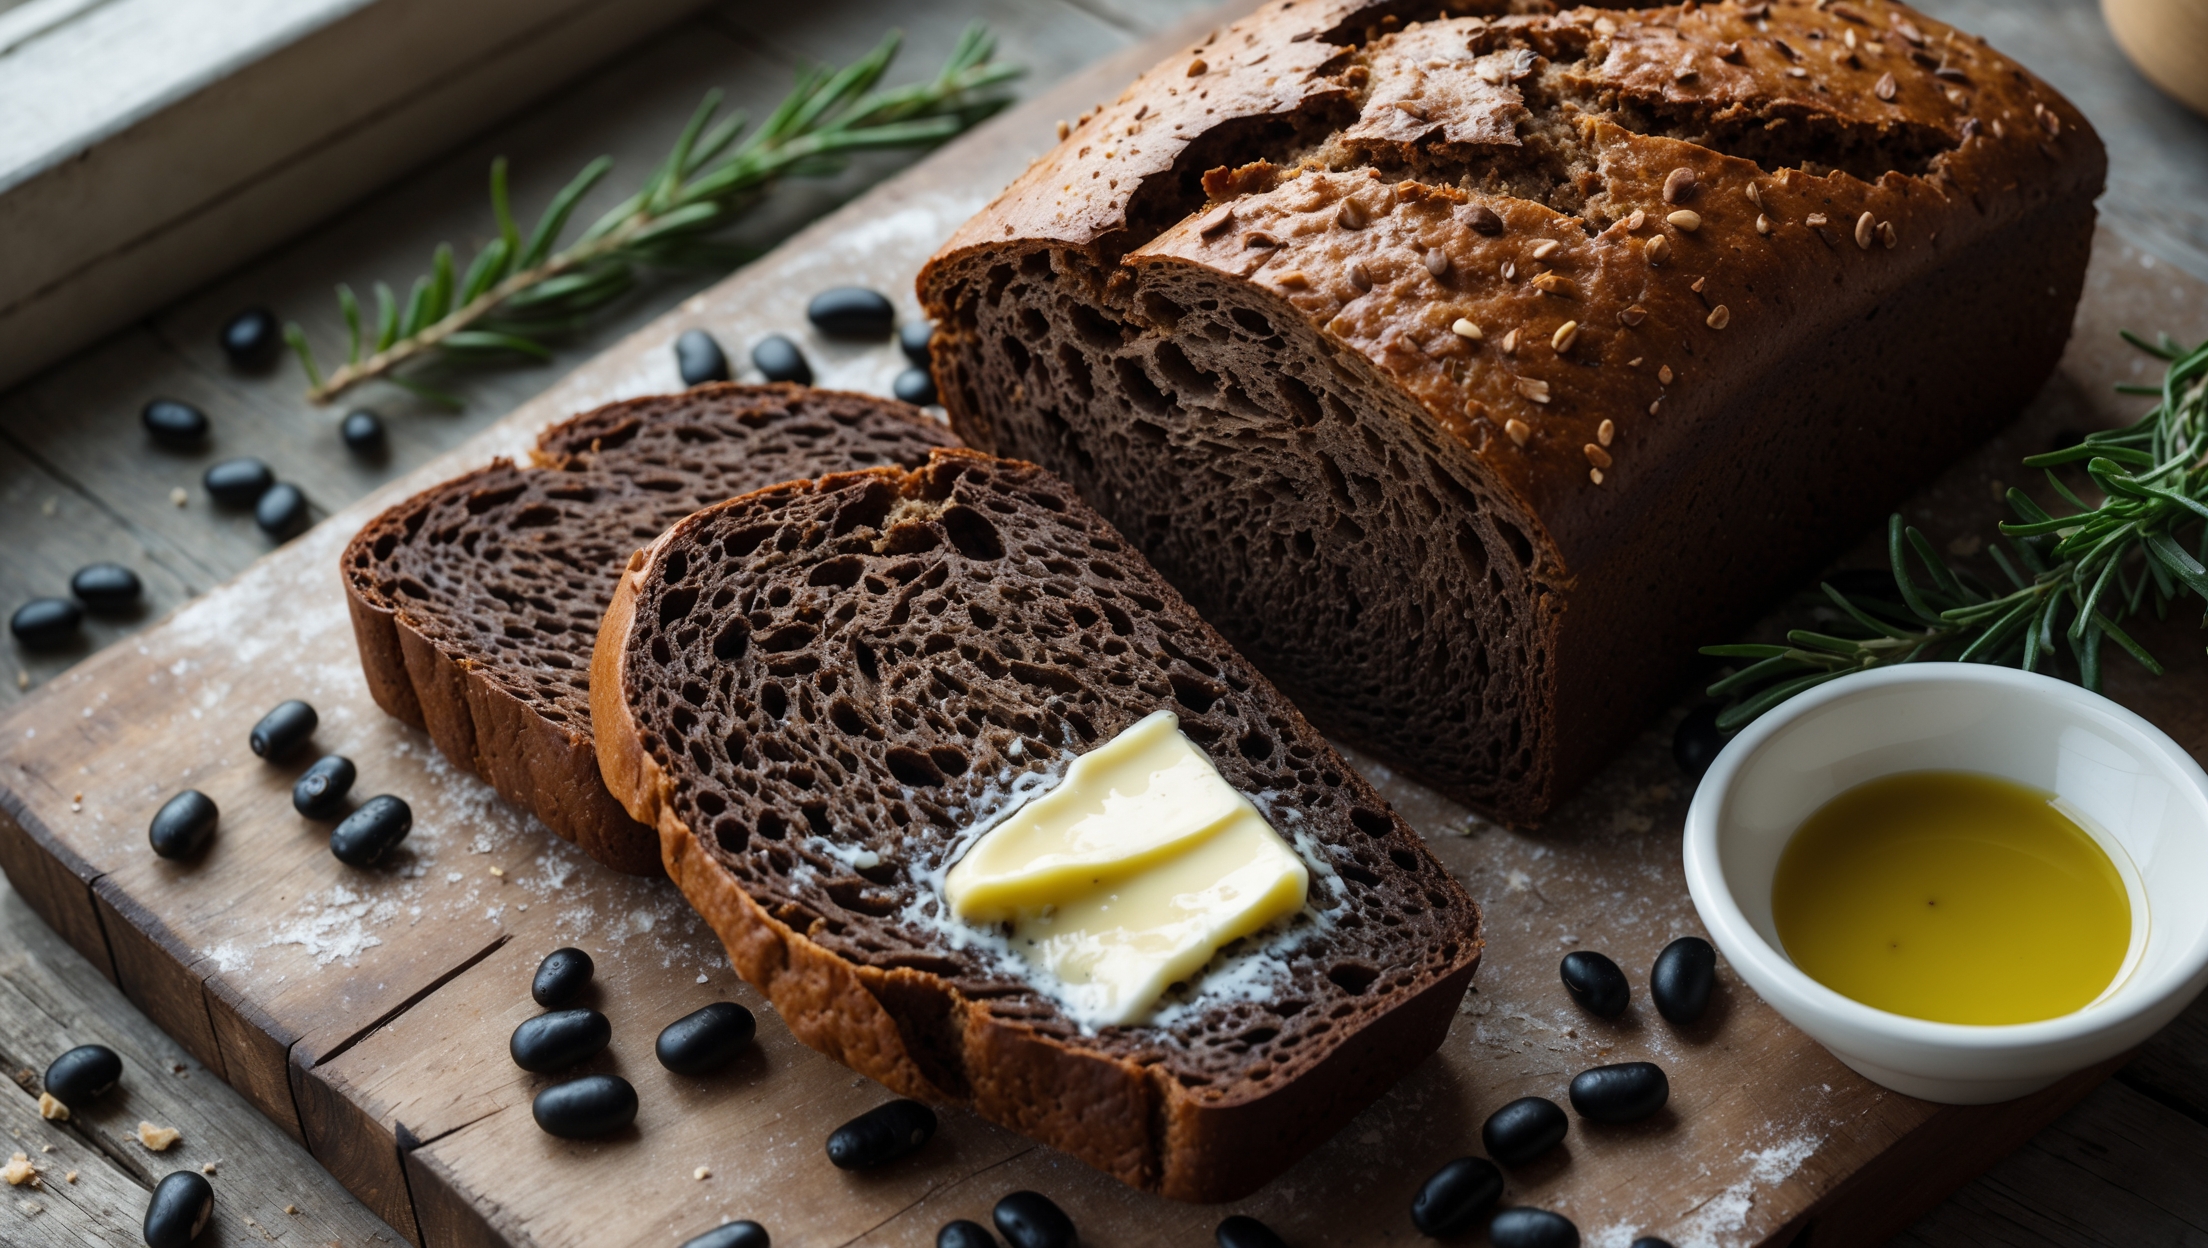
<ol class="no-list-style"><li class="MethodStepper"><h4 class="step-title">Step 1</h4>Begin by combining the warm water (40°C) with the coconut sugar in a small bowl. Sprinkle the active dry yeast over the top and let it sit for about 5-10 minutes until foamy. This proofing step ensures your yeast is active and will help your bread rise properly.</li><li class="MethodStepper"><h4 class="step-title">Step 2</h4>In the bowl of your stand mixer, whisk together the black bean flour, tapioca starch, ground flaxseed, psyllium husk powder, and salt. These dry ingredients form the structure of your bread, with the psyllium husk acting as a crucial binder in gluten-free baking by creating a network similar to gluten.</li><li class="MethodStepper"><h4 class="step-title">Step 3</h4>In a separate bowl, lightly beat the eggs, then add the olive oil and apple cider vinegar. The vinegar helps activate the leavening agents and improves the bread's texture by breaking down some of the starches in the bean flour.</li><li class="MethodStepper"><h4 class="step-title">Step 4</h4>With the mixer on low speed using the paddle attachment, slowly pour the yeast mixture into the dry ingredients, followed by the egg mixture. Increase the speed to medium and beat for 3-4 minutes until the dough comes together. Unlike wheat dough, this won't be stretchy but should be thick and somewhat sticky.</li><li class="MethodStepper"><h4 class="step-title">Step 5</h4>Line your loaf pan with parchment paper, leaving some overhang for easy removal. Using a silicone spatula or dough scraper, transfer the dough to the prepared pan and smooth the top with wet hands to prevent sticking. The dough won't flow like traditional bread dough but should be shaped into a loaf form.</li><li class="MethodStepper"><h4 class="step-title">Step 6</h4>Cover the pan with a clean, damp kitchen towel and place in a warm, draft-free area to rise for about 45-60 minutes. The dough won't double in size like wheat bread but should rise by about one-third. Be patient with this step as bean flour rises more slowly than wheat flour.</li><li class="MethodStepper"><h4 class="step-title">Step 7</h4>While the dough is rising, preheat your oven to 180°C. Position a rack in the middle of the oven.</li><li class="MethodStepper"><h4 class="step-title">Step 8</h4>Once the dough has risen, bake for 35-45 minutes until the crust is golden brown and a skewer inserted into the center comes out clean. The internal temperature should read around 95-98°C when fully baked.</li><li class="MethodStepper"><h4 class="step-title">Step 9</h4>Allow the bread to cool in the pan for 10 minutes, then use the parchment paper to lift it out onto a wire rack to cool completely before slicing. This cooling period is crucial as it allows the starches to set and prevents a gummy texture.</li><li class="MethodStepper"><h4 class="step-title">Step 10</h4>Once completely cooled, slice with a serrated knife. Store in an airtight container at room temperature for up to 3 days, or refrigerate for up to a week. This bread also freezes beautifully - slice before freezing for easy toasting.</li></ol>