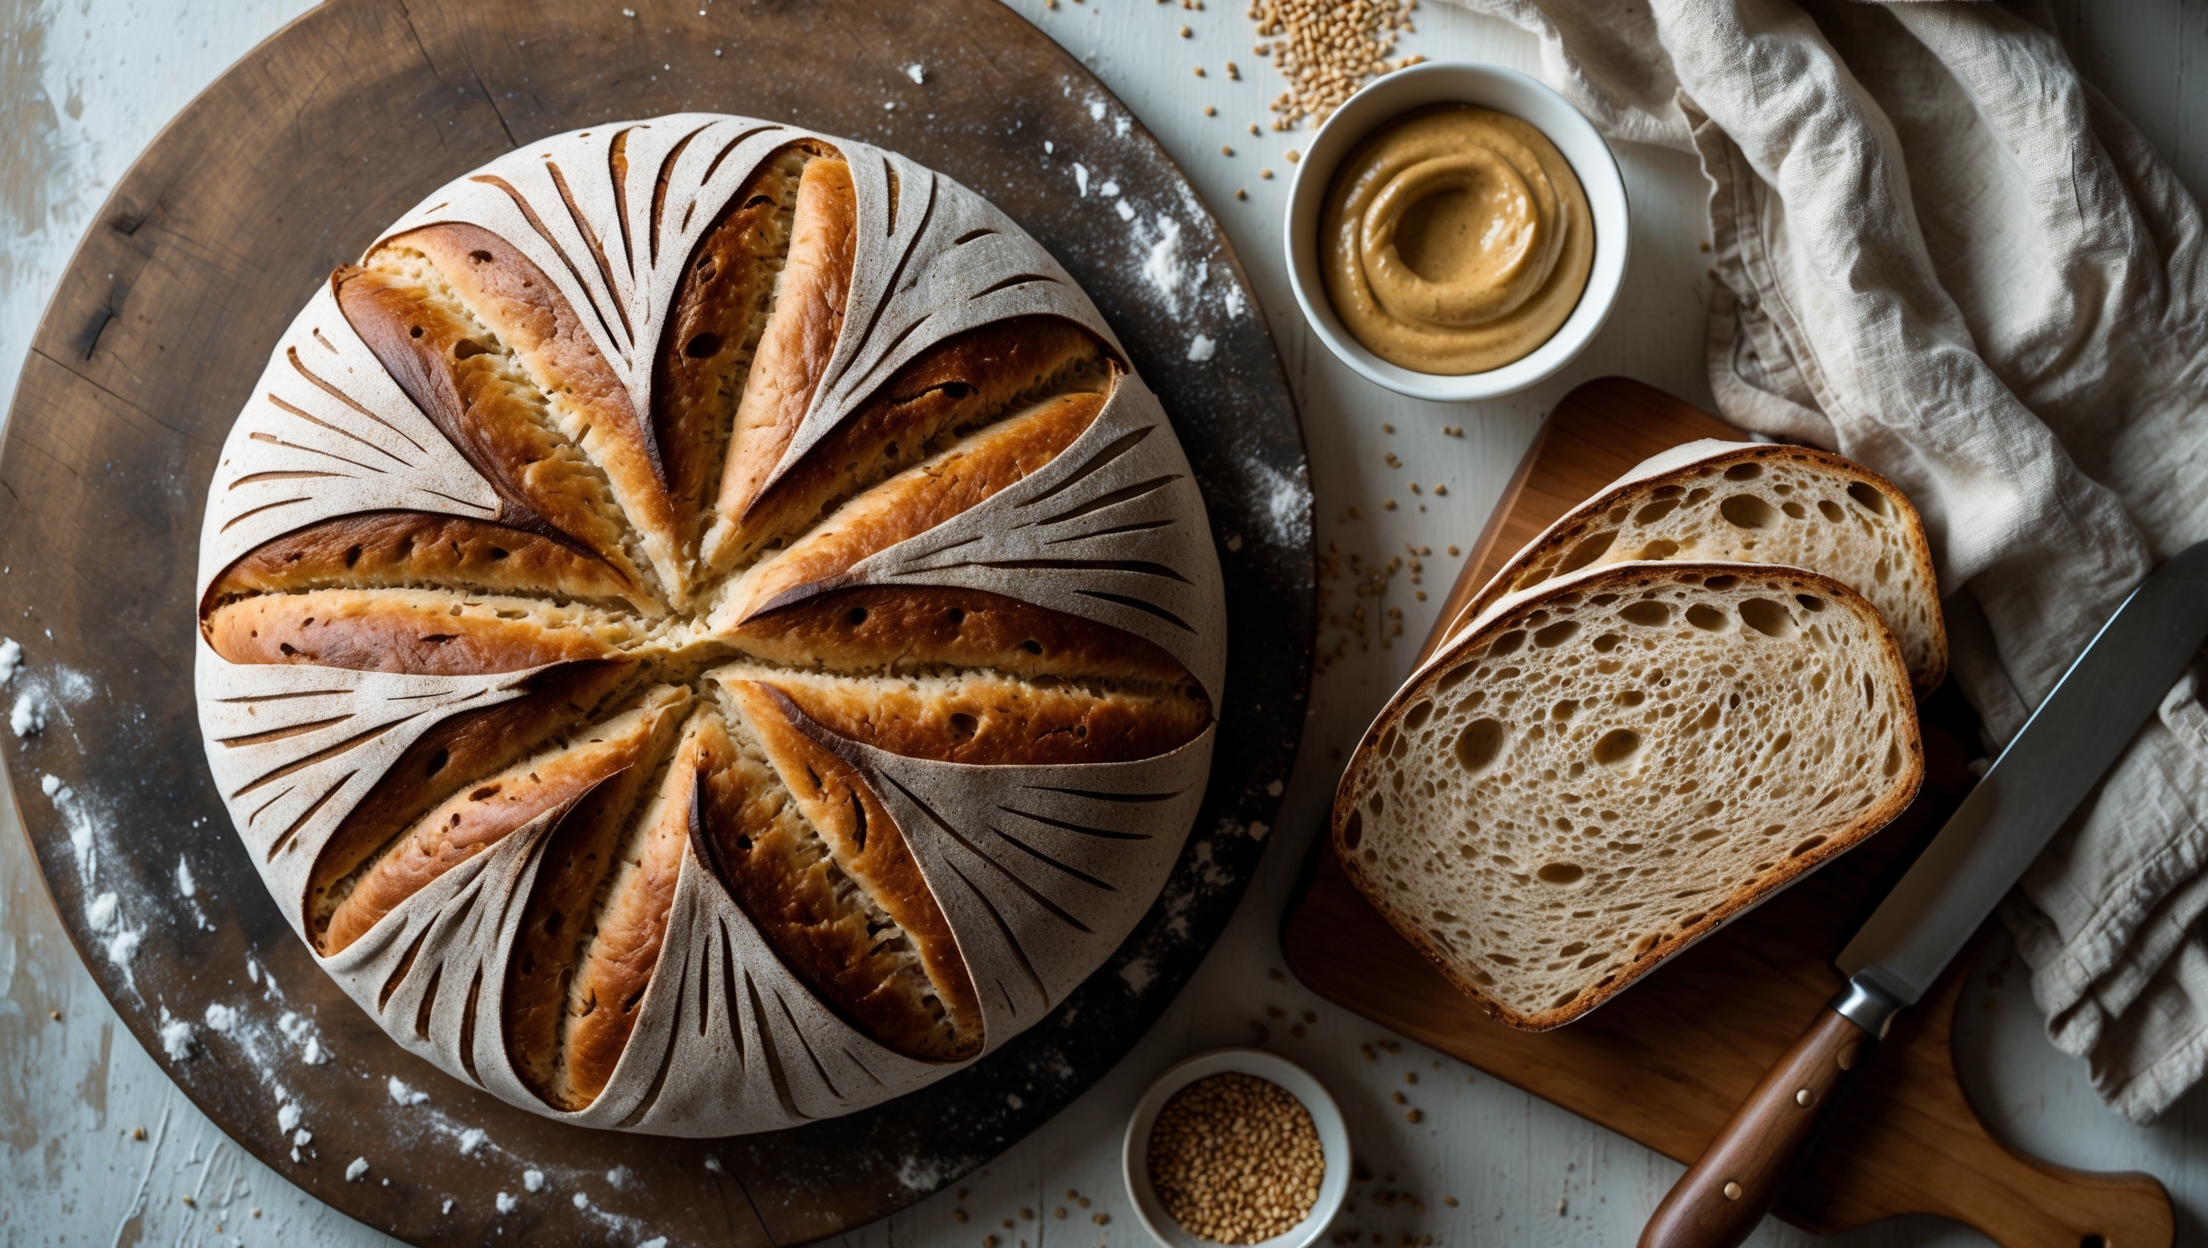
Barley Flour Bread Recipe
Ingredients
Equipment
Directions
FAQs
Find answers to your most pressing questions about this delicious recipe right here.
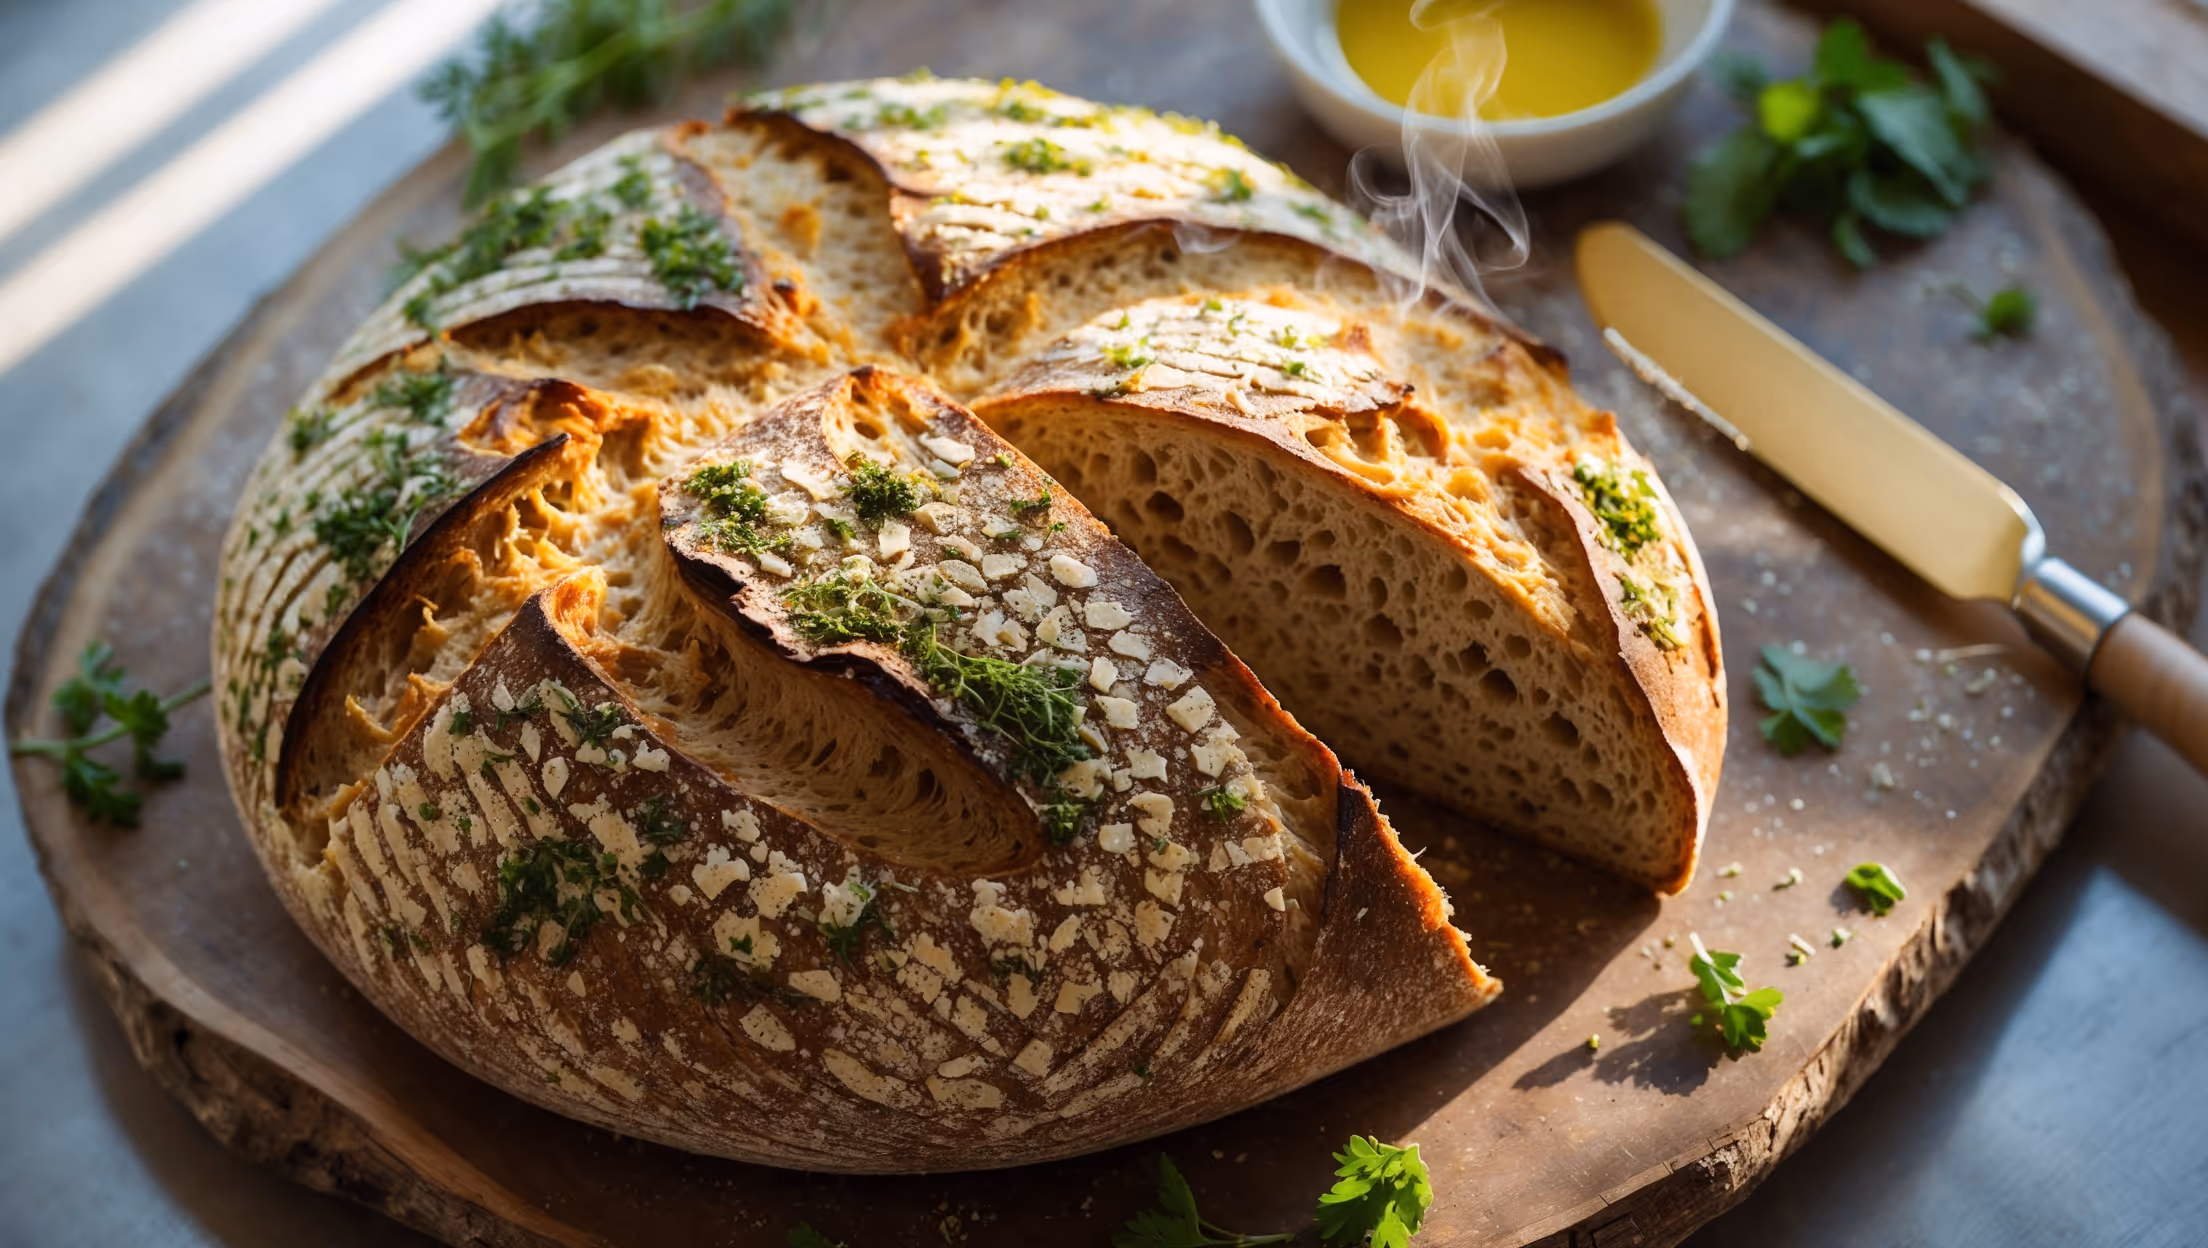
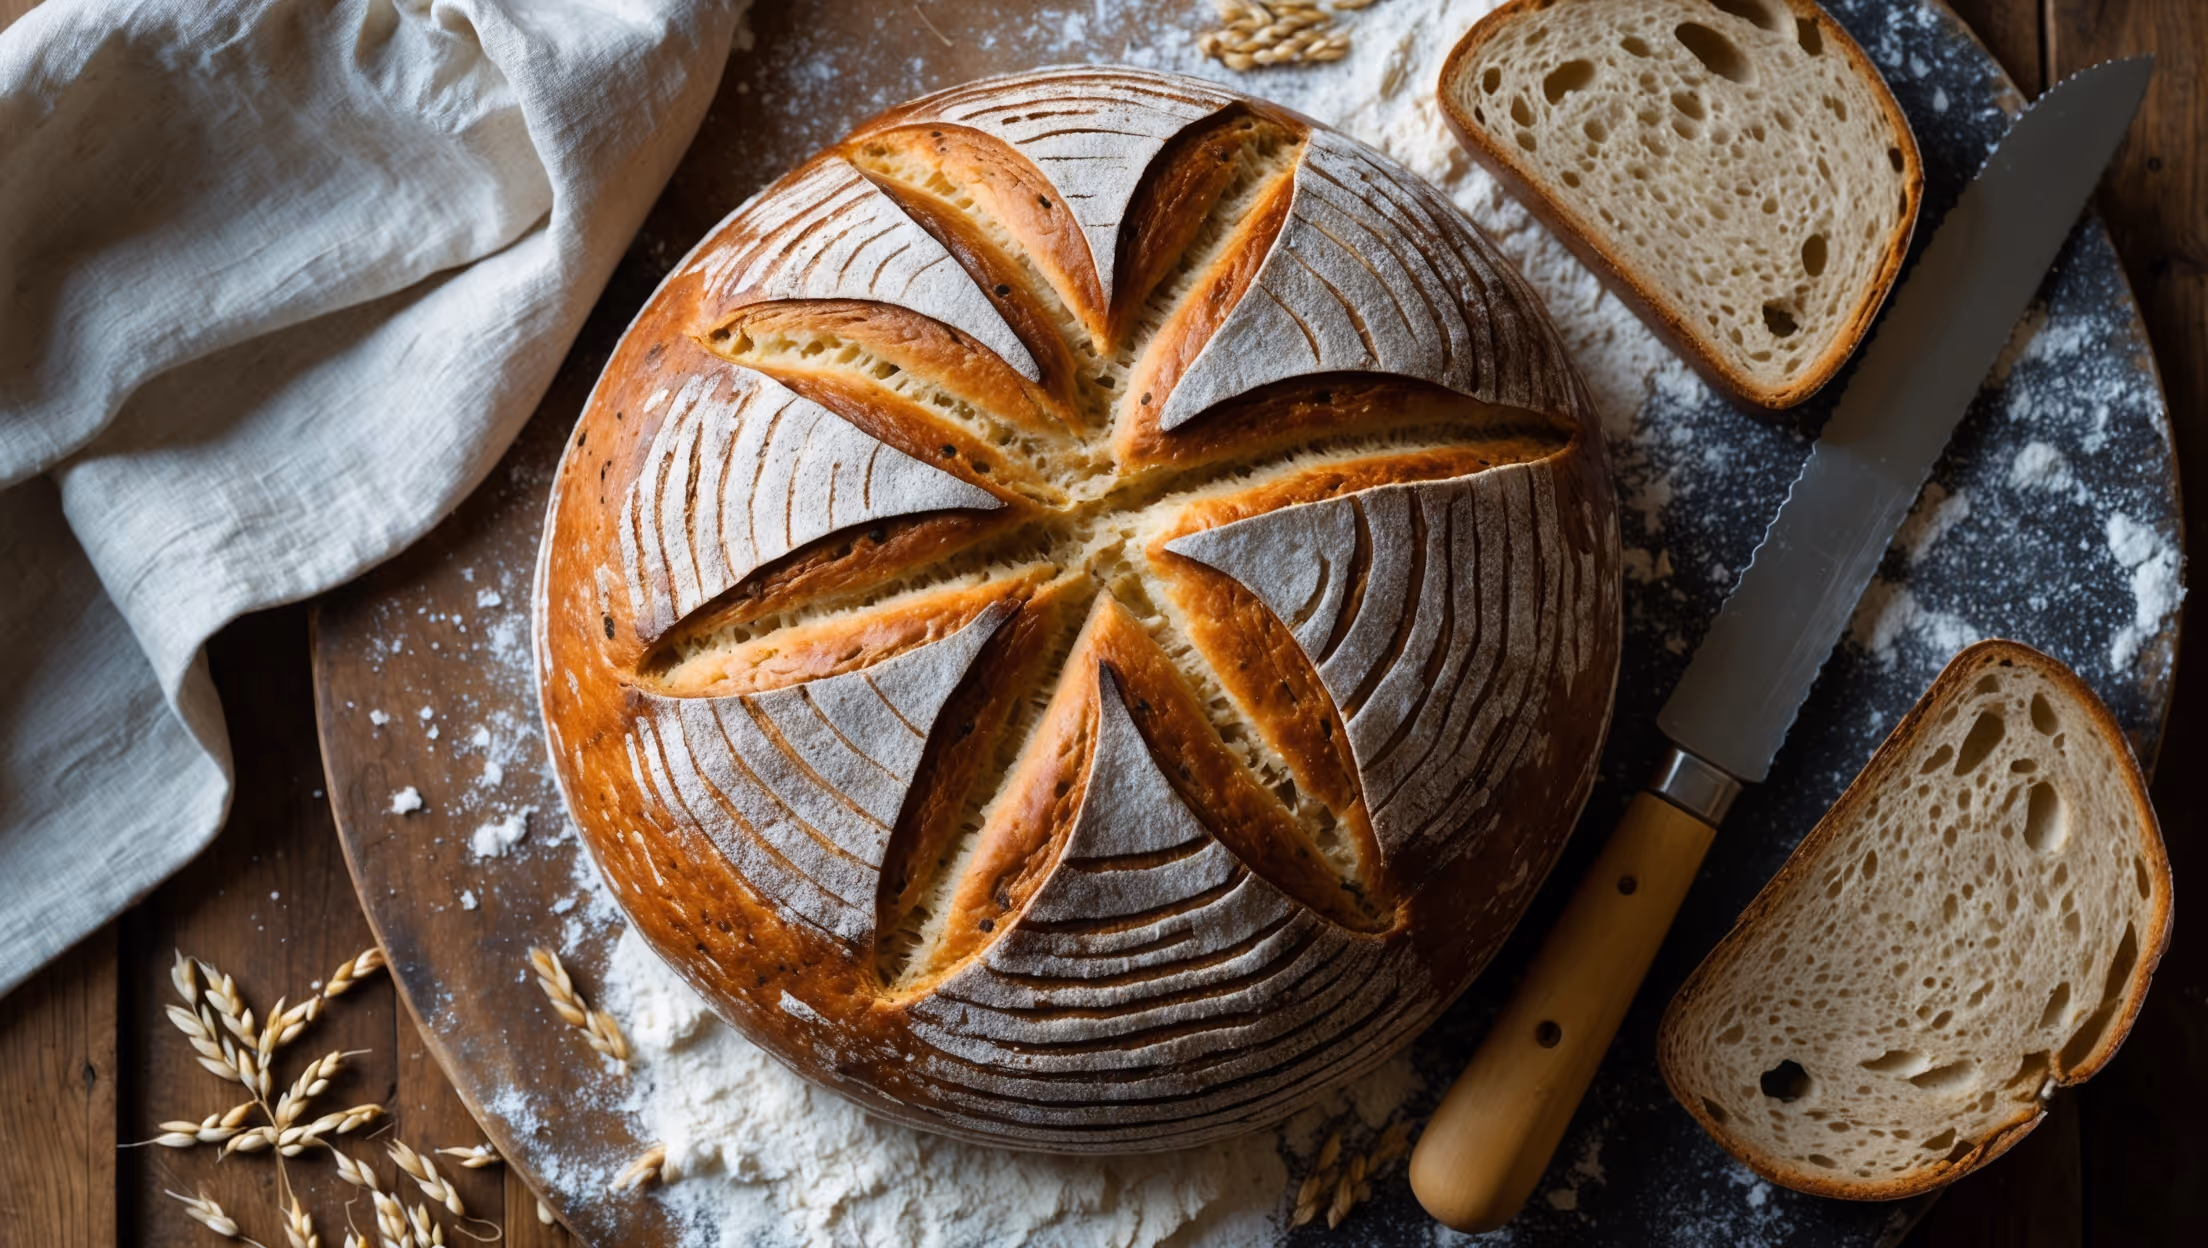
This rustic loaf combines barley flour with strong bread flour, instant dried yeast, salt, honey, olive oil, and water. The barley flour provides a distinctive nutty flavour, while bread flour gives structure. Honey adds mild sweetness and helps activate the yeast.
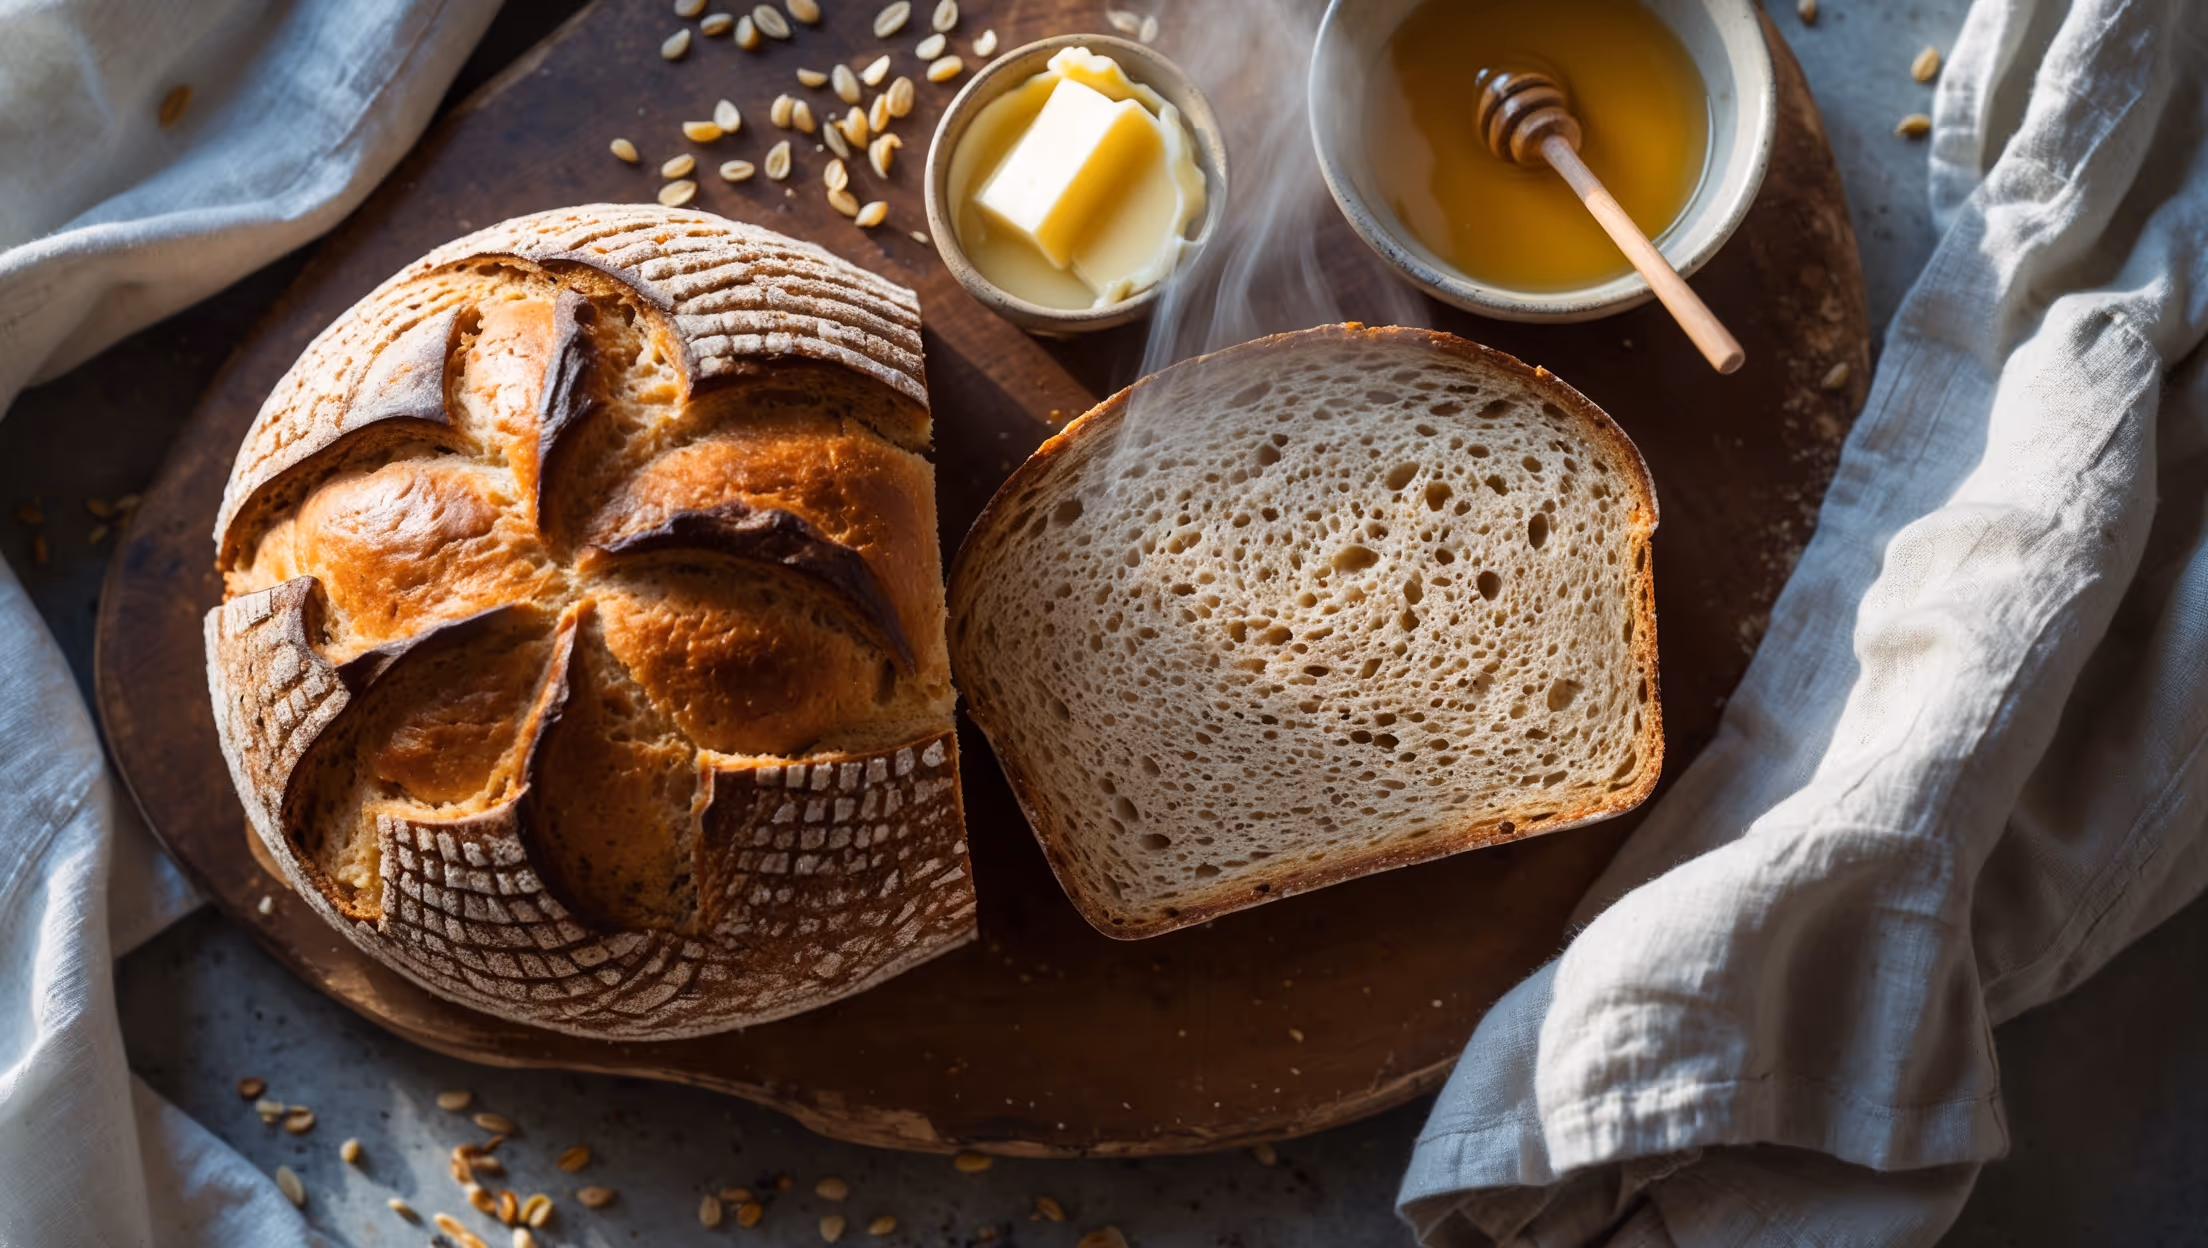
Learn how to cook Barley Flour Bread by first mixing your flours, then activating yeast with honey and water. Combine all ingredients and knead until elastic. After two rises, bake in a hot Dutch oven or on a stone at 230°C for about 40 minutes until golden and hollow-sounding when tapped. The process takes about 3 hours total but yields a nutritious loaf with nutty flavour.
Using 100% barley flour isn't recommended as it lacks sufficient gluten to create proper structure. The bread would be dense and may not rise well. The recipe's 50/50 ratio of barley to bread flour offers the perfect balance of nutty flavour while ensuring a good rise and texture.
Barley flour contains less gluten than wheat flour, resulting in a somewhat denser crumb. This characteristic texture is part of its rustic charm. The bread will still rise properly, especially with the blend of flours in this recipe, but expect a heartier, more substantial texture than all-white loaves.
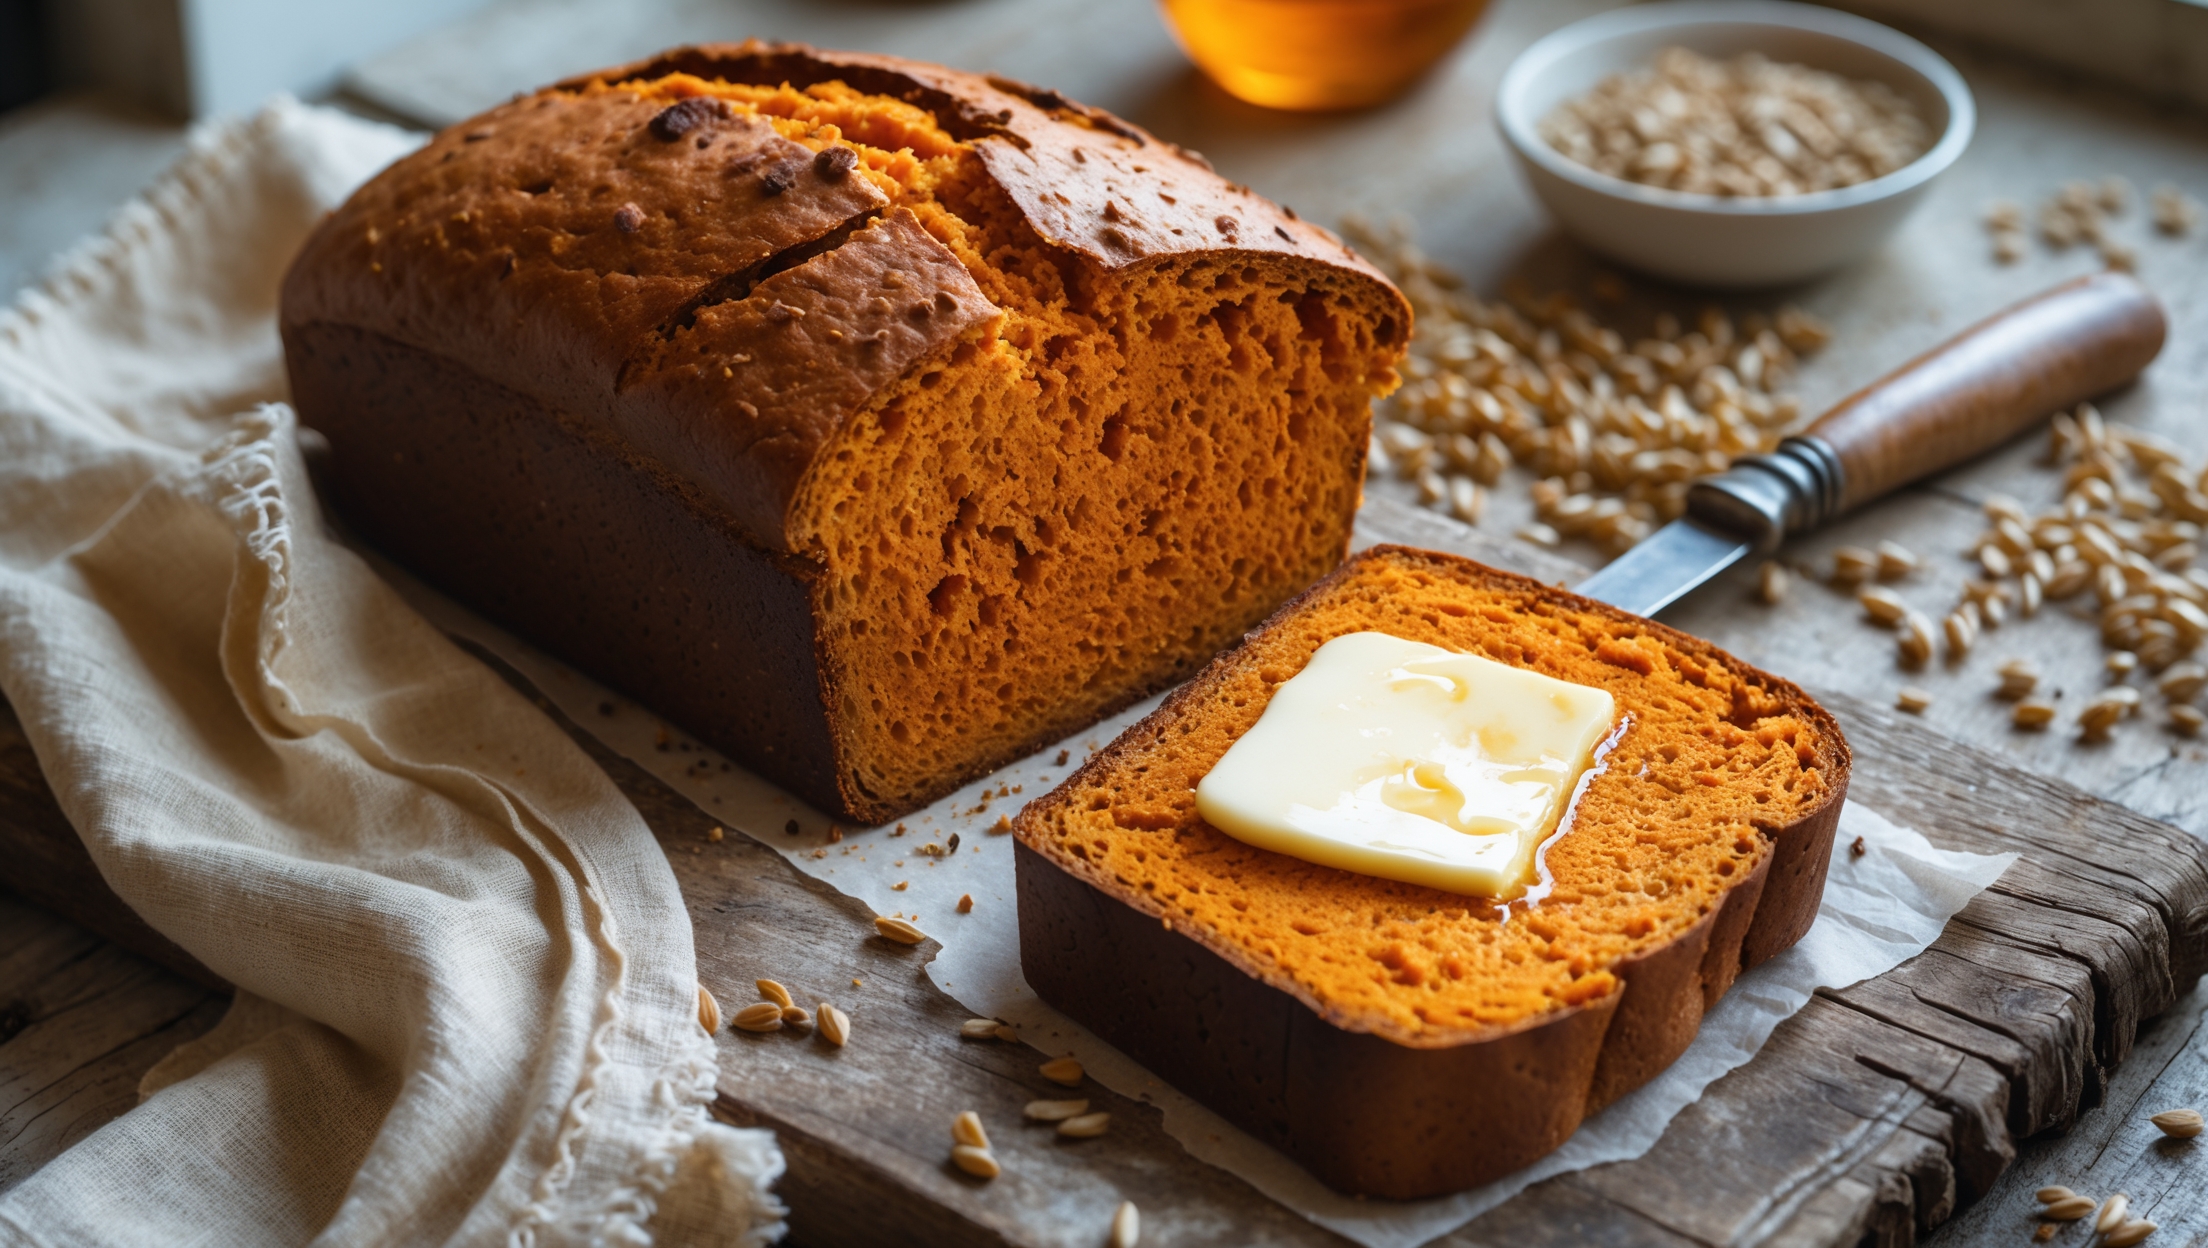
Homemade barley bread typically stays fresh for 3-4 days when stored in an airtight container or bread bag at room temperature. The addition of barley flour actually helps maintain moisture slightly longer than all-wheat breads. For longer storage, slice and freeze for up to 3 months.
Whole Grain Bread
Try following recommended recipes