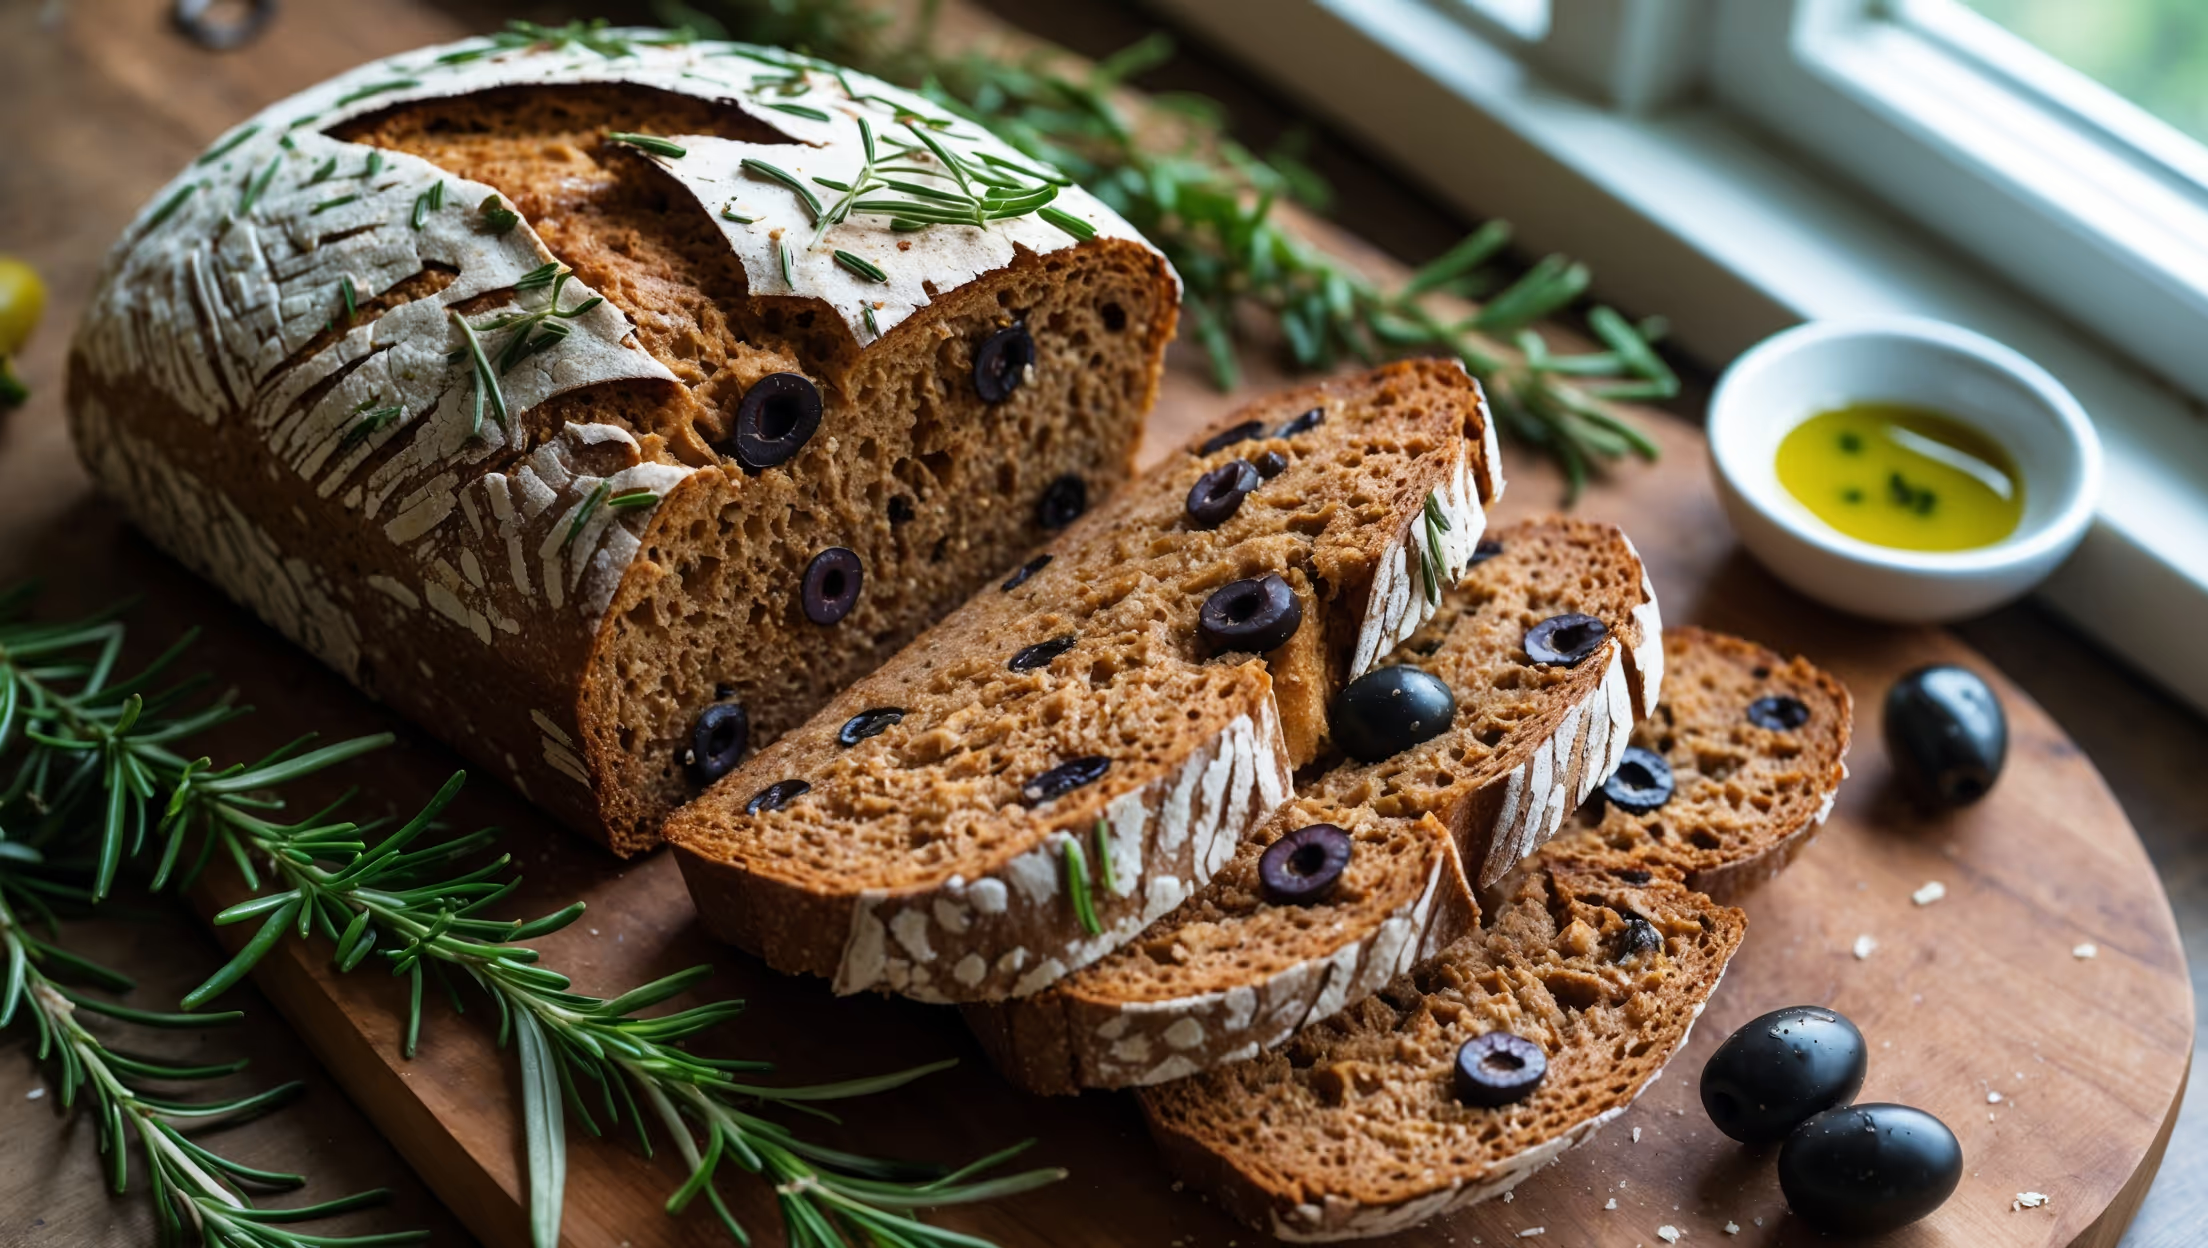
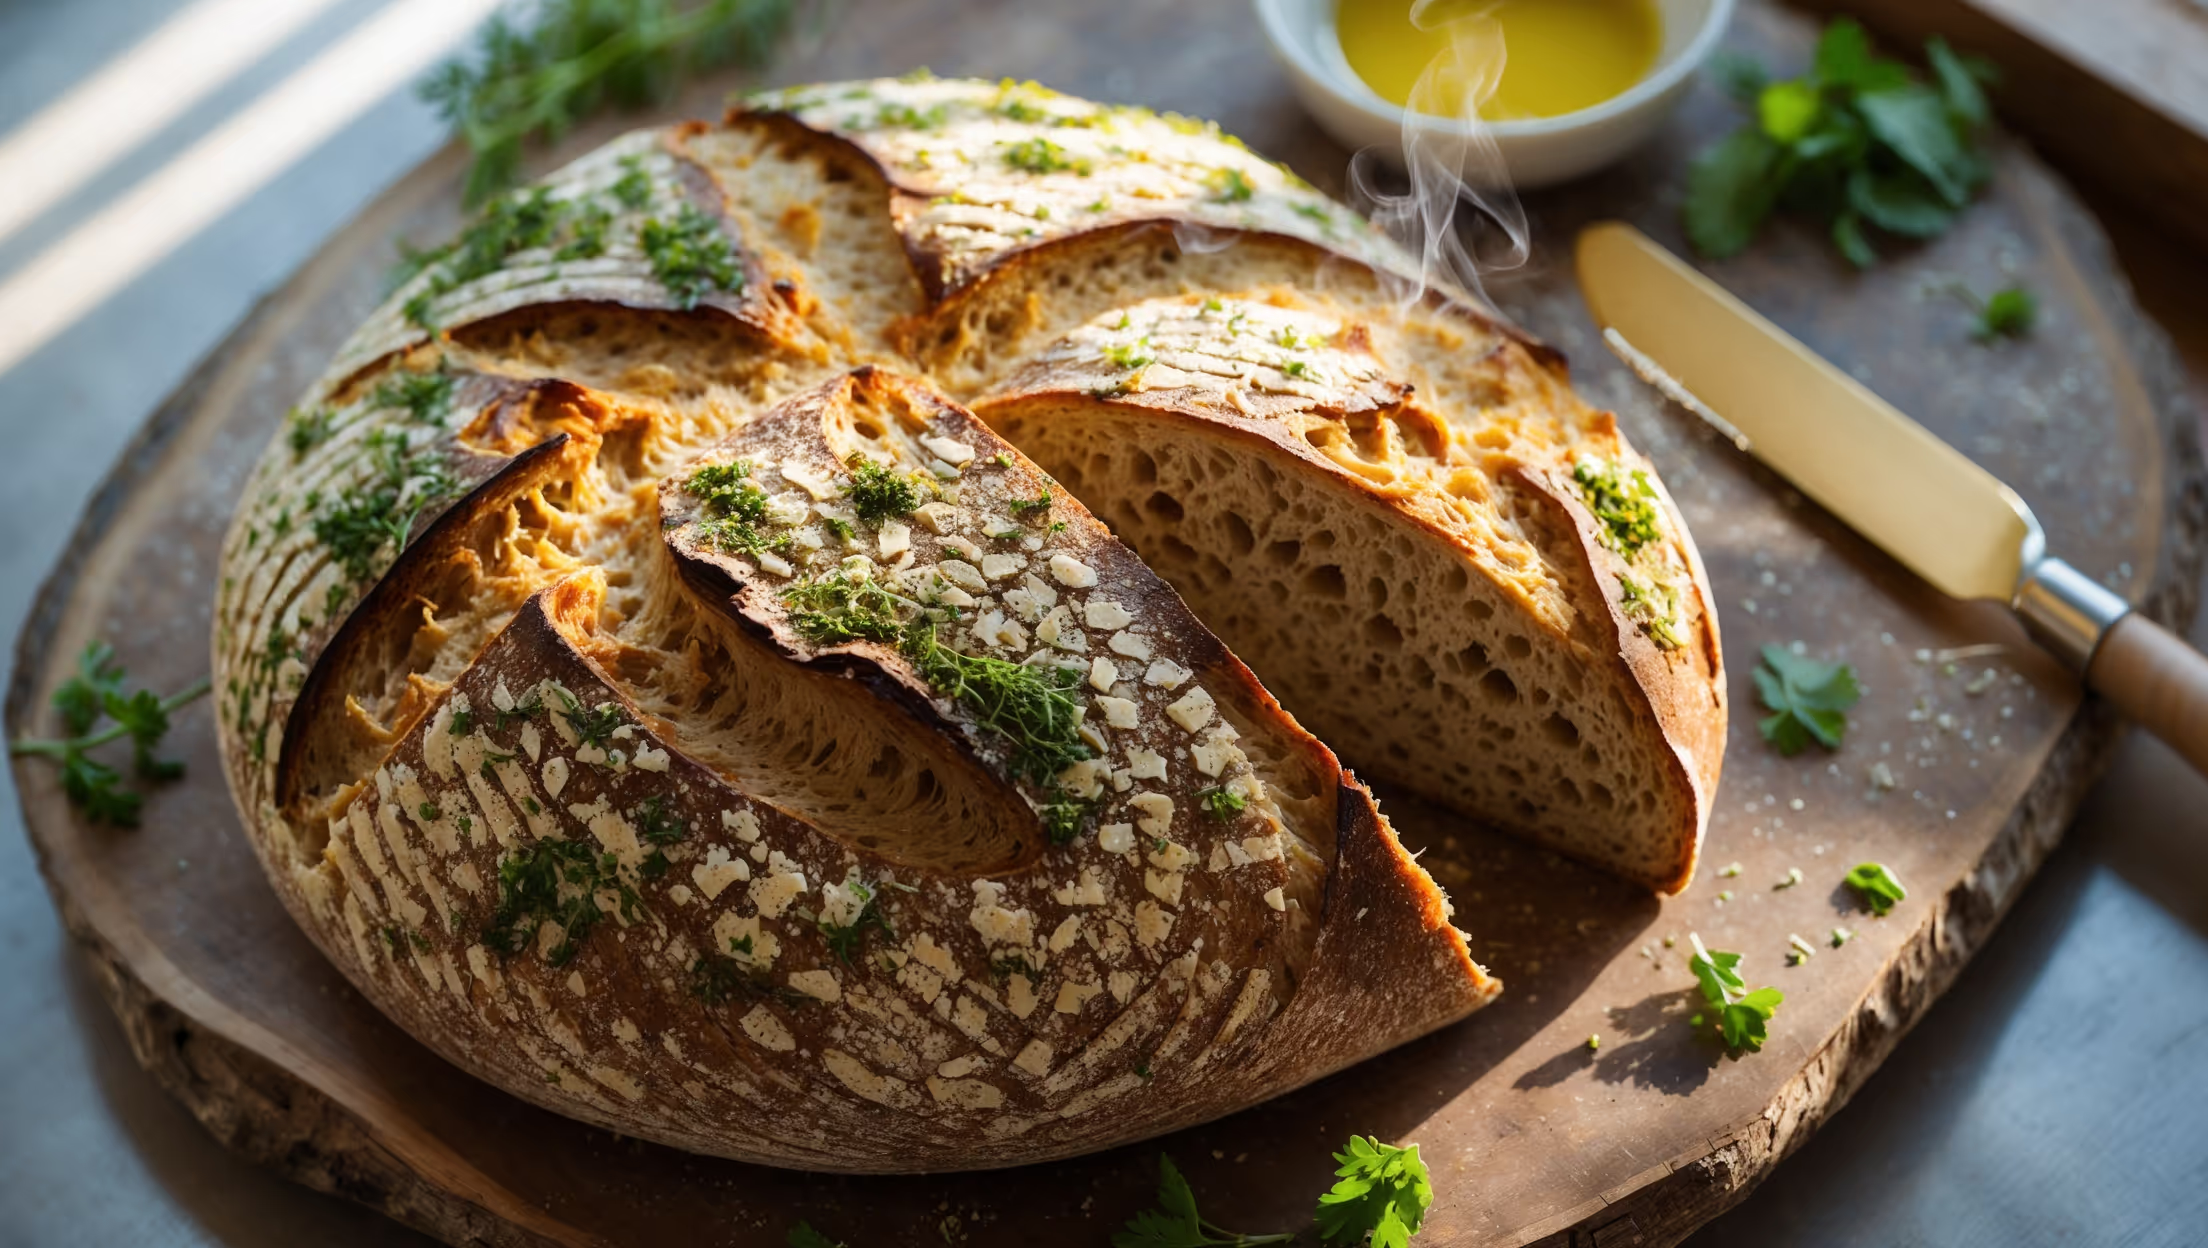
Directions
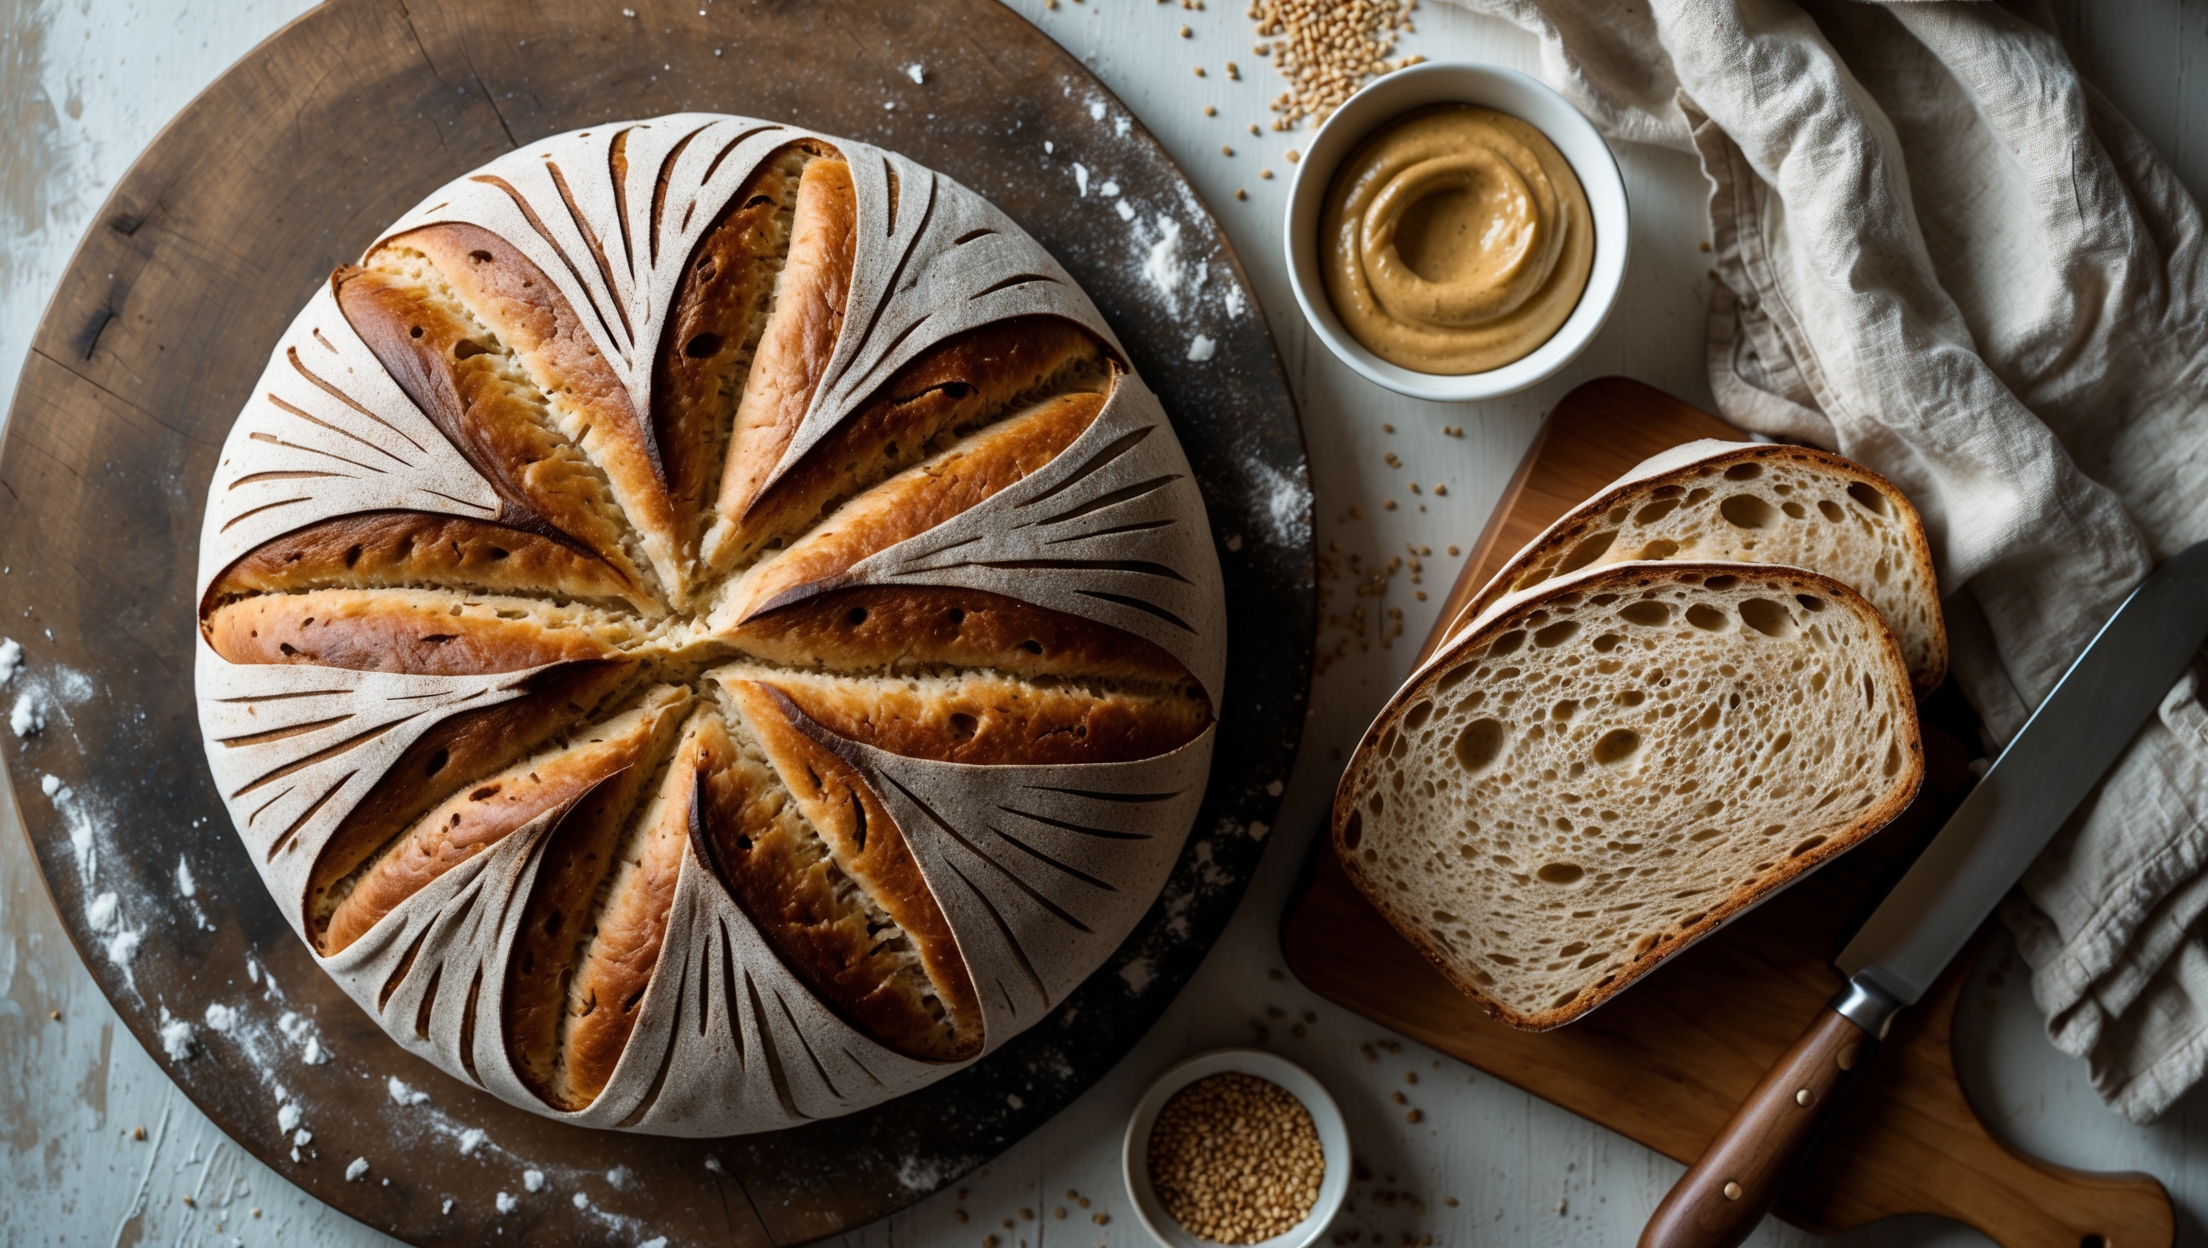
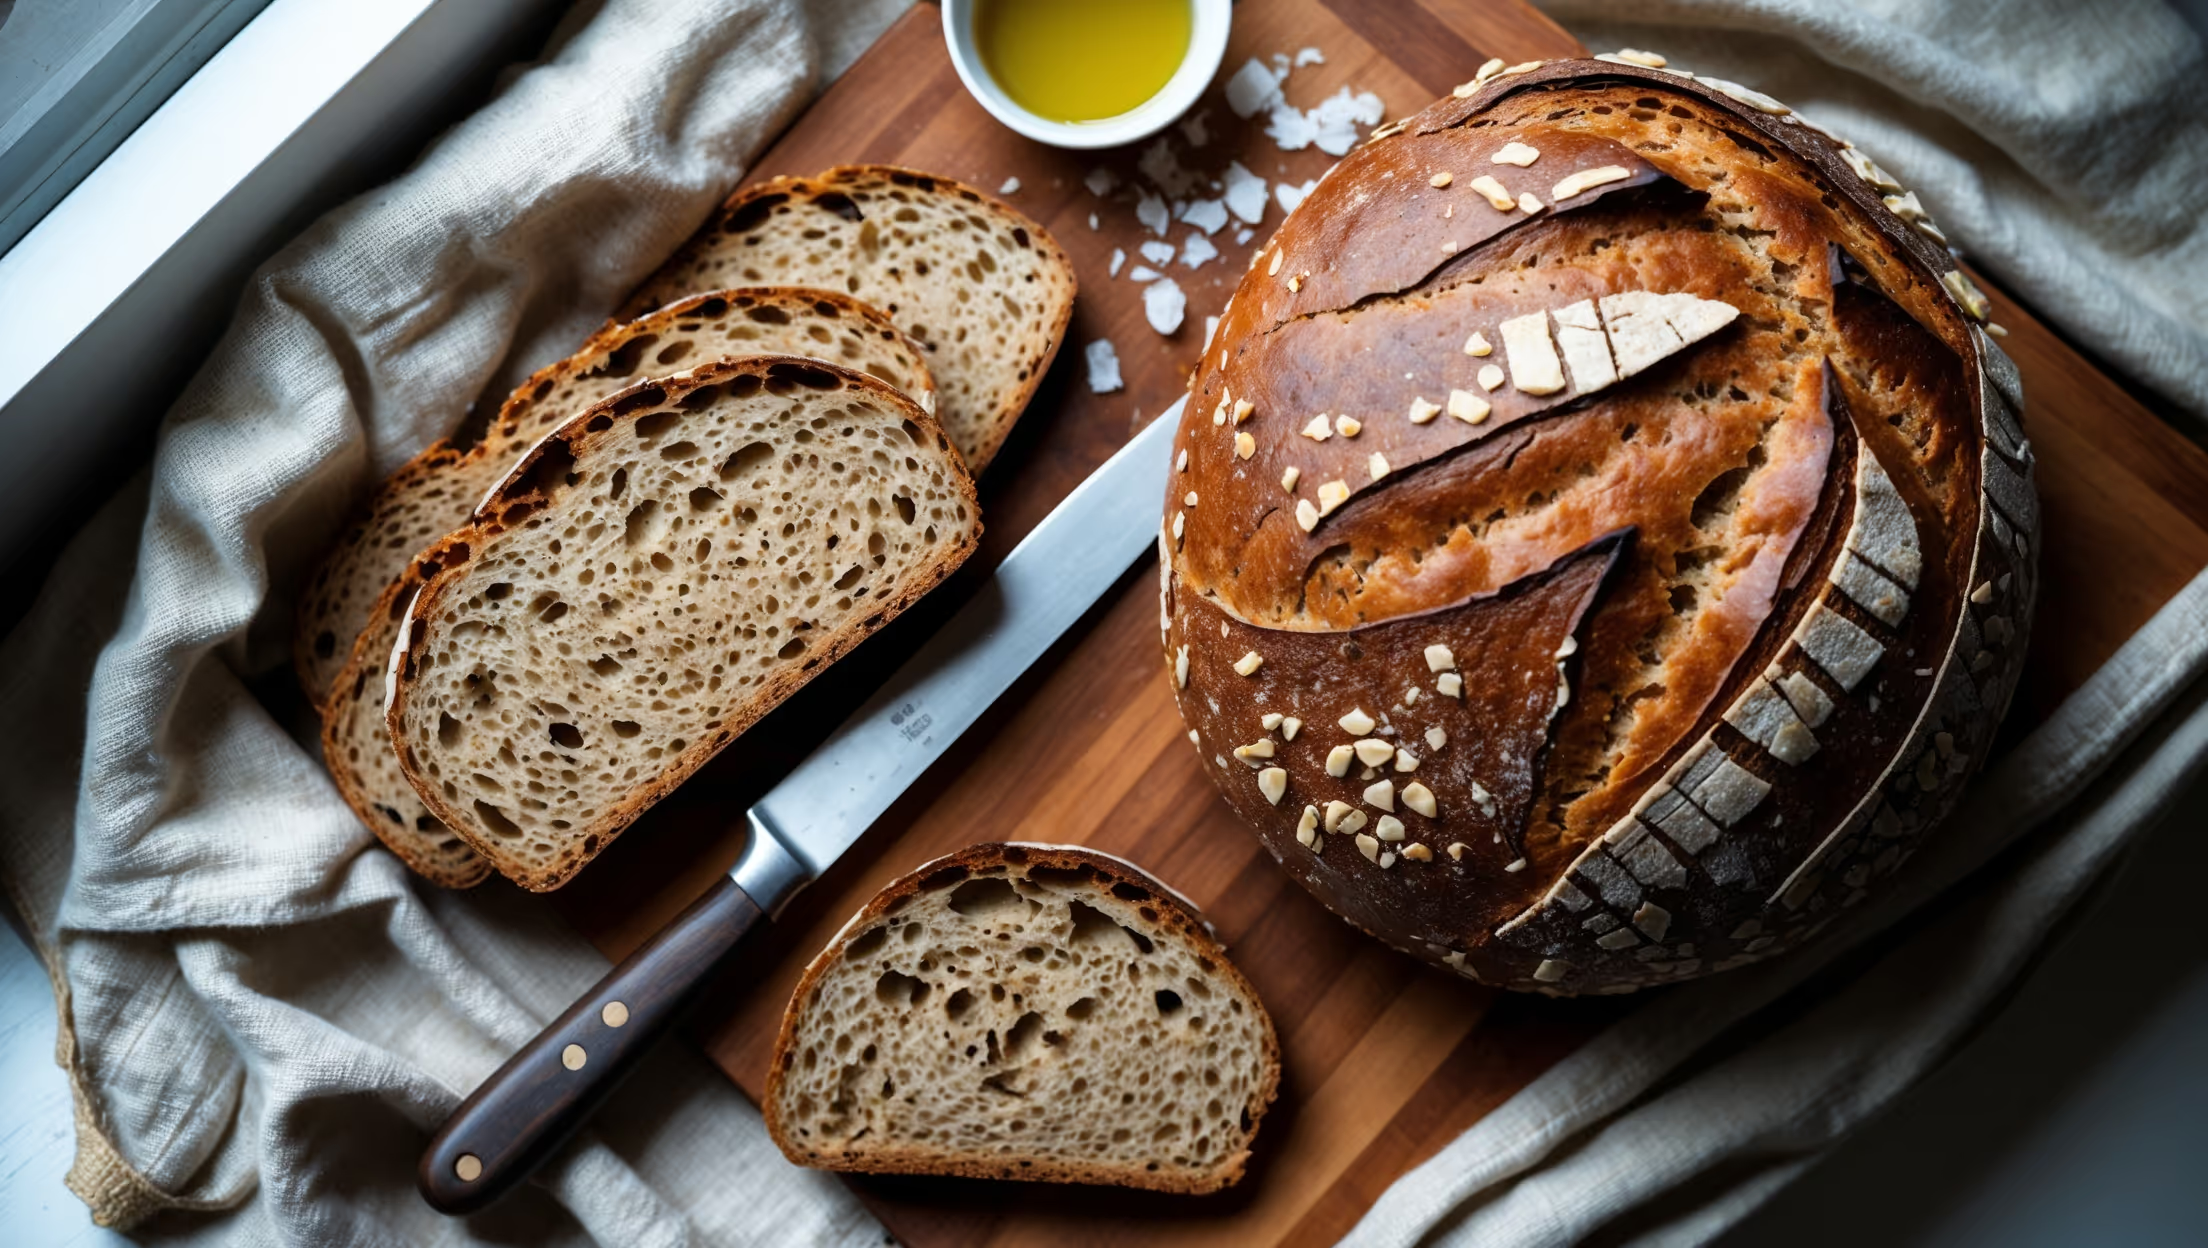
<ol class="no-list-style"><li class="MethodStepper"><h4 class="step-title">Step 1</h4>Begin by activating your yeast. Combine the warm water (38°C) with honey in a large bowl, then sprinkle the yeast over the surface. Let it sit for 5-10 minutes until foamy and fragrant. This activation ensures your bread will rise properly and indicates your yeast is alive and viable.</li><li class="MethodStepper"><h4 class="step-title">Step 2</h4>While the yeast activates, whisk together the kamut, spelt, einkorn, and bread flours in a separate bowl. The bread flour contains higher protein content which helps provide structure, while the ancient grains contribute exceptional flavor and nutrition.</li><li class="MethodStepper"><h4 class="step-title">Step 3</h4>Once the yeast mixture is foamy, add the olive oil and stir. Gradually add about three-quarters of the flour mixture, stirring with a wooden spoon until well combined. Add the salt (adding salt directly to yeast can inhibit its activity, which is why we add it with the flour), then incorporate the remaining flour until you have a shaggy, somewhat sticky dough.</li><li class="MethodStepper"><h4 class="step-title">Step 4</h4>Turn the dough onto a lightly floured surface and knead for 8-10 minutes until smooth and elastic. Ancient grain flours have less gluten than modern wheat, so your dough won't feel as stretchy as regular bread dough, but it should still develop some elasticity and windowpane slightly when stretched thin.</li><li class="MethodStepper"><h4 class="step-title">Step 5</h4>Form the dough into a ball and place in a lightly oiled bowl, turning once to coat. Cover with a damp cloth or plastic wrap and let rise in a warm place (about 24-27°C) for 60-90 minutes, or until doubled in size. Ancient grains often take longer to rise than conventional wheat, so be patient.</li><li class="MethodStepper"><h4 class="step-title">Step 6</h4>Once doubled, gently punch down the dough to release air bubbles. Turn onto a lightly floured surface and shape into a round loaf by pulling the edges toward the center and rotating as you go. Place seam-side up in a well-floured proofing basket or a bowl lined with a floured tea towel. Cover and let rise for another 45-60 minutes until puffy.</li><li class="MethodStepper"><h4 class="step-title">Step 7</h4>While the dough is on its second rise, preheat your oven to 230°C with a Dutch oven or baking stone inside. The preheated vessel creates steam and heat that mimics professional bread ovens, resulting in better crust development.</li><li class="MethodStepper"><h4 class="step-title">Step 8</h4>When ready to bake, carefully turn the dough out onto a piece of parchment paper (seam-side down). Score the top with confident, deep cuts using a lame or sharp knife. This isn't just decorative—it controls how the bread expands during baking.</li><li class="MethodStepper"><h4 class="step-title">Step 9</h4>Carefully transfer the dough on the parchment paper into the preheated Dutch oven. Cover with the lid and bake for 25 minutes. This covered phase traps steam from the bread, helping develop that crackling crust. Then remove the lid and bake for another 15-20 minutes until deeply golden and the internal temperature reaches 96-99°C.</li><li class="MethodStepper"><h4 class="step-title">Step 10</h4>Transfer to a wire rack and resist the temptation to cut into it immediately! Let the bread cool completely for at least 1 hour. This resting period is crucial as it allows the crumb structure to set and flavors to develop. Cutting too soon results in gummy texture and lost moisture.</li></ol>