On this page
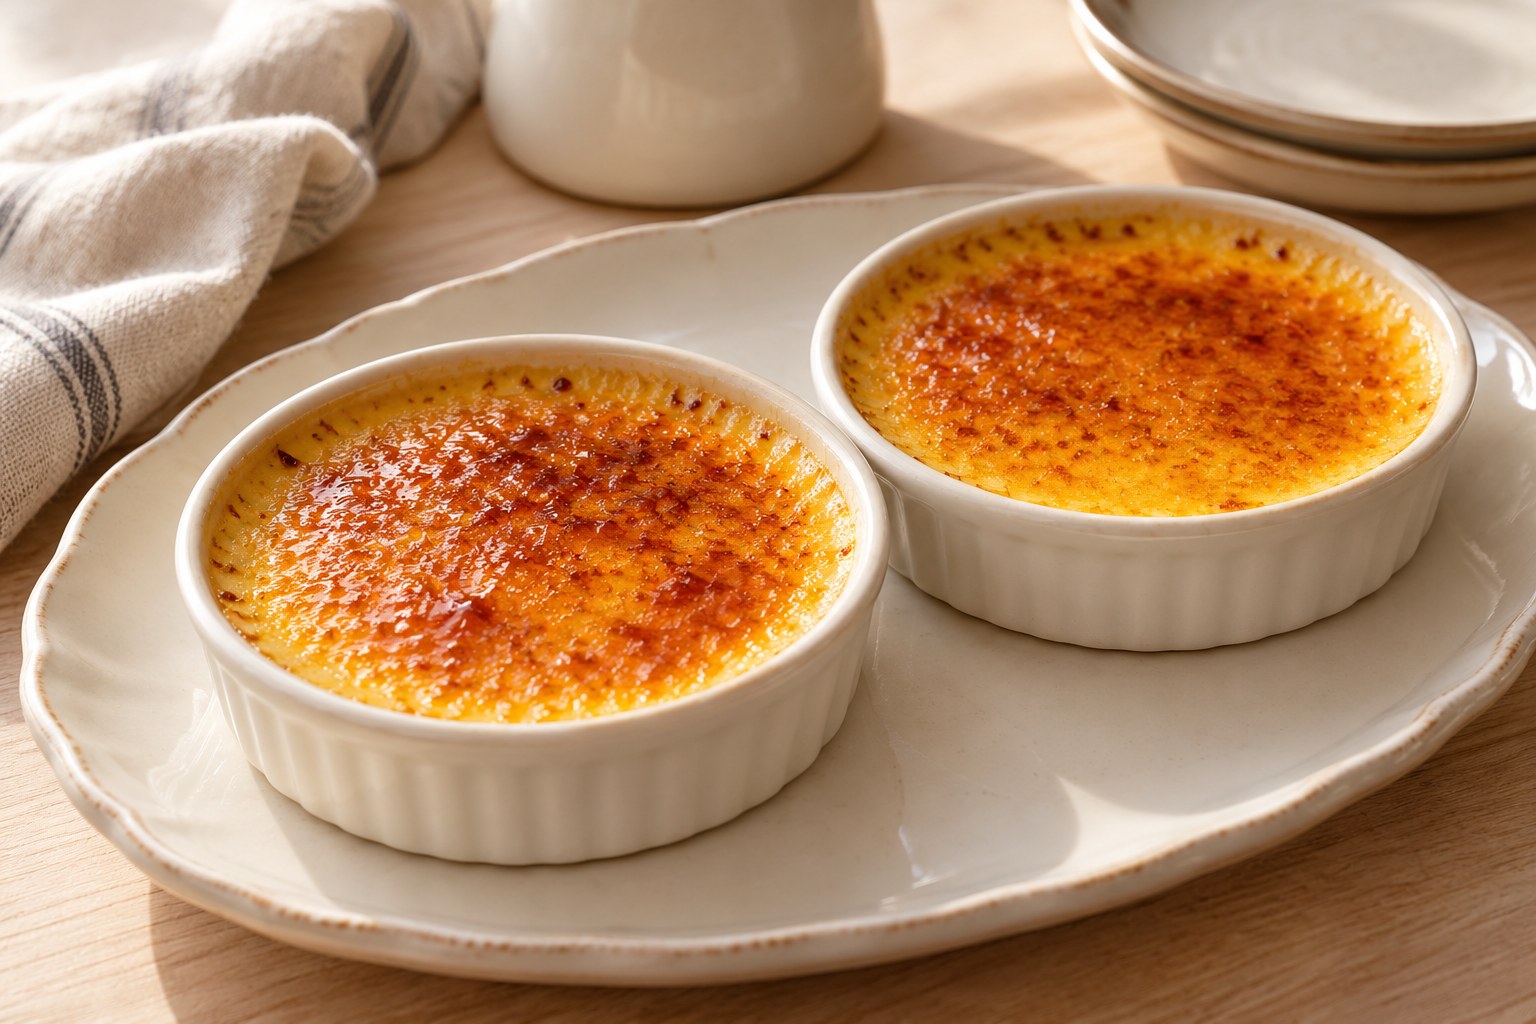
Crème brûlée is a small dessert with an unforgettable contrast: cool, velvety vanilla custard beneath a brittle golden sugar shell that shatters under a spoon. It looks like restaurant pastry, yet the principles are approachable. The main skills are tempering eggs gently, baking the custard evenly in a water bath, cooling and chilling it safely, then caramelizing a thin layer of sugar just before serving.
What defines crème brûlée?
The classic dessert consists of a rich set custard, commonly made from cream, egg yolks, sugar and vanilla, topped with a thin caramelized sugar crust. The base is not usually a starch-thickened pudding. Eggs set the custard when heated carefully; the final torching primarily treats the sugar surface.
Choose a tested recipe before starting
Cream-to-yolk ratios, ramekin size and oven temperatures vary, so follow one complete formula. Some recipes use all cream while others include milk. If using a recipe that calls for pasteurized eggs or a particular internal temperature, preserve those safety instructions.
Gather the right equipment
Shallow oven-safe ramekins, a sturdy roasting pan, a fine sieve and a suitable thermometer make the process more predictable. A kitchen torch designed for food is useful for the sugar topping. Check that every ramekin and the larger water-bath pan are rated for the chosen oven temperature.
Vanilla flavour choices
A split vanilla bean steeped in cream creates classic flavour and attractive tiny seeds. Extract or paste can also work when the recipe permits. Add delicate flavourings at the stage specified so they don't become bitter or overpower the custard.
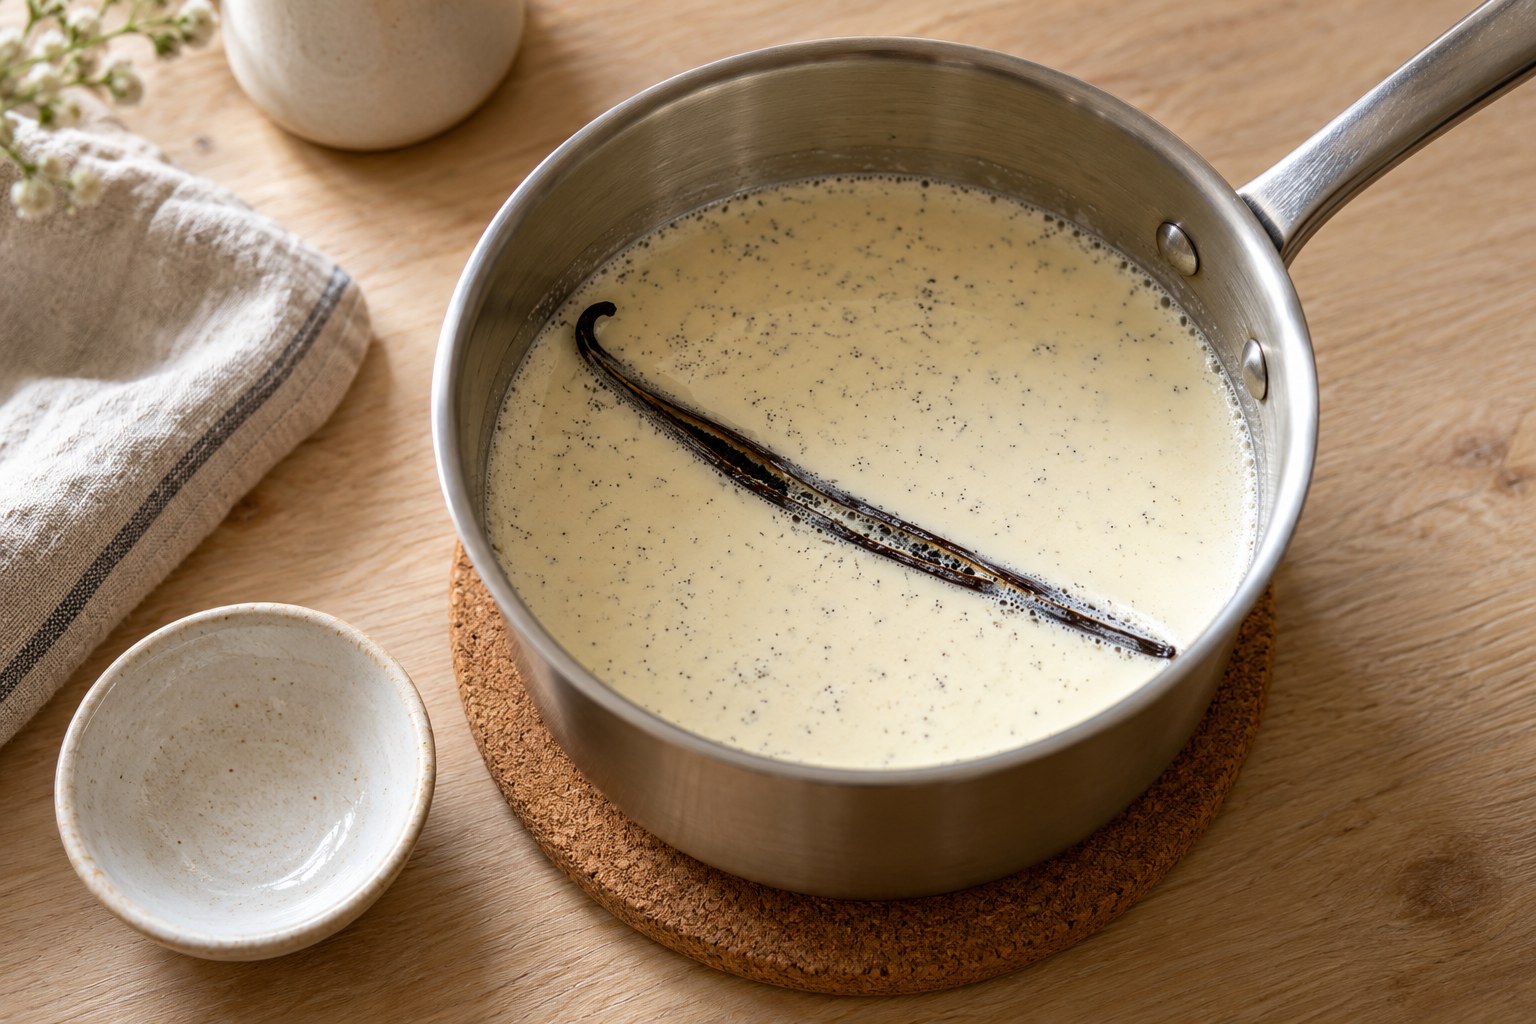
Warm the cream gently
Many custard methods warm cream before combining it with yolks. The goal is to bring the ingredients together without shocking eggs or boiling away excessive liquid. Follow the recipe's heating cues and avoid leaving a pan of hot cream unattended.
Whisk yolks and sugar
Mix until the sugar is dispersed as the recipe directs. Excessive whipping creates lots of air bubbles, which can leave a foamy surface or uneven texture. The goal is a smooth egg-sugar mixture, not a stiff meringue.
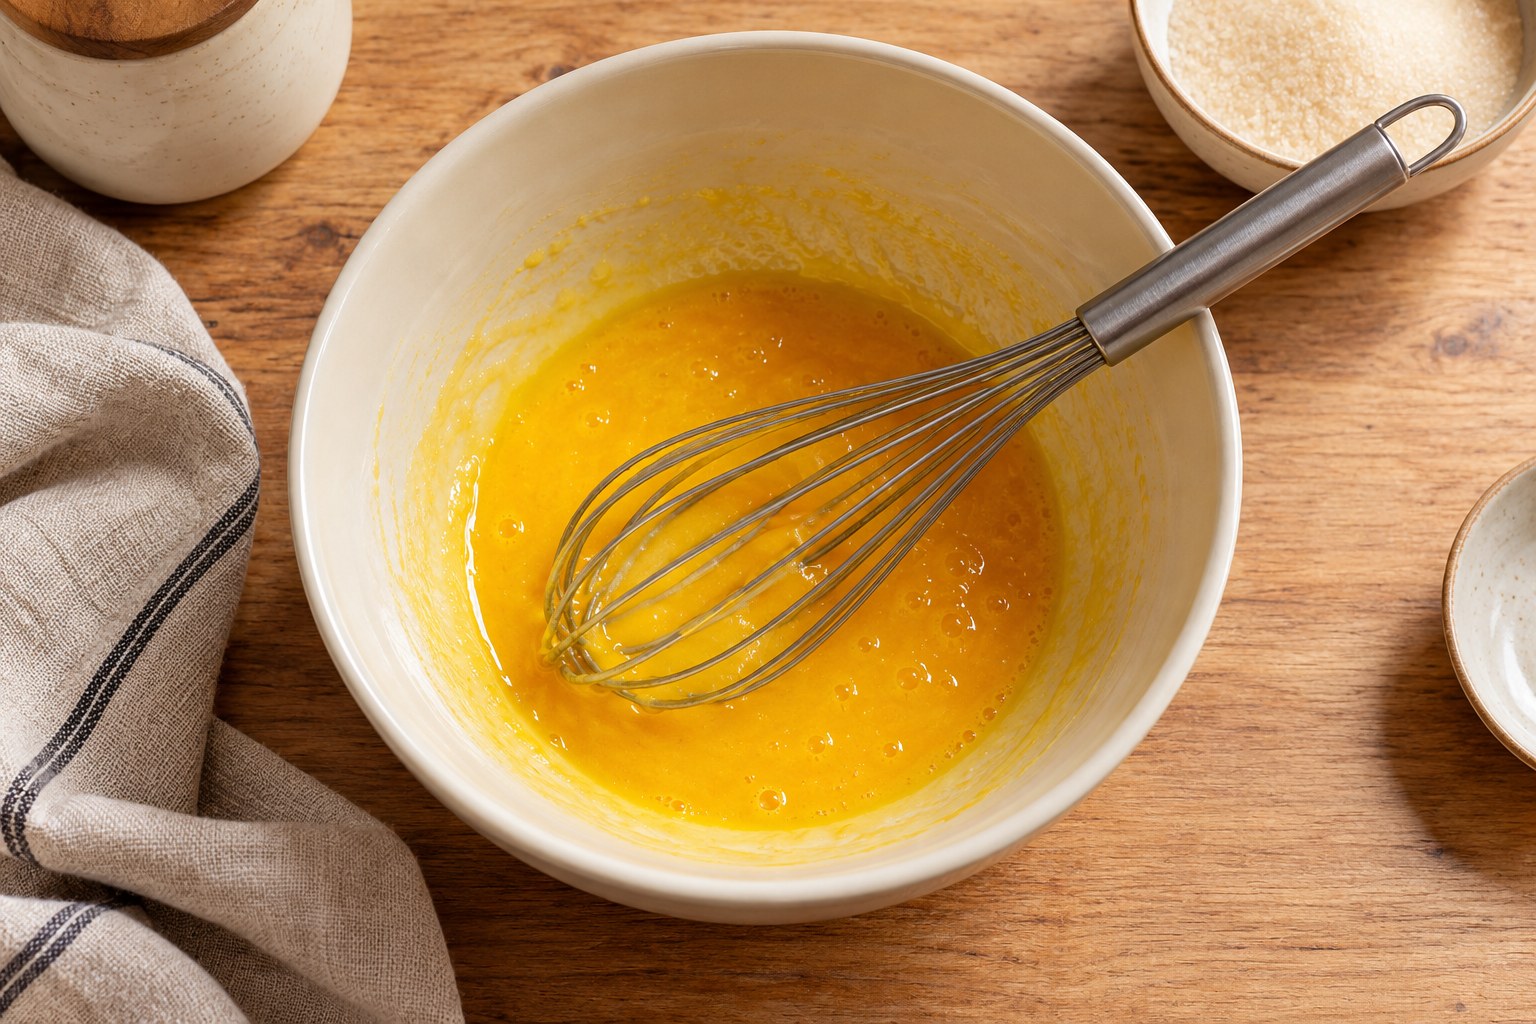
Temper eggs carefully
Gradually whisk some warm cream into the yolks, then combine as directed. Adding very hot cream all at once can cook portions of egg prematurely. Keep whisking at a controlled pace, and never place an untempered bowl of egg yolks over high heat.
Strain the mixture
Passing the combined custard through a fine sieve removes small cooked egg bits or undispersed solids. This simple step helps create a smoother final texture. Skim foam if the recipe recommends it so the baked surface looks even.
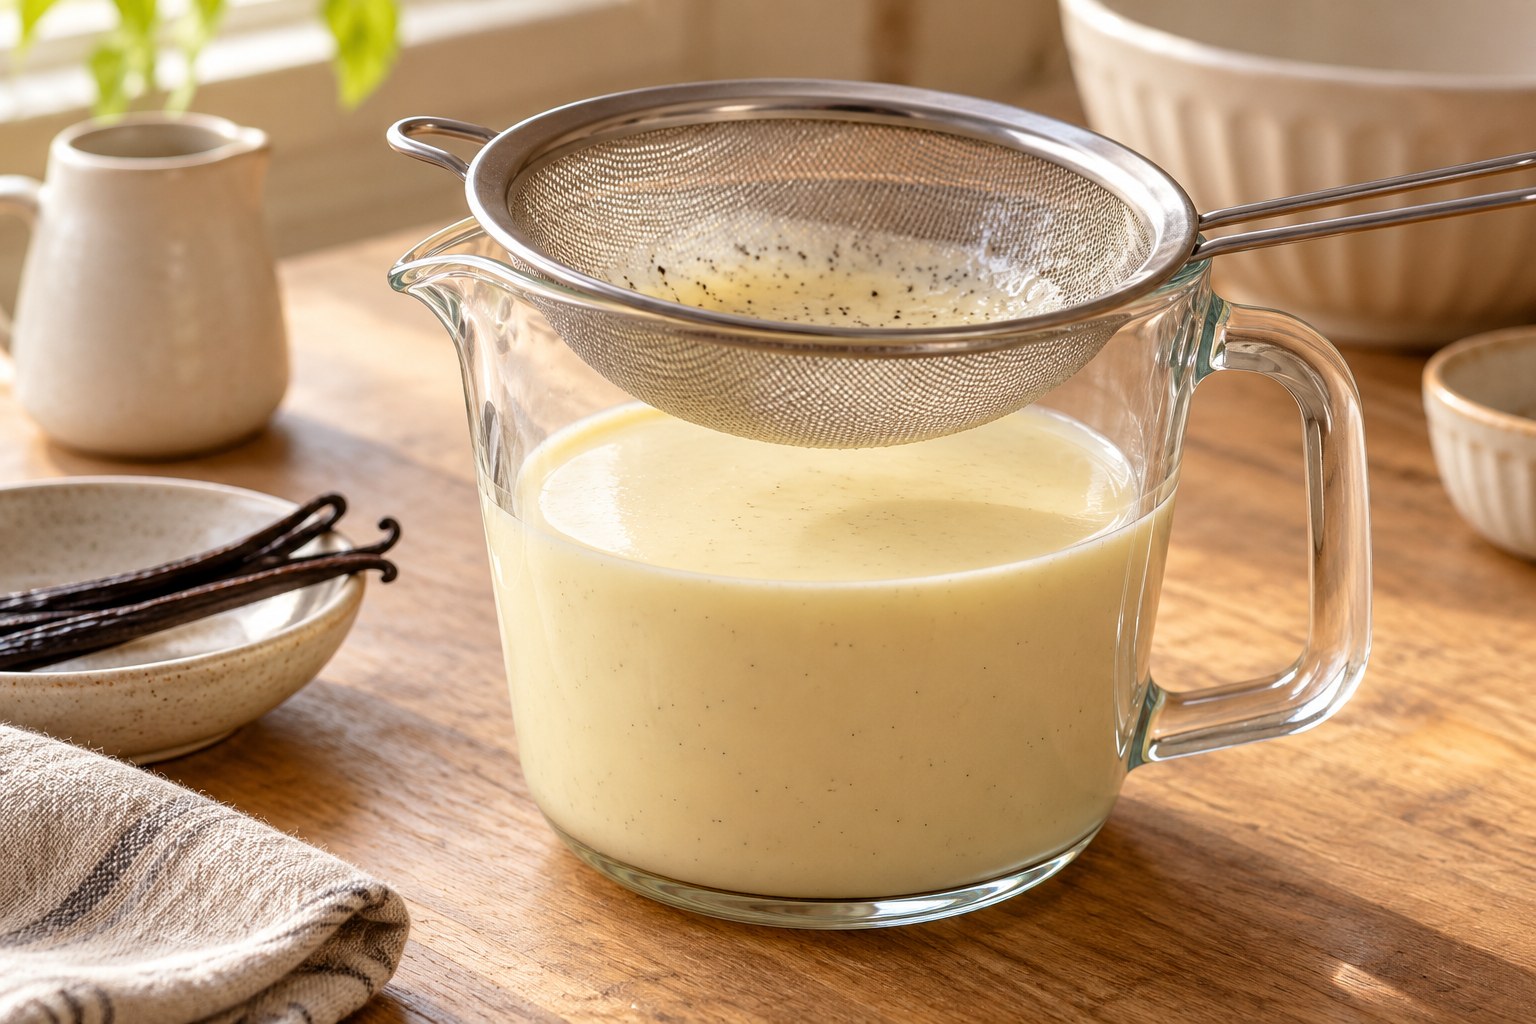
Portion evenly
Fill ramekins to the level given by the recipe, leaving the required headroom for handling and the later sugar layer. Different depths change baking time. A shallow custard cooks differently from a deep bowl, even when both hold the same volume.
Why the water bath matters
A bain-marie surrounds the ramekins with warm water, moderating heat transfer and helping the custard set gently rather than curdle at the outer edges. The pan should be stable and sufficiently large to leave space around the ramekins.
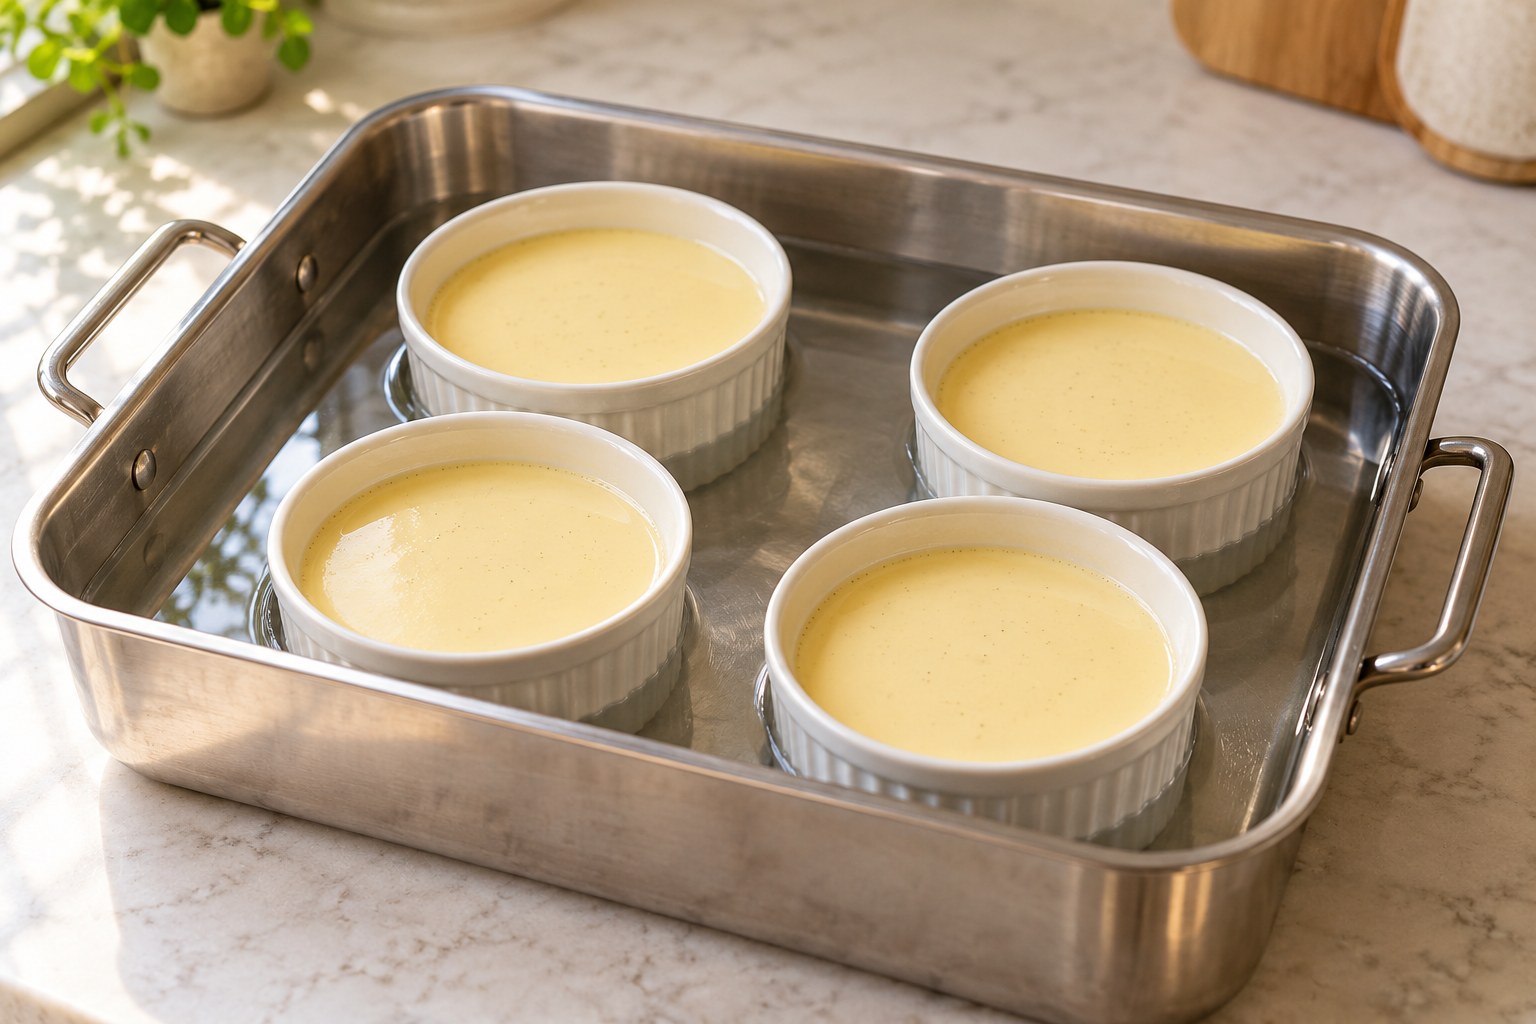
Add hot water safely
Many formulas place filled ramekins in the roasting pan before adding hot water around them to the specified height, often partway up the sides. Pour carefully without splashing water into the custard. Handle the heavy pan using suitable protection, and follow the recipe's exact water-bath setup.
Baking to the right set
Properly baked custard should show the surface and movement described by its recipe, often with gentle wobble rather than liquid sloshing. Avoid using appearance alone for egg safety; confirm any required internal temperature with an accurate thermometer when specified.
Egg safety and temperature
For egg-containing custard dishes, the US FDA advises reaching 160°F (71°C) for food safety. Some recipes for rich baked custards describe different texture-based endpoints; if there is a discrepancy, use a validated safe recipe, pasteurized egg products where appropriate and authoritative food-safety guidance rather than guessing that an undercooked centre is safe.
Why custard can become grainy
Too much heat can cause egg proteins to tighten excessively and release moisture, leaving a scrambled or curdled texture. A gentle water bath, correct oven setting and timely removal help avoid this. A sieve improves the raw mixture but cannot reverse severe overcooking after baking.
Why custard develops bubbles
Vigorous whisking or excessive baking heat can trap or create air pockets. Let the strained mixture settle briefly if directed and avoid overheating. A few surface bubbles are cosmetic, but widespread porous texture often signals temperature or mixing problems.
Cool safely before refrigeration
Transfer ramekins from the water bath carefully to a stable rack, following the recipe's cooling instructions. Refrigerate promptly according to safe handling requirements; do not leave rich egg-and-cream custards on the counter for hours. Keep the fridge at 4°C (40°F) or colder.
Why chilling matters
Chilling helps the custard firm fully and creates the signature temperature contrast with the warm caramelized surface. Many formulas specify several hours of refrigeration, or overnight. The exact chilling time depends on ramekin depth and the recipe.
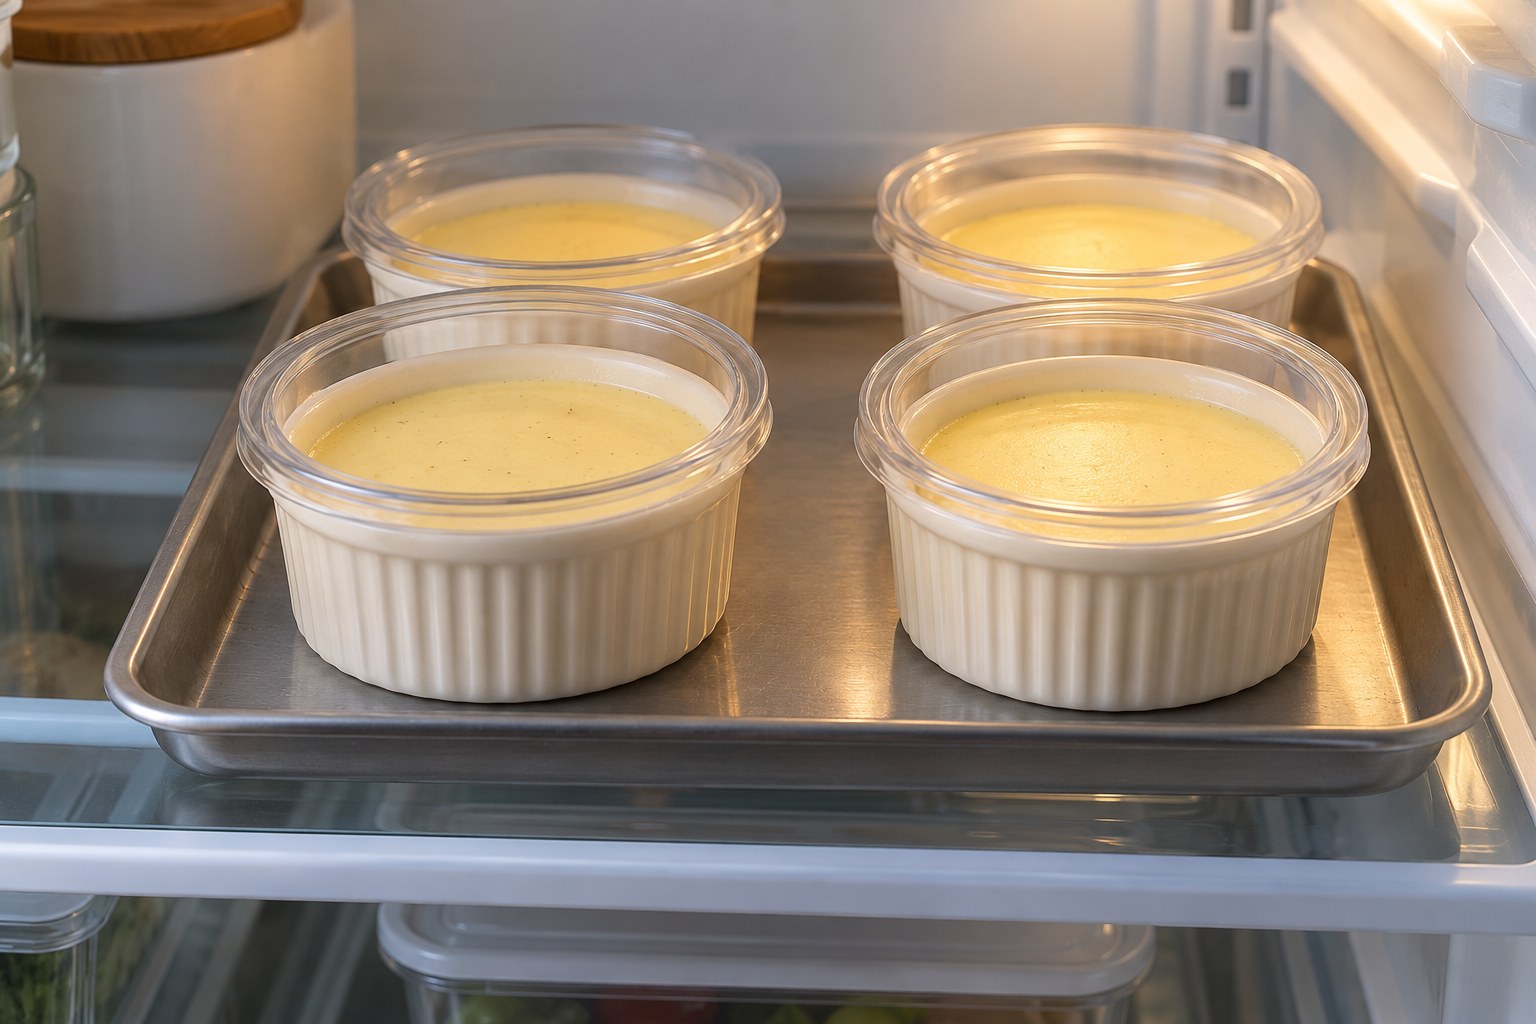
Dry the surface before sugar
Condensation or water droplets make it harder to form a thin even crust. Blot the chilled custard gently if the recipe instructs, without damaging its surface. The topping should remain mostly sugar rather than a puddle of syrup before torching.
Choose the sugar and quantity
Fine granulated white sugar is common because it can form a thin even coating. Use the amount specified for the ramekin diameter. Too much sugar creates a thick, hard plate that is difficult to break and can overheat the custard before it melts.
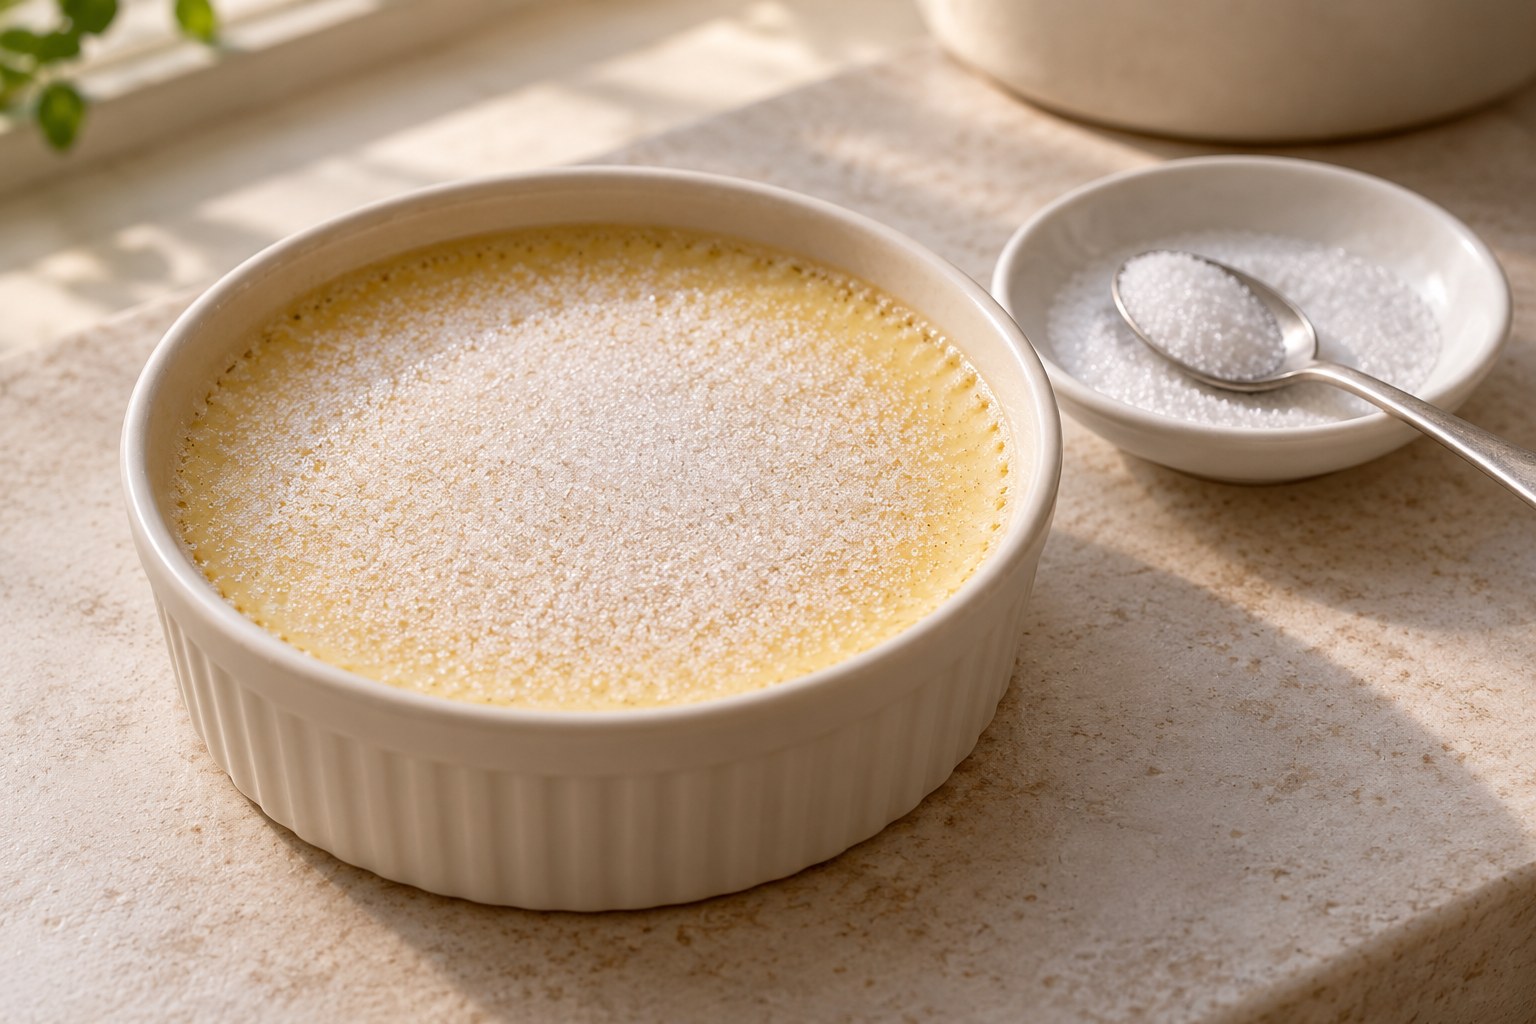
How to torch the sugar
Keep the torch at the distance and angle recommended by its manufacturer and the recipe, moving steadily to caramelize rather than burn individual spots. Rotate or reposition the ramekin safely without touching hot glass or ceramic. Never point a flame toward clothing, paper, cabinets or people.
Alternative broiler method
Some tested recipes offer a broiler alternative, but it can warm the custard more than a torch and may caramelize unevenly. Use only broiler-safe ramekins and follow the exact method. A ceramic dish rated for baking is not automatically rated for direct broiler heat.
When to caramelize
The sugar crust is best made near serving because moisture can gradually soften it in the refrigerator. Keep the custard chilled until you're ready, torch carefully, and allow the sugar a brief safe setting interval so it becomes brittle.
Troubleshooting a soft sugar shell
The coating may be too thick, insufficiently caramelized or sitting in a humid environment for too long. Try a thinner even layer and finish closer to service. More torching after dark spots form can produce bitterness without solving a thick crust.
Troubleshooting a runny custard
A custard that never set may have been undercooked, formulated incorrectly or poured into unusually deep ramekins. Chilling alone cannot reliably correct raw egg mixture. Use a validated safe doneness test and ensure the water-bath and oven schedule suit the containers.
Frequently asked questions
Do you need a torch? A tested broiler method can work, with proper equipment. Why is my custard grainy? It may have overheated. Should it be chilled before torching? Yes, typically. How far should water reach? Follow the recipe, often partway up ramekin sides. Can I make it ahead? The custard base often can be chilled ahead, then sugared at service.
The final contrast
Smooth crème brûlée comes from careful eggs, measured cream and gentle baking; its memorable crackle comes from a very thin layer of freshly caramelized sugar. Keep safety and temperature control at the centre of the process and the finishing flourish becomes much easier.
Technique reference: FDA egg safety guidance.
IN PICTURES
From the baking notebook
FROM THE RECIPE BOX