Homemade Simple Bread Recipe
Ingredients
Equipment
Directions
FAQs
Find answers to your most pressing questions about this delicious recipe right here.
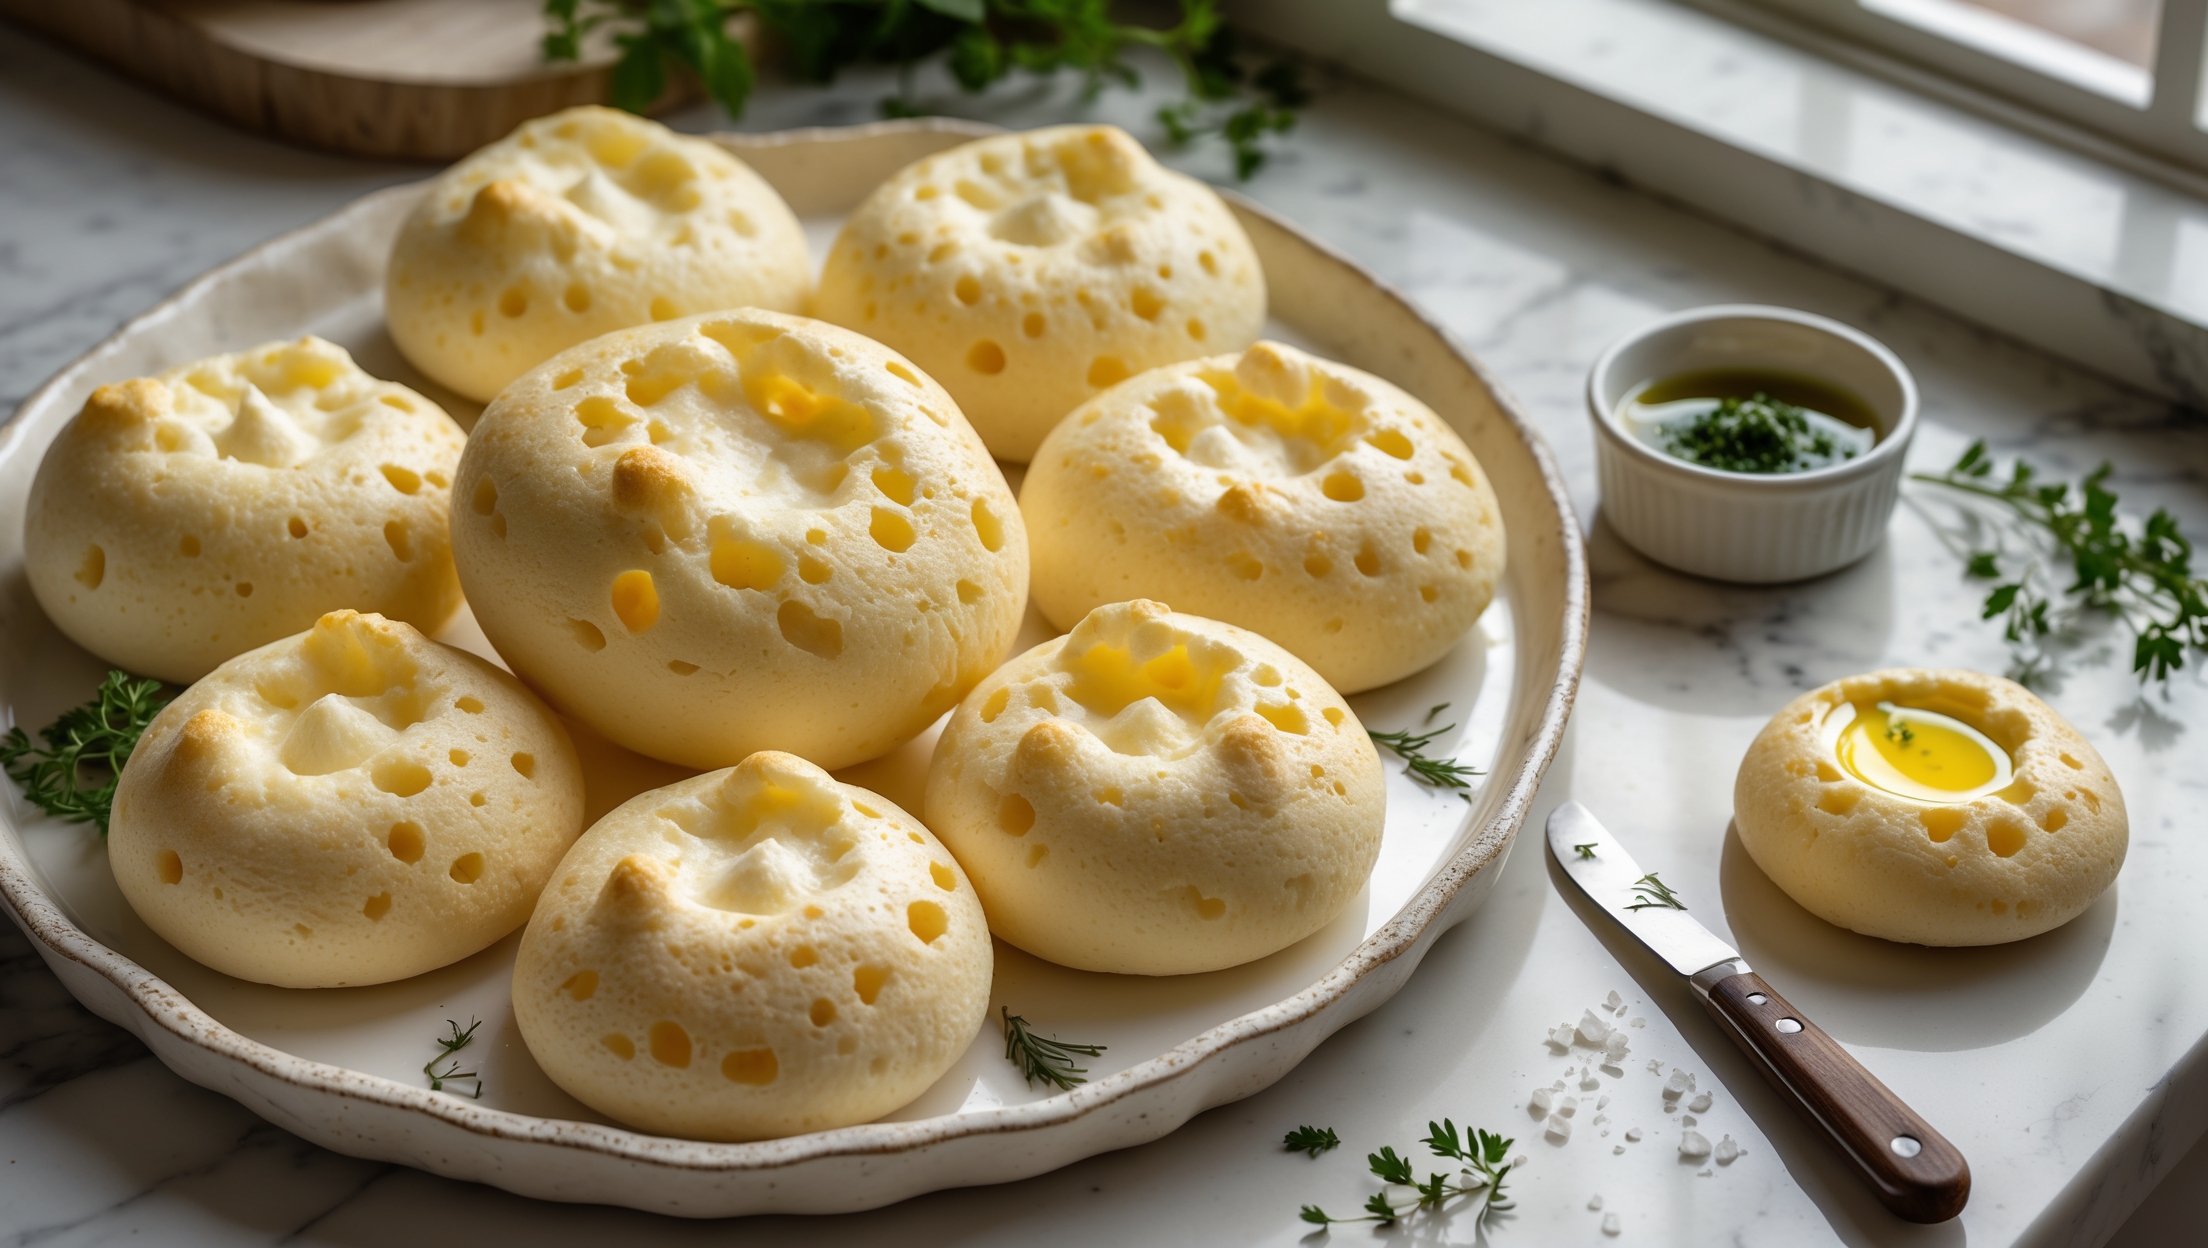
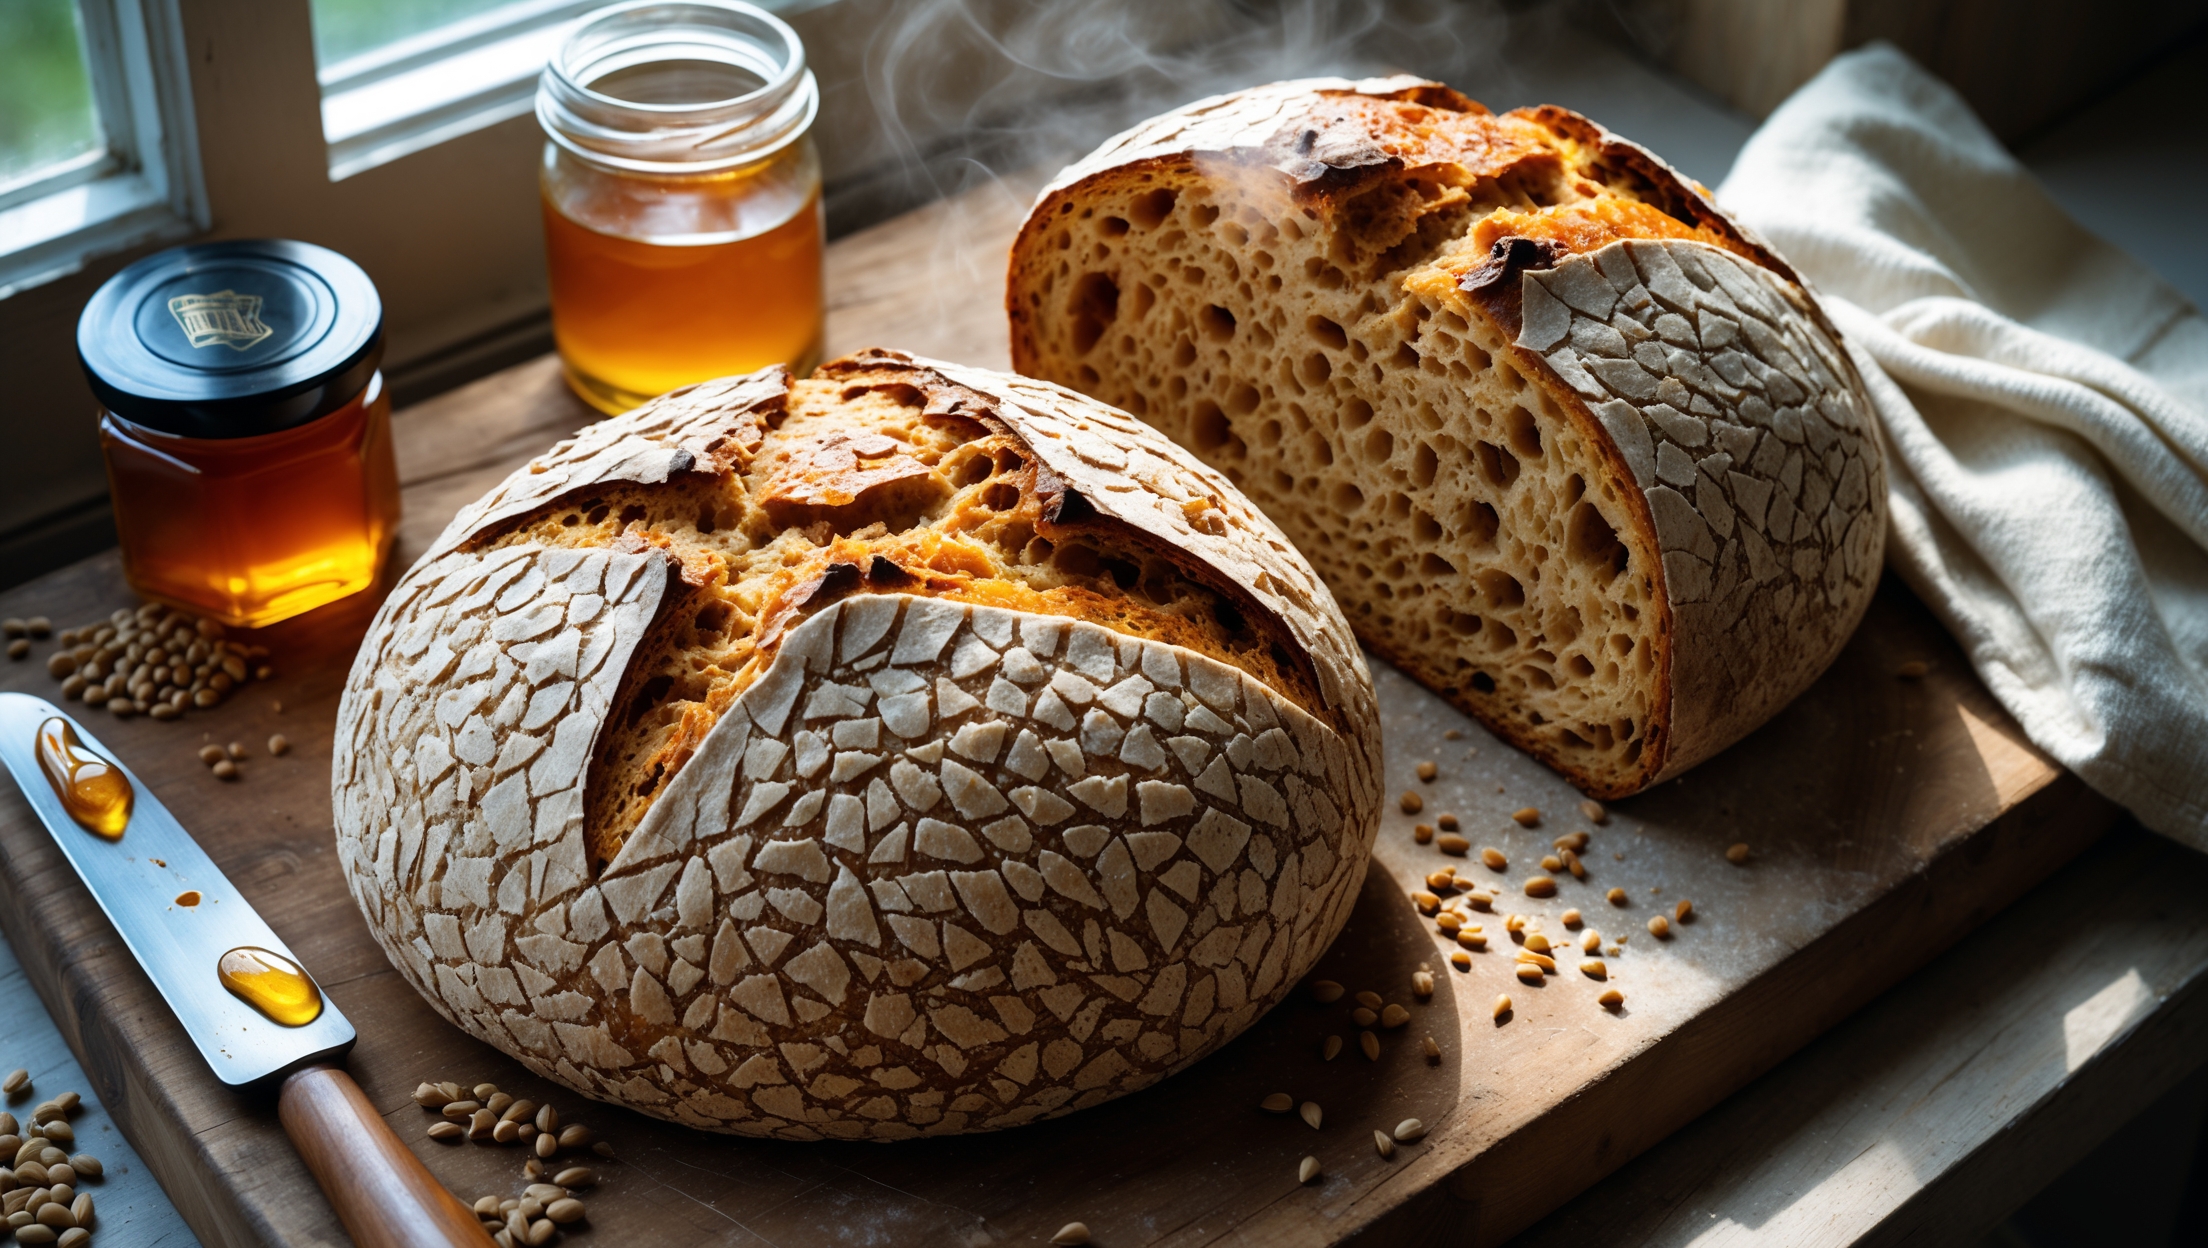
This simple bread requires just 6 basic ingredients: strong bread flour (500g), instant yeast (7g), salt (10g), warm water (350ml), olive oil (15ml), and sugar (10g). These everyday ingredients combine to create a crusty, airy loaf with excellent flavour and texture.
Learn how to cook Homemade Simple Bread Recipe by mixing flour, salt, yeast, and sugar before adding warm water and oil. Knead for 8-10 minutes until elastic, let rise until doubled, shape into a ball, and prove again. Bake in a hot oven (230°C) with steam for 25 minutes covered, then 15-20 minutes uncovered until golden and hollow-sounding when tapped.
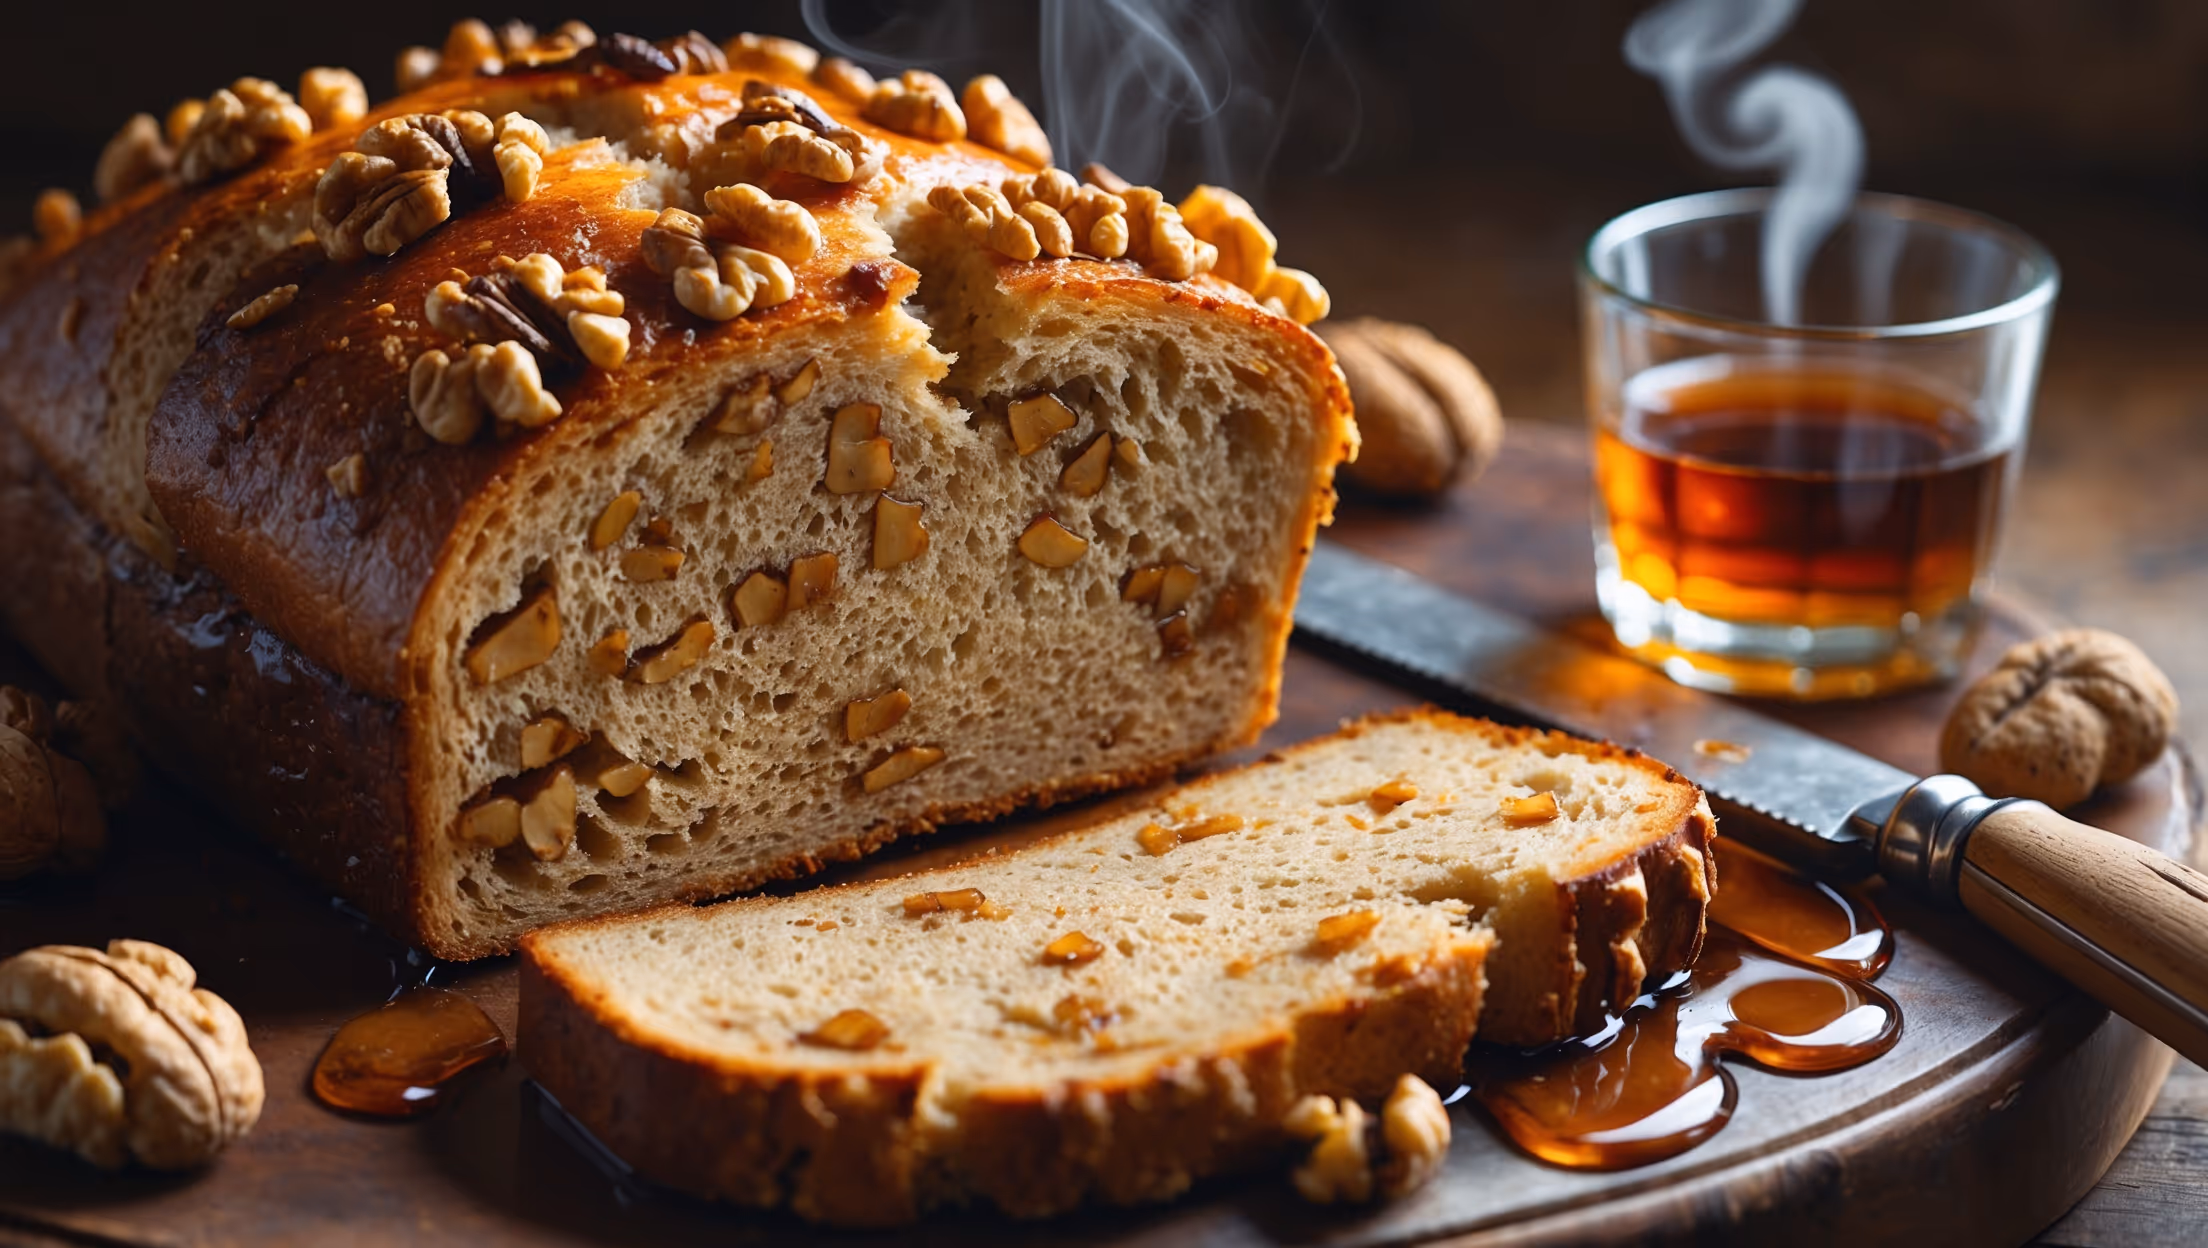
Letting bread cool completely allows the crumb structure to set properly. Cutting too early while it's still hot releases steam and moisture, resulting in a gummy texture. The cooling period allows starches to solidify and flavours to develop, giving you clean slices with the perfect texture.
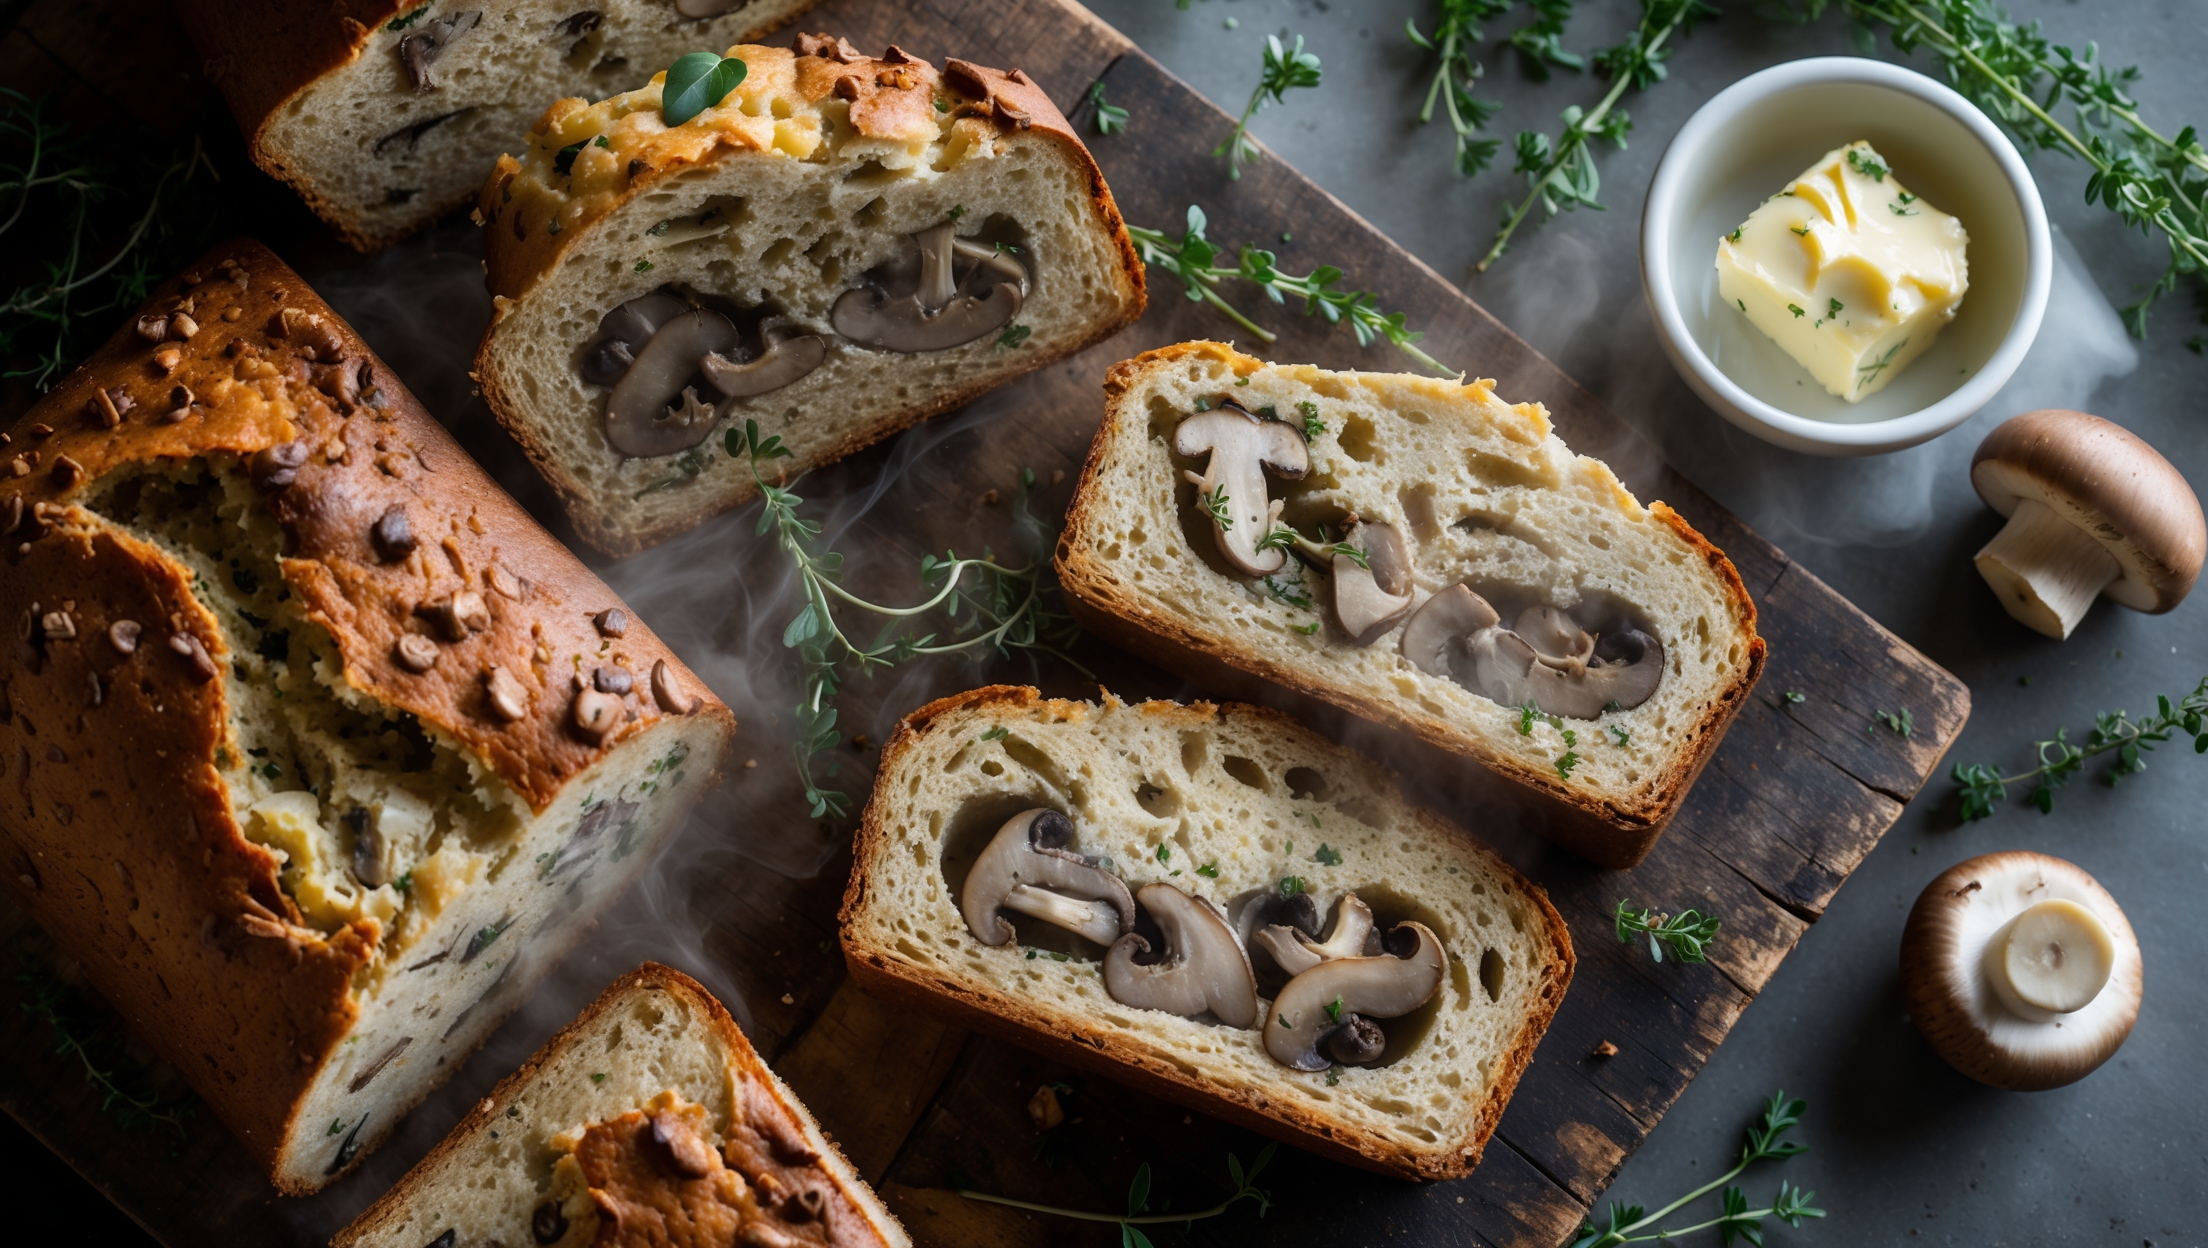
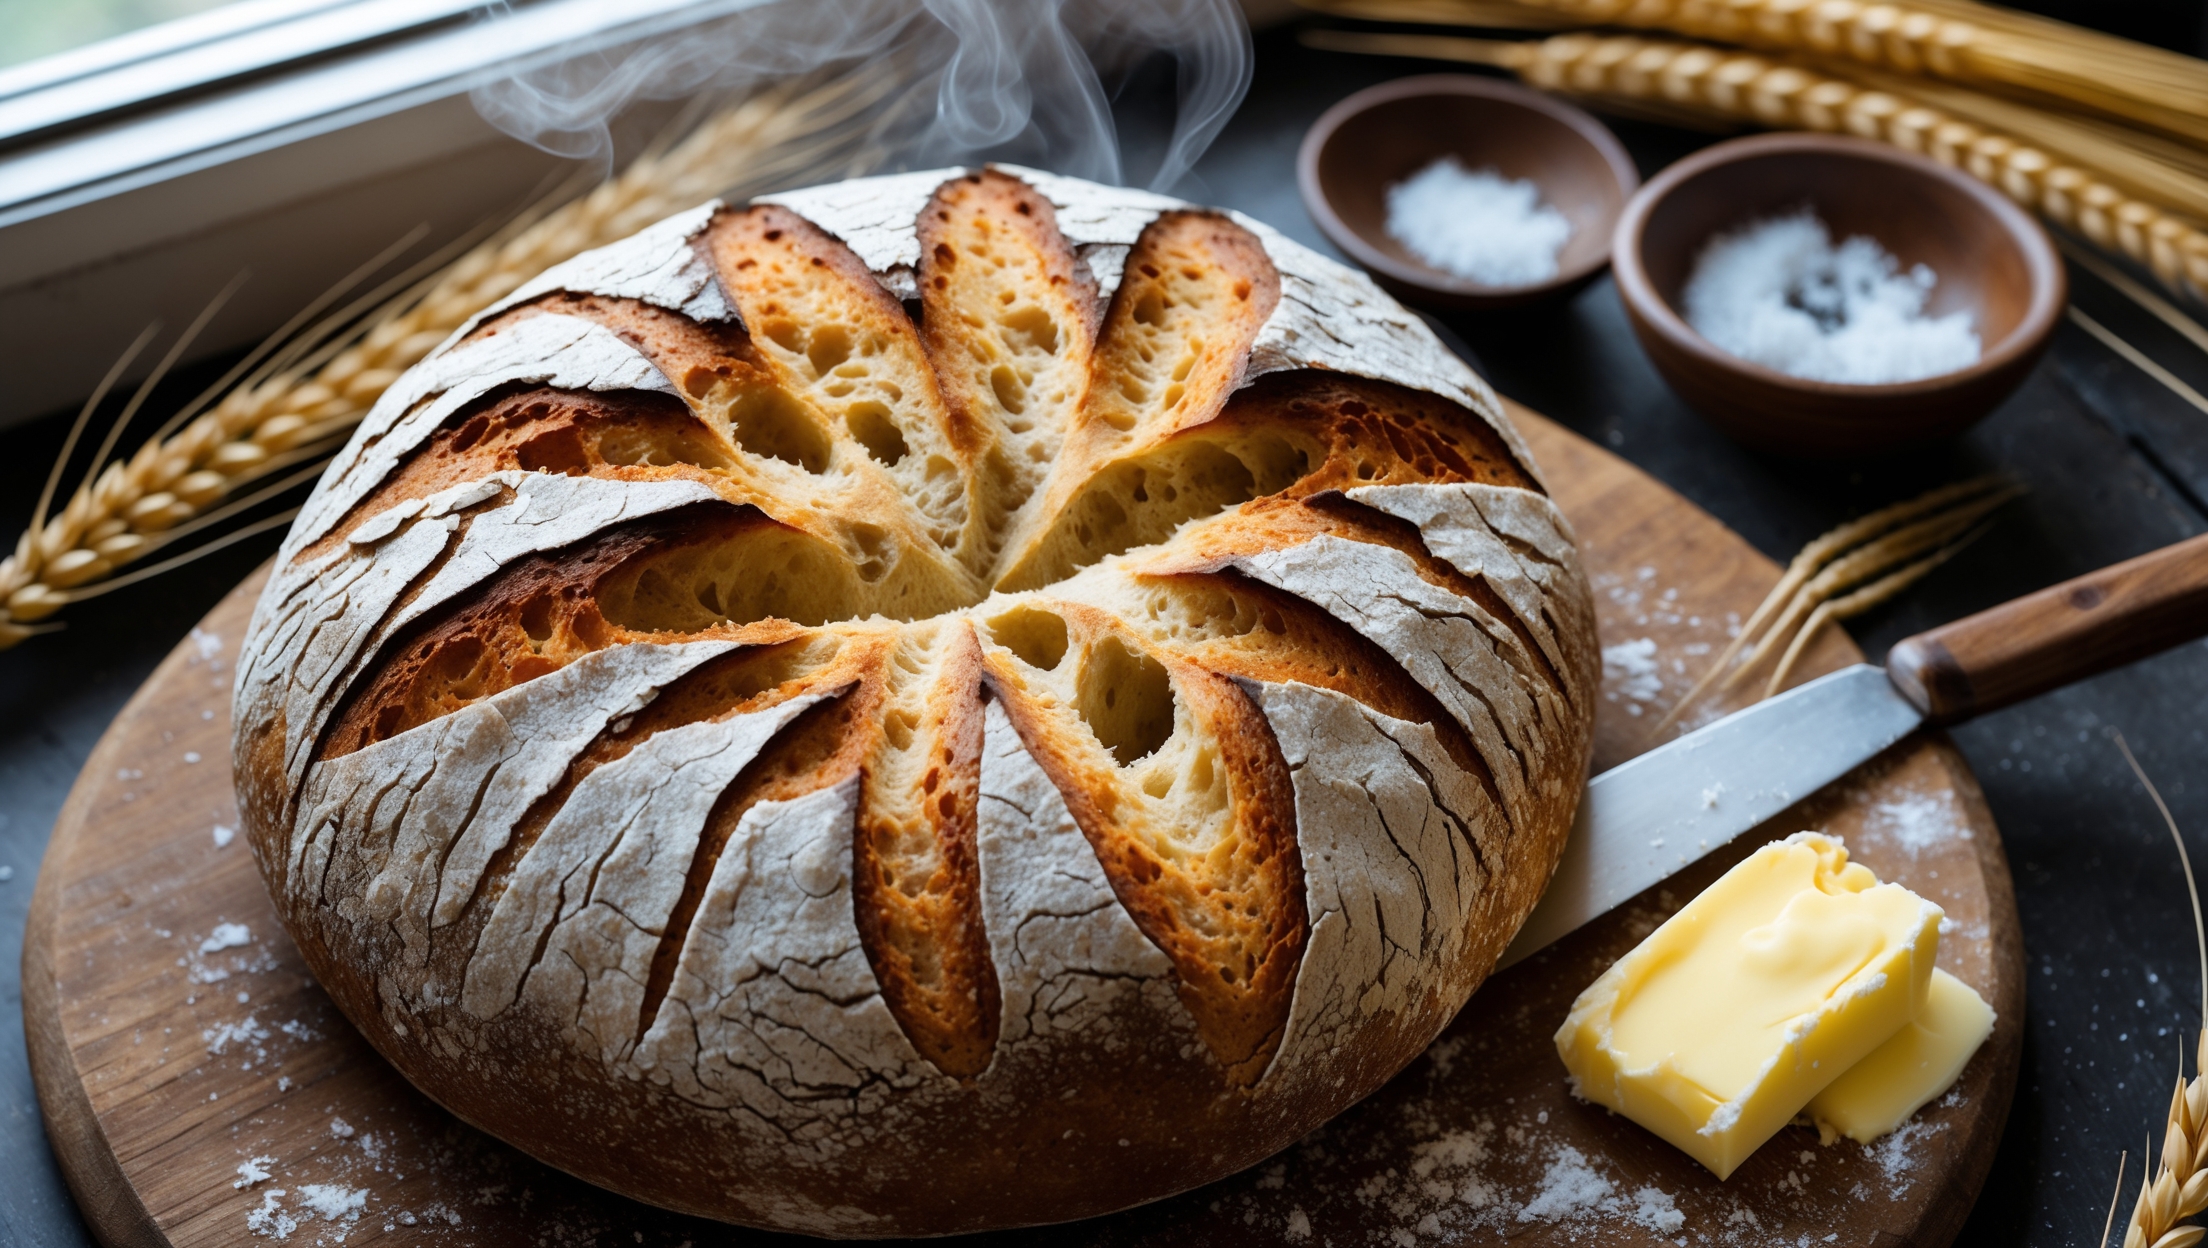
Scoring creates controlled openings that allow the bread to expand properly during baking without unpredictable splits. These deliberate cuts direct how the loaf rises, create that artisanal appearance with "ears" (raised edges), and help form the distinctive crust that's characteristic of artisan bread.
For an exceptionally crispy crust, create steam in your oven by placing a dish of water at the bottom or using a Dutch oven with the lid on for the first part of baking. Higher temperatures (220-230°C) also promote better crust formation. Brushing the dough with water before baking can further enhance crispiness.
Quick Breads
Try following recommended recipes