Crème Brûlée Tart Recipe
Ingredients
Equipment
Directions
FAQs
Find answers to your most pressing questions about this delicious recipe right here.
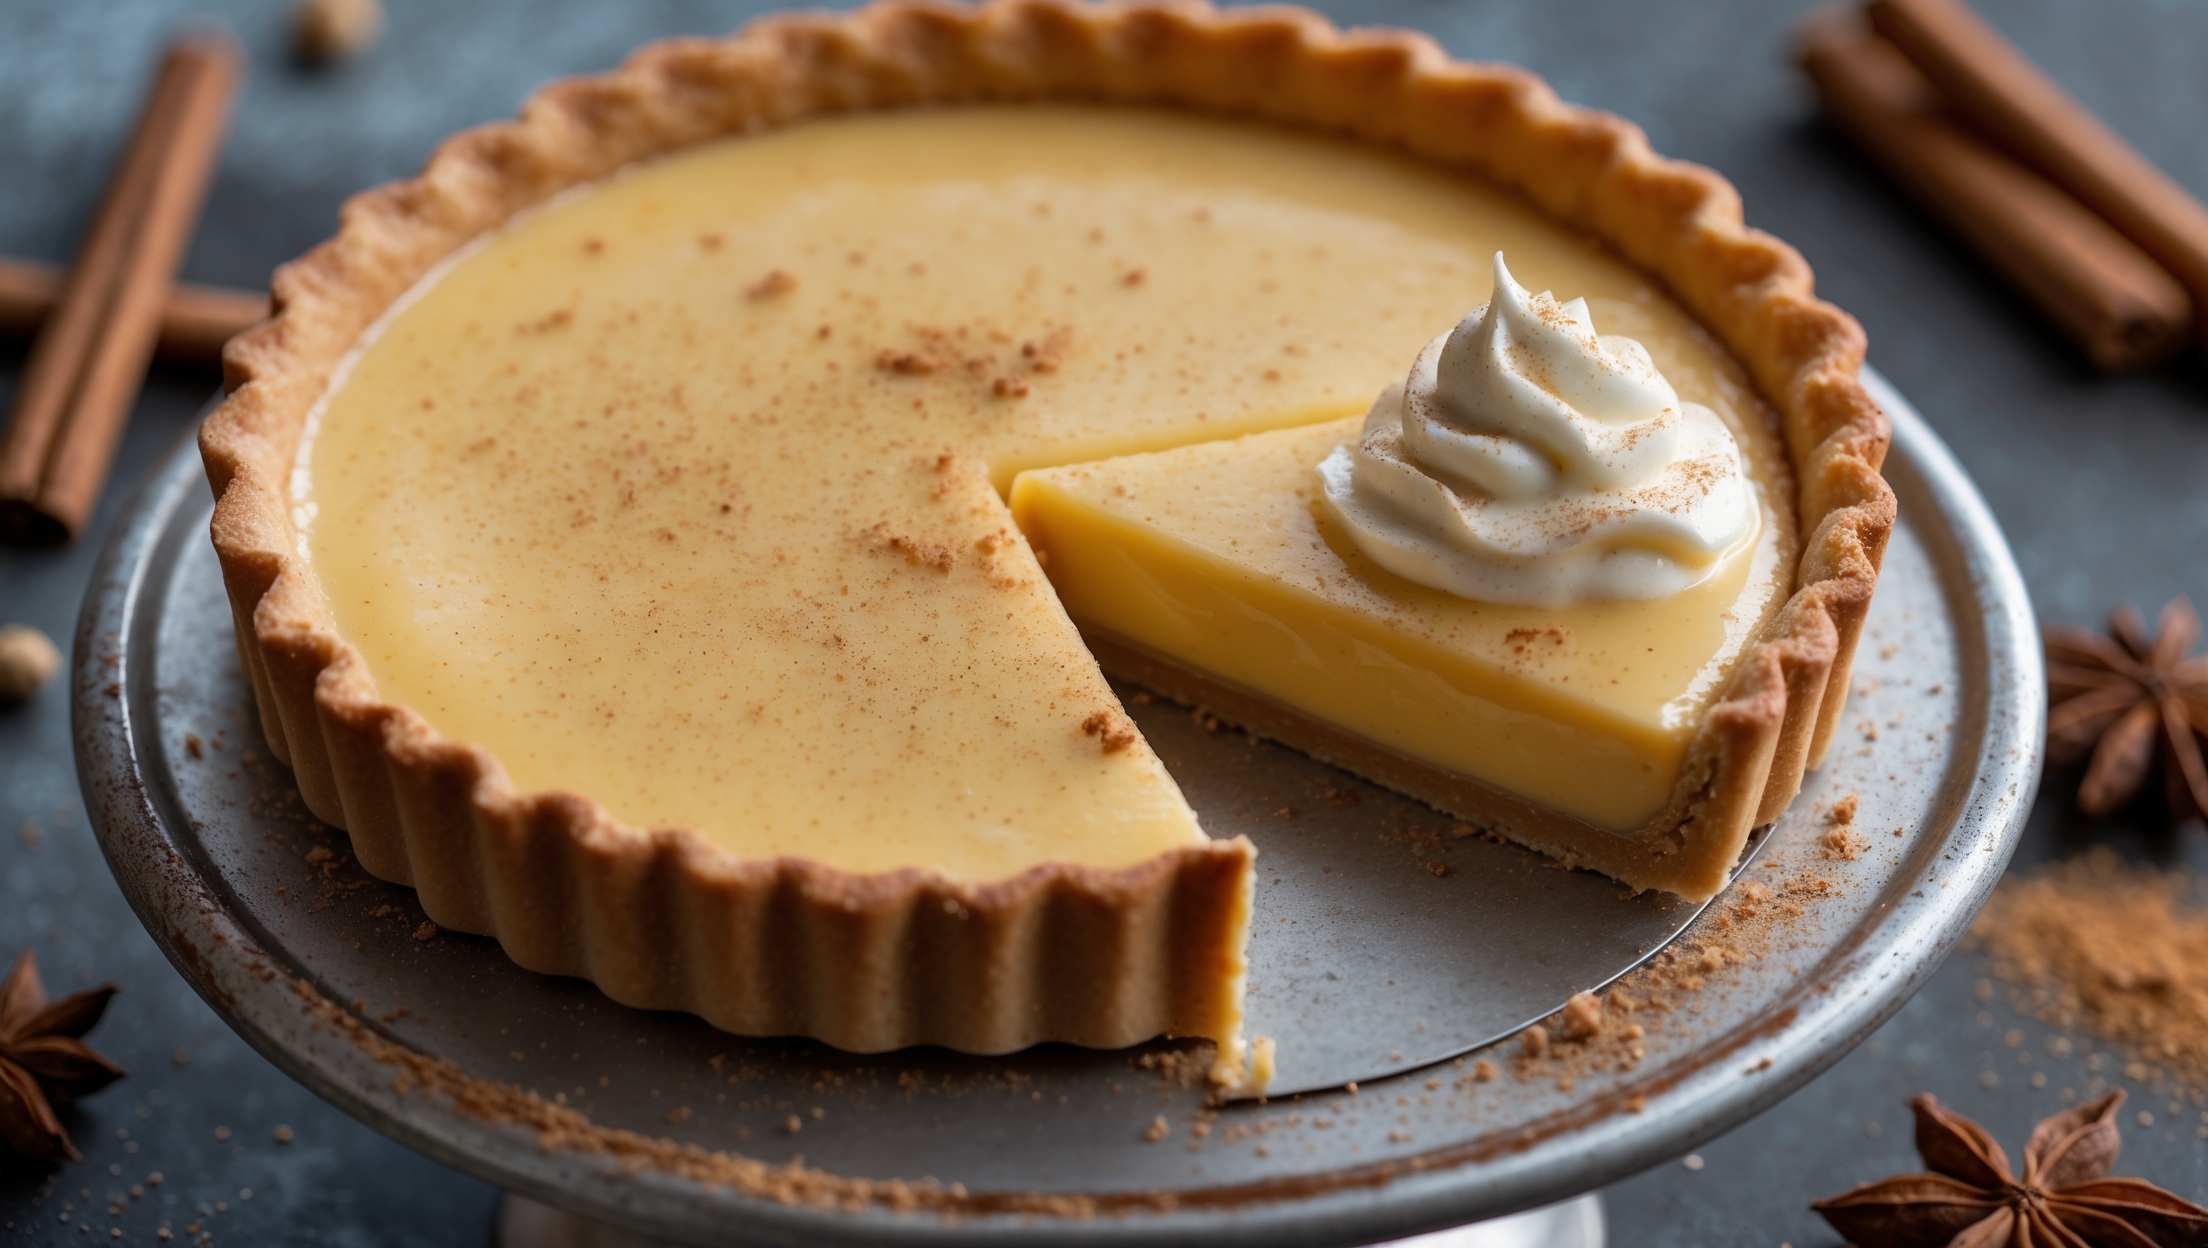
The main ingredients include all-purpose flour, unsalted butter, caster sugar, eggs, heavy cream, and vanilla pod or paste. You'll need these for the buttery shortcrust pastry base and the silky vanilla custard filling, plus extra caster sugar for the caramelised topping.
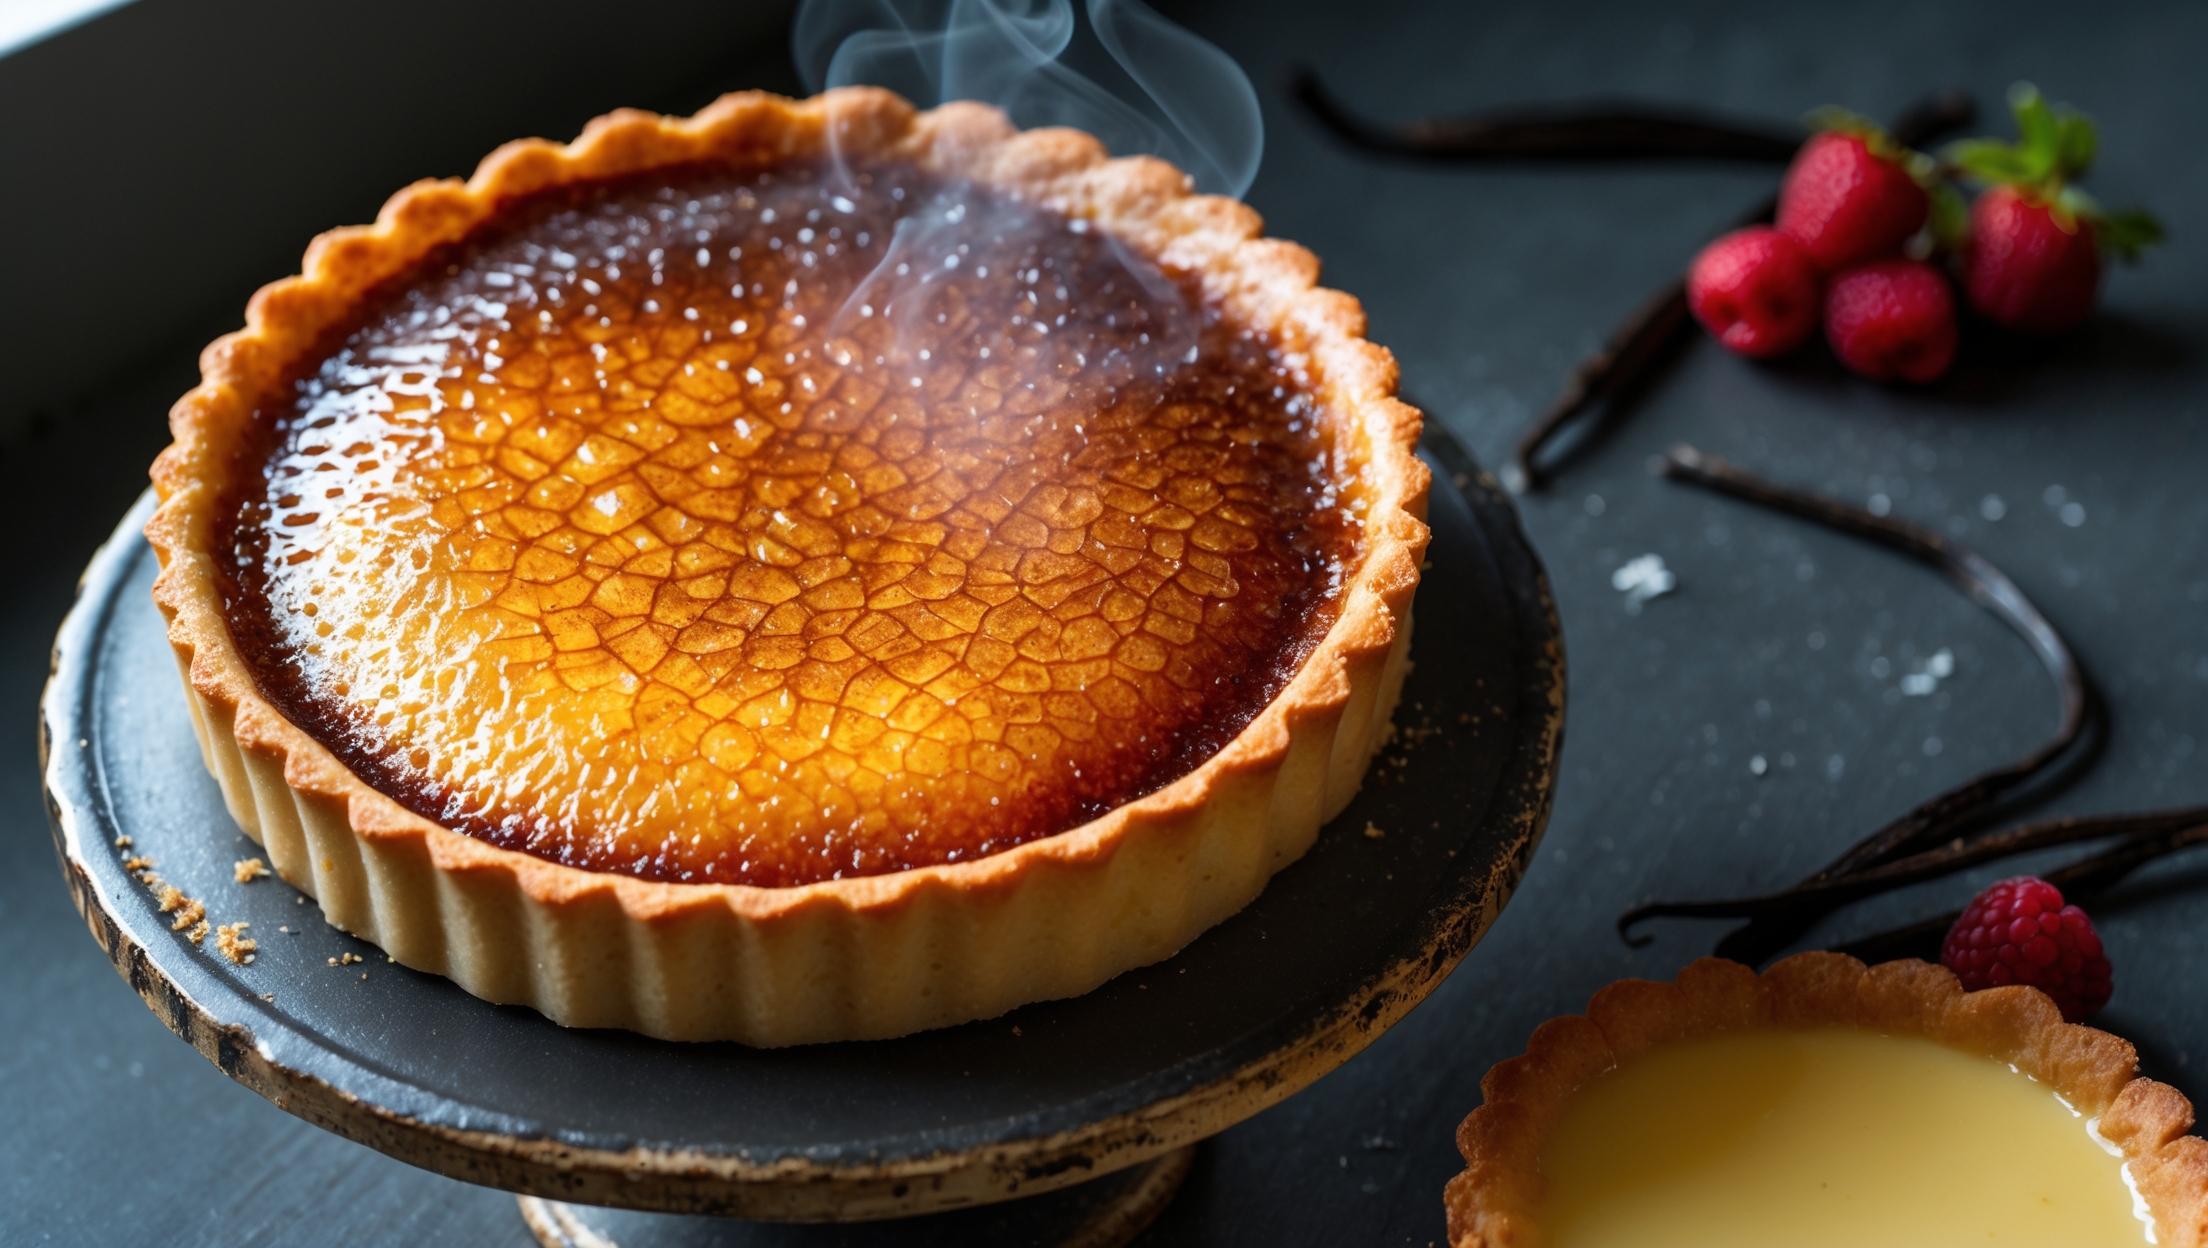
Learn how to cook Crème Brûlée Tart by first blind baking a shortcrust pastry case until golden. Then make a vanilla-infused custard by combining warm cream with egg yolks and sugar, pour into the cooled pastry case, and bake until just set. After cooling completely, sprinkle with sugar and caramelise using a culinary torch for that signature crackling top.
Yes, you can use your oven's grill/broiler function instead. Place the sugar-sprinkled tart on the highest shelf, 5-7cm from the heat source, and watch carefully for 1-2 minutes until the sugar caramelises. Be vigilant as it can burn quickly and the pastry may heat up more than with a torch.
Cracks usually indicate overbaking, while a watery filling suggests undercooking. Bake at a low temperature (around 150°C) and look for a slight wobble in the centre when done. Straining the custard removes lumps, and avoiding bubbles when mixing prevents a foamy texture. Always cool gradually.
You can make the tart base and custard filling up to 2 days ahead and store it covered in the refrigerator. However, only caramelise the sugar topping right before serving (or maximum 1 hour ahead) to maintain that perfect crisp texture, as the hard sugar layer will gradually soften from the moisture in the custard.
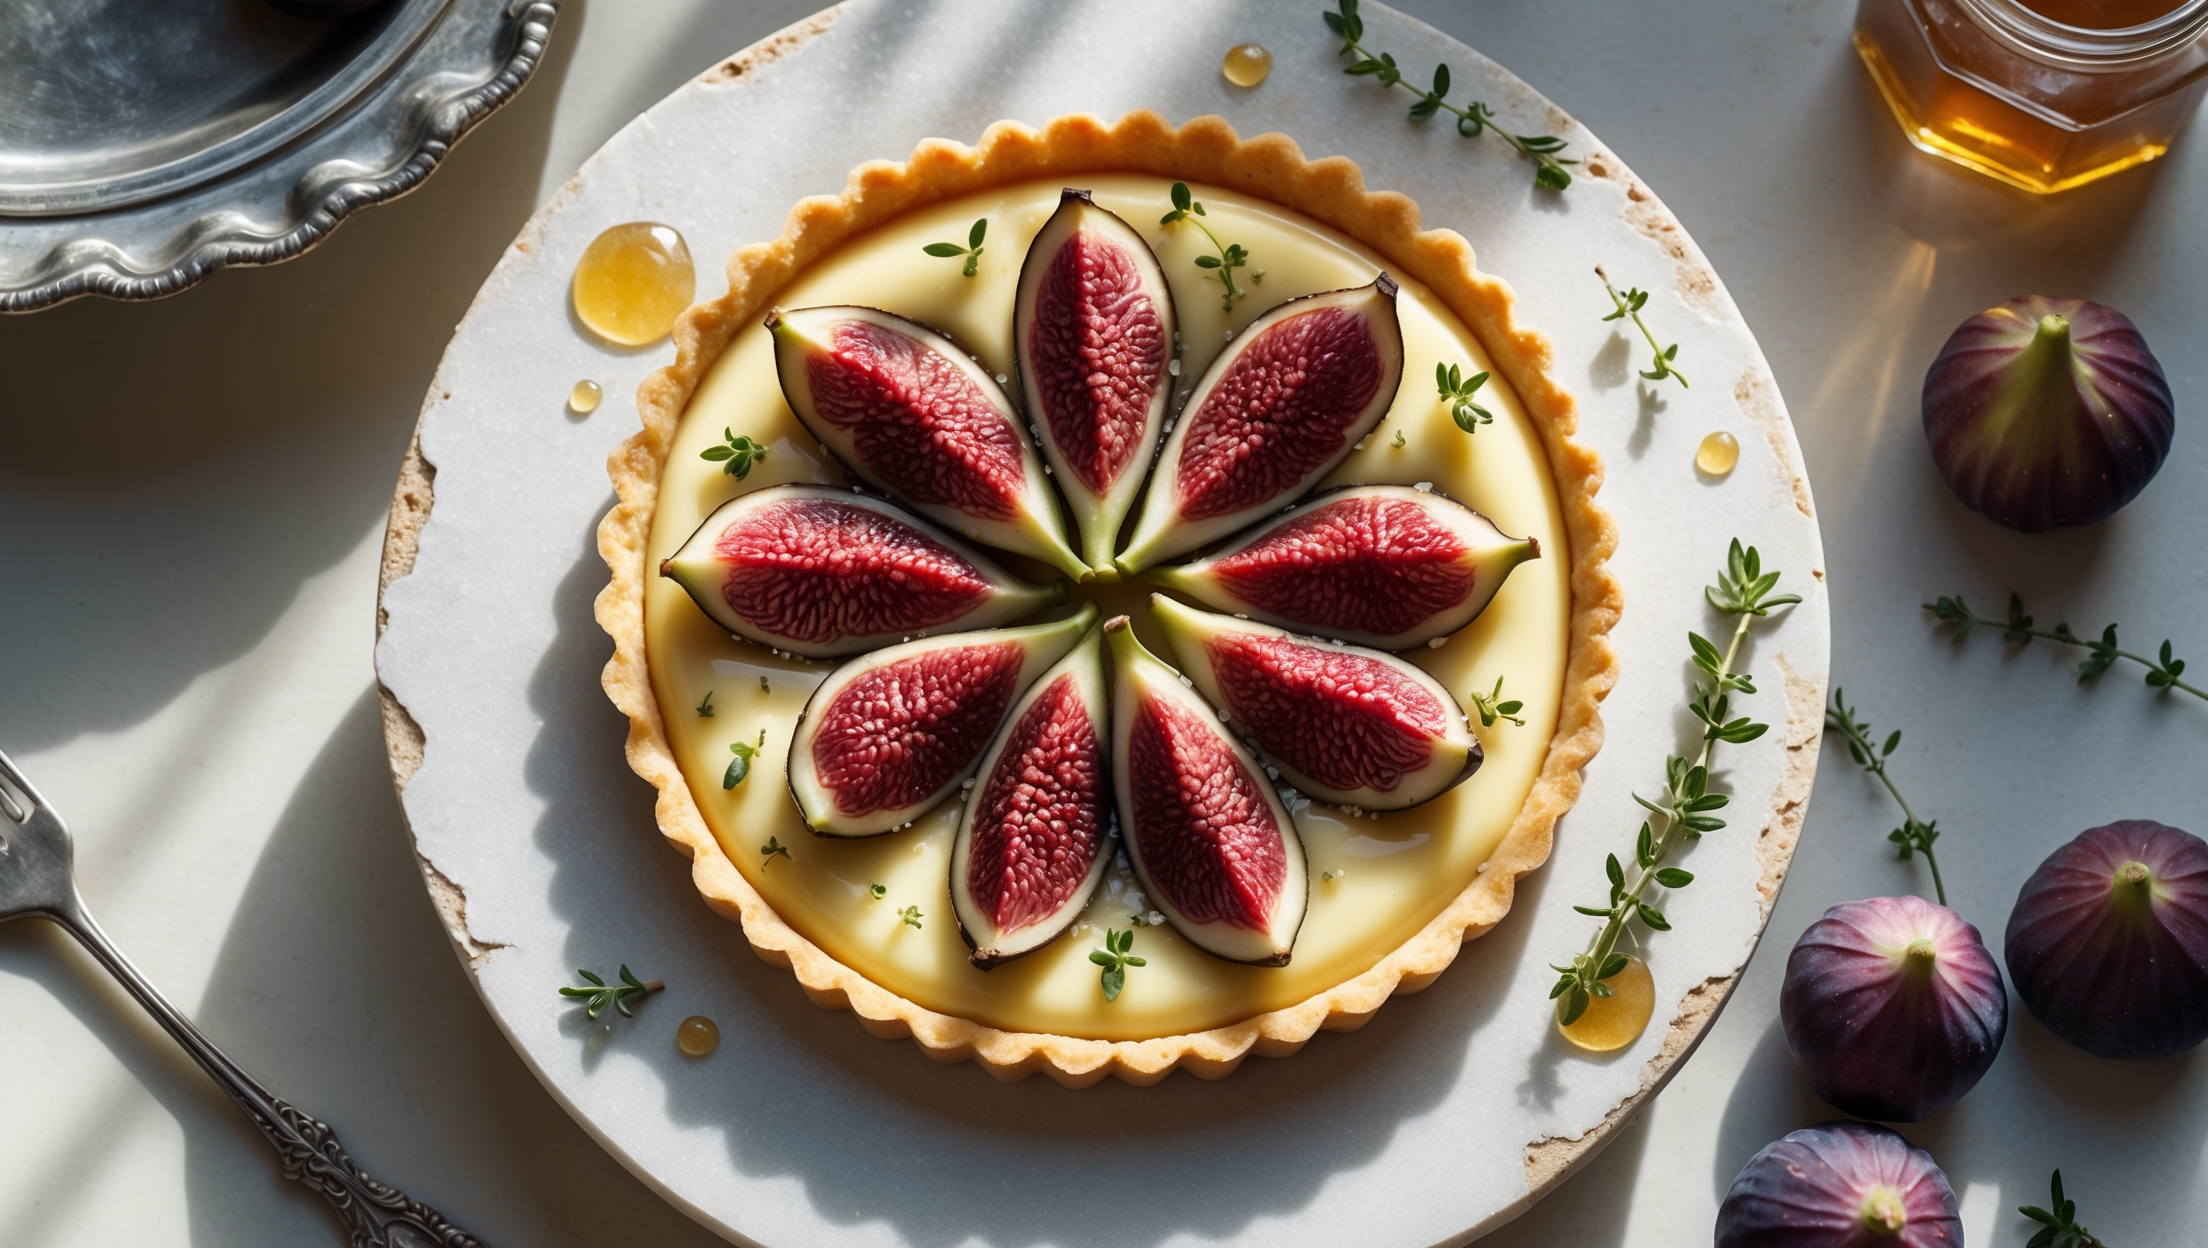
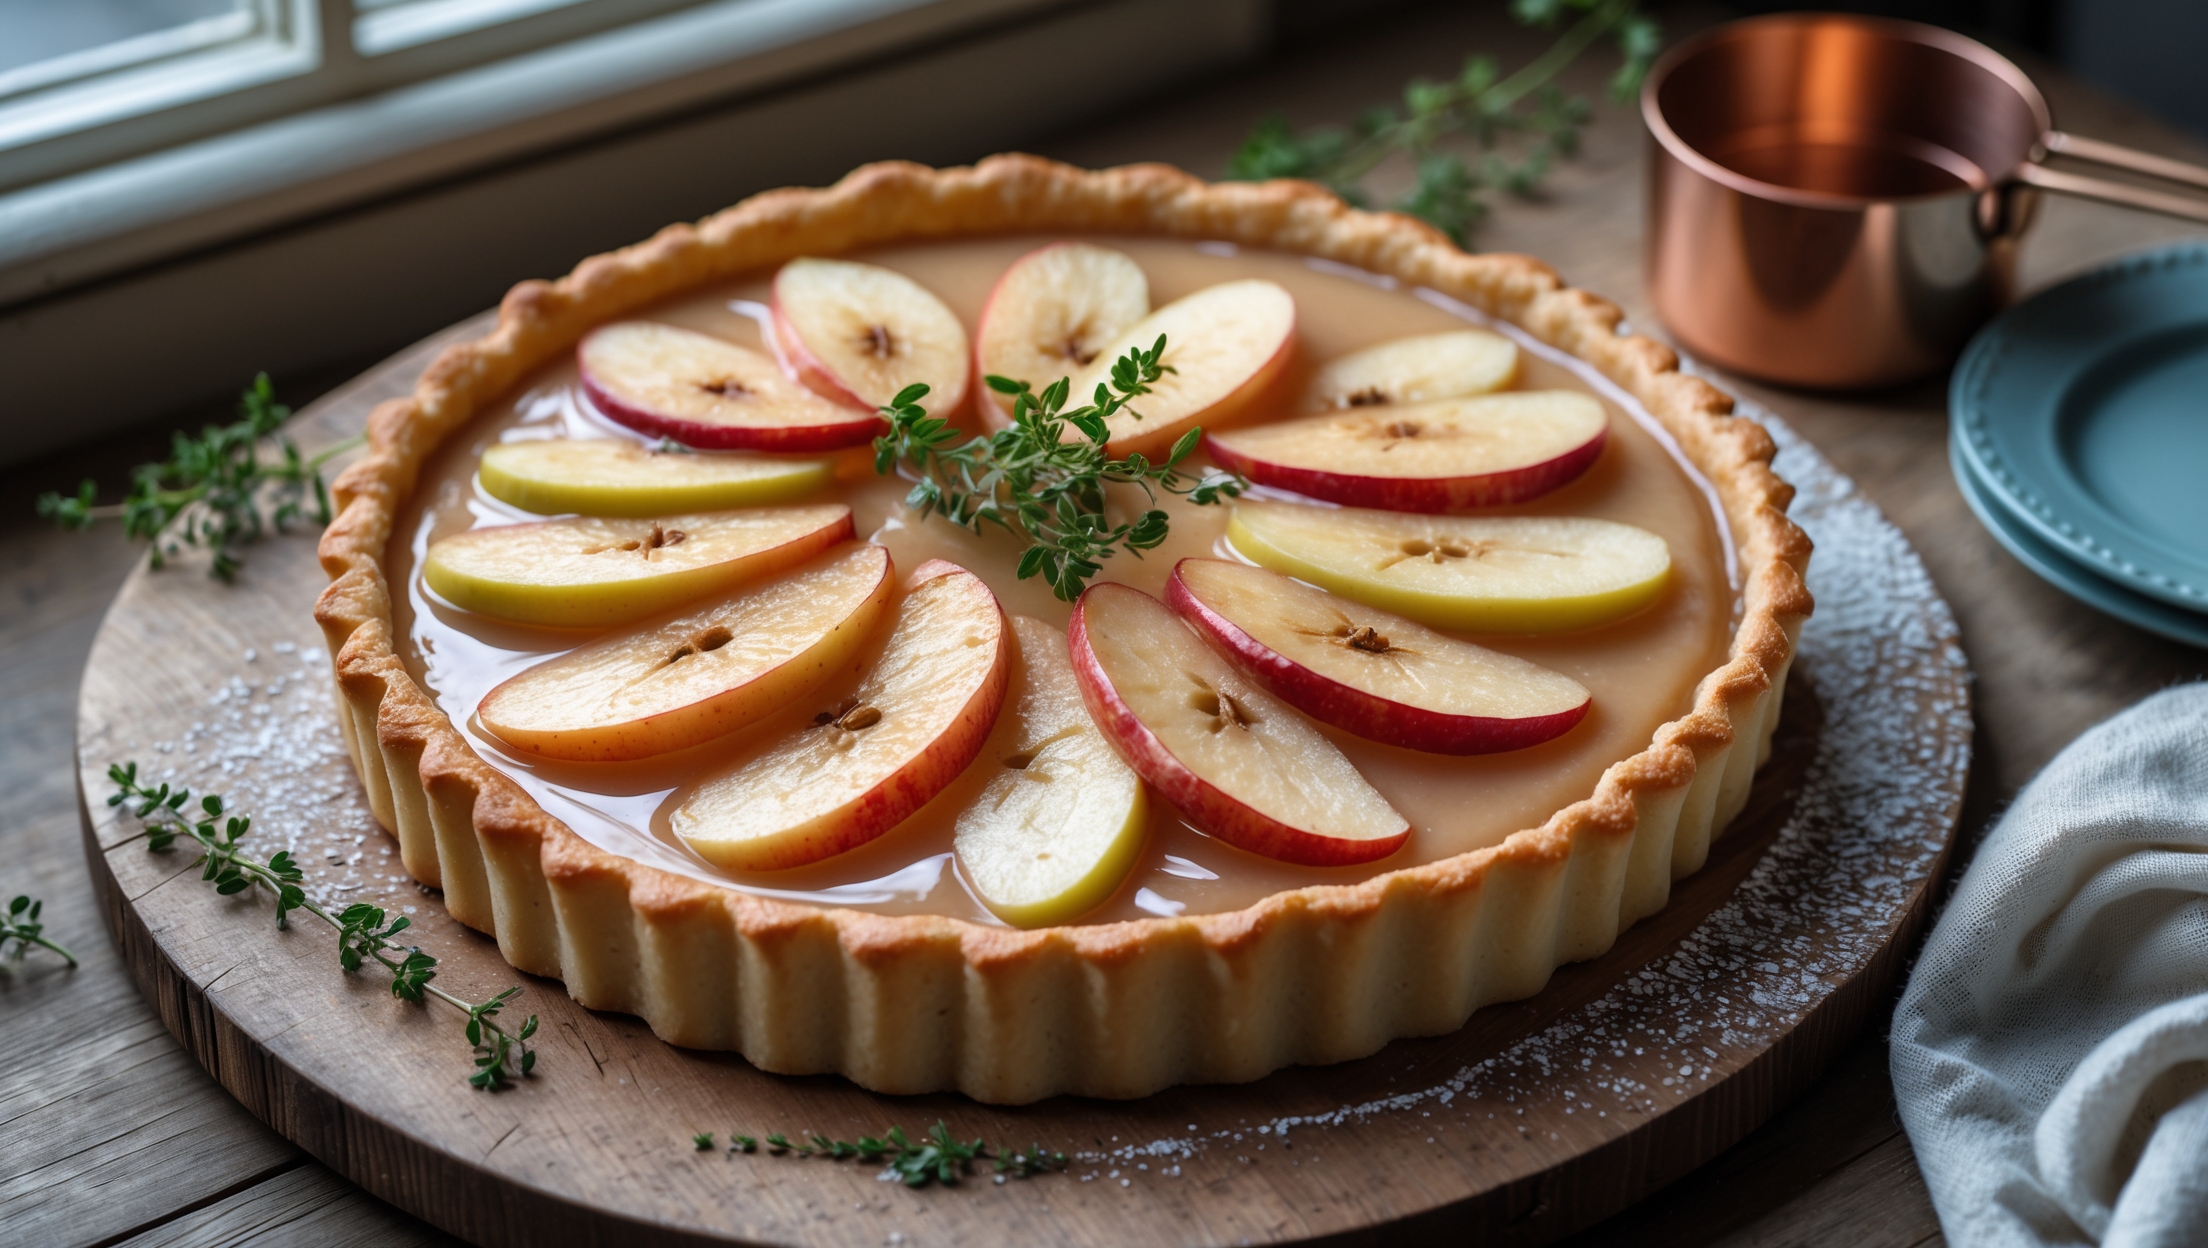
Custard Tarts
Try following recommended recipes