On this page
Cookie decorating with children is at its best when the cookies are already cool, the icing is easy to use, and nobody is expecting perfect snowflakes. One child may make an elaborate rainbow star while another puts three dots on a round cookie and declares it finished. Both have created something worth celebrating.
You don't need expensive piping tips, a dozen food colours or a complicated royal icing recipe to have a lovely baking afternoon. This guide shares easy cookie decorating ideas for kids, how to prepare the workspace, and ways to adapt activities for younger and older bakers while keeping food safety and allergies in mind.
Start with Fully Baked, Cooled Cookies
The easiest decorating session begins after the baking is done. Warm cookies can melt frosting and cause icing to run; fragile cookies may break as children pick them up. Bake a reliable sugar-cookie or shortbread recipe in advance and allow the full cooling time.
Choose sturdy shapes that are easy to handle. Circles, stars, hearts and simple trees work well. Intricate snowflakes with thin points can be frustrating because they break easily, even before decorating starts.
For a seasonal decorating project, our Gingerbread Cookies recipe provides a cookie base to prepare and cool before children begin decorating. Follow the recipe's baking and handling instructions.

Which Cookie Base Is Best for Beginners?
A rolled sugar-cookie recipe designed to hold its shape is a common choice, particularly if you want themed cutouts. A sturdy round vanilla cookie is even simpler because children can draw any design on its flat surface.
Soft drop cookies can also be decorated, though their domed or uneven tops may not suit detailed patterns. Avoid extremely delicate lace cookies or crumbling shortbread if young children will handle the pieces repeatedly.
Bake one test cookie or use an extra one to check how the icing behaves before setting up for a group. A sturdy cutout that stays flat makes painting and simple outlines easier. If you use store-bought cookies, keep the package on hand so visitors can check the ingredient list.
For an alternative to vanilla sugar cookies, try vegan shortbread cutouts. Let the cookies cool fully before decorating them.
Set Up a Small Decorating Station
Cover a clean table with parchment or another suitable food-safe surface. Place three or four cooled cookies in front of each child rather than putting the entire batch into a large crowded pile. Set out a small bowl of icing, one or two age-appropriate utensils and a limited range of toppings.
Keep unused icing covered according to its recipe so it doesn't crust over or dry. Place finished cookies on a separate flat tray where children won't accidentally smear their designs. Have damp cloths ready for hands and spills.
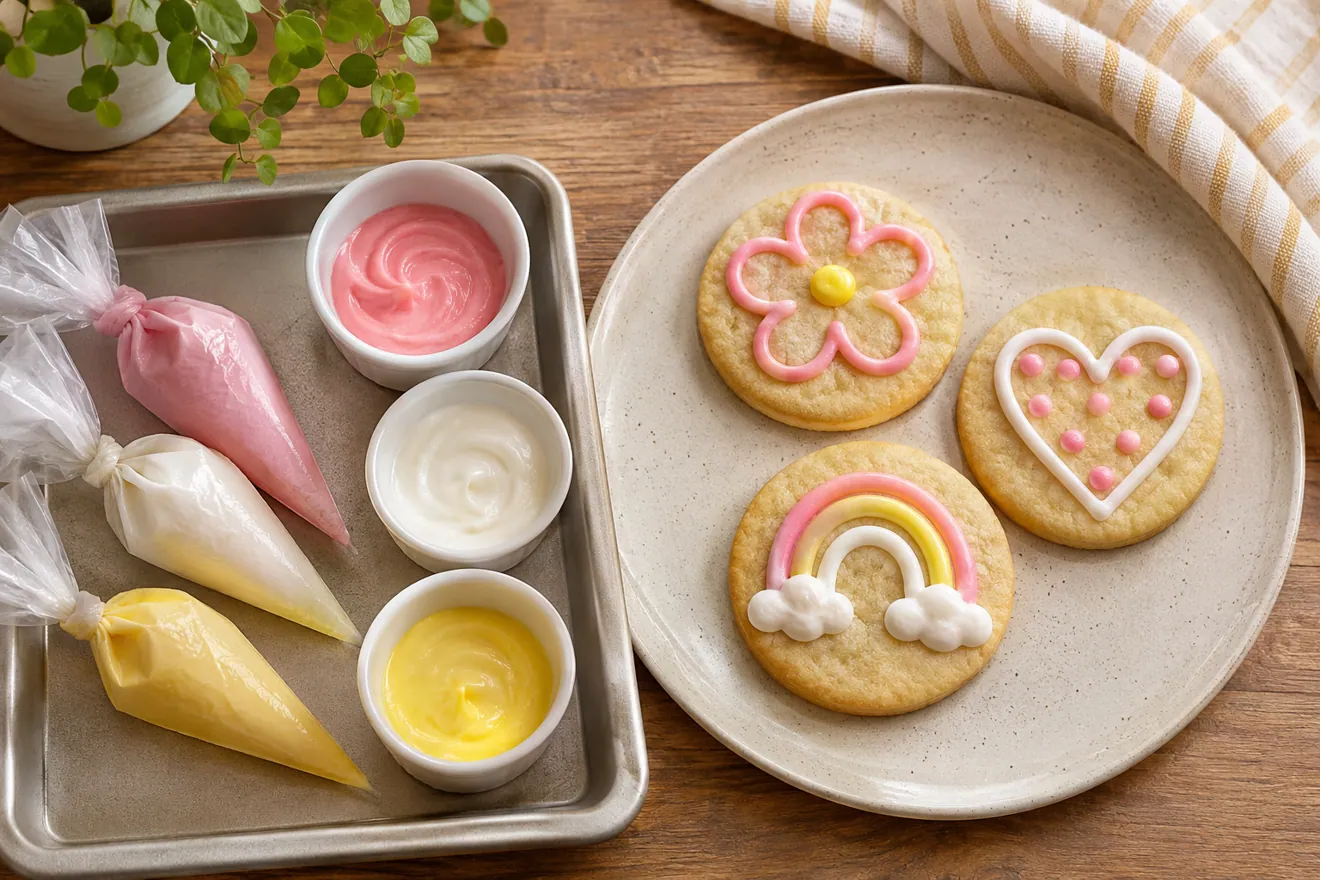
Pick an Icing That Matches the Activity
Simple Powdered-Sugar Glaze
A simple glaze can be easy to spread or drizzle, making it suitable for children who don't want to manage a piping bag. Follow a tested recipe's liquid-to-sugar ratio; a very thin glaze may run off the edges, while a thick paste can tear tender cookie surfaces.
Check whether the recipe uses water, milk or another liquid, and follow its storage directions. Let the glaze set fully before stacking or packing.
Royal Icing
Royal icing dries firm enough for some designs to be stacked. Use a recipe formulated with pasteurized egg whites or with meringue powder prepared according to its package directions. Avoid raw shell egg whites in icing that will be served uncooked. Follow the recipe’s drying and storage instructions. Health Canada’s egg safety guide explains when to choose pasteurized egg products.
Buttercream
Soft buttercream is good for spreading and making textured designs. It does not usually dry into a hard stackable shell like royal icing, and some versions contain perishable ingredients requiring refrigeration.
Choose buttercream if the cookies will be served promptly on a platter rather than packed in tall stacks for shipping.
1. Smiling Face Cookies
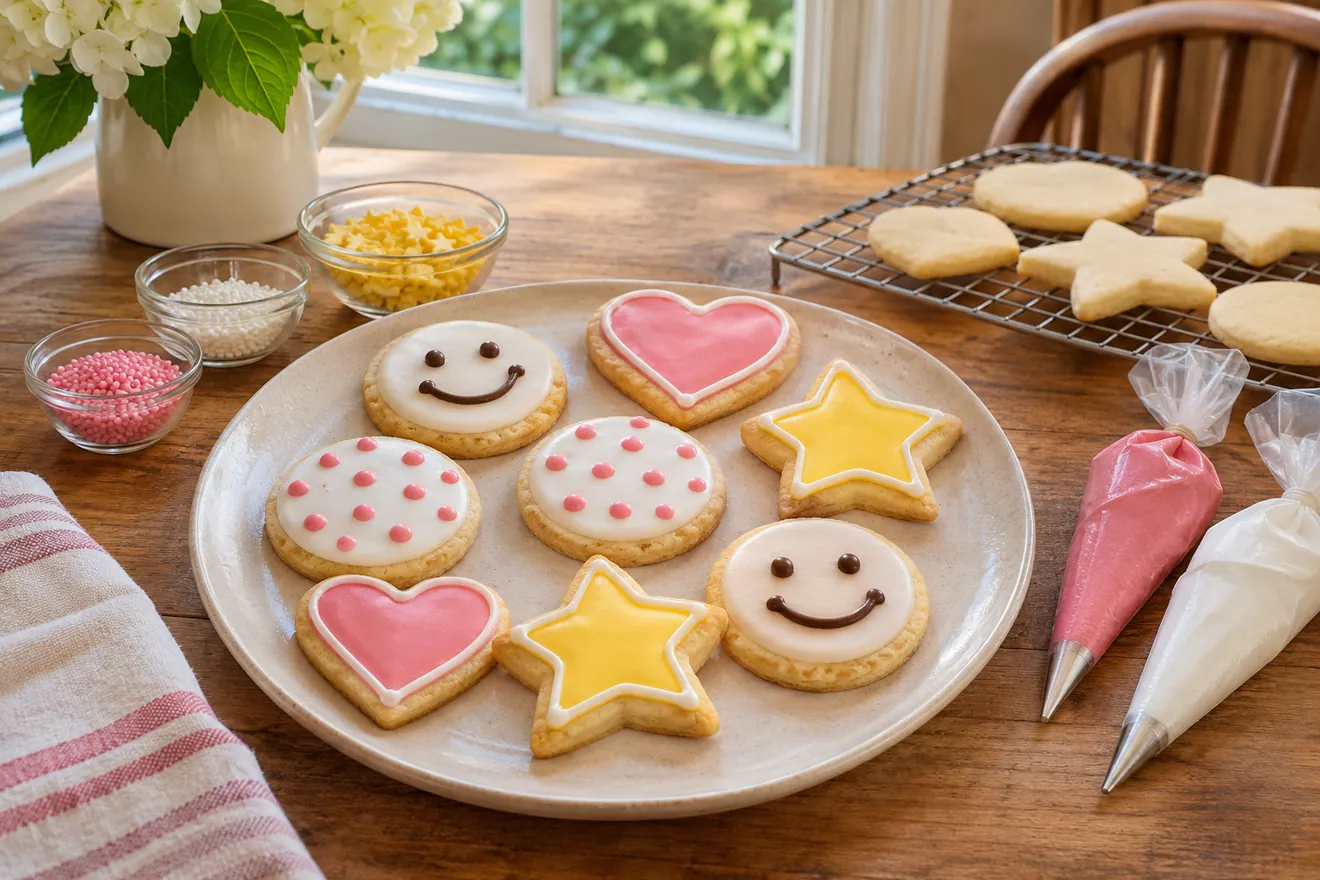
Start with circles, a little contrasting icing and simple expressions. A pair of dots and a curved smile is easy for younger children. Older children can make surprised faces, winking faces or a whole family of characters.
The goal is not precision. If icing spreads, let it become a larger feature rather than scraping and rewriting every detail.

2. Rainbow Stripe Cookies
Draw three or four thick stripes across a round cookie, using a restrained colour palette. Children can experiment with patterns and colour order. Pastel colours often look appealing without using very large quantities of food colouring.
Use food-grade colouring and follow the icing recipe. Keep colour containers closed and prevent younger children from putting concentrated colouring directly in their mouths.

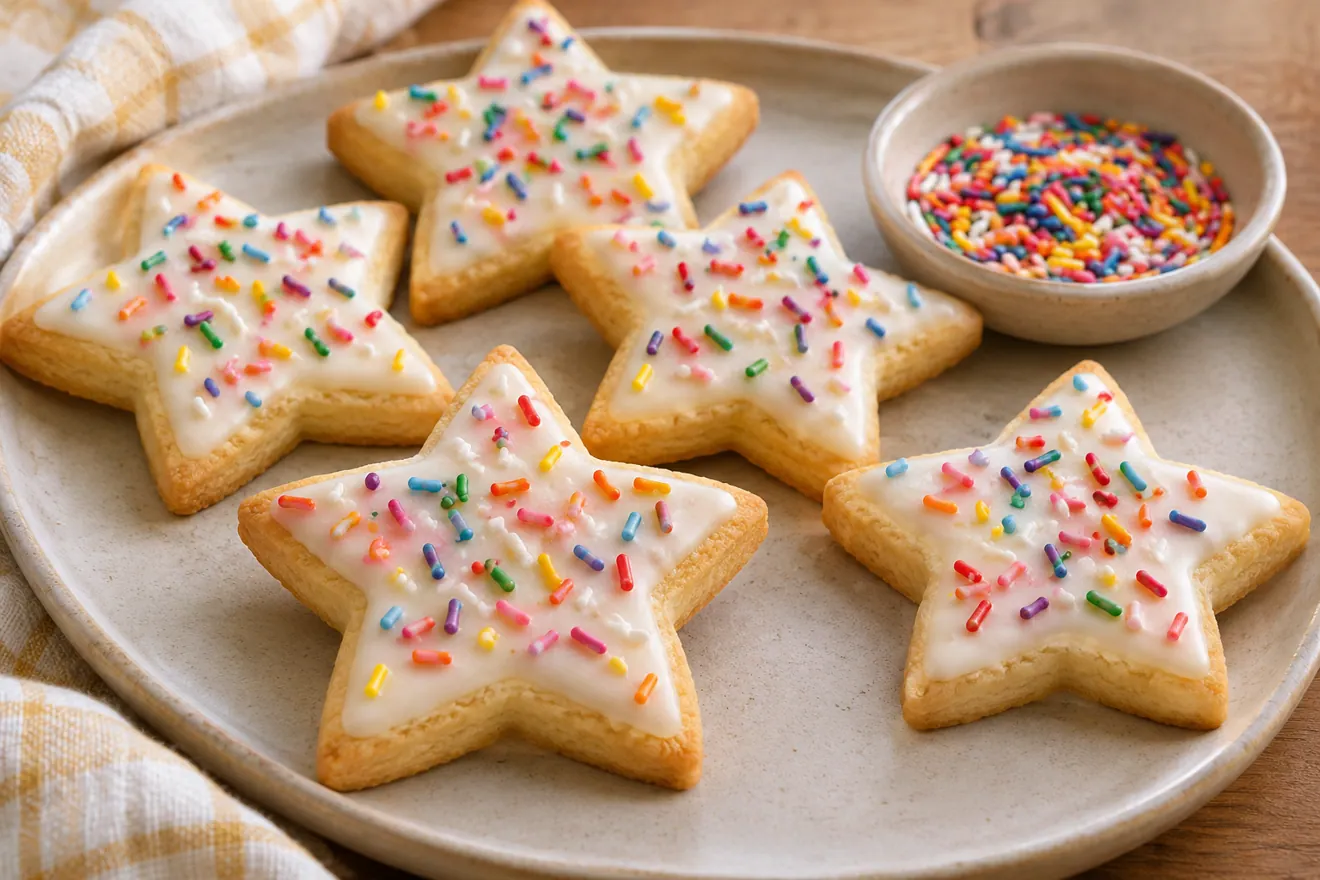
3. Sprinkle-Dipped Stars
Spread a thin layer of suitable icing over a star, then lightly dip the iced side into a shallow dish of age-appropriate sprinkles. This produces a festive result with very little piping skill.
Use gentle pressure so star points don't break. Check decorations for choking hazards, especially small hard candies or large sugar pearls.
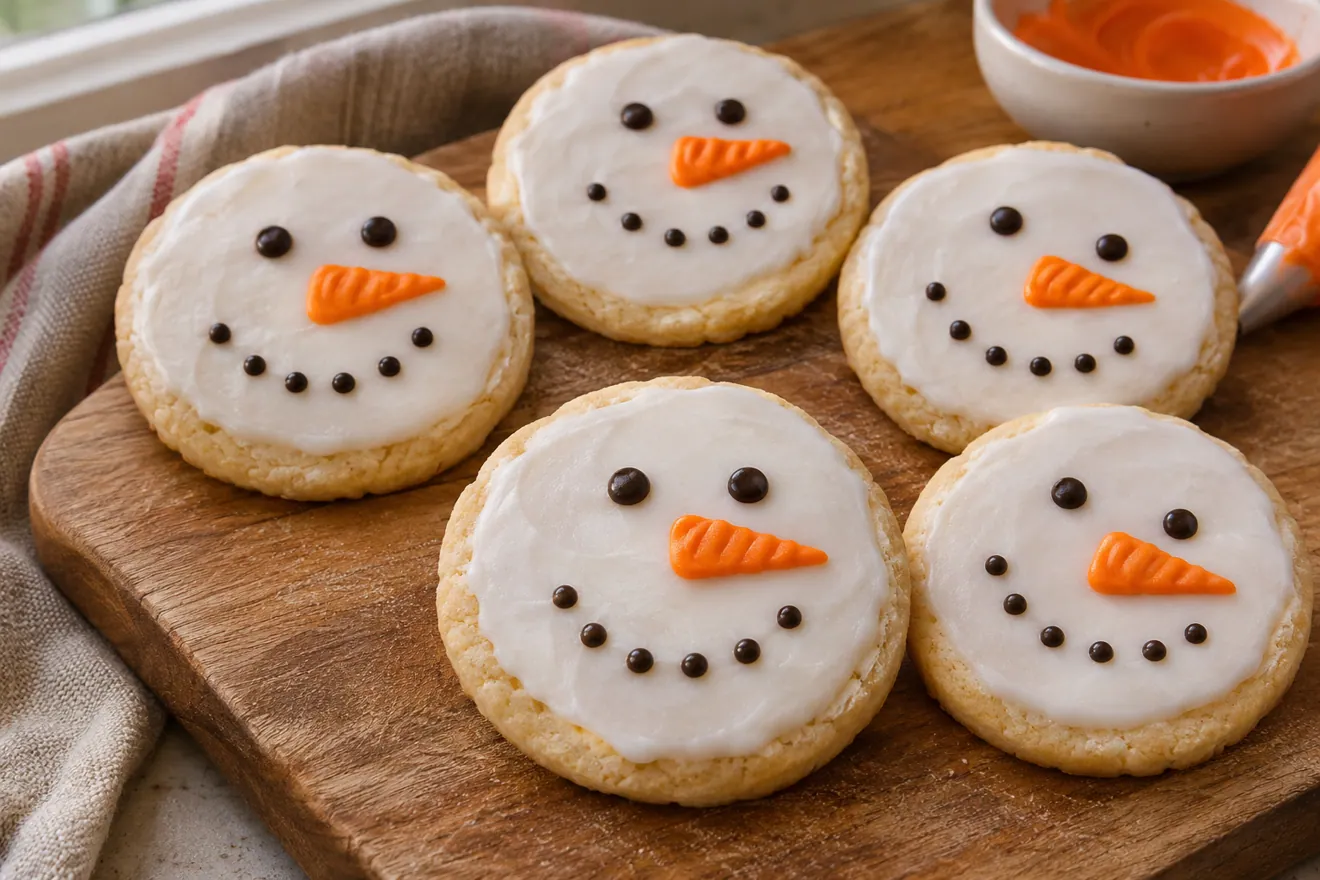
4. Simple Snowman Faces
A plain round cookie can become a snowman's face with white icing, dark icing dots and a small orange detail. You don't need to build a full three-dimensional snowman with stacked cookies.
For younger children, an adult can prepare the white base and let it set enough for decorating. Avoid non-food decorative pieces and rigid toothpicks in cookies offered to small children.
5. Christmas Tree Zigzags
Use a simple triangular or tree-shaped cookie. Draw a wide green zigzag across it and add a few soft icing dots or suitable sprinkles. A small star at the top can be painted or piped instead of using a hard candy decoration.
This design is useful when a group has mixed ability levels: one child can make a single zigzag while another adds a more detailed pattern.

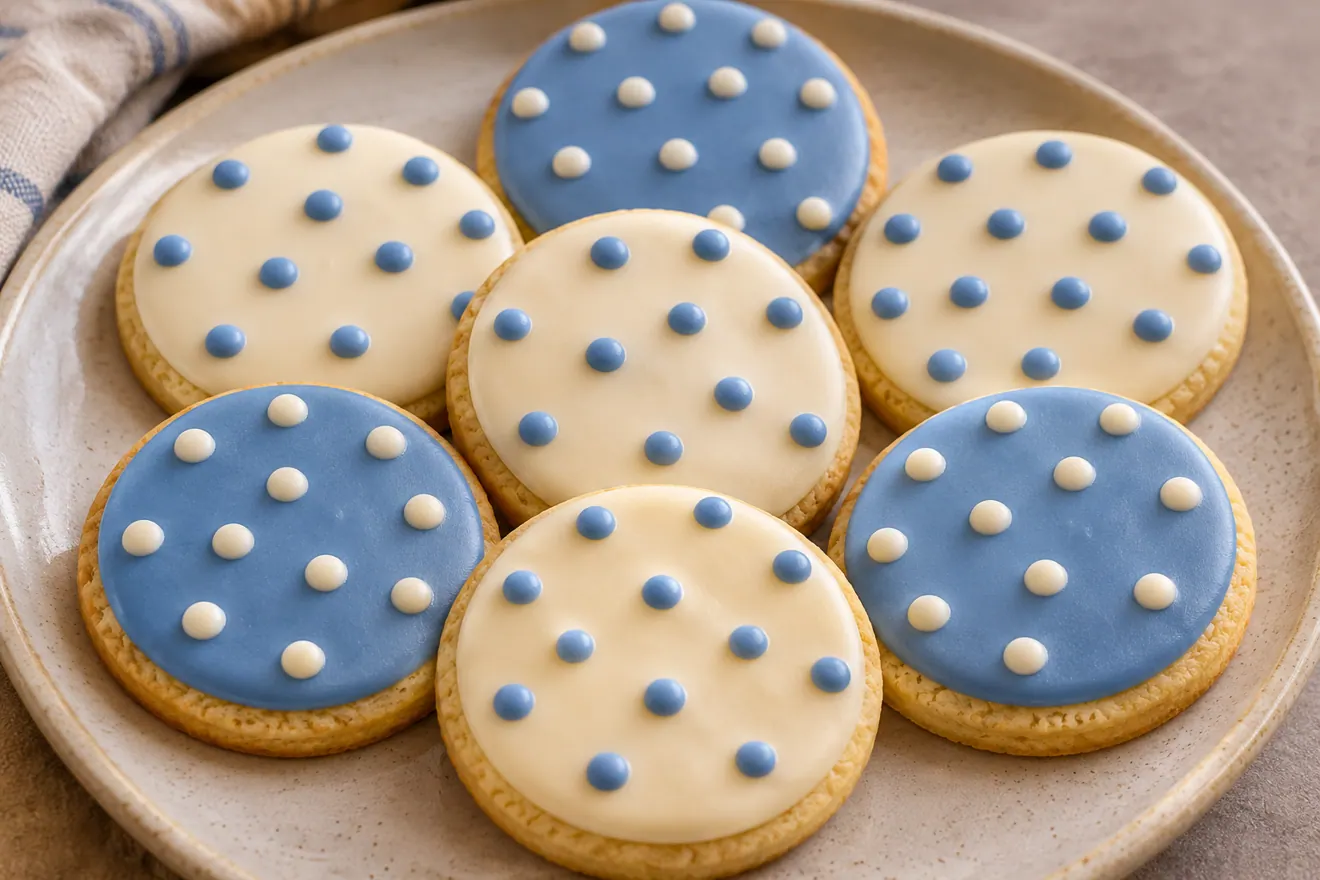
6. Polka-Dot Cookies
Polka dots are one of the most forgiving designs. A child can place dots wherever they like, including in neat rows, spirals or irregular clusters. The effect works especially well with two colours.
If using wet-on-wet royal icing, follow a specific icing method and consistency guide. Otherwise, let a base layer dry before adding dots so the colours remain distinct.
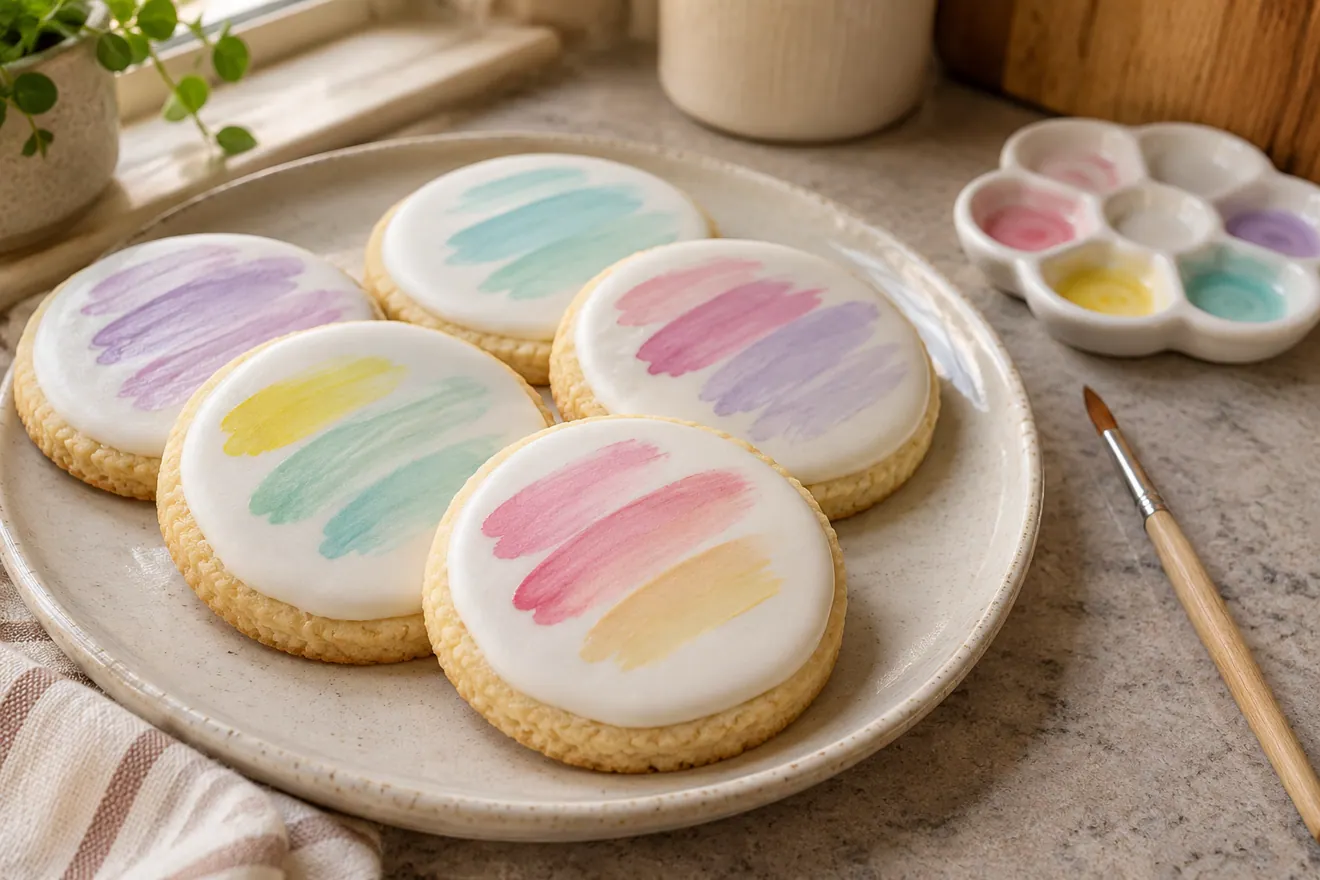
7. Painted Cookies
Some decorating methods use edible colours applied with clean, food-safe brushes over a fully set icing surface. This can appeal to children who enjoy painting more than piping.
Use a recipe or technique specifically developed for edible cookie painting. Ordinary art paints, glitter and brushes previously used with craft products are not food-safe and do not belong on cookies.
8. Hearts and Flowers
Heart-shaped cookies need only a coloured outline, a simple swirl or a few small dots. Round cookies can become flowers with icing petals circling a central dot.
For a birthday or Mother's Day activity, let children choose the colours and make a matching handwritten gift card. Keep any non-food card decorations separate from the edible surface.

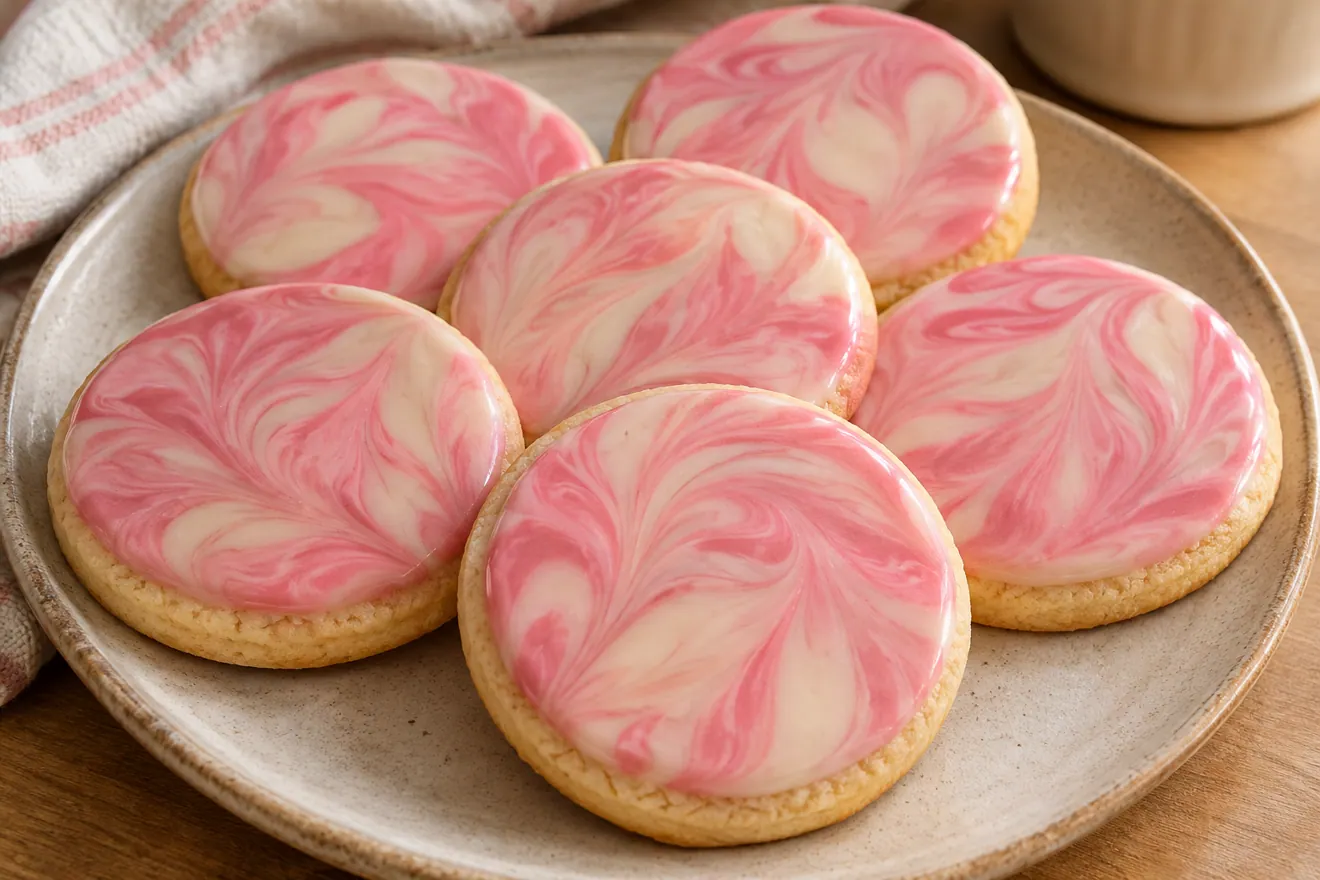
9. Abstract Marble Cookies
Older children may enjoy a marbled look made by dragging a food-safe tool gently through two colours of icing while they're at the recipe's intended consistency. The result can look elegant without tiny piping details.
Explain that overworking the pattern will blend all the colours together. Make one demonstration cookie and then let each child try a different design.
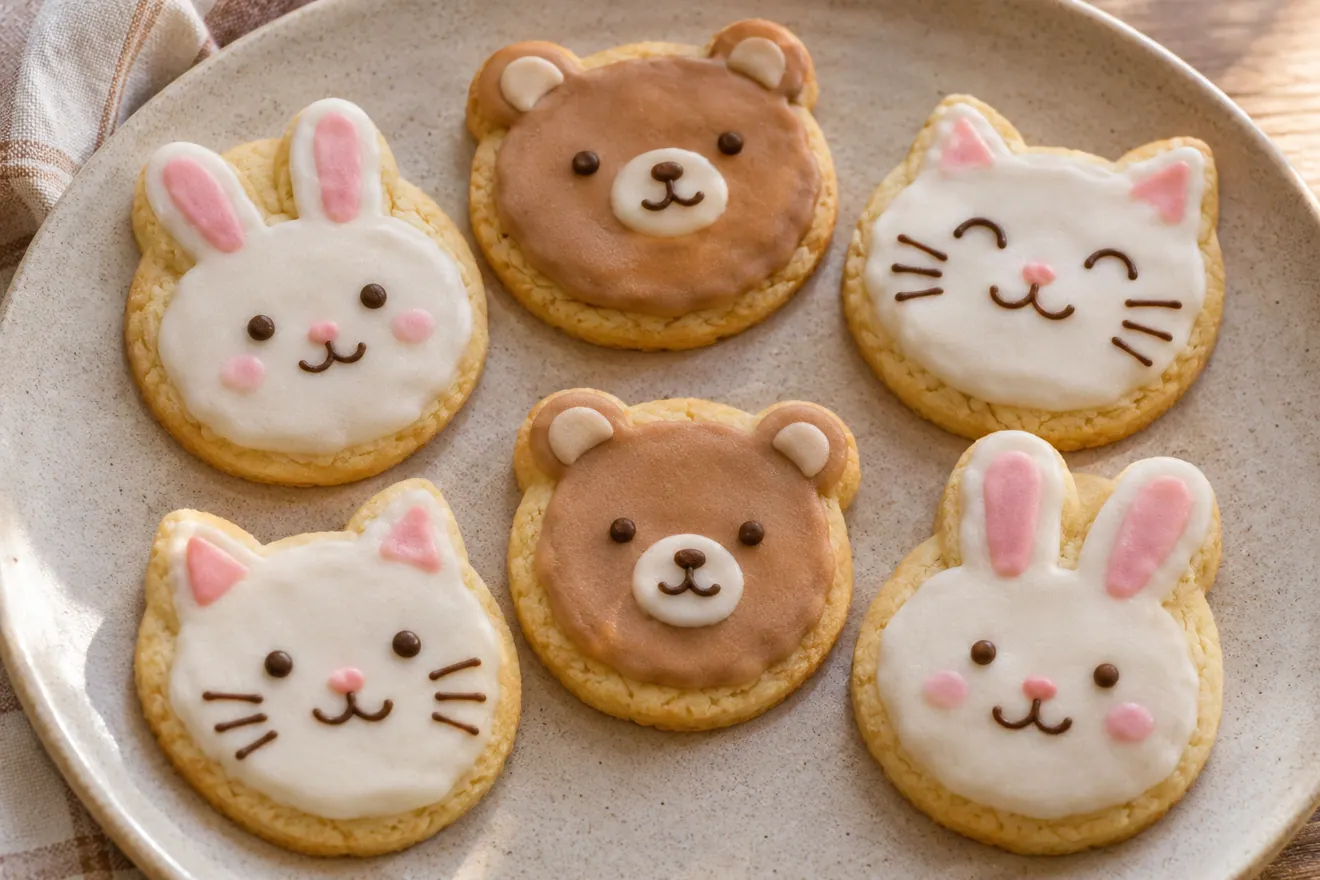
10. Animal Face Cookies
Turn circles into bears, cats or rabbits using simple piped faces. You can suggest ears with small frosting shapes rather than trying to bake delicate protrusions. A few dots and lines are enough to make the animal recognizable.
Keep decorations soft and age-appropriate. If the cookies are for a classroom, confirm food-sharing policies and allergens first.
11. Name and Initial Cookies
For children learning letters, a cookie with their first initial is a satisfying project. Older children can write short names or messages with icing. Make the letters large and allow imperfect handwriting to be part of the charm.
Choose larger cookies for longer names and use a medium-consistency icing. A small cookie covered in narrow lettering can become frustrating quickly.

12. Build-Your-Own Cookie Box
After decorating, children can choose two or three completely set cookies for a small gift box. Let them write the flavour on a label and add a note about the recipient. This introduces thoughtful sharing and a little organization.
Use a rigid food-safe box and allow icing to dry according to its recipe before stacking. For soft buttercream, choose a single layer with enough space so the decorations aren't flattened.

Cookie Decorating by Age
Toddlers and Preschoolers
Keep sessions short and directly supervised. Offer a cooled cookie, a broad spreading tool and one or two safe toppings. Young children may enjoy spreading a colour more than making a recognizable picture. Avoid small hard candy decorations, sharp tools and any choking hazards.
Early School Years
Children may enjoy simple piping lines, polka dots, rolling-pin textures or cookie stamps, depending on their skills. Show the basic motion and let them decide the design. Use appropriately sized bags and help with refilling.
Older Children and Teens
Invite older bakers to choose a theme, prepare a small colour palette and learn a royal-icing technique. They may enjoy trying borders, lettering and layered designs. Keep hot kitchen steps and sharp tools appropriately supervised regardless of age.
Plan a 60-Minute Decorating Party
Before guests arrive: bake and cool all cookies, portion toppings, prepare icing using its recipe, and cover the table. First 10 minutes: wash hands and demonstrate two simple designs. Next 30 minutes: decorate at each person's pace, adding fresh cookies as needed. Final 20 minutes: tidy up, label finished cookies and arrange them to dry or set safely.
Some icings need far more than an hour to dry fully, so don't promise guests immediate stackable boxes unless you're using a decorating method that supports it. Provide flat trays or suitable transport boxes when cookies remain soft.
For a group of four, set out one practice cookie and two decorating cookies per child before you open the toppings. Give everyone a first round with the same two tools, then let them switch techniques. Leave the last five to ten minutes for handwashing, wiping tools and deciding which cookies need more drying time. Send wet designs home in a single layer only if the icing’s directions allow it.
How to Keep the Activity Safe and Hygienic
Wash hands and clean surfaces before decorating. Keep flour, uncooked dough and raw eggs away from finished cookies and icing. Check ingredient labels and ask about allergies. Give each child a dedicated utensil and use separate clean equipment and toppings where cross-contact is a concern. Offer soft decorations appropriate for the child’s age. Health Canada’s flour handling guidance covers handling raw flour at home.

Storage: When Can Decorated Cookies Be Packed?
It depends on the icing and cookie formula. Firm-drying icing may become stackable after its stated drying period. Soft buttercream generally needs more protective packaging, and certain fillings require refrigeration. Cool and set fully as directed before sealing to avoid condensation and smeared decoration.
Keep crisp cookies separate from soft ones when possible, and use the recipe's storage window rather than assuming every decorated cookie lasts a week at room temperature.
Common Decorating Problems
The Icing Runs Off the Cookie
The consistency may be too thin or the cookie may still be warm. Check the recipe's consistency and wait for complete cooling. Don't add large amounts of powdered sugar without understanding whether you're making an outline, flooding icing or simple glaze.
Colours Bleed Together
Wet layers or improper icing consistency can cause colours to mix. Let a base layer set before adding details unless using a tested wet-on-wet technique.
The Cookies Break in Small Hands
Choose thicker, sturdy shapes and don't make the cutouts too delicate. Keep cookie batches cooled on a flat surface and carry them with a broad spatula when needed.
Decorating Takes Too Long
Reduce the number of colours and projects. Two well-decorated cookies are enough for a satisfying afternoon, particularly for younger children.
Frequently Asked Questions
What is the easiest cookie decorating idea for toddlers?
Spreading a little suitable icing over a sturdy, cooled cookie is a simple choice. Keep hard and tiny decorations out of reach and supervise closely.
Do I need royal icing?
No. A simple glaze or suitable buttercream may work for casual decorating. Royal icing is useful when you want firm patterns and stackable cookies, but requires appropriate preparation and drying time.
Can kids decorate store-bought cookies?
Yes. Plain, sturdy packaged cookies can make the activity easier. Check the ingredient label, freshness, allergies and storage instructions.
How far ahead can I decorate cookies?
Follow the cookie and icing recipes' specific storage guidance. Some icings need drying time, while soft or perishable frostings may need refrigerated storage.
What if a child doesn't want to pipe icing?
They can use a spoon, spreader, stamp or broad edible painting technique. The goal is participation, not perfect detail.
Make Decorating the Fun Part
A good cookie-decorating afternoon doesn't require advanced techniques. Begin with sturdy cooled cookies, prepare a small selection of safe tools and decorations, and give children room to be creative. The most memorable cookies may be the ones with crooked smiles and far too many imaginary stars.
Some images are AI-generated illustrations of the dishes and techniques described.
IN PICTURES
From the baking notebook
FROM THE RECIPE BOX