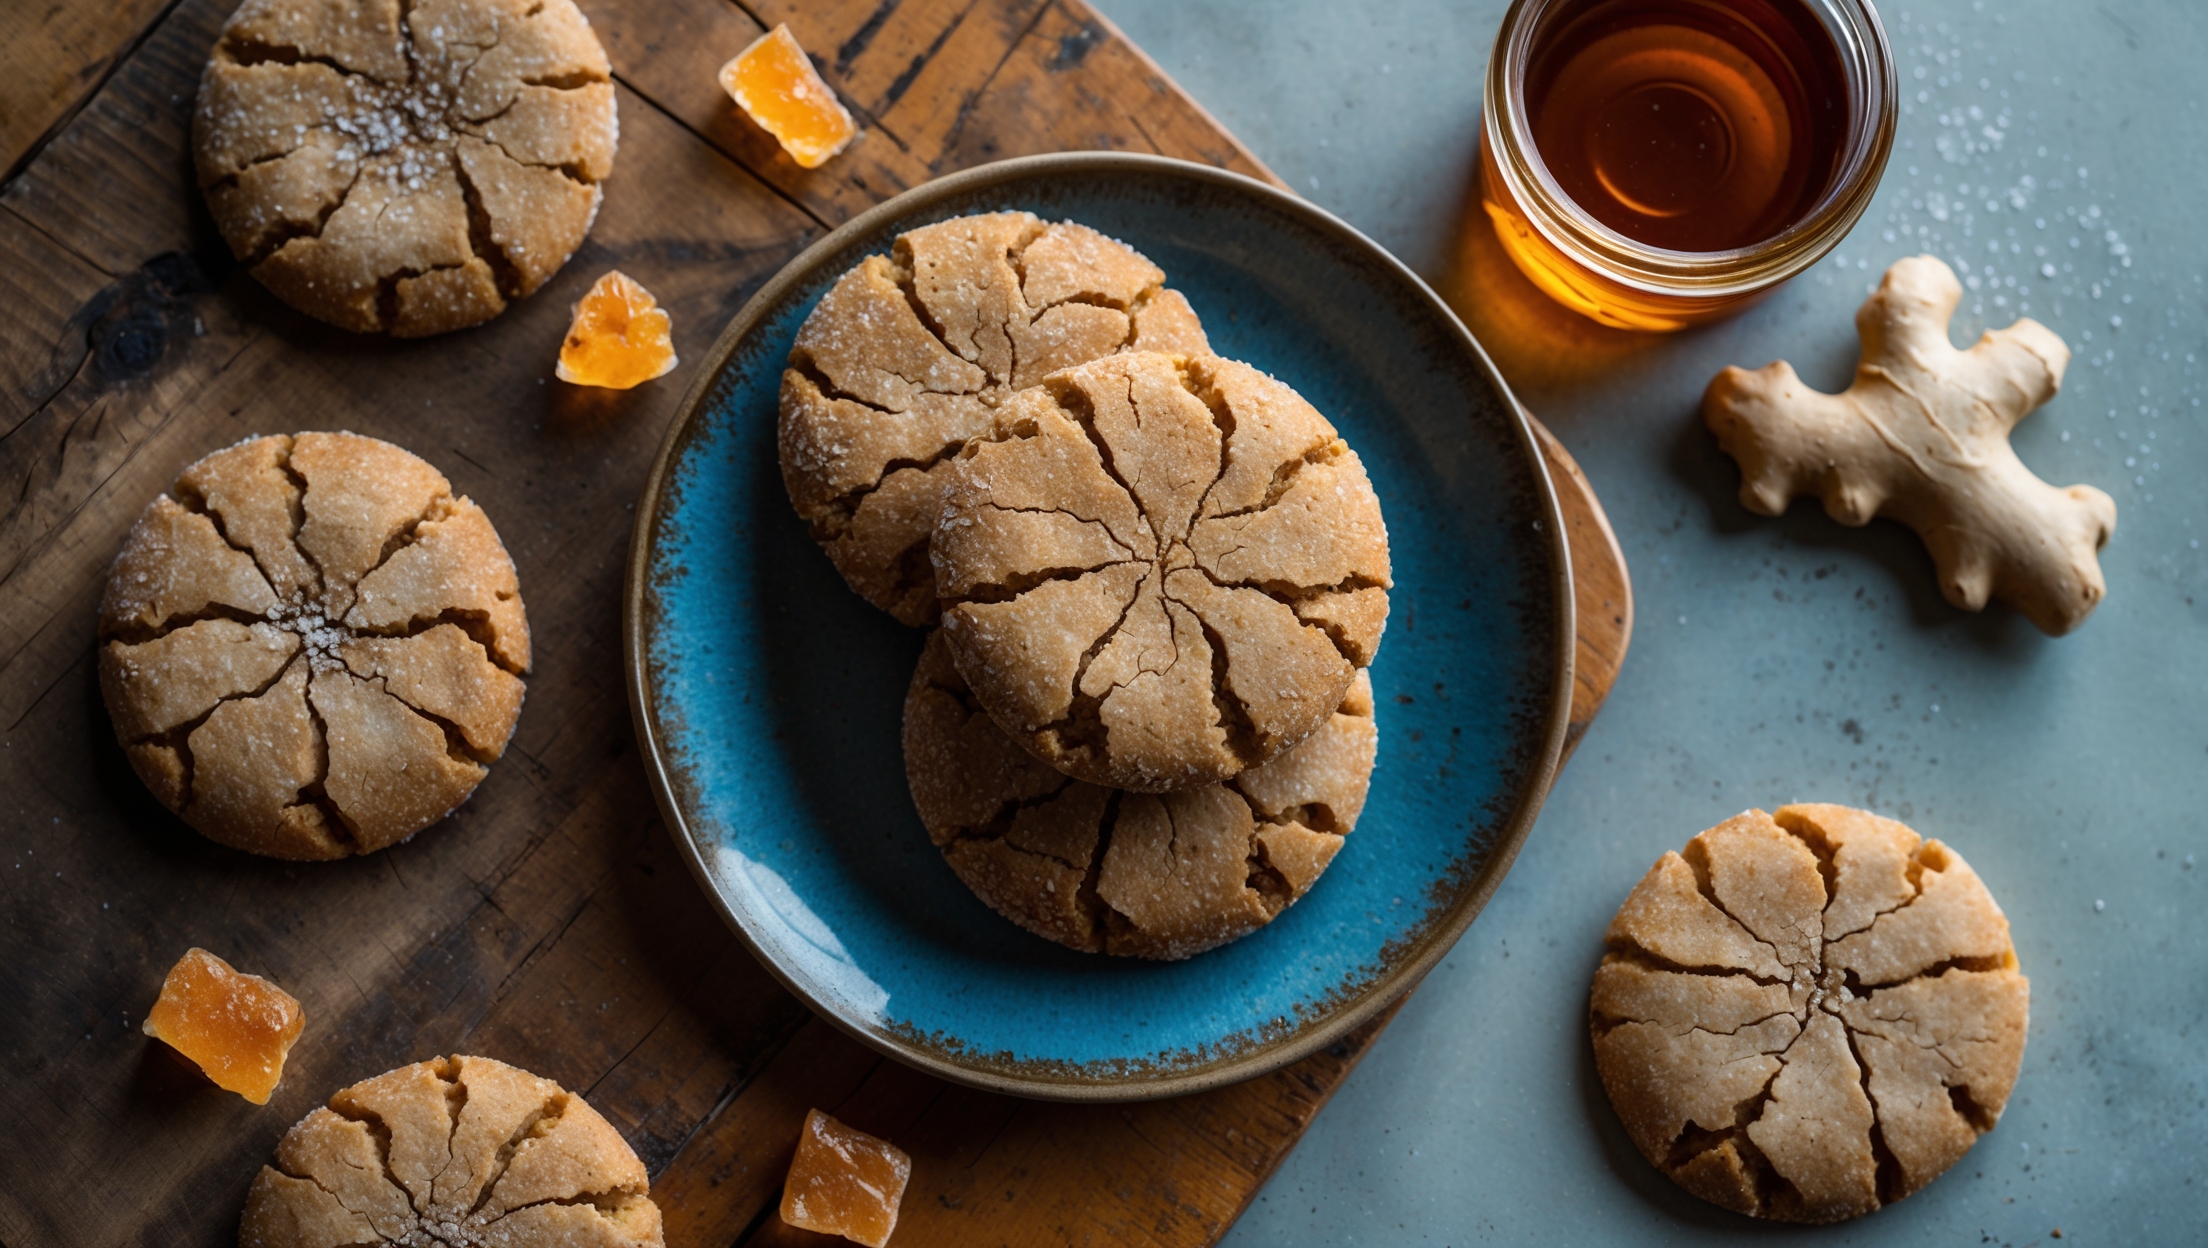
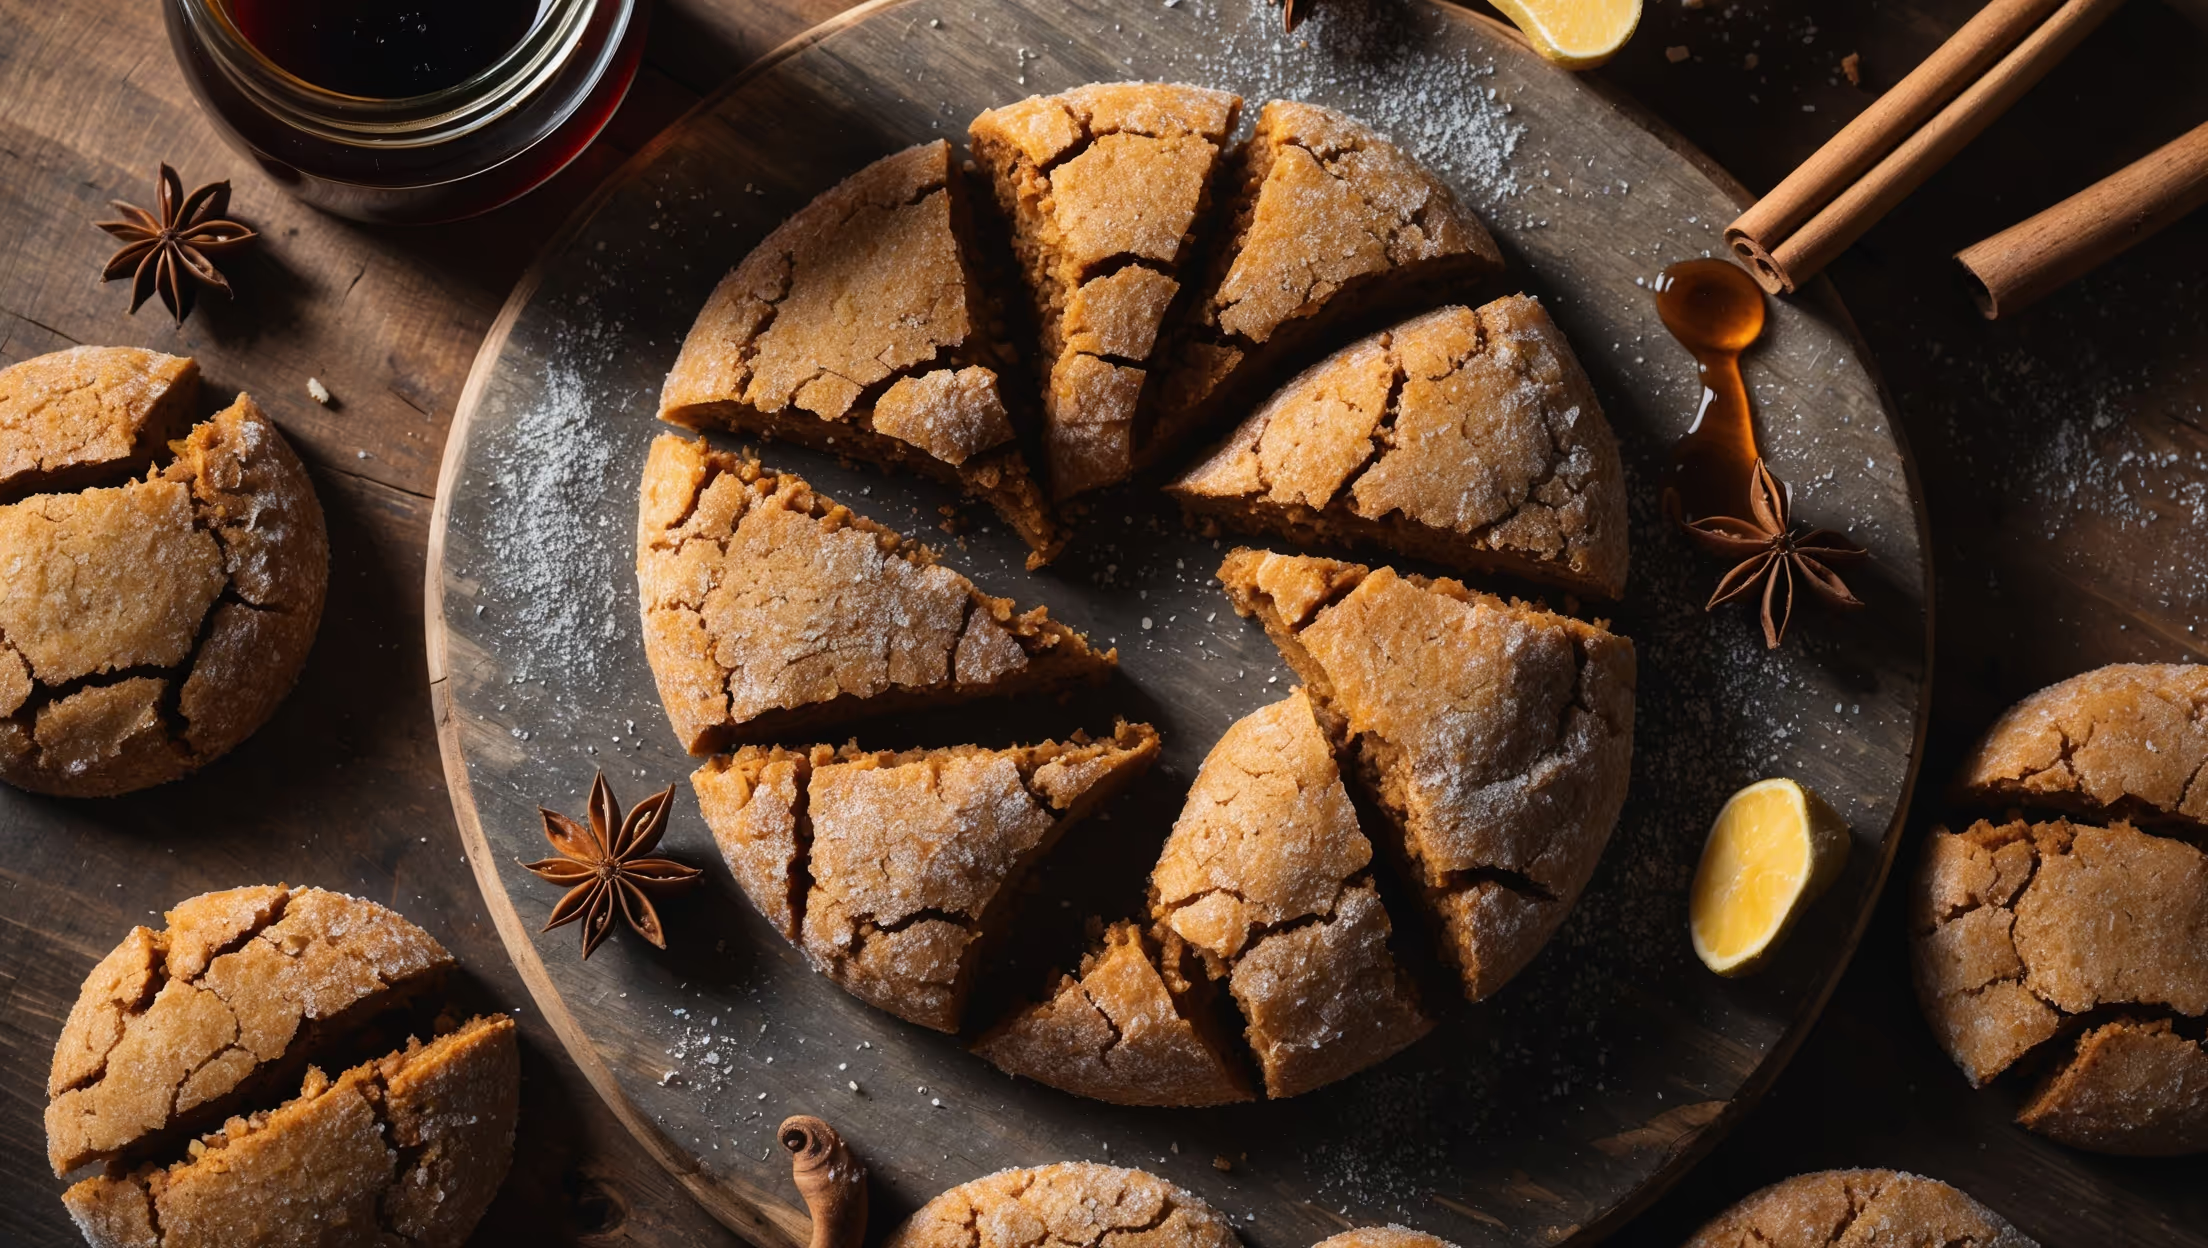
Directions
<ol class="no-list-style"><li class="MethodStepper"><h4 class="step-title">Step 1</h4>In a medium bowl, whisk together the flour, baking soda, ginger, cinnamon, nutmeg, cloves, and salt until well combined. This thorough mixing ensures each cookie will have an even distribution of spices.</li><li class="MethodStepper"><h4 class="step-title">Step 2</h4>In a large bowl, use an electric mixer to cream the softened butter and brown sugar until light and fluffy, about 3 minutes. The creaming process incorporates air into the dough, giving your cookies a better texture.</li><li class="MethodStepper"><h4 class="step-title">Step 3</h4>Beat in the egg, molasses, and vanilla extract until fully incorporated. Don't worry if the mixture looks slightly curdled after adding the egg – this is normal and will smooth out once you add the dry ingredients.</li><li class="MethodStepper"><h4 class="step-title">Step 4</h4>Gradually add the flour mixture to the wet ingredients on low speed, mixing just until no dry flour remains. Overmixing can activate the gluten in the flour, resulting in tough cookies, so mix just until combined.</li><li class="MethodStepper"><h4 class="step-title">Step 5</h4>Divide the dough into two equal portions, form into discs, wrap tightly in plastic wrap, and refrigerate for at least 2 hours or overnight. This chilling step is crucial as it allows the dough to firm up, making it easier to roll, and it helps the cookies maintain their shape during baking.</li><li class="MethodStepper"><h4 class="step-title">Step 6</h4>When ready to bake, preheat your oven to 180°C and line baking sheets with parchment paper. Remove one disc of dough from the refrigerator, letting it sit for 5-10 minutes to slightly soften for easier rolling.</li><li class="MethodStepper"><h4 class="step-title">Step 7</h4>On a lightly floured surface, roll the dough to about 3-4mm thickness. If the dough sticks, dust with a little more flour. Aim for even thickness throughout to ensure all cookies bake at the same rate.</li><li class="MethodStepper"><h4 class="step-title">Step 8</h4>Cut out shapes using cookie cutters and carefully transfer to the prepared baking sheets, leaving about 2.5cm between cookies. The cookies won't spread much, but this spacing ensures even heat circulation.</li><li class="MethodStepper"><h4 class="step-title">Step 9</h4>Bake for 8-10 minutes, until the edges are just beginning to brown slightly. For softer cookies, bake for less time; for crisper cookies, bake a minute or two longer. Remember that cookies continue to firm up as they cool.</li><li class="MethodStepper"><h4 class="step-title">Step 10</h4>Let the cookies cool on the baking sheet for 5 minutes before transferring to a wire rack to cool completely. This brief rest on the hot sheet helps the cookies set properly without breaking.</li><li class="MethodStepper"><h4 class="step-title">Step 11</h4>For the royal icing, mix powdered sugar with milk, adding the liquid 1 tablespoon at a time until you achieve the desired consistency – thicker for outlining and thinner for flooding. Divide and add food coloring if desired.</li><li class="MethodStepper"><h4 class="step-title">Step 12</h4>Once cookies are completely cool, decorate with royal icing using piping bags fitted with small round tips. Allow the icing to set completely before storing, which typically takes 2-4 hours depending on humidity.</li><li class="MethodStepper"><h4 class="step-title">Step 13</h4>Store in an airtight container at room temperature for up to 1 week. For the best texture, place a slice of bread in the container to maintain moisture, replacing it when it becomes stale.</li></ol>