Directions
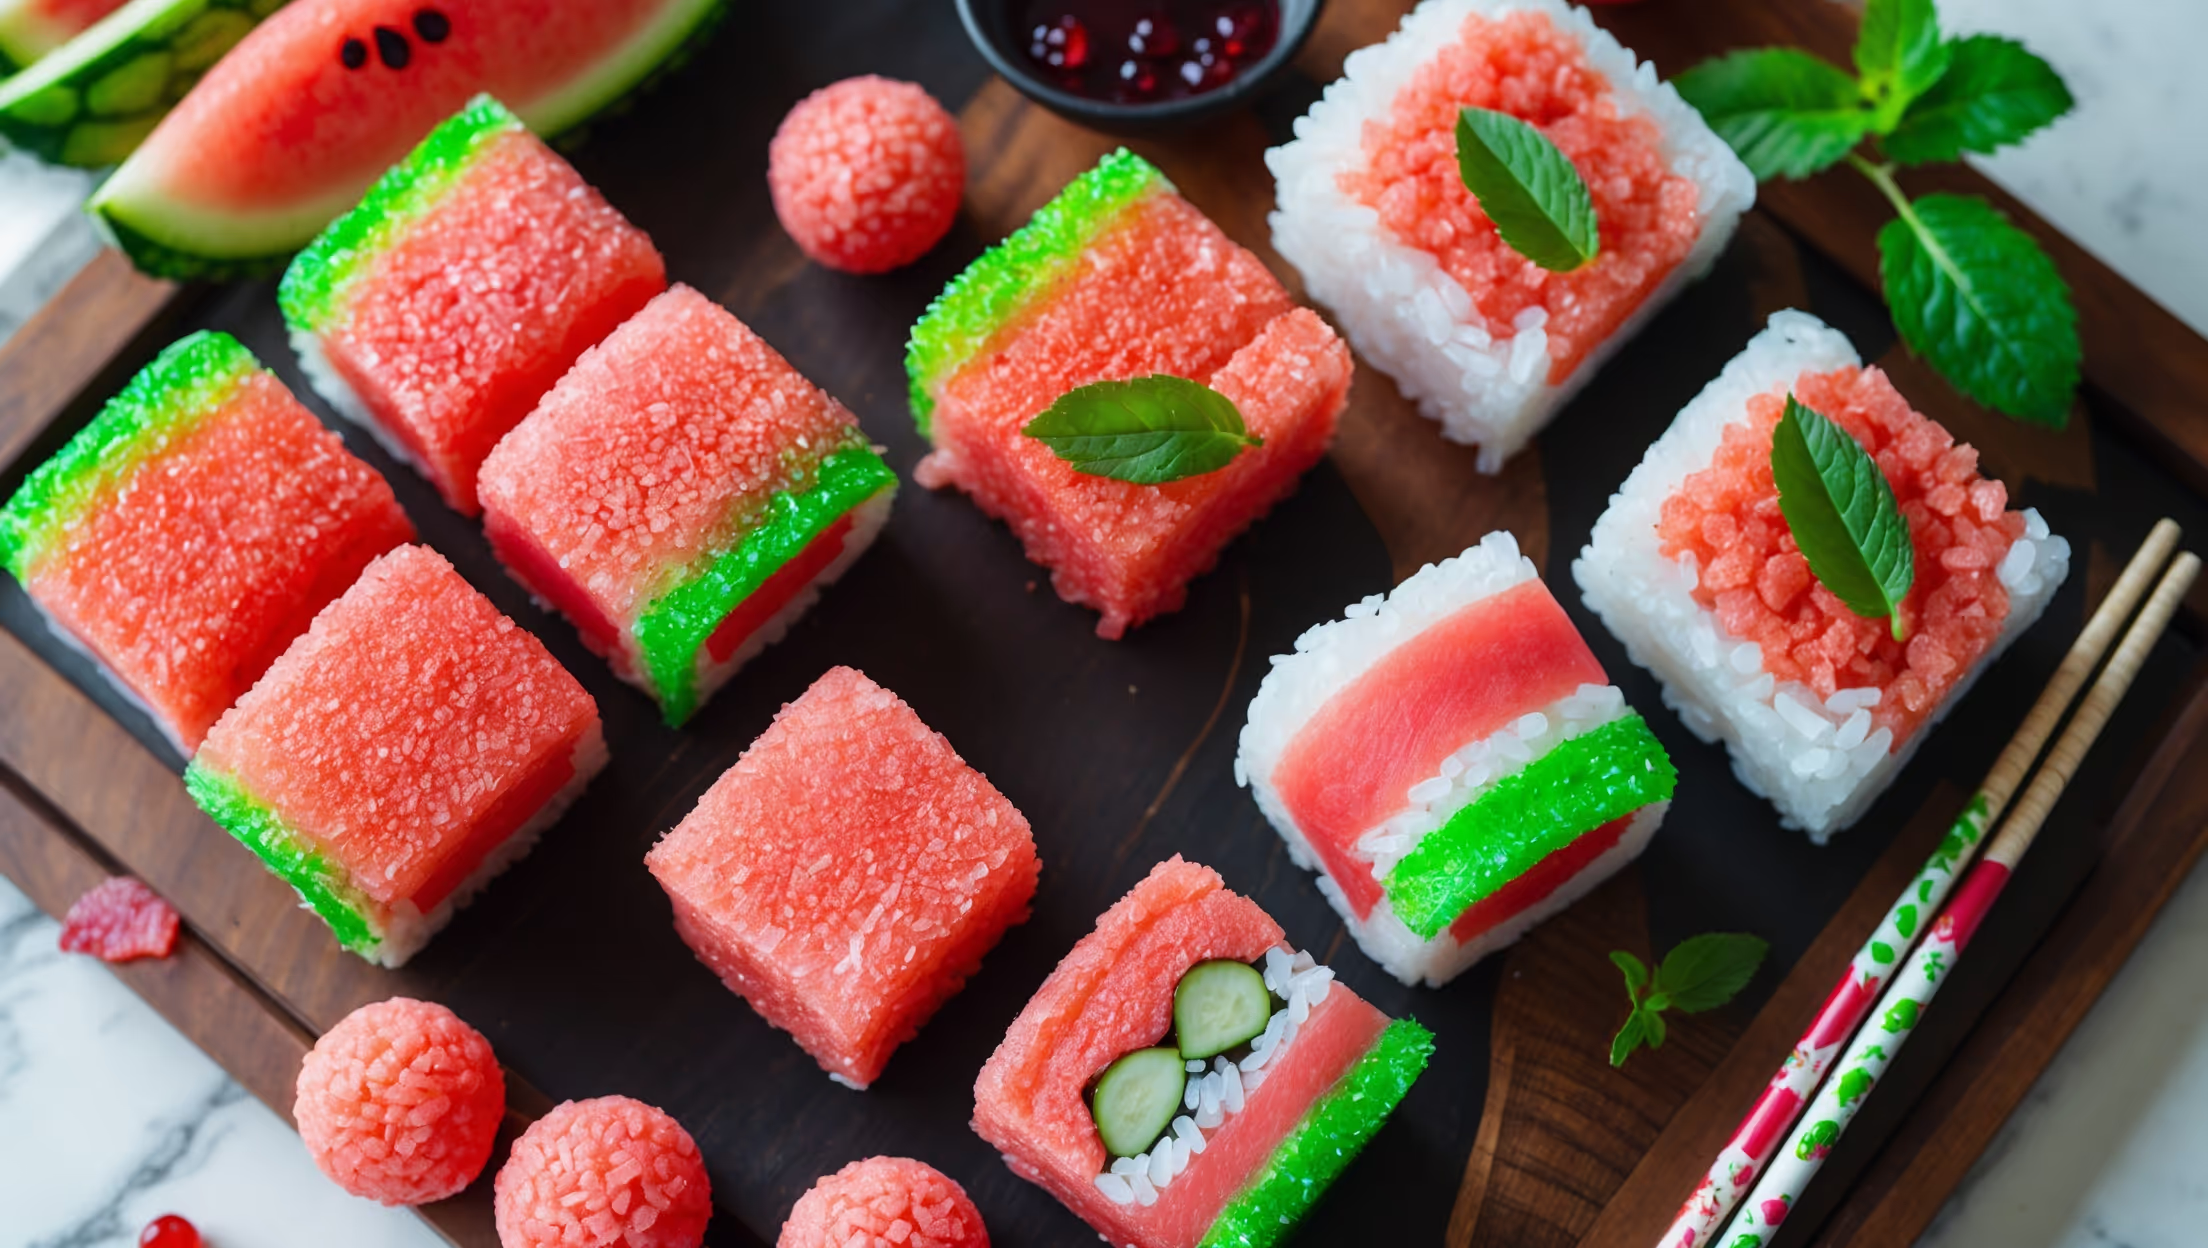
<ol class="no-list-style"><li class="MethodStepper"><h4 class="step-title">Step 1</h4>Line a 23x33cm baking tray with parchment paper and lightly grease with butter. This prevents the rice crispy mixture from sticking and makes removal easier.</li><li class="MethodStepper"><h4 class="step-title">Step 2</h4>In a large, heavy-bottomed saucepan, melt the butter over low heat. When completely melted, add the marshmallows and stir constantly until they've completely dissolved into a smooth mixture. The low heat is crucial here – too hot and your mixture will become tough rather than chewy.</li><li class="MethodStepper"><h4 class="step-title">Step 3</h4>Remove from heat and add the red food coloring to create a watermelon pink color. Start with a few drops and add more until you achieve a vibrant pink shade similar to watermelon flesh. If using natural coloring like beetroot powder, you may need a bit more.</li><li class="MethodStepper"><h4 class="step-title">Step 4</h4>Quickly fold in the rice cereal, working rapidly before the mixture starts to set. Ensure all cereal is evenly coated for consistent color and texture through your "sushi rice."</li><li class="MethodStepper"><h4 class="step-title">Step 5</h4>Transfer the mixture to your prepared tray and use a piece of parchment paper or a silicone spatula to press it down firmly and evenly. The thickness should be approximately 2cm. Allow to cool for 15 minutes until firm but still slightly pliable.</li><li class="MethodStepper"><h4 class="step-title">Step 6</h4>For maki rolls, cut the rice crispy treat into rectangles approximately 10x15cm. Place a piece of cling film over your sushi mat, then place a rectangle of rice crispy treat on top. Arrange thin strips of watermelon and kiwi in a line along one edge.</li><li class="MethodStepper"><h4 class="step-title">Step 7</h4>Using the sushi mat for support, tightly roll up the rice crispy treat around the fruit filling, pressing gently but firmly as you go. The warmth of your hands will help seal the seam. If it's not sticking, lightly brush with a small amount of water.</li><li class="MethodStepper"><h4 class="step-title">Step 8</h4>For the "nori" wrapping, take green fruit roll-ups and wrap around the outside of some rolls. For others, coat the edges with the green-tinted coconut by pressing it gently into the sides.</li><li class="MethodStepper"><h4 class="step-title">Step 9</h4>For nigiri sushi, form small oval balls with the rice crispy mixture. Top with thin slices of watermelon or strawberry. Secure the "fish" to the "rice" with a small dab of melted white chocolate, which acts as an edible glue.</li><li class="MethodStepper"><h4 class="step-title">Step 10</h4>Sprinkle some rolls with black sesame seeds to mimic real sushi. Allow all pieces to set completely for at least 30 minutes at room temperature or 15 minutes in the refrigerator.</li><li class="MethodStepper"><h4 class="step-title">Step 11</h4>Using a very sharp knife dipped in warm water, slice the maki rolls into 2cm thick pieces. Clean and rewarm the knife between cuts for the cleanest edges.</li><li class="MethodStepper"><h4 class="step-title">Step 12</h4>Arrange your sushi pieces on a platter. Serve with small bowls of berry coulis as "soy sauce" and the green-tinted coconut as "wasabi" for dipping. For an extra touch, add small pieces of sliced fruit to garnish the platter.</li></ol>