Nanaimo Bars Recipe
Ingredients
Equipment
Directions
FAQs
Find answers to your most pressing questions about this delicious recipe right here.
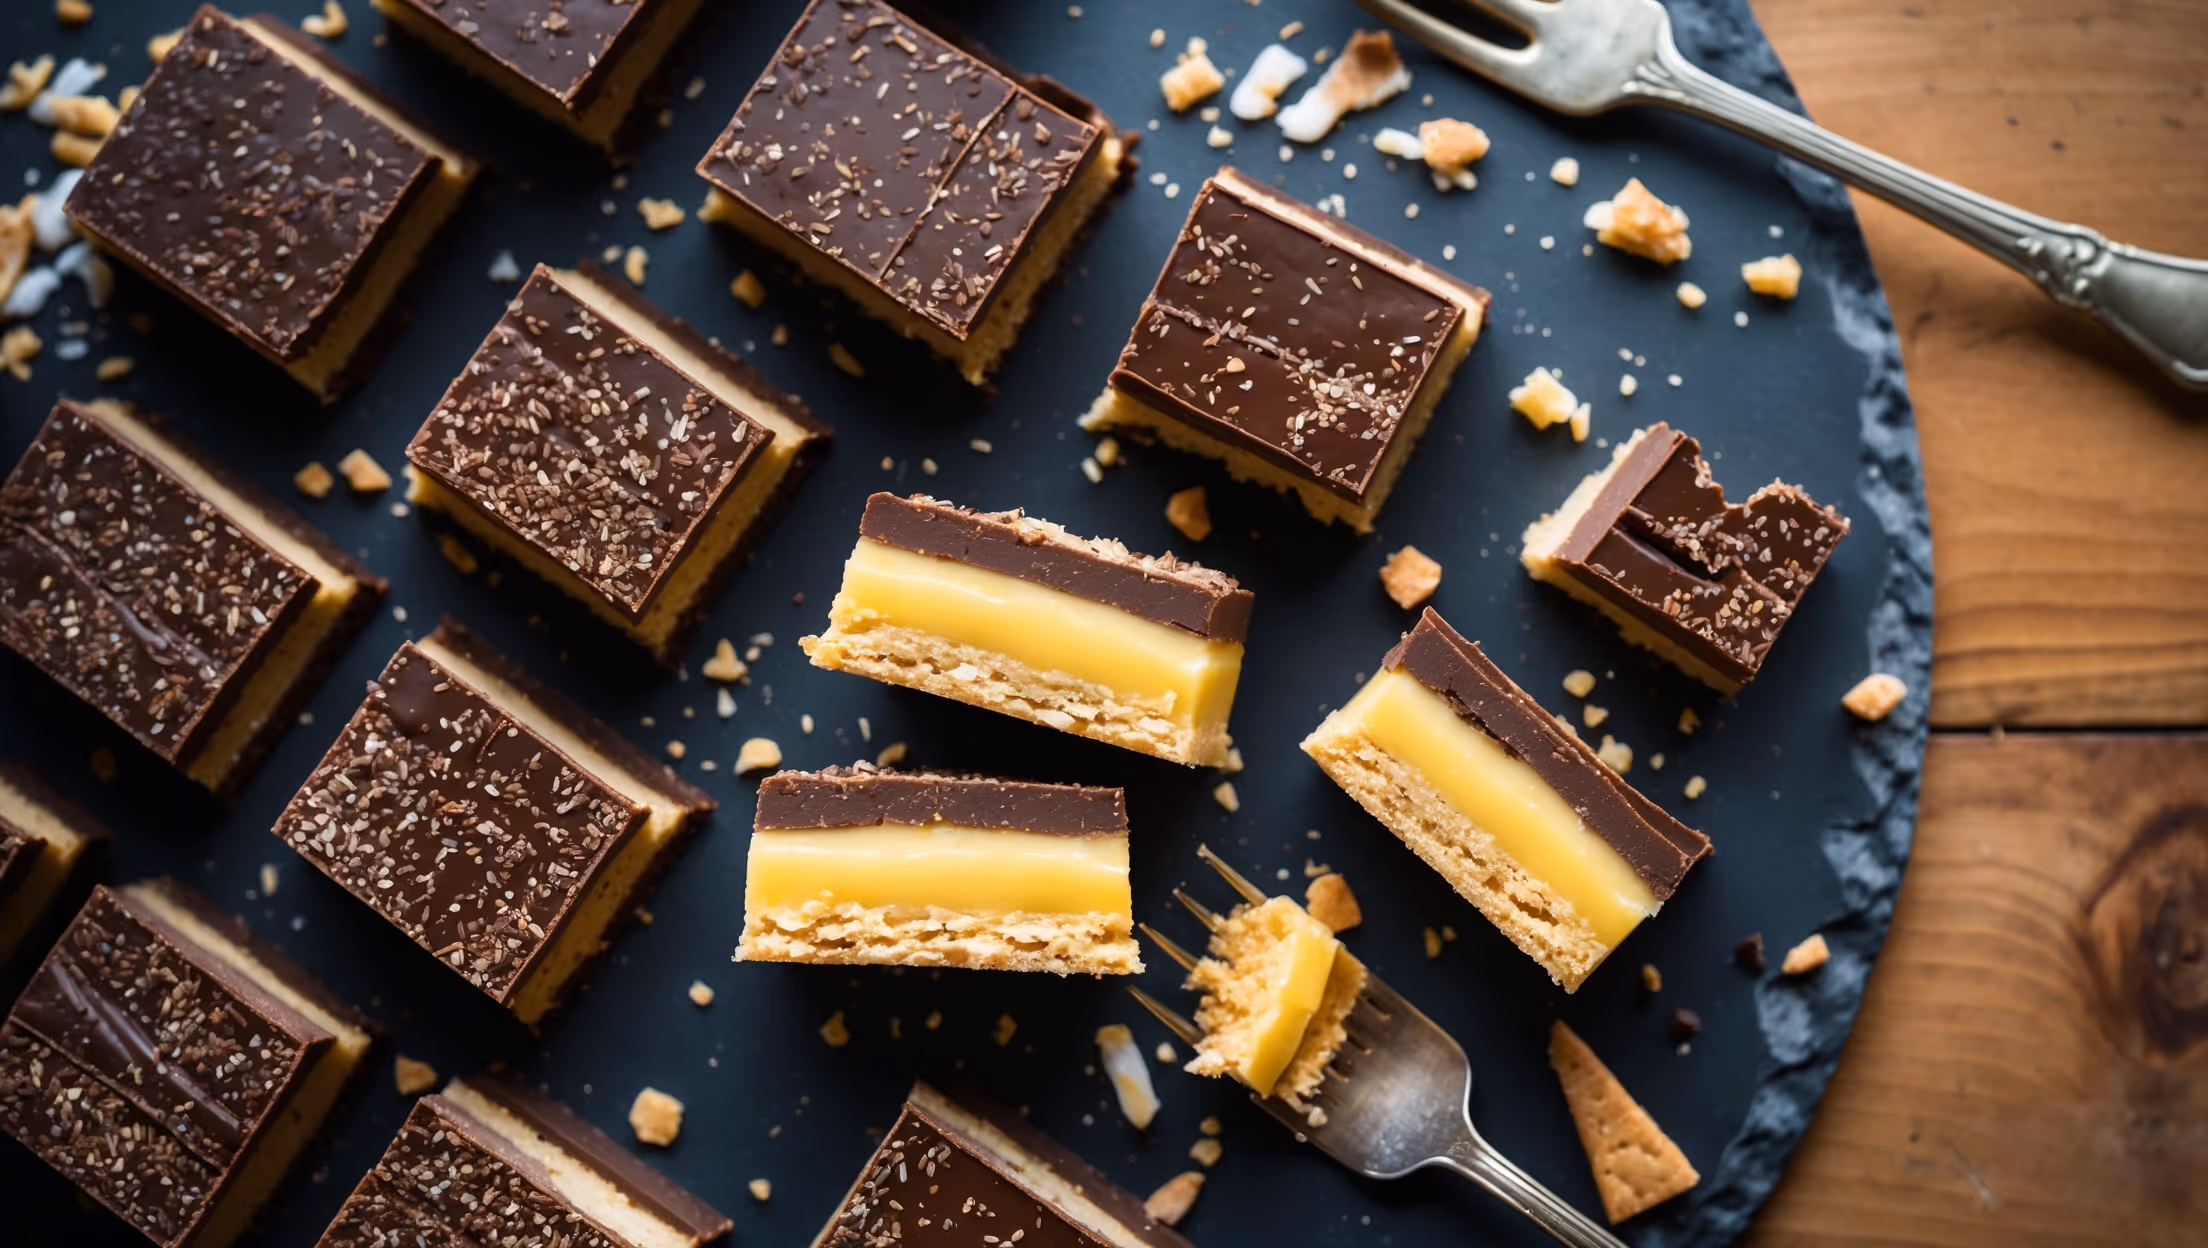
Nanaimo Bars require three distinct layers of ingredients: a chocolate-coconut base (butter, sugar, cocoa, egg, graham crackers, coconut, almonds), a custard middle layer (butter, cream, custard powder, icing sugar), and a chocolate topping (dark chocolate and butter).
Learn how to cook Nanaimo Bars by following this no-bake recipe. You'll create three distinct layers: first, prepare and chill the chocolate-coconut base, then spread the custard filling over it, and finally top with a glossy chocolate ganache. The bars require proper chilling between layers and before serving for the best results.
Yes, if you can't find custard powder, vanilla pudding powder makes an excellent substitute. Alternatively, you can use instant vanilla pudding mix or make your own by combining powdered milk, cornstarch, vanilla and a touch of yellow food colouring for the authentic appearance.
Crumbling bars typically indicate insufficient chilling time or pressing. Ensure you firmly pack the base layer, chill thoroughly between adding each layer, and allow the completed bars to set overnight. For clean cuts, dip your knife in hot water and wipe dry between slices.
Traditional Nanaimo Bars are not gluten-free due to the graham cracker crumbs in the base. However, you can easily make a gluten-free version by substituting the graham crackers with gluten-free biscuits, ensuring all other ingredients like custard powder are certified gluten-free as well.
International Dishes & Appetizers
Try following recommended recipes