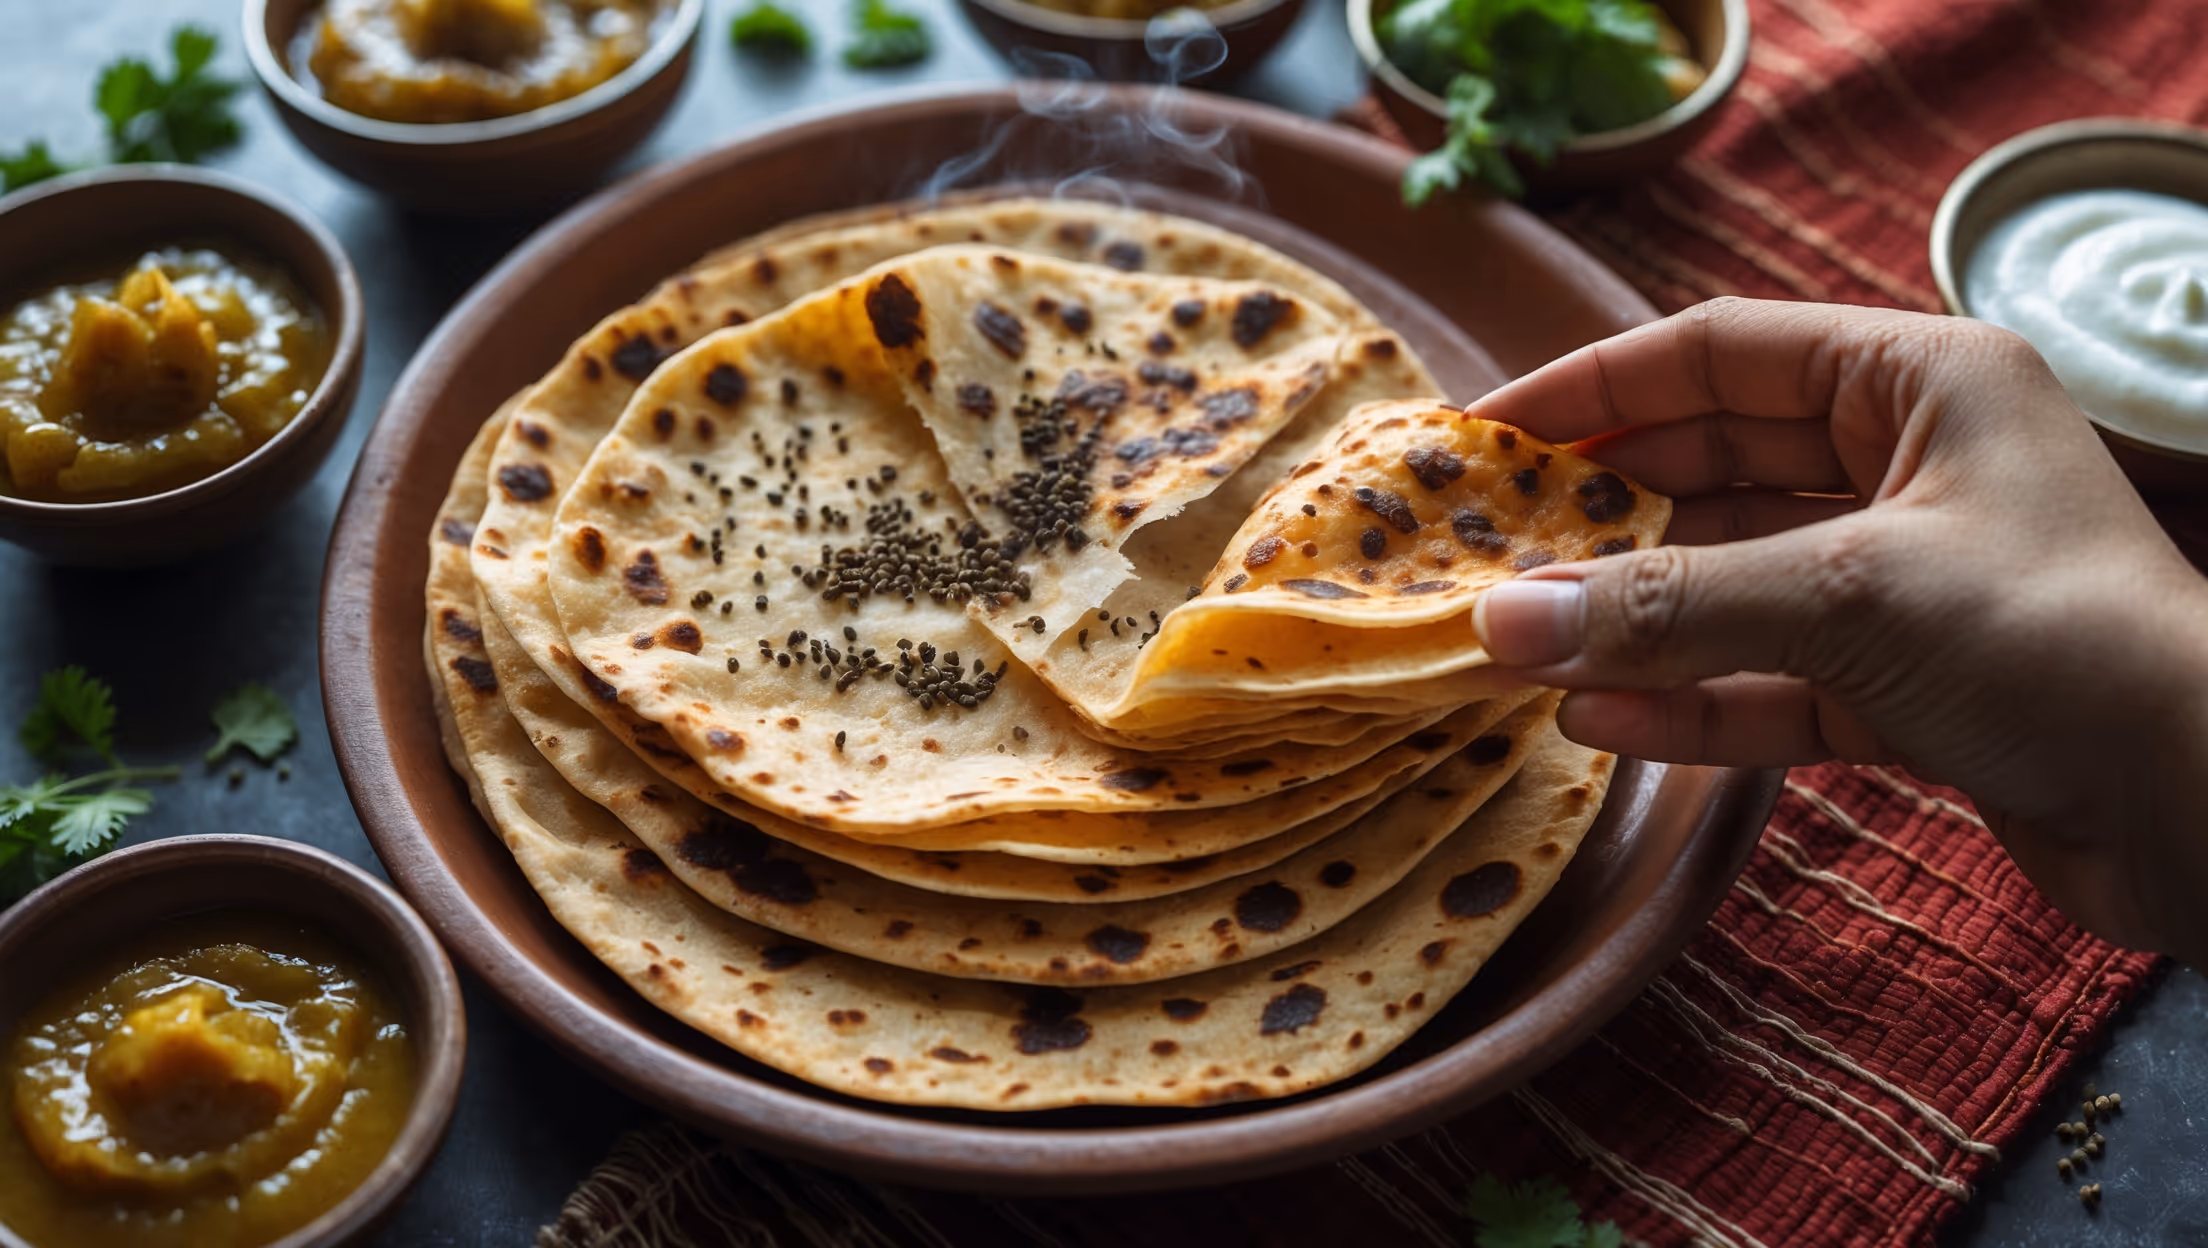
Punjabi Dabda Recipe
Ingredients
Equipment
Directions
FAQs
Find answers to your most pressing questions about this delicious recipe right here.
Punjabi Dabda requires whole wheat flour, all-purpose flour, salt, carom seeds (ajwain), nigella seeds (kalonji), water, ghee (clarified butter), and vegetable oil for brushing. These ingredients create the characteristic flaky layers and aromatic flavour profile.
Learn how to cook Punjabi Dabda by creating a spiced dough, mastering the special folding technique that creates flaky layers, and cooking on a very hot skillet to mimic tandoor-style cooking. The key is generous ghee application between layers and proper resting times for the dough, resulting in crispy, blistered flatbreads with perfect separation.
Insufficient flaky layers typically result from not enough ghee between layers, improper folding technique, or over-kneading the dough after folding. Be generous with ghee, follow the cone-folding method carefully, and use gentle pressure when rolling out the folded dough to maintain distinct layers.
For best results, cool the flatbreads completely, then wrap them in aluminum foil and store in an airtight container at room temperature for 1-2 days. For longer storage, place foil-wrapped breads in a freezer bag and freeze for up to 3 months. Reheat in a hot skillet or oven.
Yes, you can substitute ghee with coconut oil or vegetable oil for a vegan version. While the flavour profile will be slightly different, the coconut oil will still create those desirable flaky layers. Ensure your substitute fat is semi-solid at room temperature for best results.
International Dishes & Appetizers
Try following recommended recipes