Shankarpali Recipe

Crispy, diamond-shaped sweet treats with delicate hints of cardamom, perfect for festive occasions or tea-time snacking.
Difficulty:
Beginner
Prep Time:
40 mins
Cook Time:
20 mins
Serves:
40 pieces
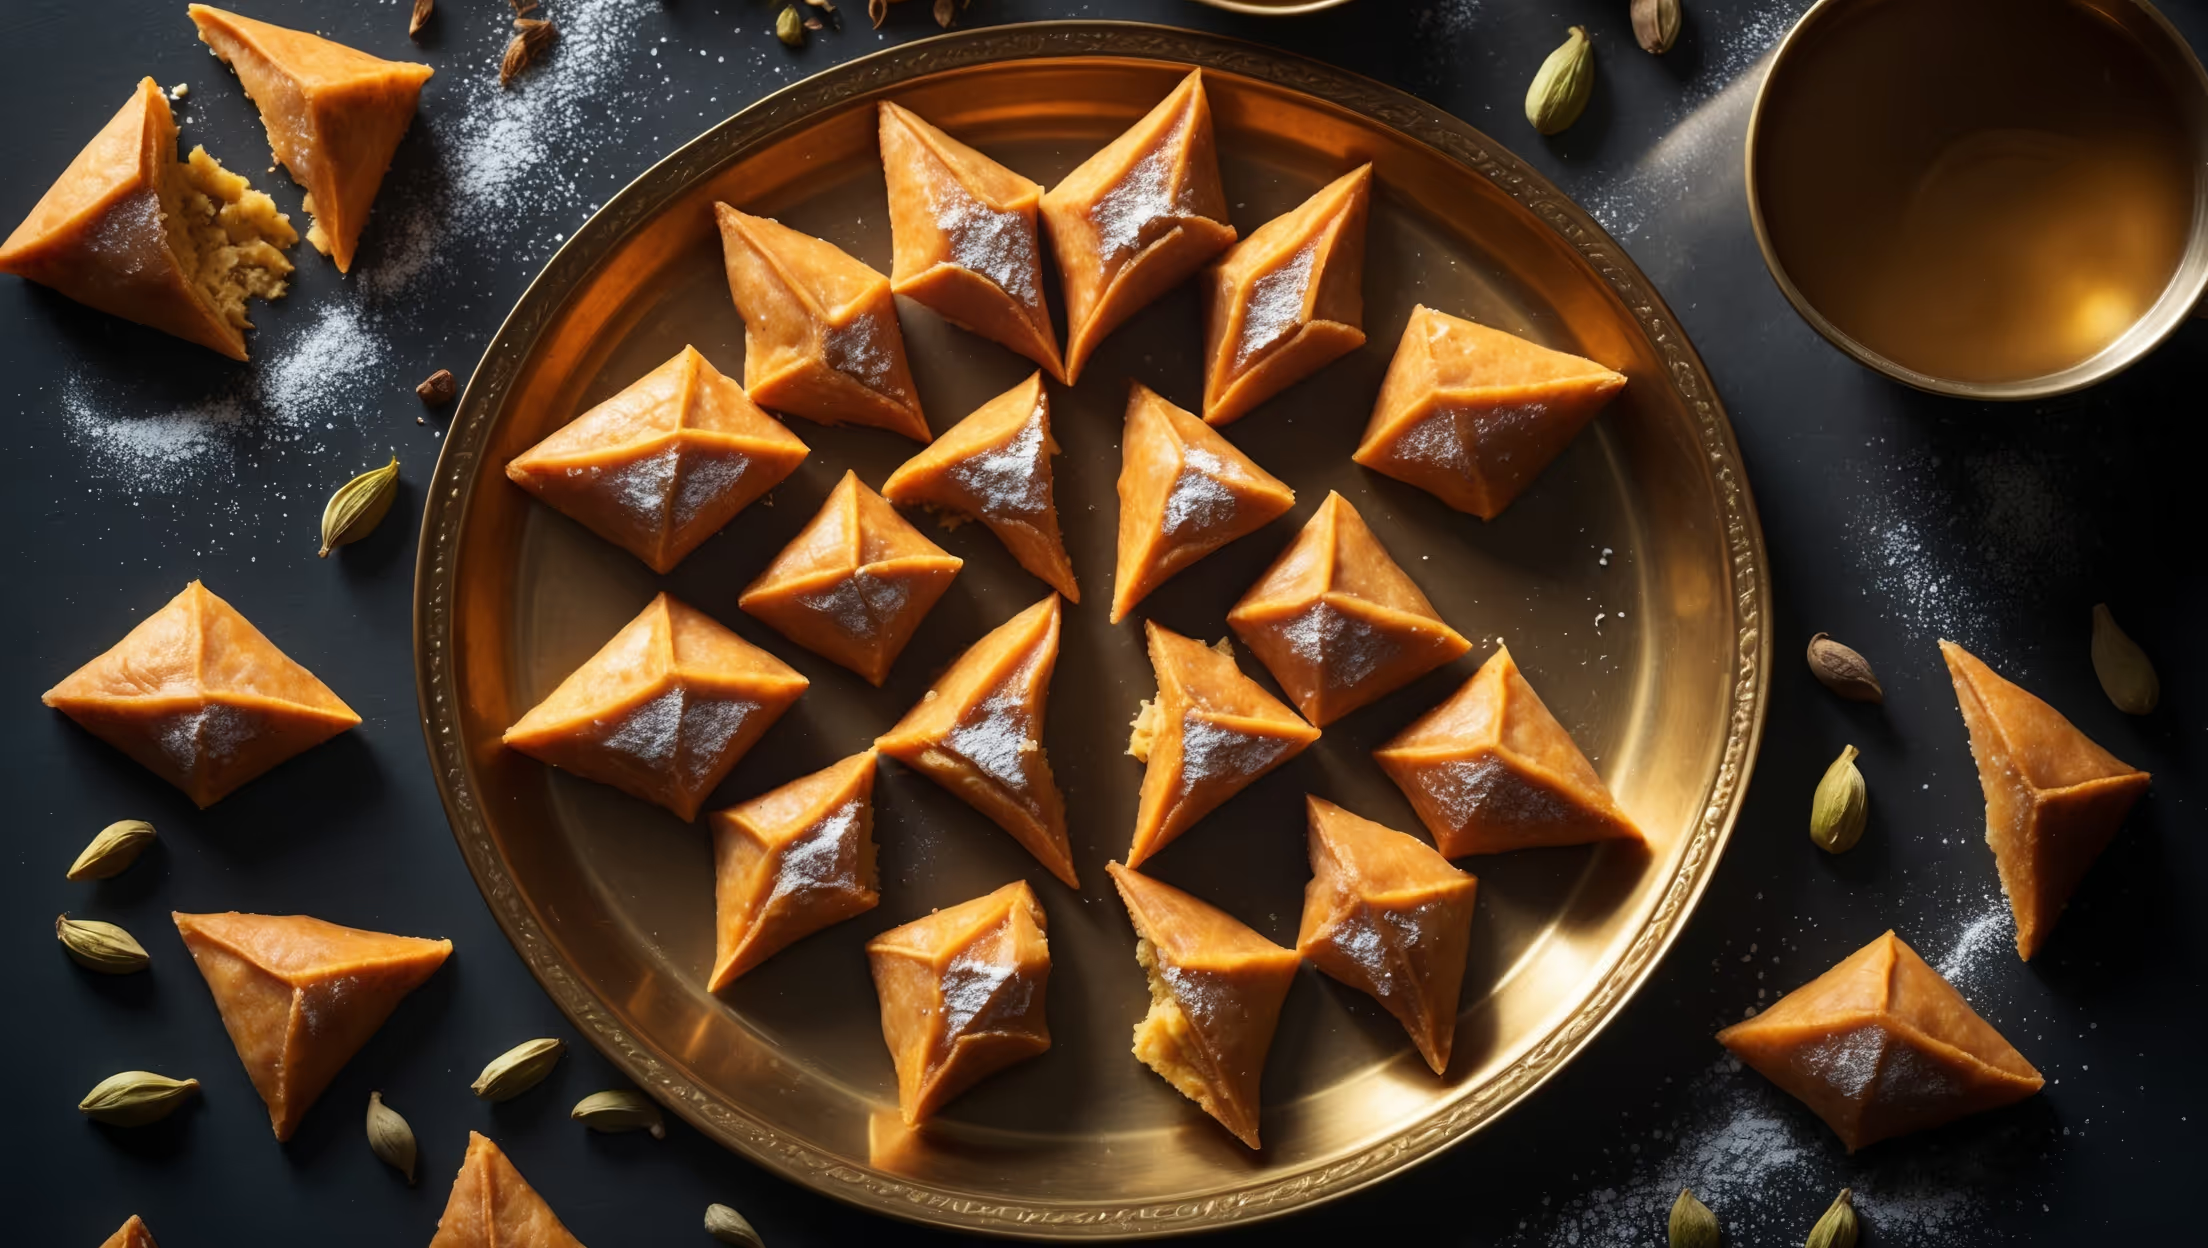
An overhead shot of golden-brown diamond-shaped Shankarpali arranged in a spiral pattern on a traditional brass plate, the crispy treats glistening under warm directional lighting. Some pieces are stacked to showcase their perfectly layered flakiness, while a few are broken to reveal the crisp interior texture. Scattered cardamom pods and a small bowl of ghee add authentic styling elements, and a partial cup of masala chai steams in the corner, suggesting the perfect pairing. The rich golden color of the Shankarpali contrasts beautifully against the dark metal plate, with a light dusting of powdered sugar adding a festive touch.

Ingredients

<ul class="ingredients-main-list"><li class="ingredients-single-item">250g all-purpose flour</li><li class="ingredients-single-item">50g fine semolina (rava)</li><li class="ingredients-single-item">100g granulated sugar</li><li class="ingredients-single-item">80g ghee (clarified butter), at room temperature</li><li class="ingredients-single-item">120ml whole milk</li><li class="ingredients-single-item">1/2 tsp cardamom powder</li><li class="ingredients-single-item">1/4 tsp salt</li><li class="ingredients-single-item">500ml vegetable oil for deep frying</li></ul>

Equipment

<ul class="equipment-main-list"><li class="equipment-single-item">Deep heavy-bottomed pan or kadhai</li><li class="equipment-single-item">Slotted spoon</li><li class="equipment-single-item">Rolling pin</li><li class="equipment-single-item">Pizza cutter or sharp knife</li></ul>
BAKE SMARTER

Kitchen Converter

Quickly switch between common baking units without leaving the recipe.

Convert
Result—

Volume uses US cups, tablespoons, and teaspoons. Converting weight to volume depends on the ingredient.

Directions

<ol class="no-list-style"><li class="MethodStepper"><h4 class="step-title">Step 1</h4>In a large mixing bowl, combine the all-purpose flour, semolina, and salt. The semolina adds a wonderful texture and crunch to the final Shankarpali.</li><li class="MethodStepper"><h4 class="step-title">Step 2</h4>Add the room temperature ghee to the flour mixture and rub it in with your fingertips until the mixture resembles breadcrumbs. This technique is critical for achieving the perfect flaky texture—the fat should be evenly distributed throughout the flour.</li><li class="MethodStepper"><h4 class="step-title">Step 3</h4>In a small saucepan, warm the milk (but don't boil it). Add the sugar and stir until completely dissolved. The warm sweetened milk helps in binding the dough while distributing sweetness evenly.</li><li class="MethodStepper"><h4 class="step-title">Step 4</h4>Add the cardamom powder to the milk mixture and stir well. Pour this into the flour-ghee mixture gradually while kneading to form a smooth, firm dough. The dough should not be sticky but hold together well. If it feels too dry, add a teaspoon of milk at a time.</li><li class="MethodStepper"><h4 class="step-title">Step 5</h4>Cover the dough with a damp cloth and let it rest for 15-20 minutes. This resting period allows the gluten to relax, making the dough easier to roll and resulting in a better texture.</li><li class="MethodStepper"><h4 class="step-title">Step 6</h4>Divide the dough into 4 equal portions. Take one portion (keep others covered) and roll it out on a lightly floured surface to about 3-4mm thickness. You want it thin enough for crispy Shankarpali, but not so thin that they become fragile.</li><li class="MethodStepper"><h4 class="step-title">Step 7</h4>Using a pizza cutter or sharp knife, cut the rolled dough first into long strips about 3cm wide, then cut diagonally across these strips to create diamond shapes. The traditional diamond shape allows for even cooking.</li><li class="MethodStepper"><h4 class="step-title">Step 8</h4>Heat oil in a deep pan over medium heat. The oil is ready when a small piece of dough dropped in rises to the surface surrounded by bubbles. The correct temperature (around 170°C) is crucial—too hot and the Shankarpali will brown outside but remain uncooked inside, too cool and they'll absorb excess oil.</li><li class="MethodStepper"><h4 class="step-title">Step 9</h4>Carefully slide in the diamond pieces, about 8-10 at a time, without overcrowding the pan. Fry on medium heat, turning occasionally, until they turn a lovely golden brown color on all sides (about 3-4 minutes).</li><li class="MethodStepper"><h4 class="step-title">Step 10</h4>Using a slotted spoon, remove the fried Shankarpali and place them on a paper towel-lined plate to absorb excess oil. They might feel slightly soft when hot but will crisp up beautifully as they cool.</li><li class="MethodStepper"><h4 class="step-title">Step 11</h4>Repeat with the remaining portions of dough. Allow the Shankarpali to cool completely before storing them in an airtight container. They'll stay fresh and crispy for up to 3 weeks, making them perfect make-ahead treats!</li></ol>
Chef’s Notes

A few helpful details for making this recipe.

Why do traditional Indian sweet treats like these turn out hard instead of crispy?

Hard texture typically results from overworking the dough, incorrect oil temperature, or rolling too thick. For perfectly crispy treats, incorporate ghee thoroughly into the flour, maintain medium heat while frying (170°C), and roll dough to 3-4mm thickness. Let them cool completely for maximum crispness.

Can I bake these diamond-shaped treats instead of frying them?

Yes, you can bake them! Place the cut diamonds on a parchment-lined baking sheet, brush with ghee, and bake at 180°C for 15-18 minutes until golden. While baked versions have a different texture than traditional fried ones, they're still delicious with reduced fat content.

How long do these crispy Indian diamond sweets stay fresh?

When stored in an airtight container in a cool, dry place, these treats remain fresh and crispy for up to 3 weeks. Their excellent shelf life makes them perfect for making in advance for festivals like Diwali. Ensure they're completely cooled before storing to prevent moisture buildup.

Want to try something else in ...

More recipes you might like

Keep exploring with more recipes from What's Baking.