Directions
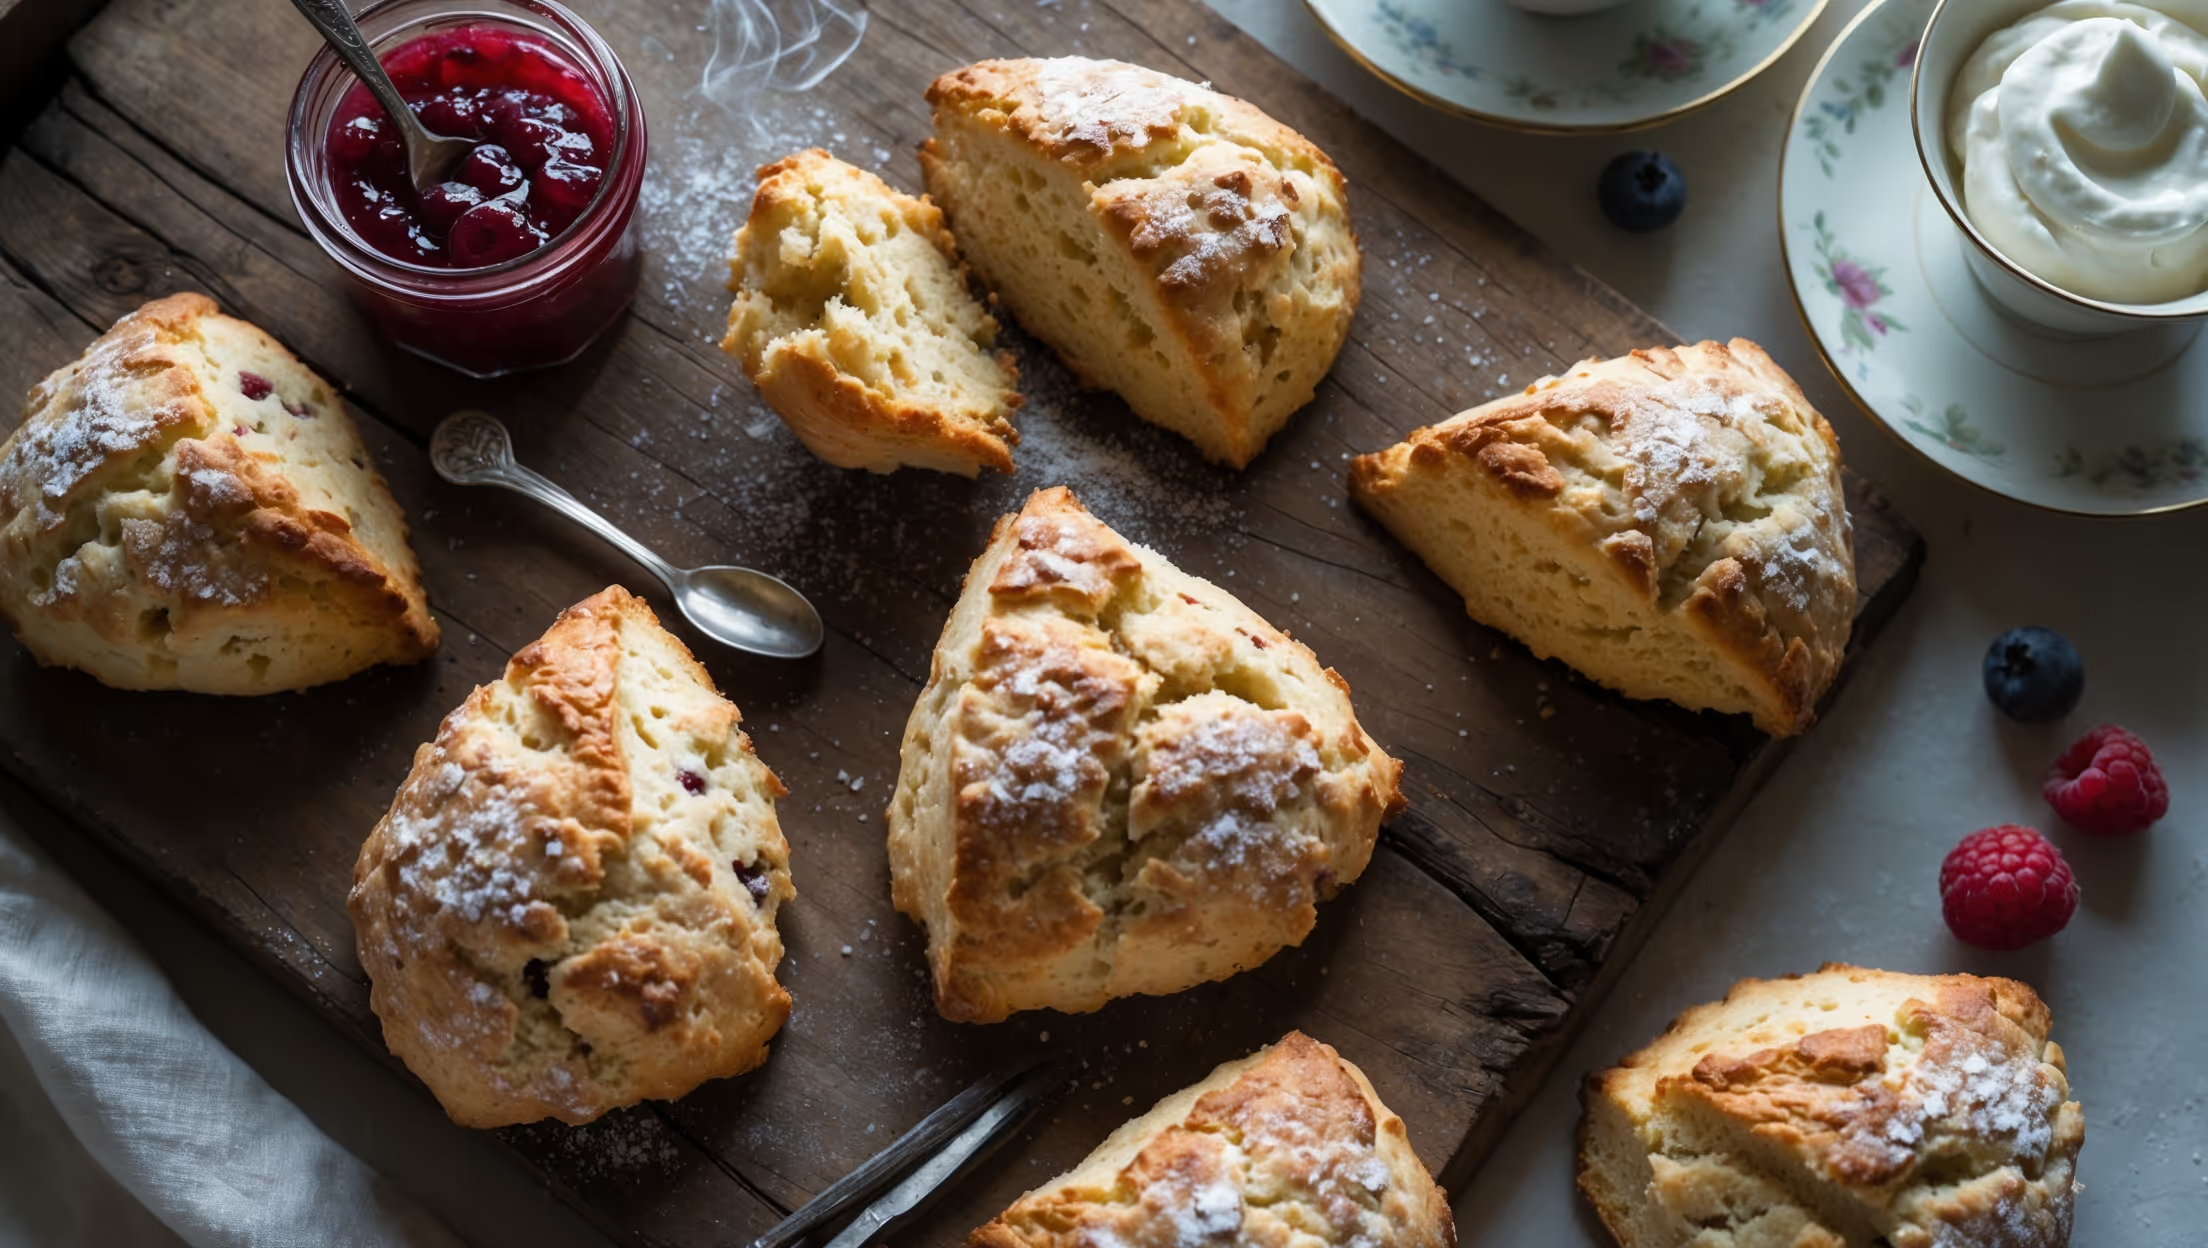
<ol class="no-list-style"><li class="MethodStepper"><h4 class="step-title">Step 1</h4>Preheat your oven to 200°C (400°F) and line a baking sheet with parchment paper. Place your coconut oil in the freezer for 5-10 minutes if it's not already solid. Cold fat is essential for creating those flaky pockets in your scones.</li><li class="MethodStepper"><h4 class="step-title">Step 2</h4>In a large bowl, whisk together the gluten-free flour blend, almond flour, sugar, baking powder, baking soda, xanthan gum, and salt. The xanthan gum acts as a binder, replacing the structure that gluten would normally provide in conventional scones.</li><li class="MethodStepper"><h4 class="step-title">Step 3</h4>Using a pastry cutter or food processor, cut the cold coconut oil into the flour mixture until it resembles coarse crumbs with pea-sized pieces remaining. These small pieces of fat will create steam pockets during baking, resulting in a flaky texture.</li><li class="MethodStepper"><h4 class="step-title">Step 4</h4>Combine the cold coconut milk, lemon juice (which acts as a vegan buttermilk substitute), and vanilla extract in a small bowl, then pour into the flour mixture. Stir gently with a wooden spoon until just combined – the dough should be slightly sticky but workable. Overmixing will develop the starches in the gluten-free flour, making your scones tough.</li><li class="MethodStepper"><h4 class="step-title">Step 5</h4>Turn the dough onto a lightly floured surface (use your gluten-free flour blend) and gently pat into a circle about 2.5cm (1 inch) thick. Don't use a rolling pin, as your hands will apply less pressure, resulting in a more tender scone.</li><li class="MethodStepper"><h4 class="step-title">Step 6</h4>Using a sharp knife, cut the circle into 8 wedges like a pizza. Transfer the wedges to your prepared baking sheet, allowing about 2.5cm (1 inch) between each scone to allow for expansion.</li><li class="MethodStepper"><h4 class="step-title">Step 7</h4>Brush the tops with plant-based milk (this creates a golden crust without using eggs) and sprinkle with coarse sugar if desired. Place the baking sheet in the freezer for 5 minutes to re-chill the coconut oil – this step is crucial for achieving height and flakiness.</li><li class="MethodStepper"><h4 class="step-title">Step 8</h4>Bake in the preheated oven for 15-18 minutes until the scones are golden brown and a toothpick inserted into the center comes out clean. Gluten-free baked goods can sometimes take longer to develop color, so don't be tempted to remove them too early.</li><li class="MethodStepper"><h4 class="step-title">Step 9</h4>Allow the scones to cool on the baking sheet for 5 minutes before transferring to a wire rack. This resting period allows the starches to set and prevents your scones from crumbling when moved.</li><li class="MethodStepper"><h4 class="step-title">Step 10</h4>Serve warm or at room temperature with your favorite jam, plant-based butter, or whipped coconut cream. The scones are best enjoyed the day they're made, but can be stored in an airtight container for up to 2 days or frozen for up to 1 month. To reheat, warm in a 160°C (320°F) oven for 5 minutes.</li></ol>