Black Bean Brownies Recipe

Rich, fudgy chocolate brownies with a moist crumb and deep flavor, secretly made healthier with fiber-packed black beans that no one will detect.
Difficulty:
Beginner
Prep Time:
10 mins
Cook Time:
25 mins
Serves:
16 brownies
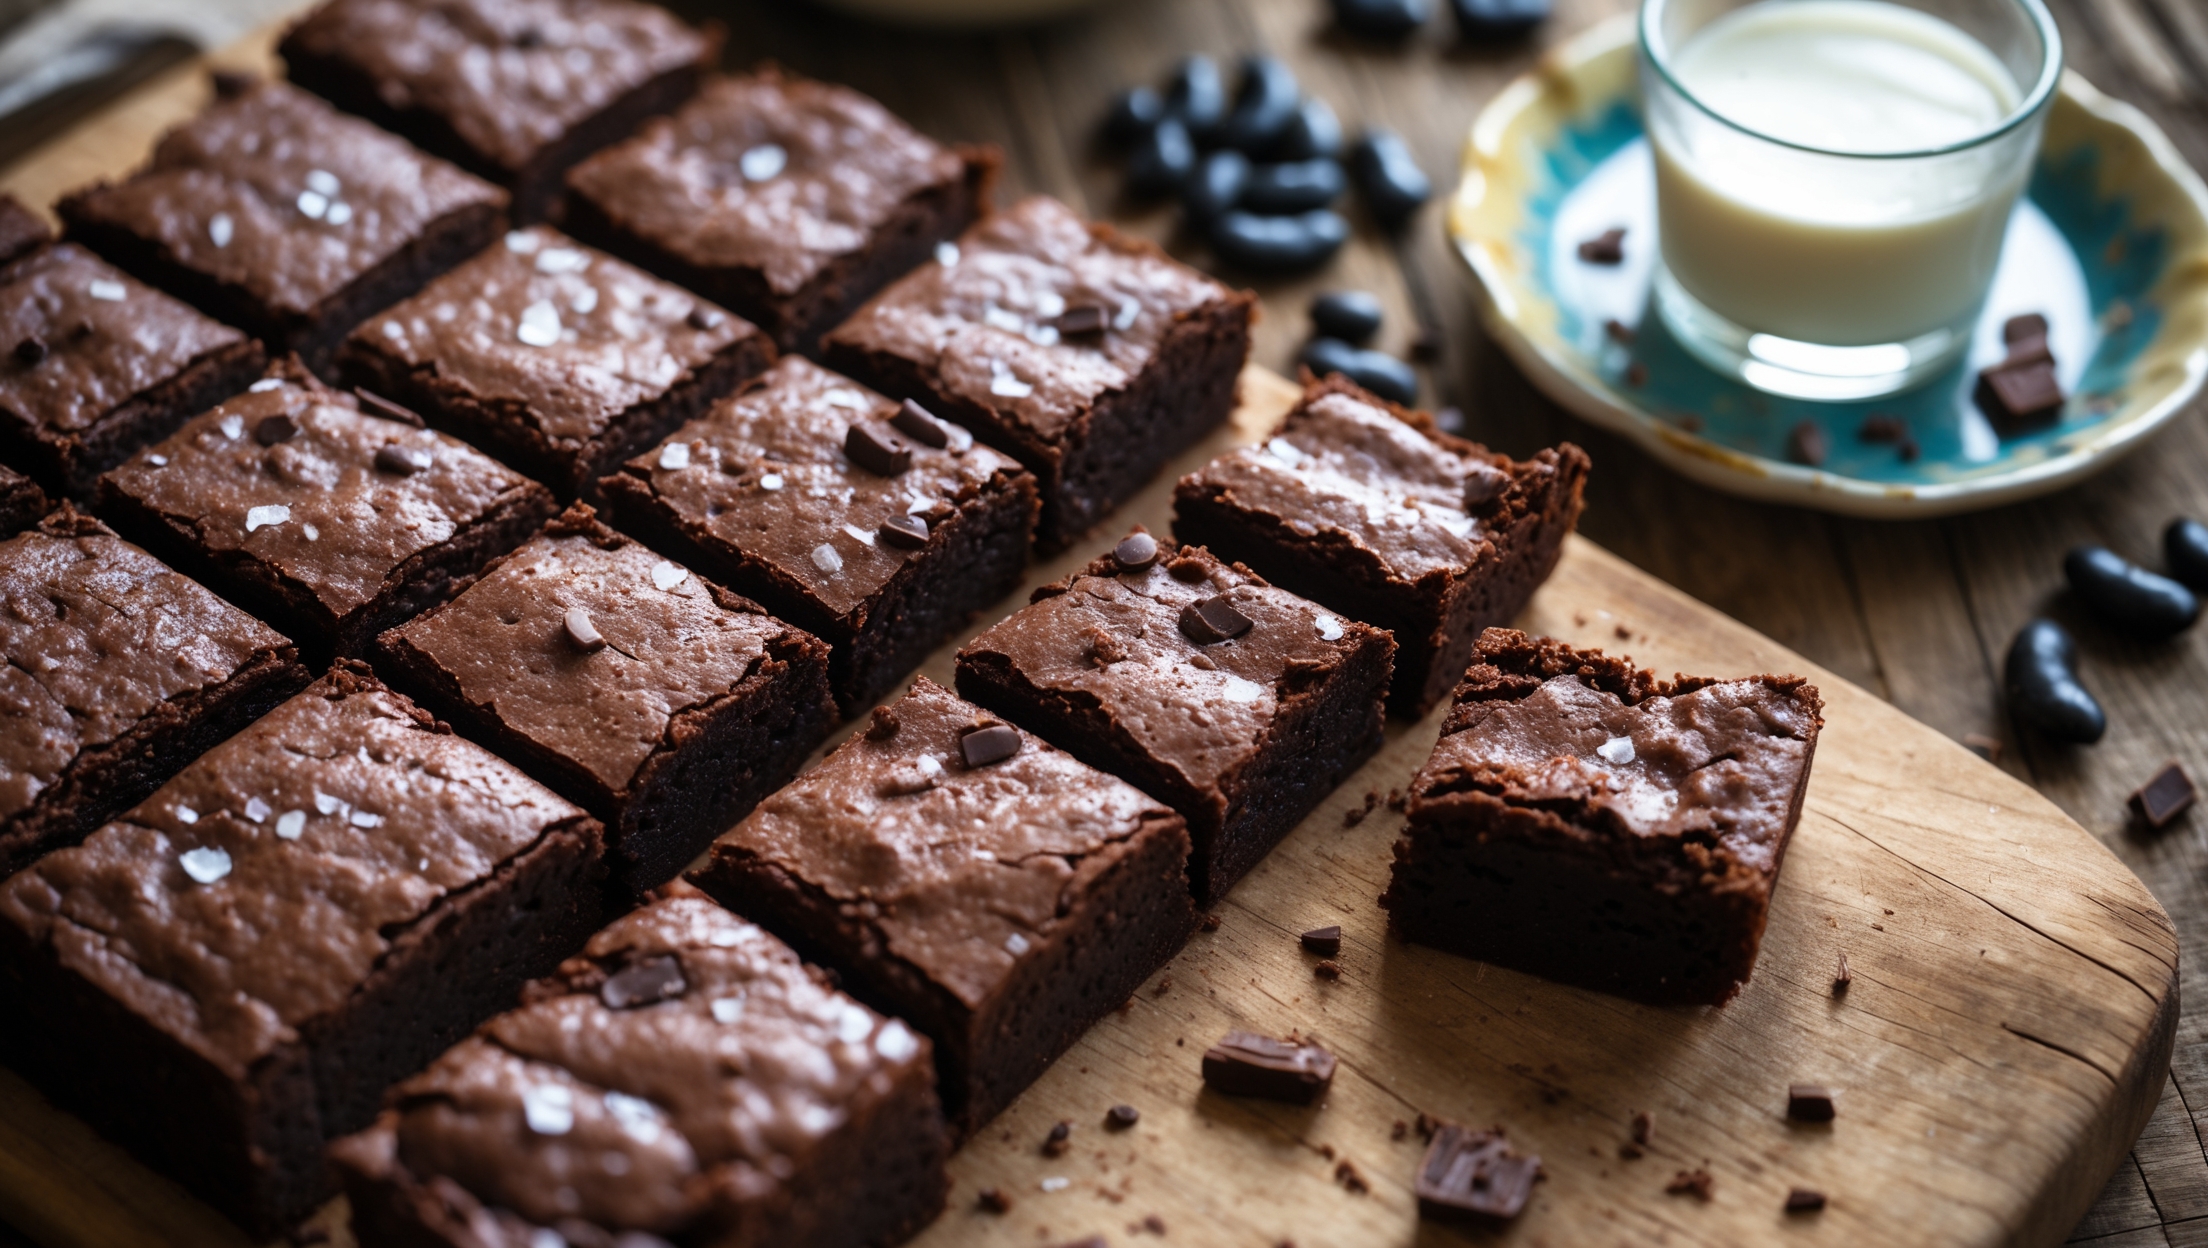
An overhead shot of freshly baked black bean brownies cut into perfect squares, revealing their fudgy interior against a rustic wooden board. Soft natural light accentuates the glossy, crackly top surface that contrasts with the dense, moist center visible in a partially lifted piece. A light dusting of cocoa powder adds depth while scattered cacao nibs and sea salt flakes provide texture. In the background, a vintage ceramic plate holds additional brownies beside a small glass of milk, with a few whole black beans artfully placed nearby as a subtle hint to the secret ingredient that makes these brownies uniquely nutritious yet decadently chocolate-forward.

Ingredients

<ul class="ingredients-main-list"><li class="ingredients-single-item">1 can (400g) black beans, rinsed and drained very well</li><li class="ingredients-single-item">2 large eggs</li><li class="ingredients-single-item">50g cocoa powder, unsweetened</li><li class="ingredients-single-item">150g granulated sugar</li><li class="ingredients-single-item">60ml coconut oil, melted (or vegetable oil)</li><li class="ingredients-single-item">1 tsp vanilla extract</li><li class="ingredients-single-item">½ tsp baking powder</li><li class="ingredients-single-item">¼ tsp salt</li><li class="ingredients-single-item">100g dark chocolate chips, divided</li></ul>

Equipment

<ul class="equipment-main-list"><li class="equipment-single-item">Food processor or high-powered blender</li><li class="equipment-single-item">20cm (8-inch) square baking tin</li><li class="equipment-single-item">Parchment paper</li></ul>
BAKE SMARTER

Kitchen Converter

Quickly switch between common baking units without leaving the recipe.

Convert
Result—

Volume uses US cups, tablespoons, and teaspoons. Converting weight to volume depends on the ingredient.

Directions

<ol class="no-list-style"><li class="MethodStepper"><h4 class="step-title">Step 1</h4>Preheat your oven to 180°C (350°F). Line a 20cm square baking tin with parchment paper, leaving some overhang on the sides for easy removal later.</li><li class="MethodStepper"><h4 class="step-title">Step 2</h4>Thoroughly rinse and drain the black beans, then pat them completely dry with paper towels. This step is crucial as excess moisture will affect the brownie texture.</li><li class="MethodStepper"><h4 class="step-title">Step 3</h4>Place the dried beans in a food processor and blend until completely smooth, scraping down the sides as needed. The beans should form a paste with no visible pieces - this ensures no one detects them in the final brownies.</li><li class="MethodStepper"><h4 class="step-title">Step 4</h4>Add the eggs, cocoa powder, sugar, melted coconut oil, vanilla extract, baking powder, and salt to the food processor. Blend again until the mixture is completely smooth and uniform in consistency, about 1-2 minutes. The batter should look like traditional brownie batter - dark, glossy and thick.</li><li class="MethodStepper"><h4 class="step-title">Step 5</h4>Reserve about 30g of the chocolate chips for topping, then pulse the remaining chips into the batter just a few times to incorporate them while leaving some chunks. The chocolate pieces will create pockets of melty goodness throughout your brownies.</li><li class="MethodStepper"><h4 class="step-title">Step 6</h4>Pour the batter into your prepared baking tin, using a spatula to spread it evenly to the corners. Unlike traditional flour-based batters, bean-based batters don't spread much during baking, so take care to create an even layer.</li><li class="MethodStepper"><h4 class="step-title">Step 7</h4>Sprinkle the reserved chocolate chips evenly over the top of the batter, pressing them in slightly.</li><li class="MethodStepper"><h4 class="step-title">Step 8</h4>Bake for 23-25 minutes, or until the edges start to pull away from the sides and a toothpick inserted in the center comes out with a few moist crumbs (not wet batter). Be careful not to overbake - these brownies should remain fudgy in the center.</li><li class="MethodStepper"><h4 class="step-title">Step 9</h4>Allow the brownies to cool completely in the tin on a wire rack for at least 30 minutes. The cooling period is essential for the brownies to set properly - they'll be too soft to cut while warm.</li><li class="MethodStepper"><h4 class="step-title">Step 10</h4>Once cooled, lift the brownies out using the parchment overhang and cut into 16 squares. For clean-edged pieces, wipe your knife between cuts. Store in an airtight container at room temperature for up to 3 days, or refrigerate for up to a week. They also freeze beautifully for up to 3 months!</li></ol>
Nutrition Facts (per serving)

🍽️ Serving Size: 1 brownie
🔥 Calories: 165 calories
🥑 Fat: 7 g
🧈 Saturated Fat: 4 g
🍞 Carbohydrates: 23 g
🍭 Sugar: 15 g
🍗 Protein: 4 g
🫀 Cholesterol: 23 mg
🧂 Sodium: 120 mg

Chef’s Notes

A few helpful details for making this recipe.

Can you taste the beans in these chocolate brownies?

When properly prepared, you cannot taste the beans at all. The key is thoroughly rinsing, draining and drying the beans, then blending them completely smooth. The rich cocoa powder and chocolate chips mask any bean flavour, resulting in brownies that taste purely chocolatey.

Are bean brownies actually healthier than regular brownies?

Yes, these brownies contain more protein, fibre and nutrients than traditional versions. Black beans provide complex carbohydrates and protein while eliminating refined flour. With about 165 calories per serving, they offer nutritional benefits like extra fibre, lower refined carbs, and more plant protein.

How do I ensure my fudgy brownies don't turn out too cakey?

For perfectly fudgy brownies, avoid overbaking (remove from oven when the centre still looks slightly underdone), don't overmix the batter after adding wet ingredients, use room temperature eggs, and ensure your beans are thoroughly dried after rinsing to control moisture content.

Want to try something else in ...

More recipes you might like

Keep exploring with more recipes from What's Baking.