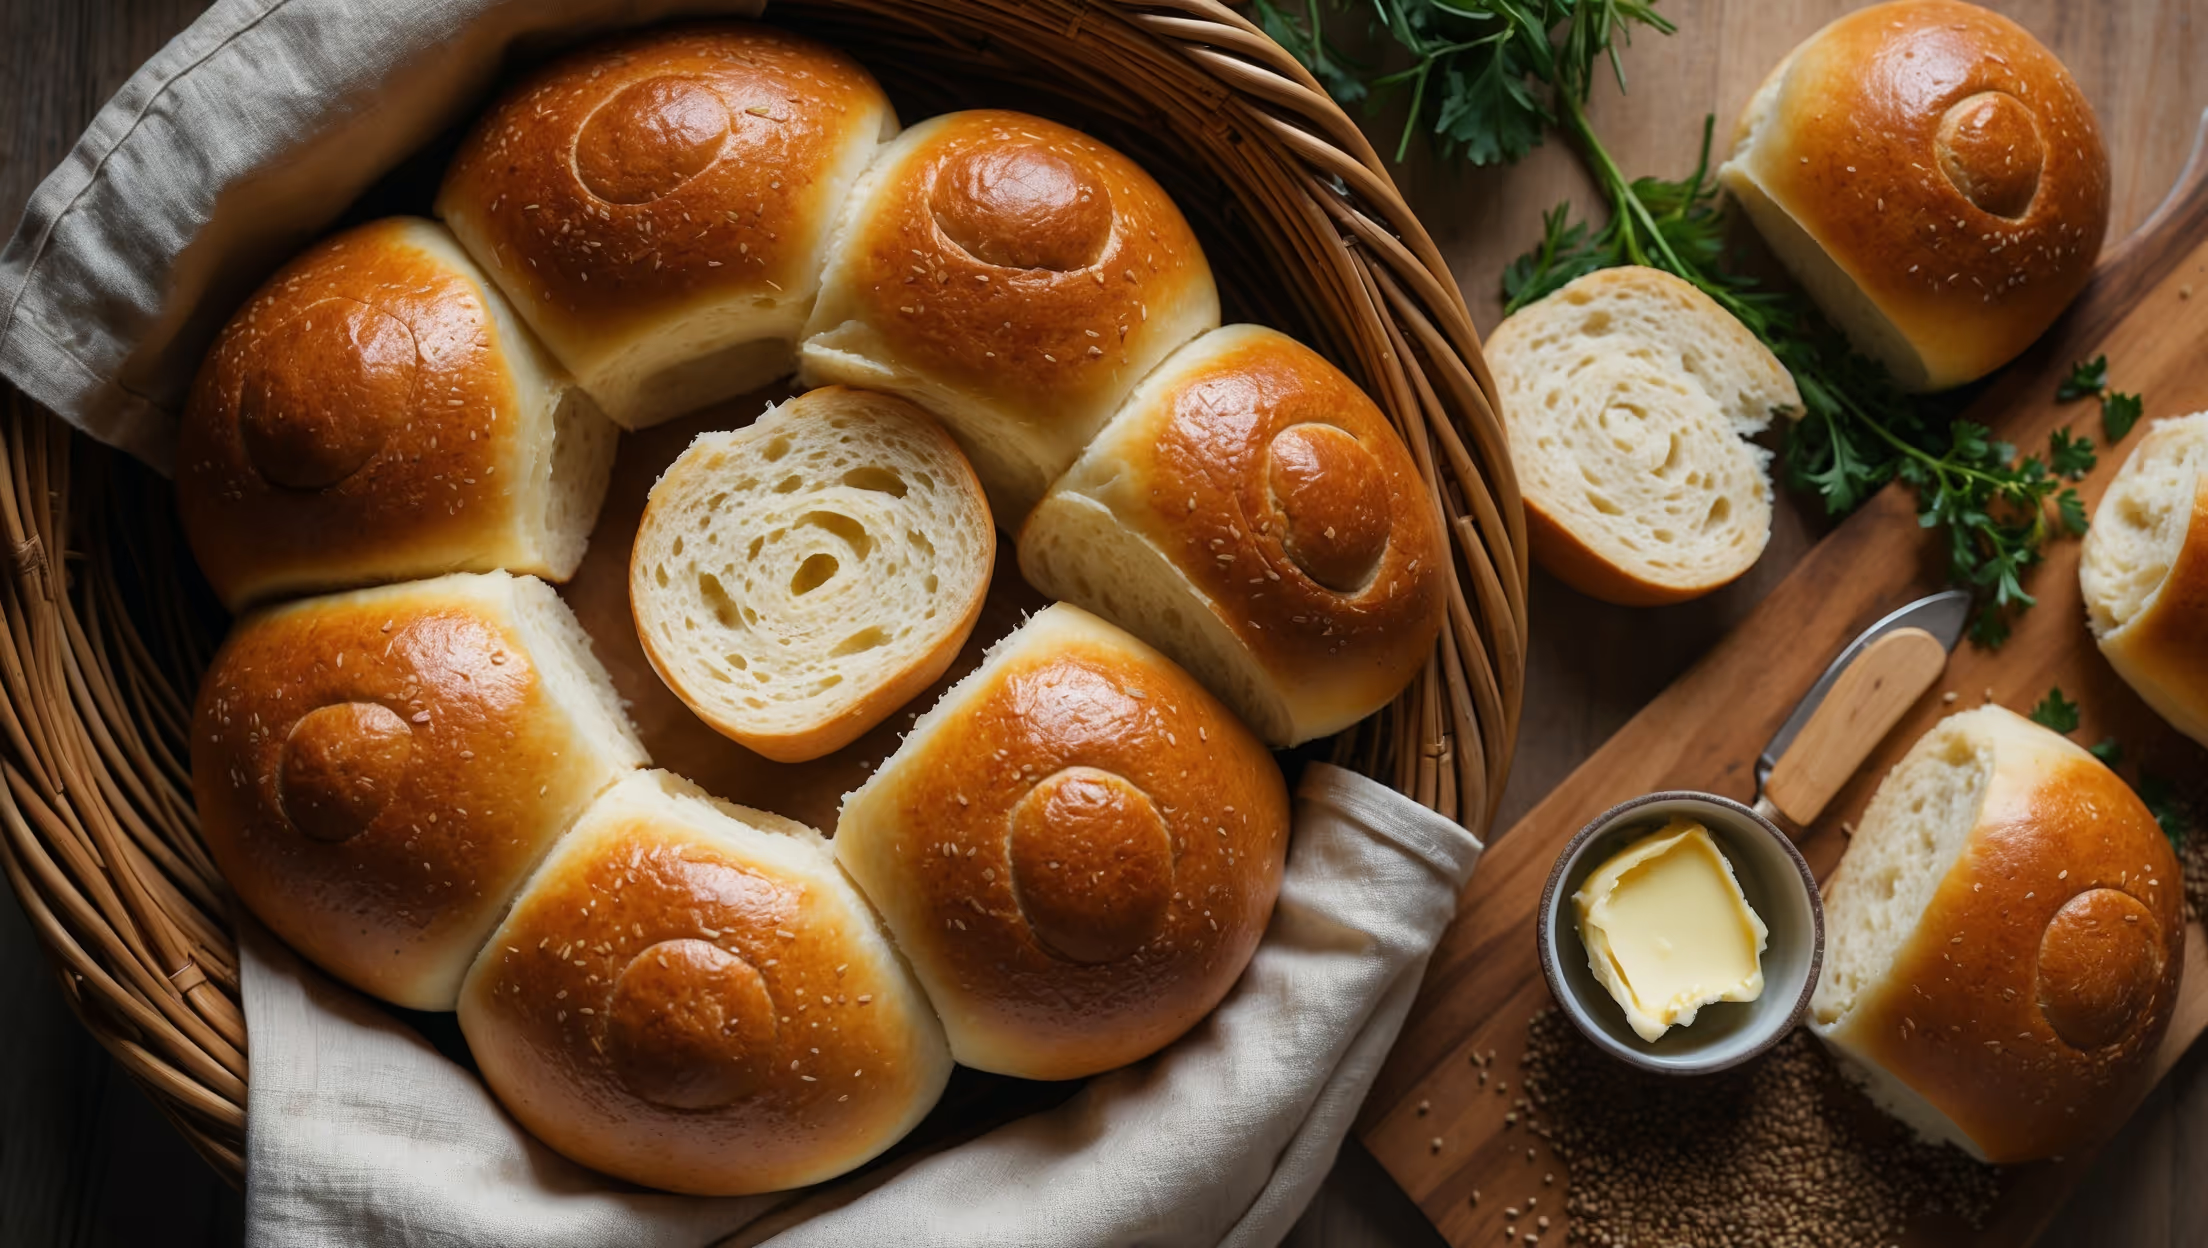
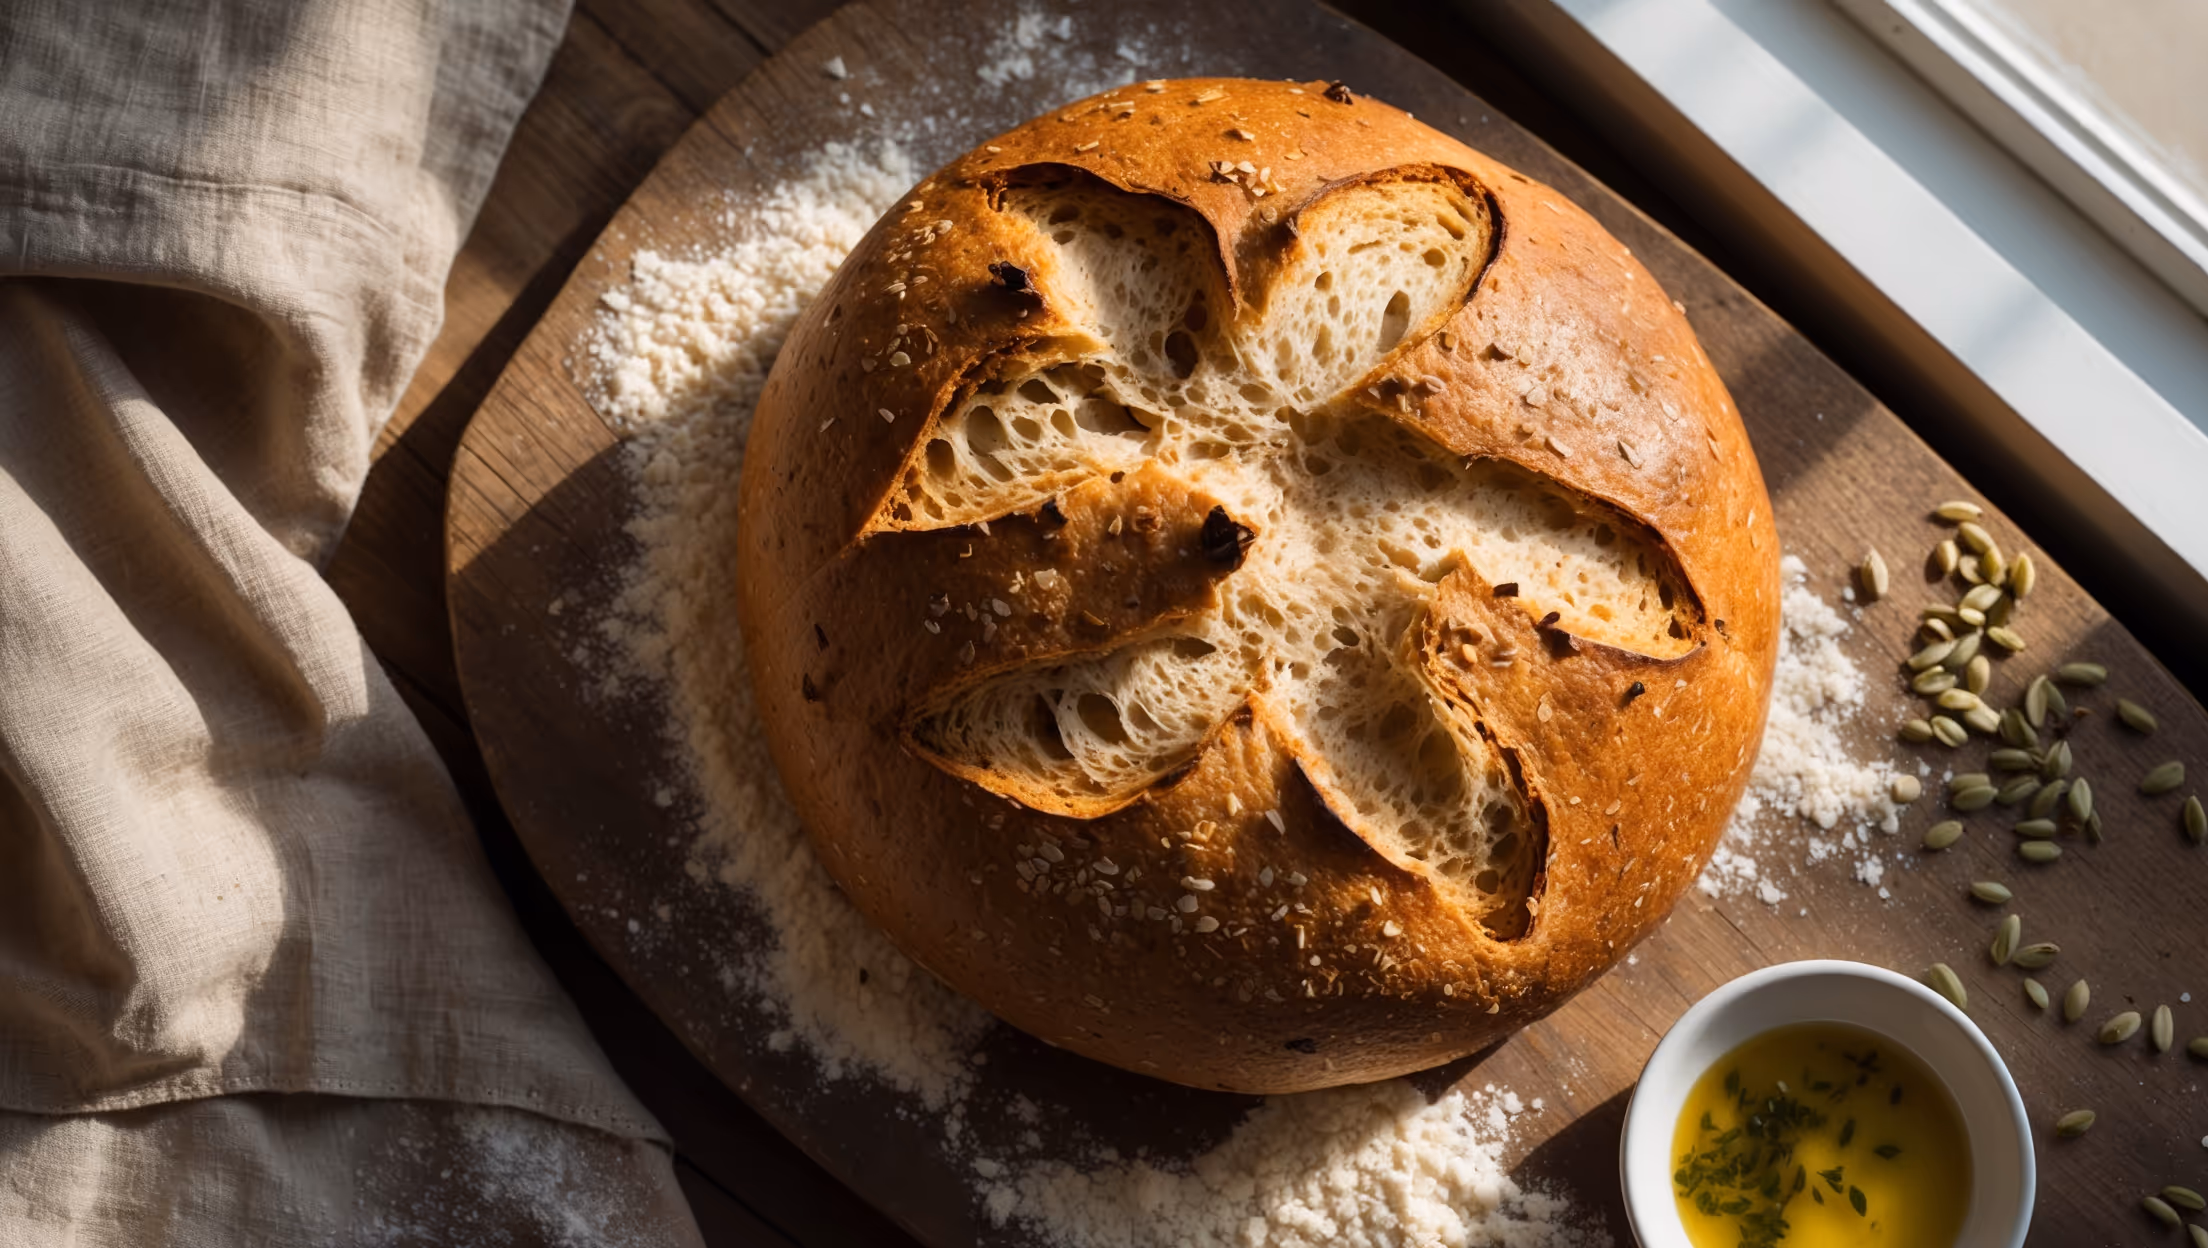
Vegan Gluten-Free Bread Recipe
Ingredients
Equipment
Directions
FAQs
Find answers to your most pressing questions about this delicious recipe right here.
This bread requires gluten-free flour blend, brown rice flour, tapioca starch, psyllium husk powder, instant yeast, salt, sugar, olive oil, apple cider vinegar, warm water, and optional seeds for topping. The psyllium husk is crucial as it replaces gluten's binding properties.
Learn how to cook Vegan Gluten-Free Bread by mixing dry ingredients thoroughly, combining with wet ingredients, beating for 4-5 minutes, then allowing the dough to rise in a lined loaf pan for 45-60 minutes. Bake at 180°C for 50-55 minutes until the internal temperature reaches 99°C, then cool completely before slicing for the perfect texture.
Psyllium husk powder acts as a gluten substitute by creating a gel-like structure when hydrated, providing elasticity and binding properties to the dough. It helps trap air bubbles during rising and baking, resulting in a better crumb structure and preventing the typical crumbly texture of gluten-free baked goods.
While the psyllium husk powder is non-negotiable, you can experiment with flour combinations (ensuring they remain gluten-free), replace olive oil with another neutral oil, and use coconut sugar instead of regular sugar. For yeast-free varieties, consider using baking powder and adjusting the method accordingly.
Gluten-free bread requires extended cooling (3-4 hours) because the starches continue to set and stabilise as they cool. Cutting too soon interrupts this process, resulting in a gummy, dense texture. Proper cooling ensures the internal structure fully develops for the best possible crumb and slice-ability.
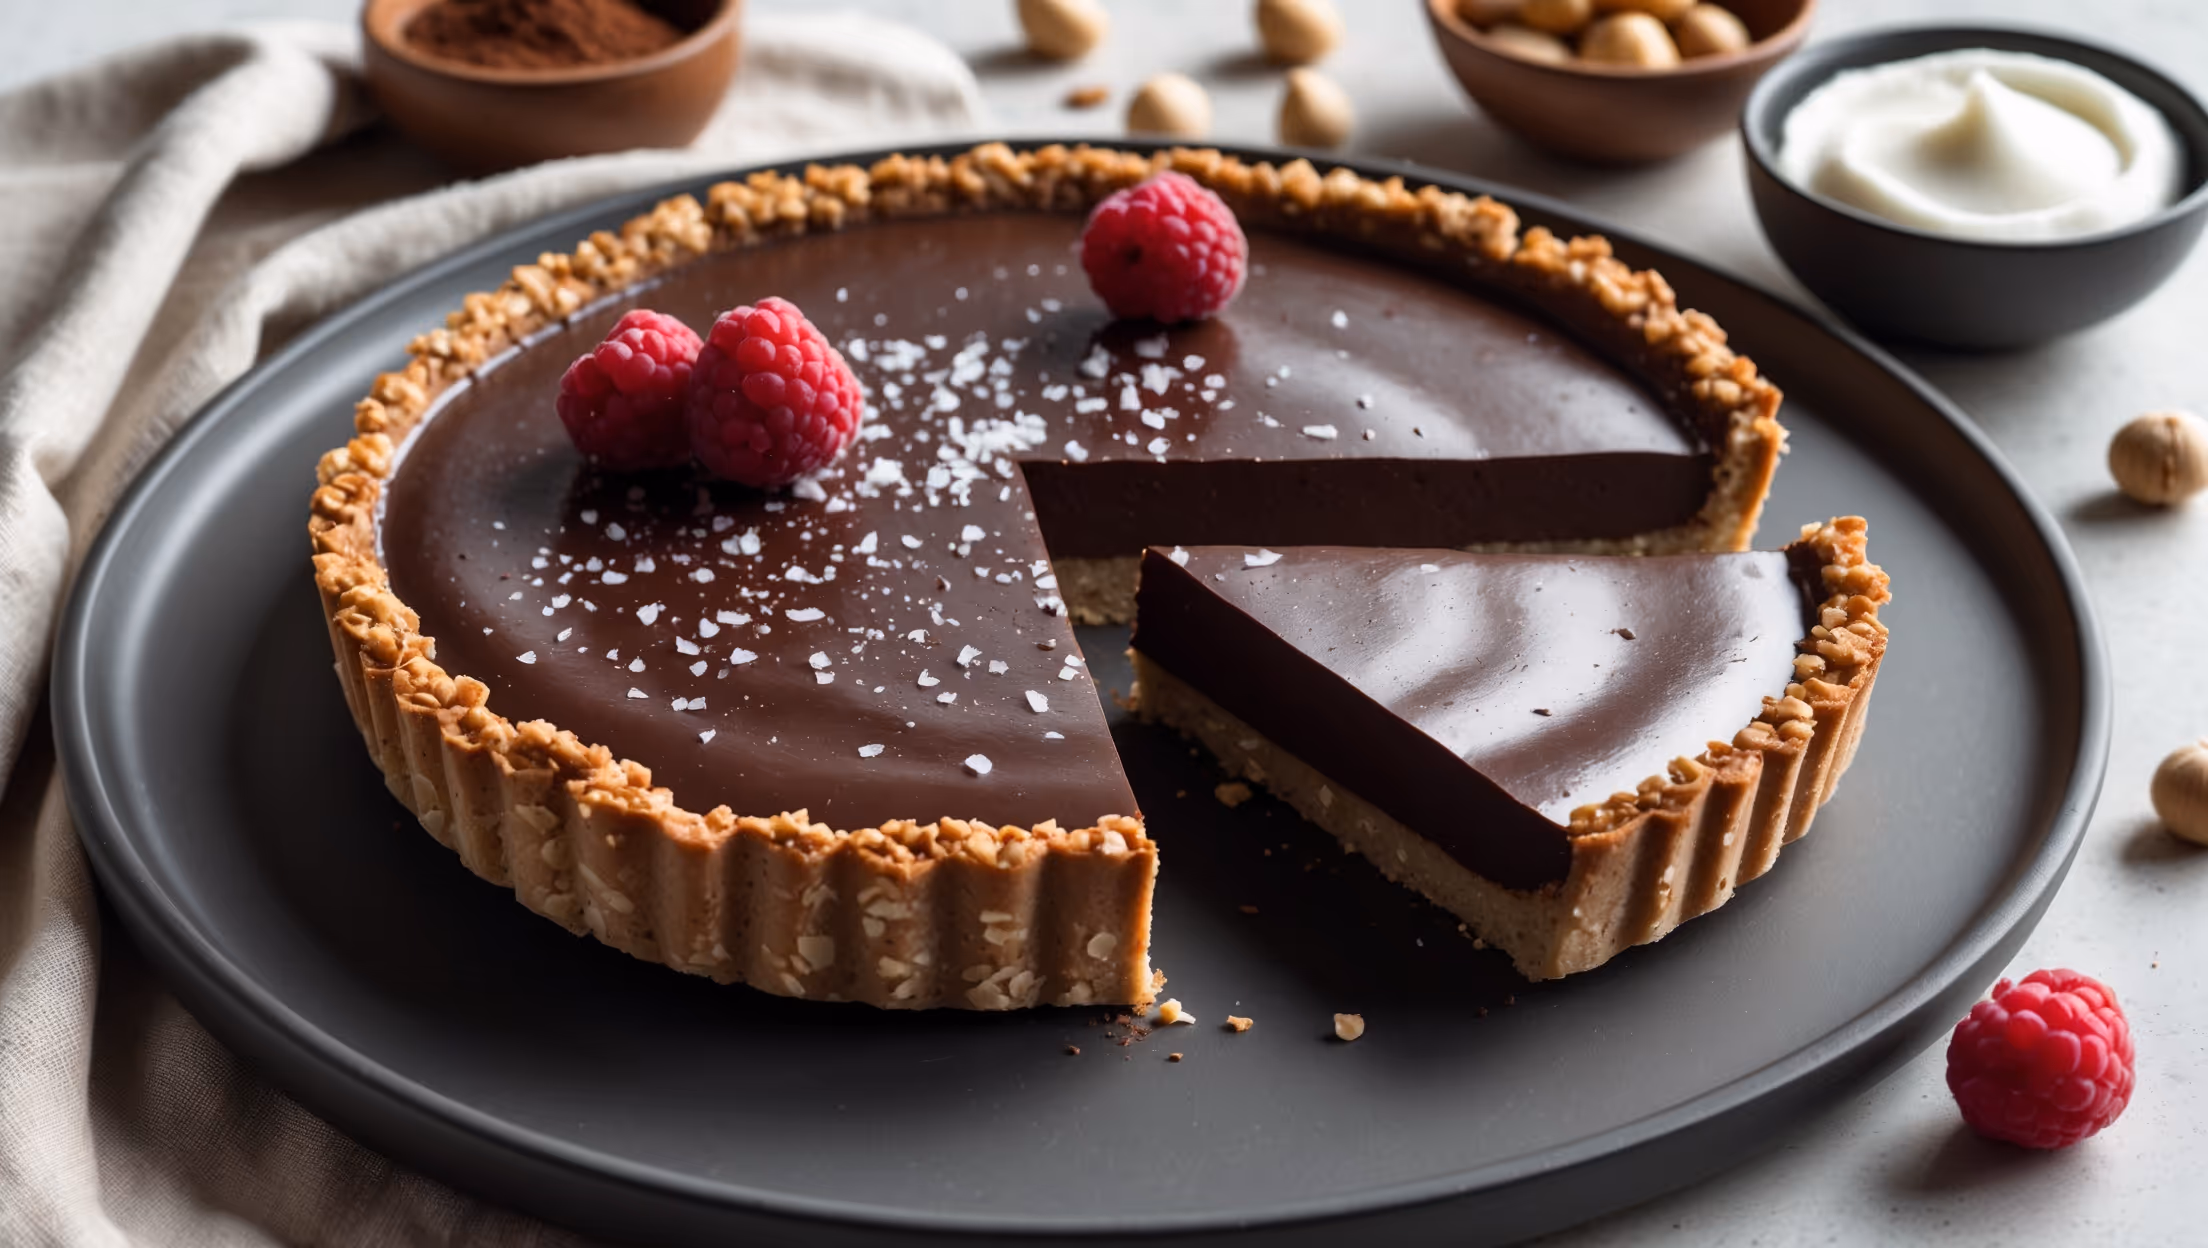
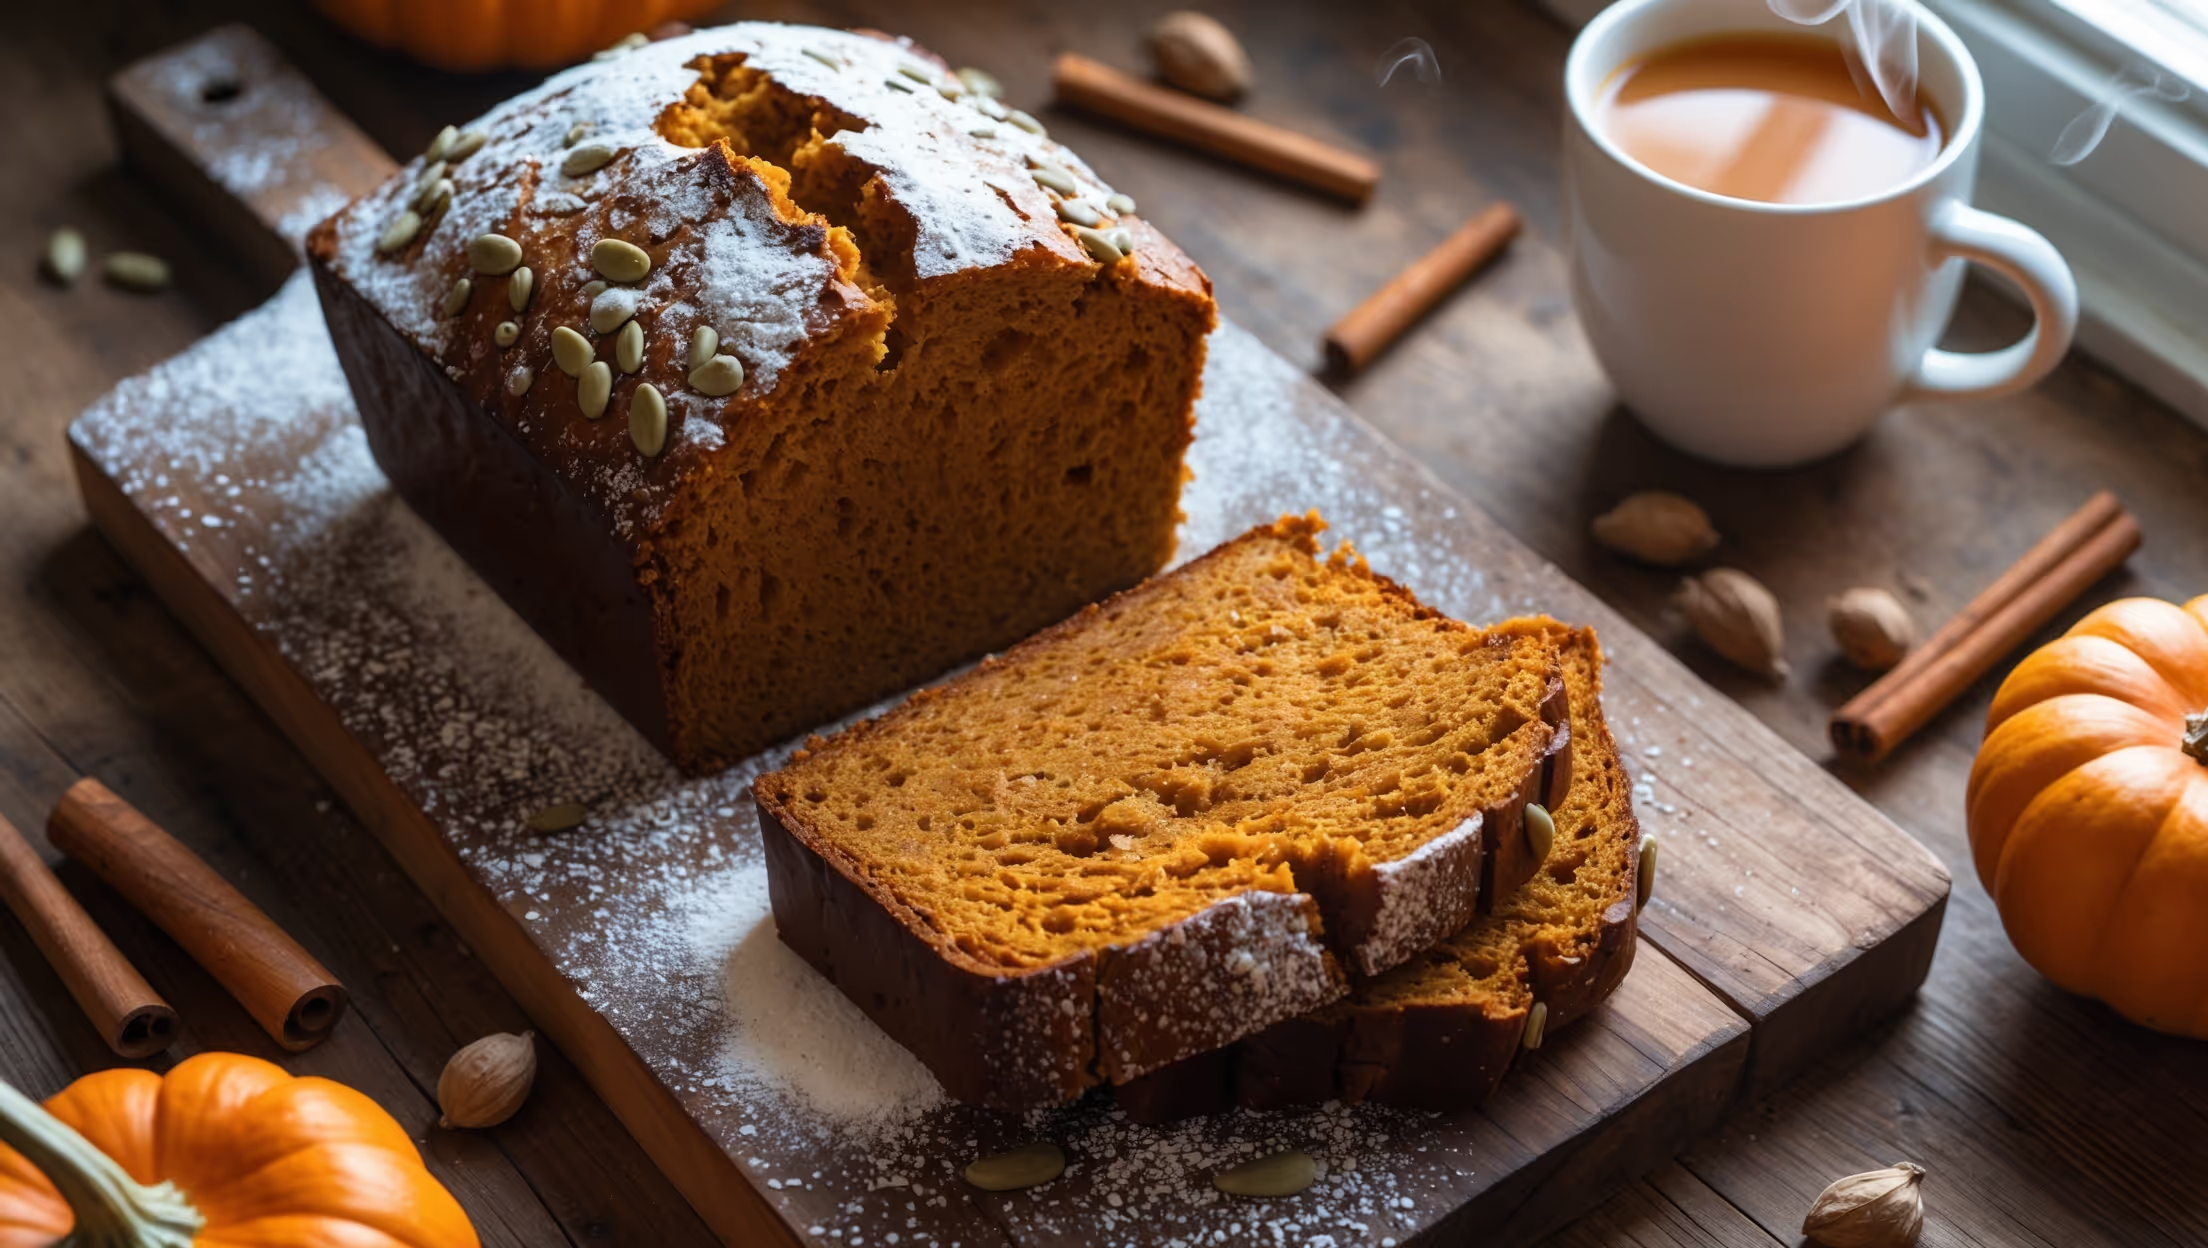
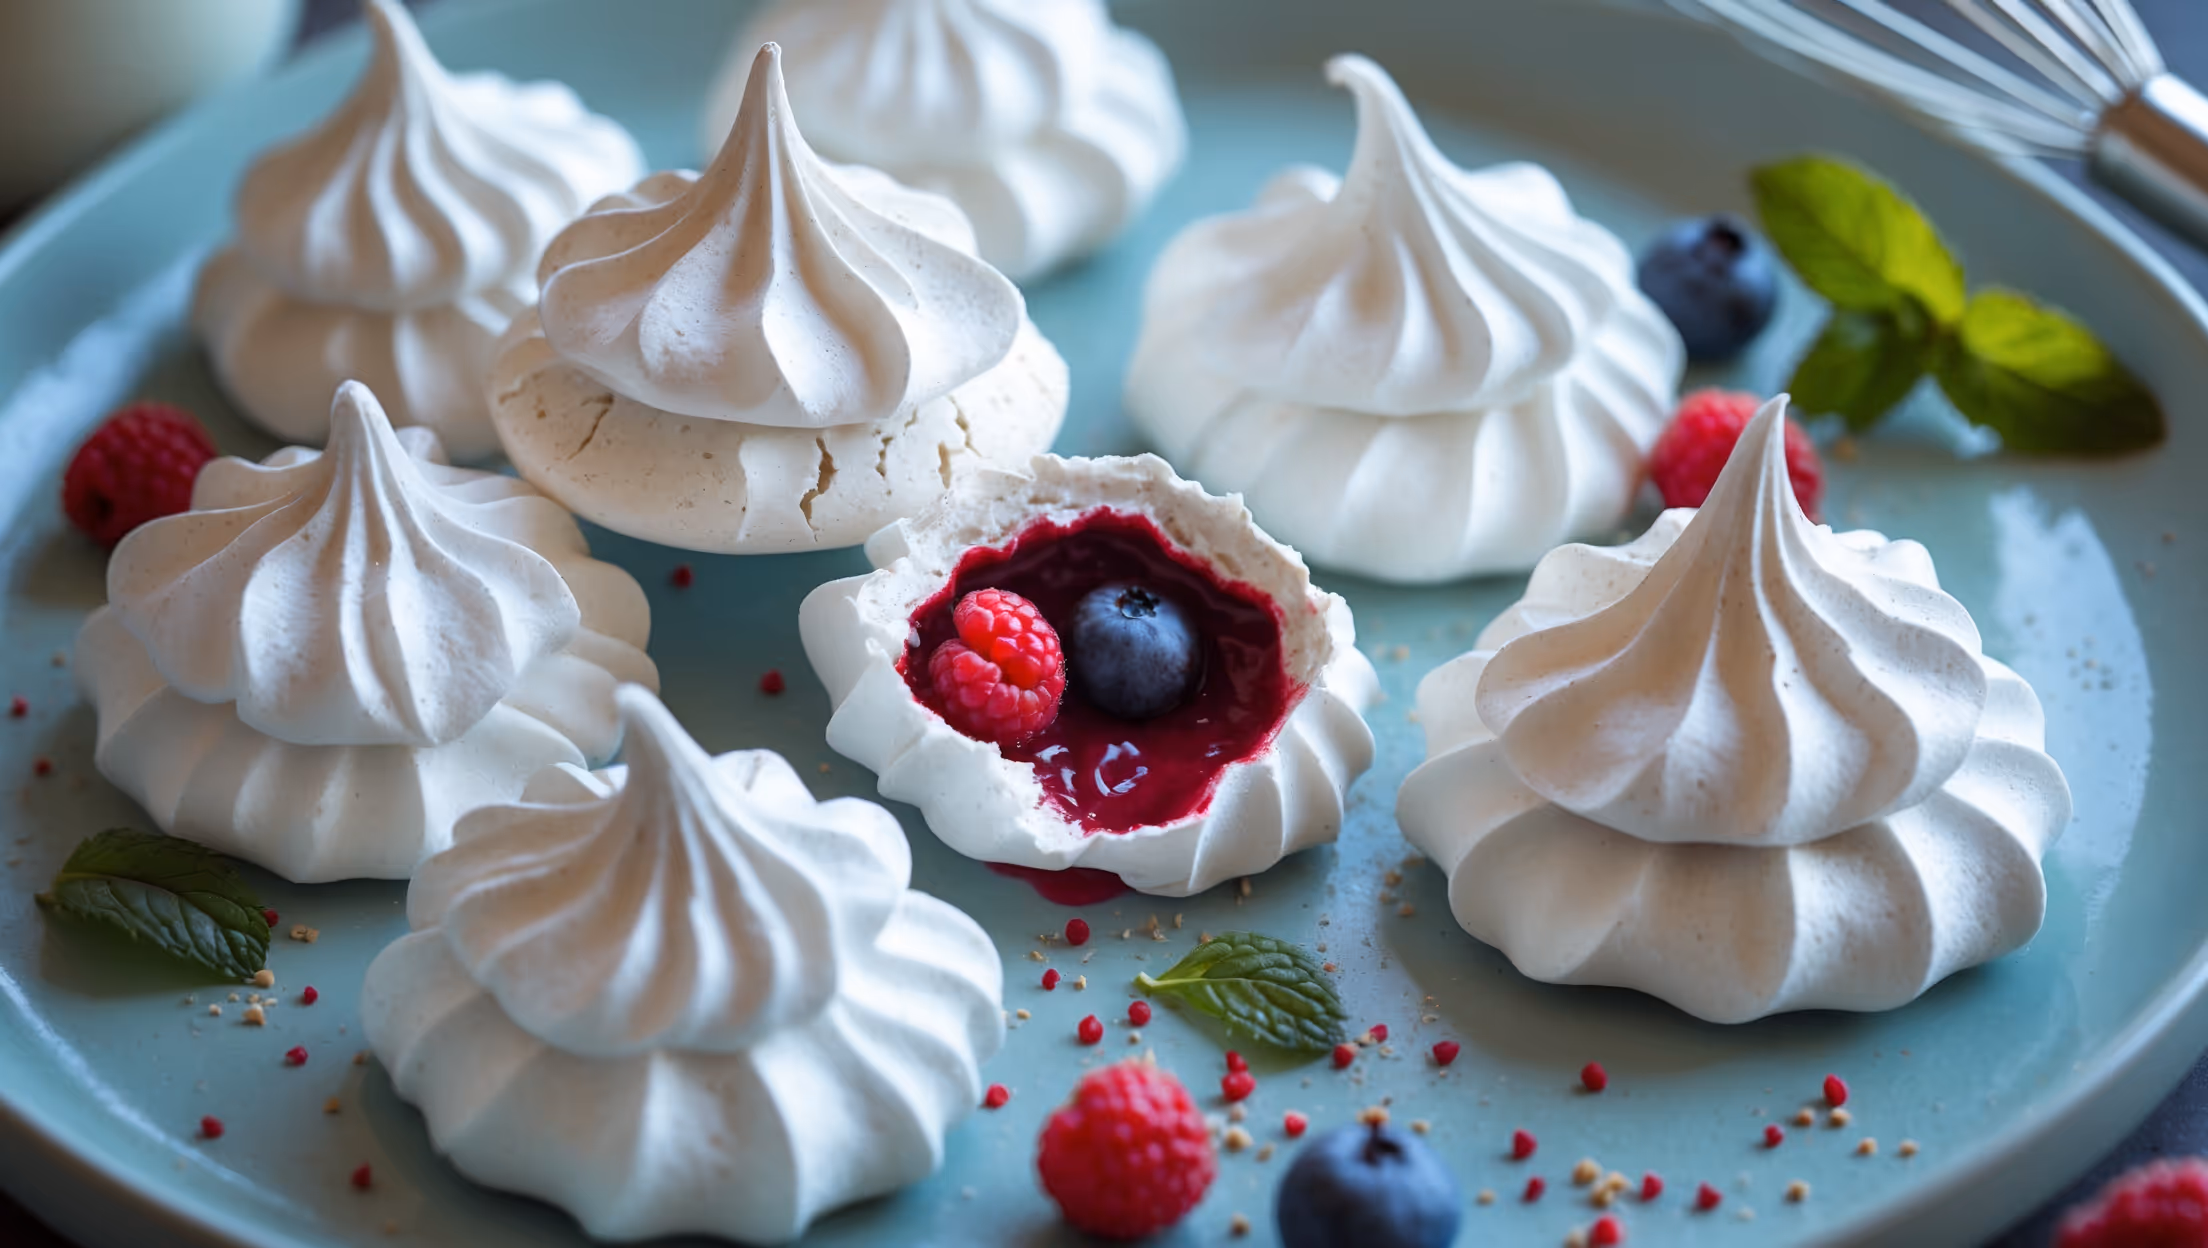
Gluten-Free Vegan Bakes
Try following recommended recipes