Directions
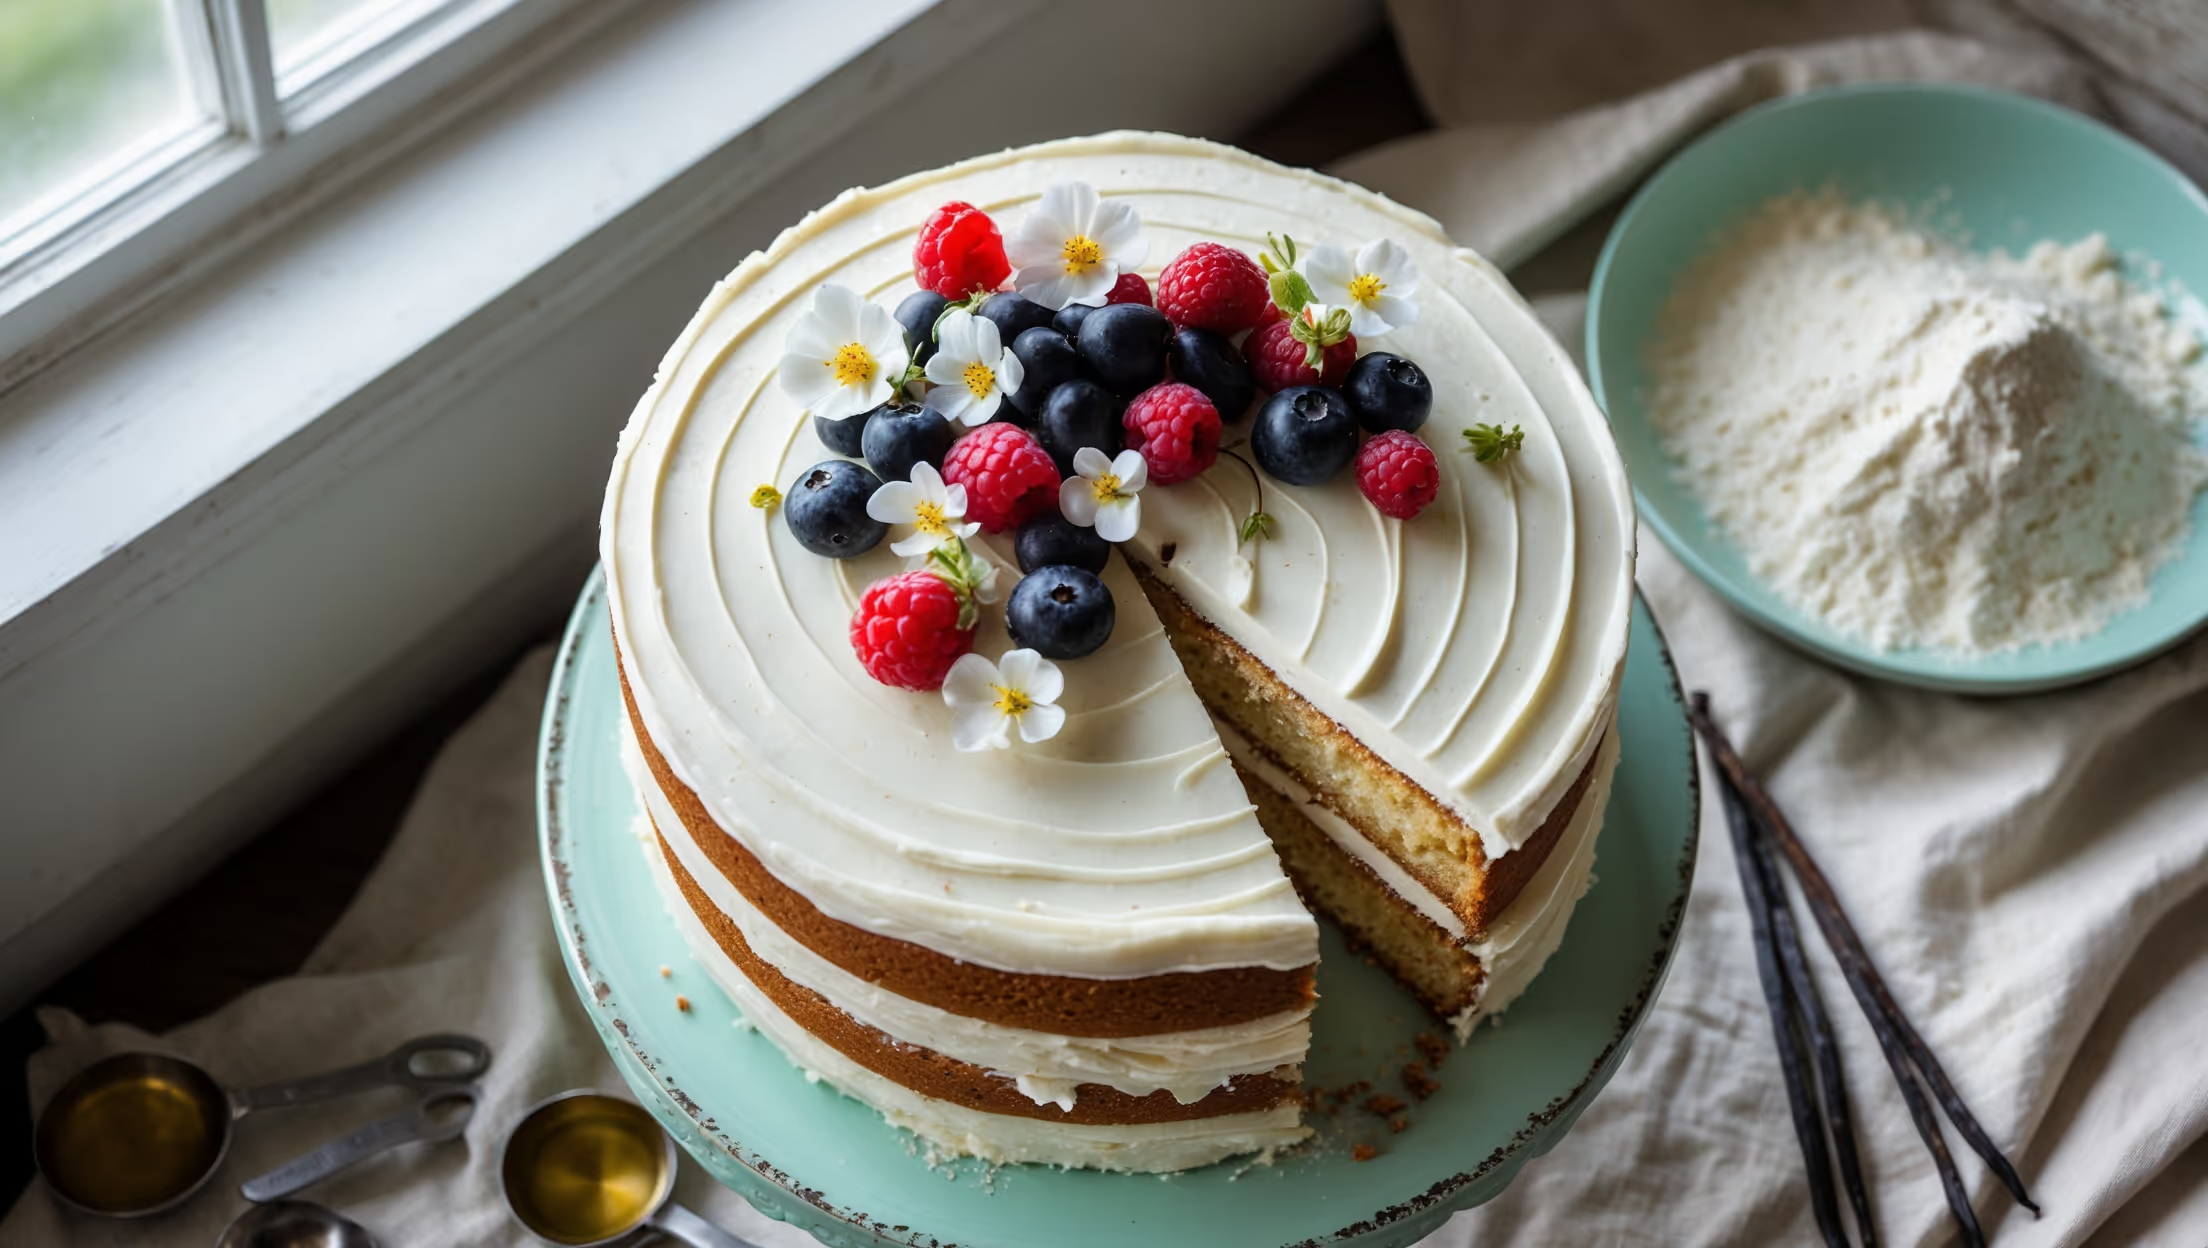
<ol class="no-list-style"><li class="MethodStepper"><h4 class="step-title">Step 1</h4>Begin by preparing your workspace. Preheat your oven to 180°C (350°F). Line the bottom of three 20cm cake tins with parchment paper and lightly grease the sides with a small amount of oil. This preparation ensures your cakes will release perfectly after baking.</li><li class="MethodStepper"><h4 class="step-title">Step 2</h4>In a large bowl, sift together the gluten-free flour blend, almond flour, tapioca starch, baking powder, baking soda, and salt. Whisking these dry ingredients thoroughly eliminates any lumps and ensures even distribution of the leavening agents, crucial for proper rising in gluten-free baking.</li><li class="MethodStepper"><h4 class="step-title">Step 3</h4>In a separate bowl, whisk together the sugar, plant milk, vegetable oil, apple cider vinegar, and vanilla extract until well combined. The apple cider vinegar is essential here – it reacts with the baking soda to create bubbles that help your cake rise beautifully without eggs.</li><li class="MethodStepper"><h4 class="step-title">Step 4</h4>Gradually pour the wet ingredients into the dry ingredients, whisking gently until just combined. Be careful not to overmix – stop when no dry spots remain but the batter still has a few small lumps. Overmixing can make your cake dense rather than fluffy.</li><li class="MethodStepper"><h4 class="step-title">Step 5</h4>Divide the batter evenly between the three prepared cake tins. Use a digital kitchen scale if you have one to ensure equal amounts (approximately 300-325g per tin). Gently tap each tin on the counter a few times to release any large air bubbles.</li><li class="MethodStepper"><h4 class="step-title">Step 6</h4>Bake in the preheated oven for 30-35 minutes, or until a toothpick inserted into the center comes out clean with just a few moist crumbs. The tops should be golden and spring back slightly when gently pressed. Avoid opening the oven door during the first 25 minutes as temperature fluctuations can cause gluten-free cakes to sink.</li><li class="MethodStepper"><h4 class="step-title">Step 7</h4>Allow the cakes to cool in their tins for 15 minutes before carefully turning them out onto wire racks to cool completely. Place them upside down on the racks to flatten any domed tops. Let them cool for at least 2 hours or overnight – gluten-free cakes need this time to set their structure.</li><li class="MethodStepper"><h4 class="step-title">Step 8</h4>For the frosting, open the can of chilled coconut cream and scoop out the thick white cream that has separated to the top (save the clear liquid for smoothies). In a large bowl, beat the coconut cream and vegan butter together until smooth and fluffy, about 3 minutes.</li><li class="MethodStepper"><h4 class="step-title">Step 9</h4>Gradually add the sifted powdered sugar, vanilla, and salt to the butter mixture, beating on low speed at first, then increasing to medium-high once incorporated. Continue beating for 5-7 minutes until the frosting is light, fluffy and holds soft peaks. If the frosting seems too soft, refrigerate for 15-20 minutes before using.</li><li class="MethodStepper"><h4 class="step-title">Step 10</h4>Once the cakes are completely cool, level them if necessary by trimming the tops with a serrated knife to create flat surfaces. Place the first cake layer on your serving plate or cake board, securing it with a small dollop of frosting underneath.</li><li class="MethodStepper"><h4 class="step-title">Step 11</h4>Spread about 1/4 of the frosting evenly on top of the first layer, leaving a slight border around the edge (as the weight of the upper layers will push it outward). Repeat with the second layer and another 1/4 of frosting. Place the final layer on top, bottom-side up for a perfectly flat surface.</li><li class="MethodStepper"><h4 class="step-title">Step 12</h4>Apply a thin layer of frosting all over the cake to create a "crumb coat," trapping any loose crumbs. Refrigerate for 30 minutes to set this layer. Then apply the remaining frosting, creating decorative swirls with your offset spatula. Work from the top down for the smoothest finish.</li><li class="MethodStepper"><h4 class="step-title">Step 13</h4>Top with fresh berries and edible flowers if desired. For the best texture and flavor, let the cake sit at room temperature for 30 minutes before serving. Store any leftover cake in an airtight container in the refrigerator for up to 3 days, allowing slices to come to room temperature before serving.</li></ol>