Directions
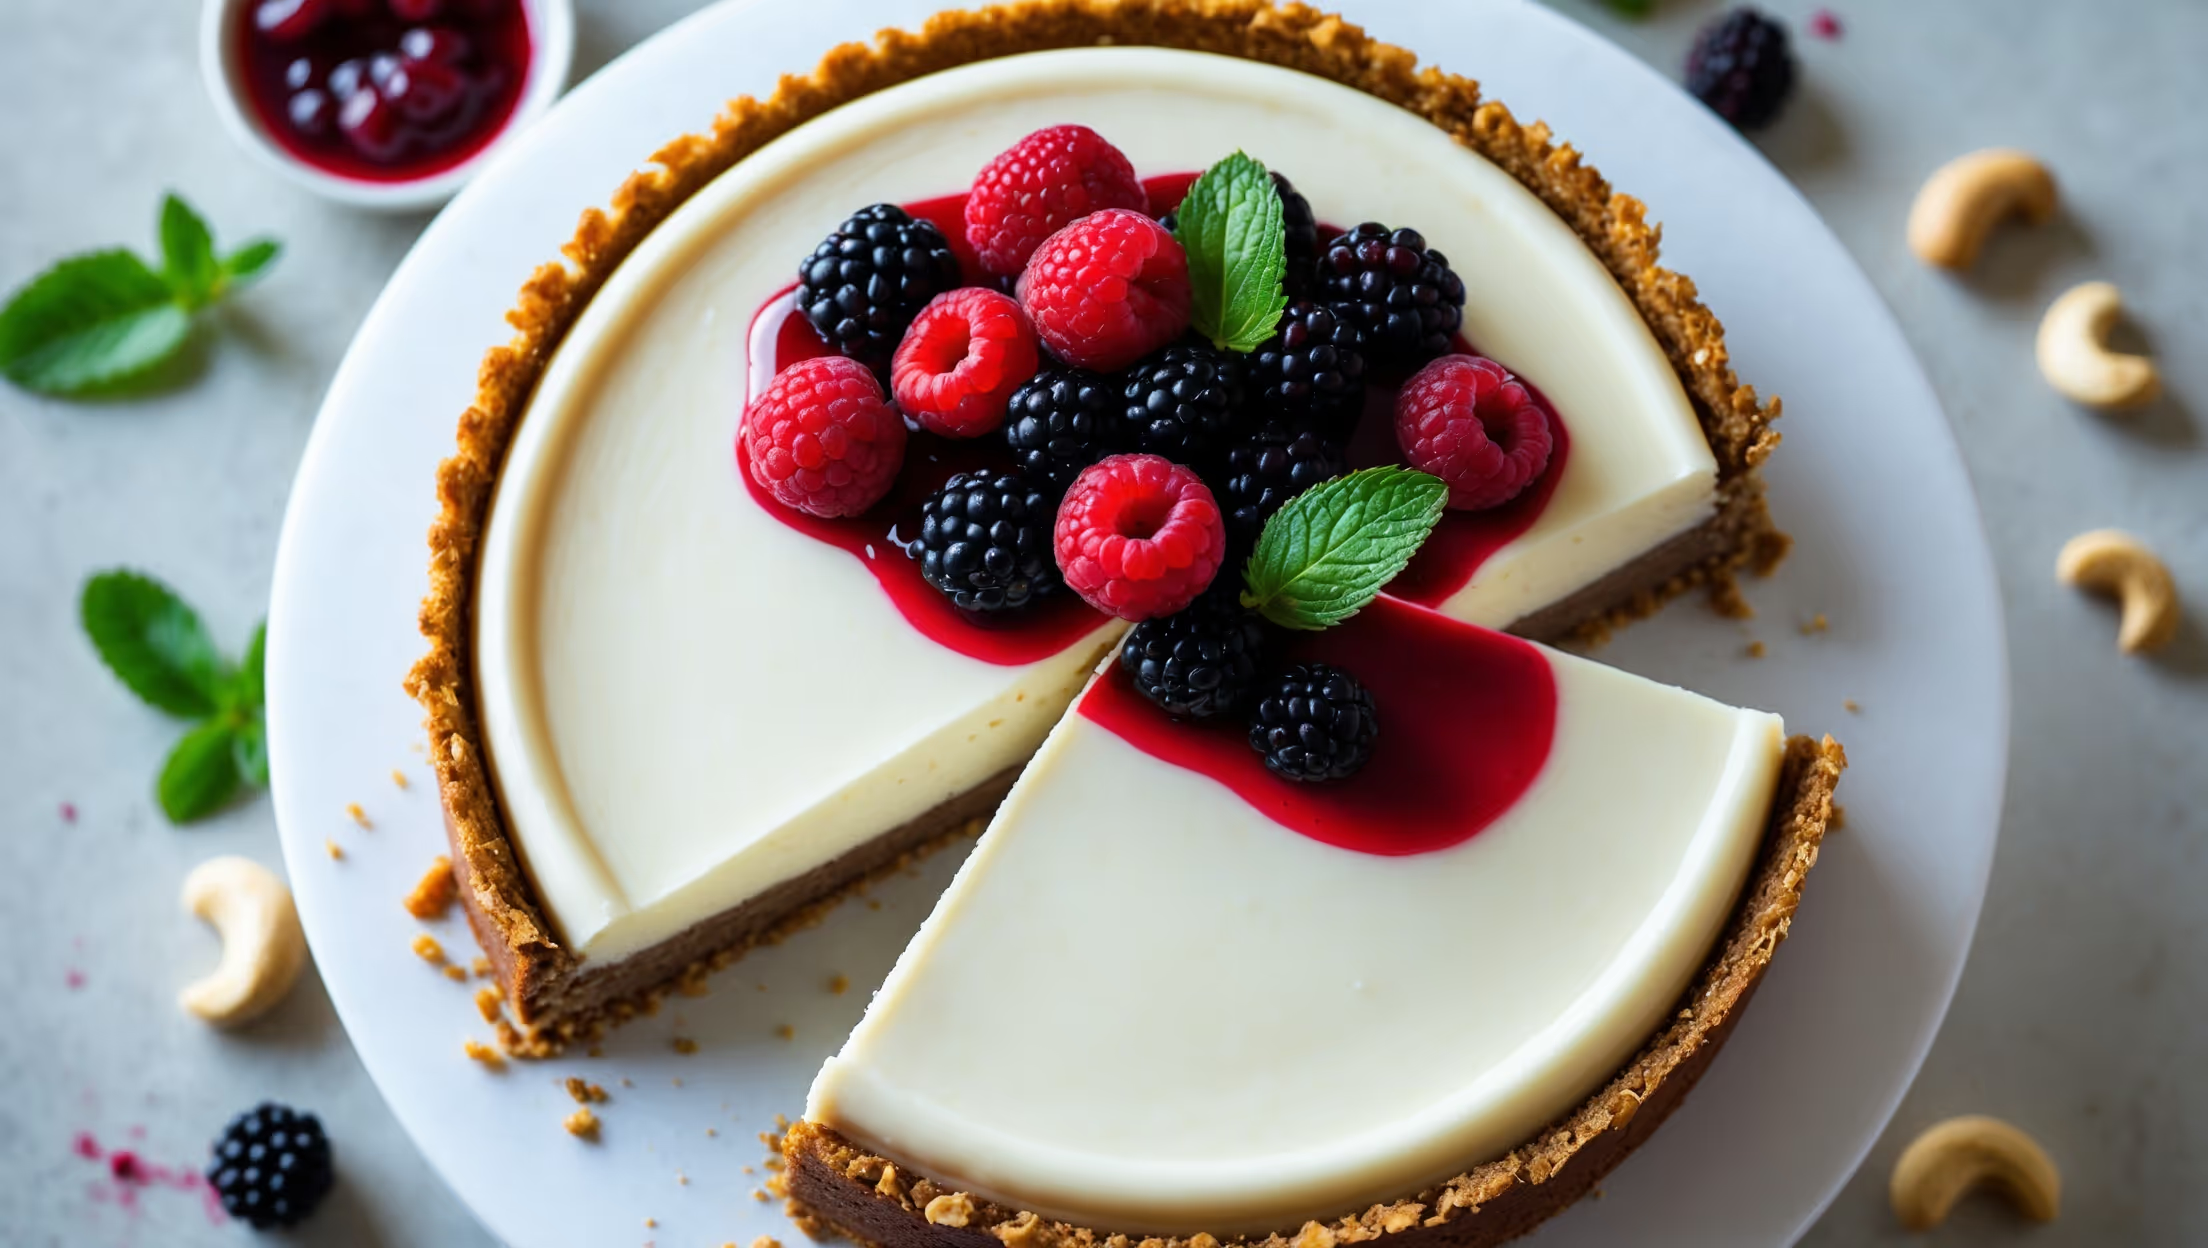
<ol class="no-list-style"><li class="MethodStepper"><h4 class="step-title">Step 1</h4>Start by preparing the cashews for the filling. Place 400g raw cashews in a large bowl and cover completely with cold water. Let them soak for at least 4 hours or overnight in the refrigerator. This soaking process is crucial as it softens the cashews, allowing them to blend into a silky-smooth cream that forms the base of our cheesecake.</li><li class="MethodStepper"><h4 class="step-title">Step 2</h4>When you're ready to make the cheesecake, line the bottom of your 23cm springform pan with parchment paper and lightly grease the sides with coconut oil. This will ensure easy removal of your beautiful creation later.</li><li class="MethodStepper"><h4 class="step-title">Step 3</h4>For the crust, place 150g raw almonds, 150g pitted dates, 30g shredded coconut, and ¼ tsp sea salt in a food processor. Pulse until the mixture is crumbly but still has some texture. Add 1 tbsp melted coconut oil and pulse again until the mixture holds together when pressed between your fingers. The dates provide natural sweetness and act as a binding agent, eliminating the need for refined sugars.</li><li class="MethodStepper"><h4 class="step-title">Step 4</h4>Press the crust mixture firmly and evenly into the bottom of your prepared pan. Use the flat bottom of a measuring cup to really compact the crust, which helps it hold together when you serve the cheesecake. Place the pan in the freezer while you prepare the filling.</li><li class="MethodStepper"><h4 class="step-title">Step 5</h4>Drain and rinse the soaked cashews thoroughly. Add them to a high-powered blender along with 120ml coconut cream, 120ml maple syrup, 80ml melted coconut oil, 60ml lemon juice, 2 tsp vanilla extract, and ¼ tsp sea salt. The lemon juice is key here – it provides that characteristic tangy flavor that makes cheesecake so distinctive.</li><li class="MethodStepper"><h4 class="step-title">Step 6</h4>Blend on high speed for 3-5 minutes until completely smooth and creamy, stopping to scrape down the sides as needed. Be patient during this step – achieving a silky-smooth texture with no graininess is essential for that authentic cheesecake mouthfeel. The mixture should be thick but pourable, with a glossy appearance.</li><li class="MethodStepper"><h4 class="step-title">Step 7</h4>Remove the crust from the freezer and pour the filling over it, smoothing the top with a spatula. Tap the pan gently on the counter a few times to release any air bubbles that might have formed during blending. These can create unwanted holes in your finished cheesecake.</li><li class="MethodStepper"><h4 class="step-title">Step 8</h4>Refrigerate the cheesecake for at least 6 hours, but preferably overnight. The coconut oil in the filling solidifies when chilled, helping the cheesecake set to a perfect sliceable consistency without the need for gelatin or other setting agents.</li><li class="MethodStepper"><h4 class="step-title">Step 9</h4>When ready to serve, carefully run a thin knife around the edge of the springform pan before releasing the clasp. This prevents the cheesecake from sticking to the sides. If you find it difficult to remove, you can briefly warm the outside of the pan with a hot towel to help release.</li><li class="MethodStepper"><h4 class="step-title">Step 10</h4>For the optional topping, arrange 250g fresh berries on top of the cheesecake and drizzle with 2 tbsp maple syrup for a beautiful glaze. The fresh fruit not only adds visual appeal but also complements the rich creaminess with a bright, fresh flavor contrast.</li><li class="MethodStepper"><h4 class="step-title">Step 11</h4>For the cleanest slices, use a large sharp knife dipped in hot water and wiped dry between cuts. Store any leftover cheesecake in an airtight container in the refrigerator for up to 5 days, or freeze individual slices for up to 1 month for a delightful treat whenever the craving strikes.</li></ol>